
Elevate your selfie game with these pro tricks for stunning phone portraits. First, find your best angle by tilting your chin slightly and turning three-quarters to the camera. Master natural lighting by using the "golden hour" or positioning near windows. Apply the rule of thirds to compose your shots, placing key features along imaginary grid lines. Experiment with unique backgrounds like vibrant nature scenes or urban street art to add depth and interest. Finally, enhance your photos with subtle editing, adjusting brightness and smoothing skin without overdoing it. These techniques will help you capture eye-catching selfies that stand out from the crowd. Discover even more ways to perfect your self-portraits below.
Find Your Best Angle
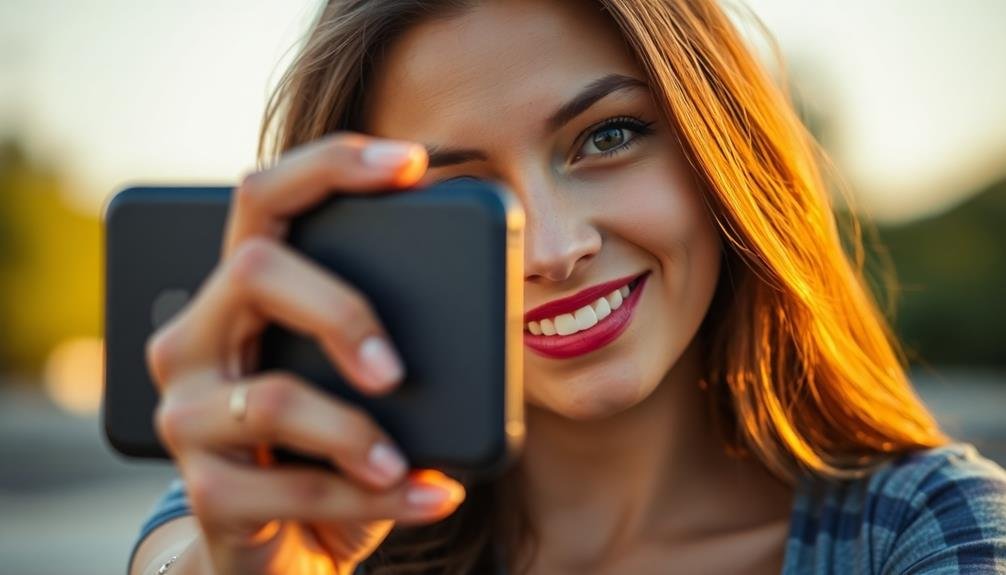
When it comes to taking selfies, finding your best angle is essential. Start by experimenting with different head positions. Tilt your chin slightly downward to avoid unflattering shadows and define your jawline. Turn your face about three-quarters to the camera, as this often creates a more flattering look than a straight-on shot.
Consider the placement of your phone. Holding it slightly above eye level can make your eyes appear larger and minimize the appearance of a double chin. Don't be afraid to try unconventional angles, like shooting from below for a powerful look or from the side for a pensive profile shot.
Pay attention to your neck and shoulders. Elongate your neck by pushing your face forward slightly, and relax your shoulders to avoid looking tense.
If you're including your body, angle it slightly away from the camera to create a slimming effect.
Master Natural Lighting Techniques
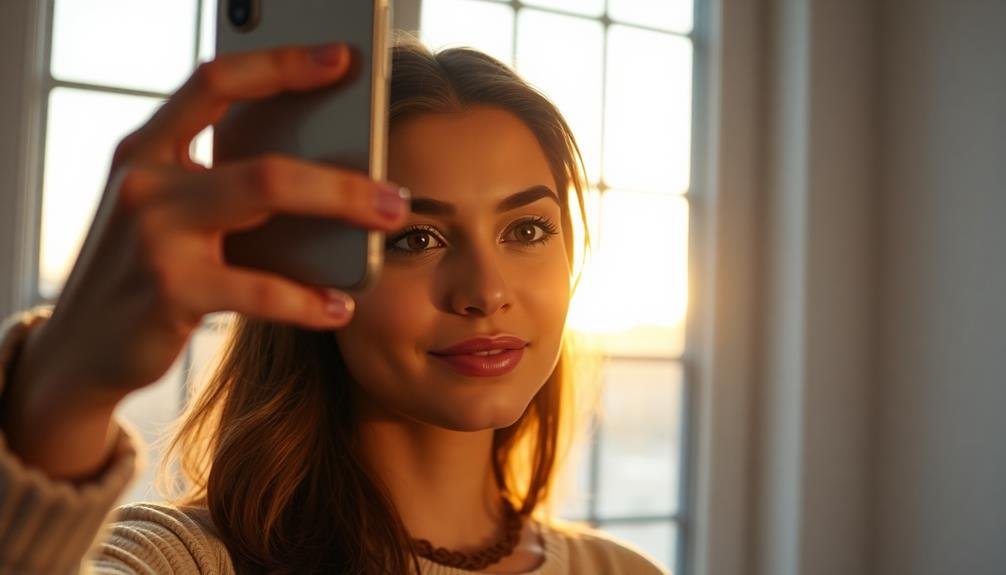
Taking advantage of natural light can dramatically improve your selfies. To master natural lighting techniques, start by identifying the best times of day for outdoor shots. The "golden hour" just after sunrise or before sunset provides warm, flattering light that softens features and creates a dreamy glow.
When shooting indoors, position yourself near a window to capture soft, diffused light. Avoid harsh overhead lighting, which can create unflattering shadows. Instead, face the window at a slight angle to achieve even illumination across your face. If the light's too bright, use sheer curtains to soften it.
Experiment with backlighting for a creative effect. Stand with your back to the light source, creating a halo effect around your silhouette. Adjust your phone's exposure to properly illuminate your face while maintaining the background's glow.
On overcast days, take advantage of the natural diffusion. Clouds act as a giant softbox, providing even lighting that's perfect for selfies.
In bright sunlight, seek shade to avoid harsh shadows and squinting. Use reflective surfaces like white walls or car hoods to bounce light onto your face, filling in shadows and creating a more balanced image.
Use the Rule of Thirds
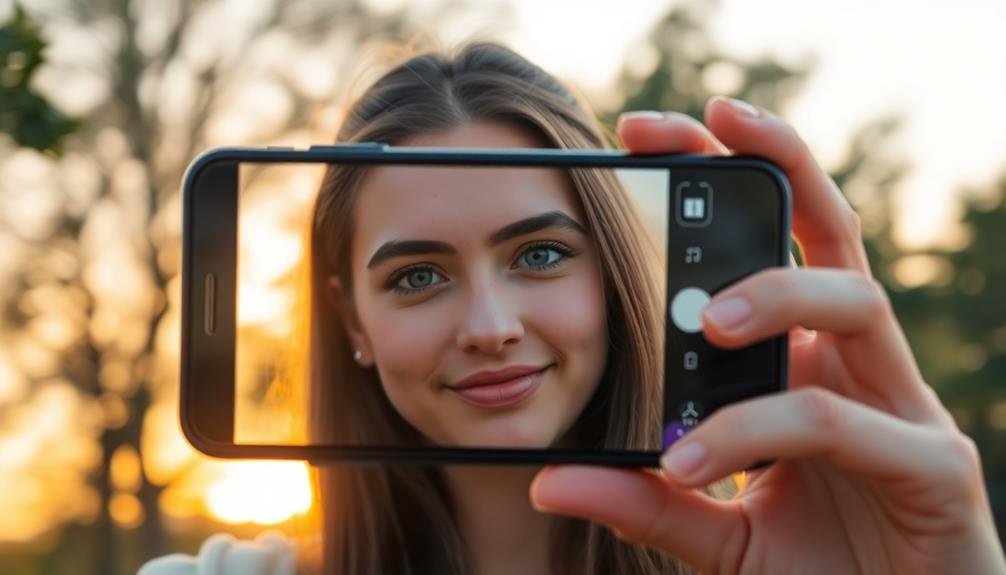
The rule of thirds can elevate your selfies from amateur to artistic. Imagine your phone screen divided into a 3×3 grid. Instead of centering yourself, position your face or key features along these lines or at their intersections. This creates a more dynamic and visually appealing composition.
When applying the rule of thirds, consider these placement options:
| Left Third | Center Third | Right Third |
|---|---|---|
| Eyes | Nose | Mouth |
| Forehead | Eyes | Chin |
| Profile | Shoulders | Background |
Experiment with different placements to find what works best for your face shape and the story you want to tell. If you're showcasing a new hairstyle, position it along the top third. For a more mysterious look, align your eyes with the upper third line.
Don't forget about your background. Use the rule of thirds to incorporate interesting elements without overshadowing your face. Place a landmark or eye-catching object in one of the outer thirds to add context to your selfie.
Experiment With Unique Backgrounds
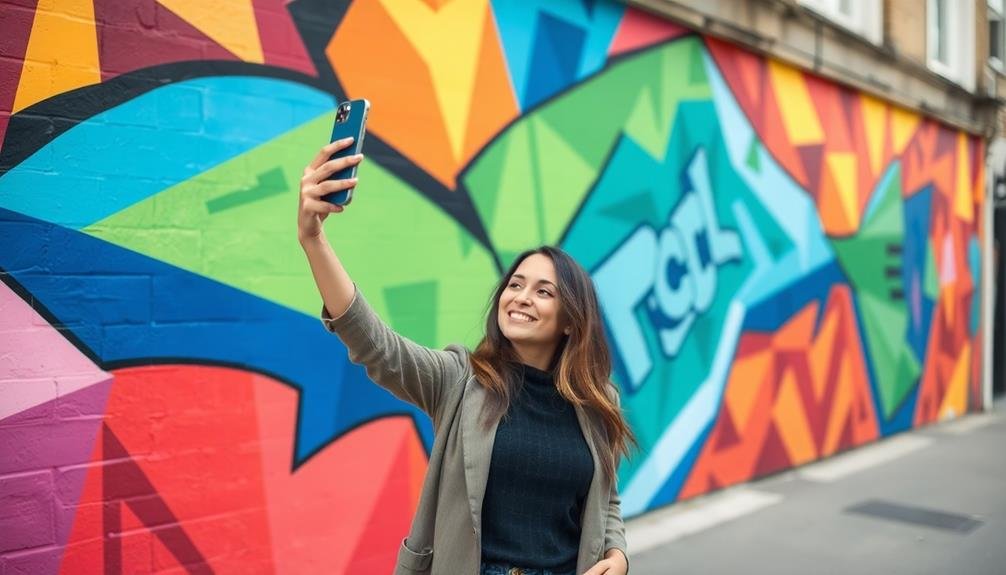
While the rule of thirds enhances composition, your background choice can make or break a selfie. Don't settle for bland walls or cluttered spaces. Instead, seek out unique backgrounds that complement your look and mood.
Nature offers endless possibilities: vibrant flowers, textured tree bark, or serene water features can add depth and interest to your shot.
Urban environments provide exciting options too. Look for colorful street art, interesting architecture, or geometric patterns. Even everyday objects can become extraordinary backdrops when framed creatively. Try positioning yourself in front of a bookshelf, a vintage car, or an ornate doorway.
Remember, contrast is key. If you're wearing bright colors, a muted background might make you pop. Conversely, a bold backdrop can enliven a simple outfit. Experiment with different lighting conditions to see how they affect your chosen background. Soft, natural light often works best, but don't shy away from dramatic shadows or artificial lighting for a moodier vibe.
Lastly, guarantee your background doesn't overshadow you. You're the star of the show, so find a balance that enhances rather than distracts from your selfie.
Enhance With Subtle Editing

After capturing your selfie, subtle editing can elevate it from good to great. Start by adjusting the basic elements like brightness, contrast, and saturation. Don't overdo it; aim for natural-looking enhancements that bring out your best features without appearing artificial.
Next, focus on skin smoothing and blemish removal. Use tools that offer a light touch, preserving your skin's natural texture while minimizing imperfections. Remember, the goal is to look like your best self, not a different person entirely.
Consider these additional editing techniques to refine your selfie:
- Adjust white balance to correct any color casts
- Use selective brightening to highlight your eyes
- Apply a subtle vignette to draw attention to your face
Finally, experiment with filters, but use them sparingly. Choose ones that complement your skin tone and the overall mood of the image. If you're unsure, stick to classic black and white filters for a timeless look.
Before saving, zoom in to check for any editing artifacts or overly processed areas. Make final tweaks as needed, always aiming for a polished yet natural appearance.
Frequently Asked Questions
What Selfie Accessories Can Improve the Quality of My Phone Portraits?
You'll enhance your phone portraits with these accessories: a ring light for even illumination, a portable tripod for stability, clip-on lenses for creative effects, and a Bluetooth remote shutter for easy capturing from a distance.
How Can I Capture Group Selfies Without Cutting Anyone Out?
When taking group selfies, use your phone's wide-angle lens or a selfie stick to fit everyone in. You can also ask someone with longer arms to hold the phone. Don't forget to use the timer feature for better positioning.
Are There Specific Poses That Work Best for Selfie Portraits?
Yes, there are great poses for selfie portraits. Try tilting your head slightly, angling your body, or using the "chin down, eyes up" technique. Don't forget to relax your face and experiment with different expressions.
What's the Ideal Distance to Hold the Phone for a Flattering Selfie?
You'll want to hold your phone about arm's length away, roughly 12-18 inches from your face. This distance helps avoid distortion and keeps you in focus. Experiment to find what's most flattering for your features.
How Can I Create a Consistent Style Across All My Selfie Portraits?
To create a consistent style across your selfies, you'll want to use the same filters, lighting, and angles. Stick to a specific color palette, maintain similar facial expressions, and choose a signature pose that you'll repeat regularly.
In Summary
You've now got the tools to take your selfie game to the next level. Remember, it's all about practice and experimentation. Don't be afraid to try new angles, lighting setups, or locations. With these pro tricks in your arsenal, you'll be capturing stunning self-portraits in no time. So grab your phone, strike a pose, and start snapping. Who knows? Your next selfie might just be your best one yet!


Leave a Reply