To capture enchanting candlelit portraits with your smartphone, start by choosing a device with strong low-light capabilities. Set up your scene in a dark room, strategically placing candles to create desired lighting effects. Master manual camera controls, adjusting ISO, shutter speed, and white balance to enhance the warm ambiance. Position your subject facing the light source and experiment with angles for depth and drama. After shooting, use post-processing techniques to fine-tune shadows, highlights, and color tones. Don't forget to apply a subtle vignette effect to draw focus to your subject. With these tips, you'll be well on your way to creating stunning low-light masterpieces.
Choosing the Right Smartphone
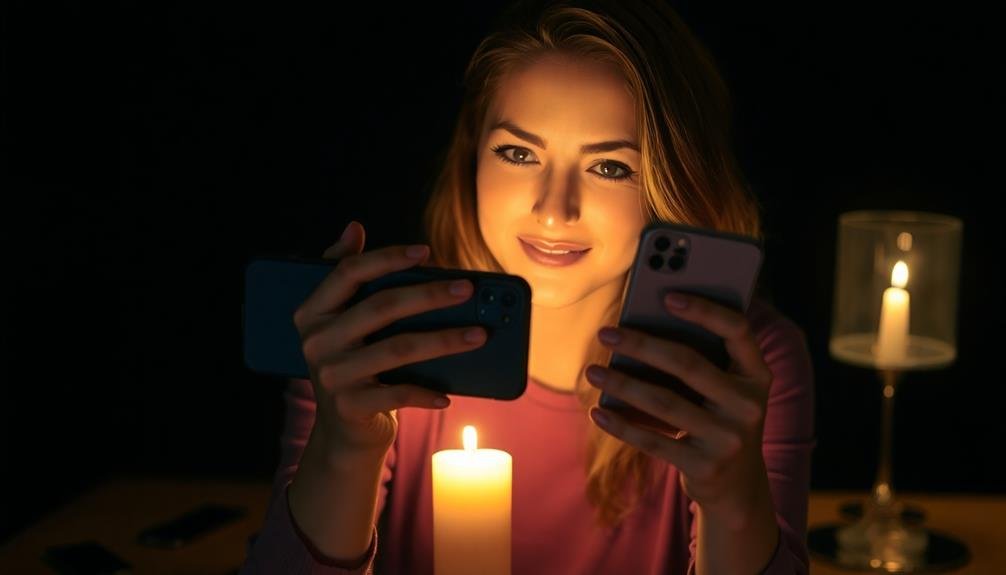
When it comes to mobile low-light photography, your choice of smartphone can make or break your shots. Look for devices with larger sensors, wider apertures, and advanced image processing capabilities. iPhones and high-end Android phones from manufacturers like Google, Samsung, and Huawei often excel in low-light conditions.
Pay attention to the phone's maximum ISO sensitivity, as higher values allow for better performance in dimly lit environments. Optical image stabilization (OIS) is vital for reducing blur caused by hand movements, especially during longer exposures.
Some phones feature specialized night modes that use AI and computational photography to enhance low-light images. Consider models with multiple camera lenses, particularly those with telephoto or ultra-wide options. These can provide versatility in framing your candlelit portraits.
Raw file support is also valuable, giving you more control over post-processing. Don't overlook the importance of manual controls. Phones that offer adjustable shutter speed, ISO, and focus allow you to fine-tune your settings for peak results.
Setting Up Your Candlelit Scene
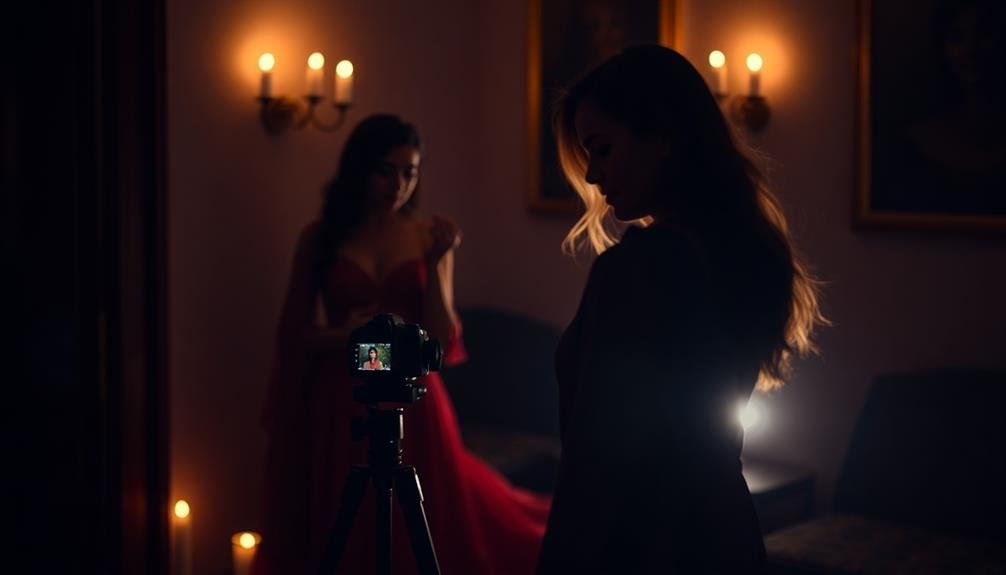
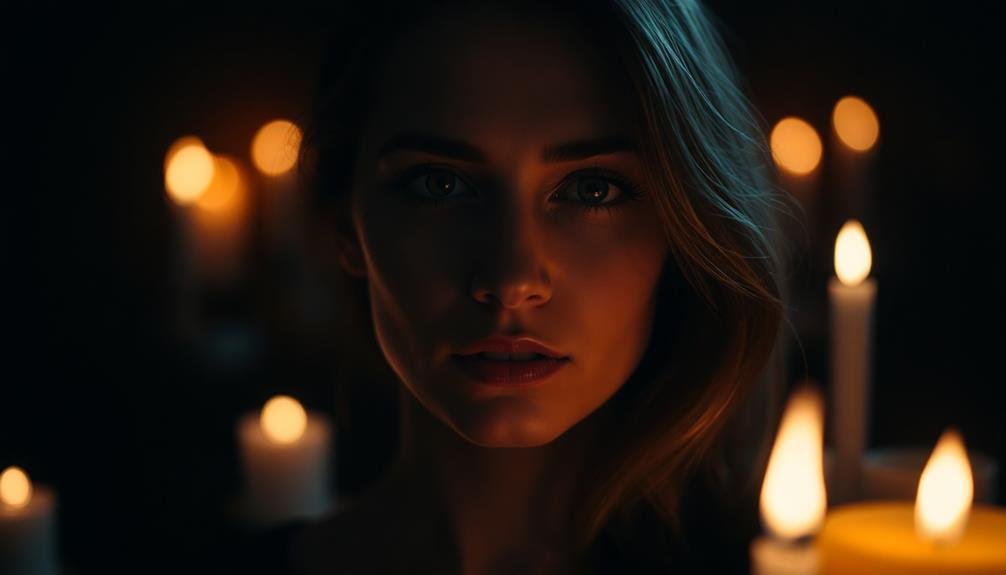
With your ideal smartphone in hand, it's time to craft the perfect candlelit scene for your low-light photography. Start by choosing a dark room with minimal ambient light. Position your subject near a flat surface where you'll arrange the candles. Opt for unscented candles to avoid discomfort, and use various sizes and heights to create depth and interest.
Place candles strategically around your subject, experimenting with different angles to achieve the desired lighting effect. Remember, candlelight is soft and warm, so embrace the mood it creates. You'll want to balance the light on your subject's face, avoiding harsh shadows or overly bright spots.
Consider these elements when setting up your scene:
- Background: Choose a simple, non-distracting backdrop
- Props: Add subtle elements that complement the mood
- Reflectors: Use white cards or mirrors to redirect light
- Safety: Keep flammable objects away from open flames
- Stability: Confirm candles are secure and won't tip over
As you arrange your scene, take test shots to fine-tune the composition and lighting. Don't be afraid to make adjustments until you achieve the desired effect.
With patience and creativity, you'll create an enchanting candlelit portrait that showcases your subject in a warm, intimate light.
Mastering Manual Camera Controls
In spite of the convenience of auto mode, mastering manual camera controls is essential for capturing stunning low-light photos on your smartphone. Start by adjusting the ISO, which controls your camera's light sensitivity. In low-light situations, you'll want to increase the ISO, but be cautious as higher values can introduce noise.
Next, focus on shutter speed. Slower speeds allow more light in but can result in blur. To counteract this, use a tripod or stable surface. Experiment with aperture settings if your phone allows it, opting for wider apertures (lower f-numbers) to let in more light.
Here's a quick reference guide for manual controls in low-light photography:
| Setting | Low Light | Effect | Caution |
|---|---|---|---|
| ISO | Higher | Brighter image | Increased noise |
| Shutter Speed | Slower | More light captured | Potential blur |
| Aperture | Wider | More light enters | Shallow depth of field |
| White Balance | Warm | Enhances candlelight | May affect overall tone |
Remember to use your phone's exposure compensation feature to fine-tune brightness. Don't forget to shoot in RAW format if available, giving you more flexibility in post-processing. With practice, you'll develop an intuition for balancing these settings to achieve the perfect candlelit portrait.
Effective Posing in Low Light

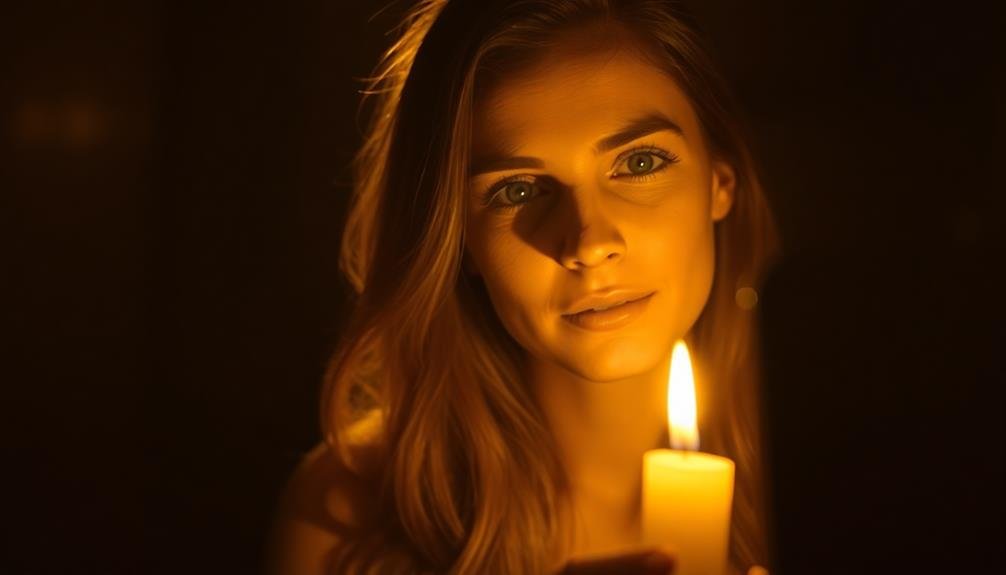
Now that you've mastered your camera settings, let's focus on posing techniques for low-light photography. In dimly lit environments, your subject's positioning becomes essential for capturing stunning portraits. Encourage your model to face the available light source, whether it's a candle, window, or street lamp. This technique guarantees their features are well-defined and prevents unwanted shadows.
Experiment with different angles to create depth and drama in your shots. Ask your subject to turn their head slightly or tilt their chin to add dimension. In low light, subtle movements can have a significant impact on the final image. Don't be afraid to guide your model into positions that might feel unnatural but look great on camera.
Consider these effective posing tips for low-light mobile photography:
- Use reflective surfaces to bounce light onto your subject's face
- Incorporate props like books or glasses to create interesting silhouettes
- Experiment with profile shots to highlight facial features
- Try seated poses to add stability in low-light conditions
- Utilize negative space to create a moody atmosphere
Post-Processing for Moody Ambiance

After capturing your low-light images, you'll want to enhance their moody ambiance through post-processing.
Start by adjusting the shadows and highlights to create depth and contrast in your photos.
Next, enhance warm color tones to evoke a cozy atmosphere, and finish by adding a subtle vignette effect to draw attention to the central subject.
Adjust Shadows and Highlights
Adjusting shadows and highlights in post-processing can dramatically enhance the moody ambiance of your low-light mobile photos. By fine-tuning these elements, you'll bring out hidden details and create a more balanced, atmospheric image.
Start by slightly lifting the shadows to reveal subtle textures in darker areas without compromising the overall mood. Then, gently lower the highlights to prevent overexposure and maintain the soft, ethereal quality of candlelight.
Experiment with the contrast slider to add depth and dimension to your image. Be careful not to push it too far, as excessive contrast can destroy the delicate interplay of light and shadow. Instead, aim for a subtle boost that enhances the photo's natural drama.
Consider these techniques to perfect your low-light edits:
- Use selective adjustments to target specific areas
- Experiment with split-toning for a cinematic look
- Apply a subtle vignette to draw focus to your subject
- Adjust white balance to enhance the warm glow of candlelight
- Fine-tune clarity and texture sliders for added dimension
Enhance Warm Color Tones
Enhancing warm color tones is the next step in creating a moody ambiance for your low-light mobile photos. Focus on boosting oranges, reds, and yellows to achieve a cozy, intimate atmosphere.
Start by adjusting the white balance towards warmer temperatures, typically between 3000K and 4000K for candlelit scenes.
Use your phone's built-in editing tools or a third-party app to fine-tune the color balance. Increase the saturation of warm hues while slightly reducing cooler tones like blues and greens. This contrast will make the warm colors pop and create depth in your image.
Experiment with split-toning techniques to add warm highlights and shadows separately. This can help maintain detail while enhancing the overall warmth.
Don't shy away from using selective adjustments to target specific areas of your photo, such as skin tones or candle flames.
Be careful not to overdo it; subtle enhancements often yield the most natural-looking results. Aim for a balance that complements the existing light source without appearing artificial.
Add Subtle Vignette Effect
A subtle vignette effect can elevate your low-light mobile photos, adding depth and drawing attention to your subject. When applying a vignette, remember that less is more. You're aiming for a gentle darkening around the edges, not an obvious border. Most mobile photo editing apps offer vignette tools, allowing you to adjust the intensity, size, and shape of the effect.
To create a moody ambiance with vignettes:
- Start with a light touch, gradually increasing the intensity
- Experiment with different shapes: circular, oval, or custom
- Adjust the feathering to blend the effect seamlessly
- Use a slightly warmer tone for the vignette to enhance candlelit scenes
- Combine vignettes with other subtle adjustments like contrast and clarity
Pay attention to your image's composition when adding a vignette. Confirm the darkened edges don't cut off important elements or distract from your subject.
For portraits, keep the face well-lit while gently fading the surrounding areas. Remember, the goal is to guide the viewer's eye naturally, not create an artificial-looking frame.
With practice, you'll develop a keen eye for applying vignettes that enhance your low-light mobile photography without overpowering the image's natural beauty.
Creative Candlelight Composition Techniques
Capturing the warm glow of candlelight can transform your low-light mobile photography, creating an intimate and atmospheric mood. To make the most of this enchanting light source, try positioning your subject near the candle, allowing the soft illumination to highlight their features.
Experiment with placing the candle at different angles to create interesting shadows and depth. For a dramatic effect, try backlighting your subject with the candle. This technique will create a mesmerizing silhouette and add an ethereal quality to your image.
You can also use multiple candles to create a more complex lighting setup, placing them strategically to illuminate different areas of your composition.
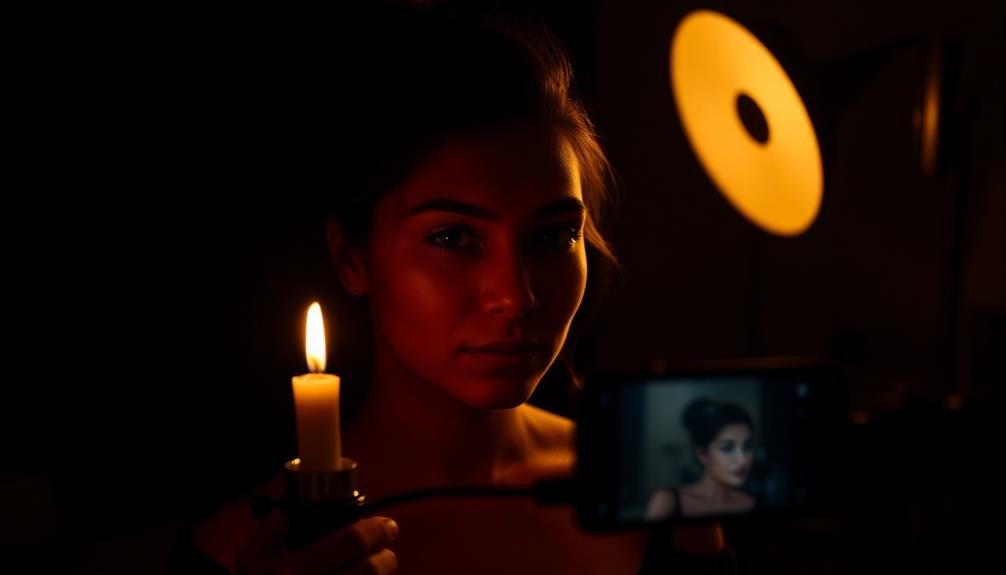
Don't be afraid to get creative with your framing. Consider including the candle itself in the shot to add context and visual interest. You might also try capturing reflections of the candlelight in mirrors or other reflective surfaces to add depth and dimension to your image.
Remember to steady your phone to avoid camera shake in low-light conditions. Use a tripod or rest your device on a stable surface for sharper results.
With these techniques, you'll create stunning, moody portraits that showcase the magic of candlelight.
Troubleshooting Common Low-Light Issues

While mastering creative techniques can elevate your low-light photography, you'll likely encounter some common challenges along the way. Recognizing and addressing these issues will help you consistently capture stunning candlelit portraits with your mobile device.
One of the most frequent problems is camera shake, which can result in blurry images. To combat this, use a tripod or stabilize your phone against a solid surface. If that's not possible, try holding your breath and gently pressing the shutter button to minimize movement.
Another challenge is noise, which appears as grainy specks in your photos. To reduce noise, lower your ISO setting if possible, or use noise reduction apps in post-processing. Focusing can also be tricky in low light. Try tapping on your subject's face to lock focus, or use manual focus if your camera app allows it.
Here are five more common low-light issues and quick solutions:
- Underexposure: Use exposure compensation or manual mode
- Color cast: Adjust white balance or use filters
- Lens flare: Reposition or use a lens hood
- Motion blur: Increase shutter speed or use burst mode
- Limited dynamic range: Try HDR mode or exposure bracketing
Frequently Asked Questions
How Can I Prevent Candle Wax From Dripping on My Subject?
To prevent candle wax from dripping on your subject, you can use dripless candles or place a protective barrier beneath them. You'll also want to keep the candles away from drafts and consider using flameless LED alternatives for safety.
Are There Safety Precautions to Consider When Using Candles for Photography?
Yes, you'll need to take safety precautions with candles. Keep them away from flammable materials, never leave them unattended, use stable holders, and have a fire extinguisher nearby. Be mindful of hot wax and open flames.
What's the Best Way to Transport Lit Candles for Outdoor Shoots?
You shouldn't transport lit candles outdoors. It's unsafe and impractical. Instead, carry unlit candles and matches or a lighter. Light them on-site when you're ready to shoot. This guarantees safety and prevents accidental fires during transport.
How Do I Create a Candlelit Effect Without Using Real Candles?
You can simulate a candlelit effect without real candles by using LED tea lights, small flashlights, or your phone's flashlight app. Diffuse the light with tissue paper or fabric to create a soft, warm glow resembling candlelight.
Can I Use Colored Candles for Unique Lighting Effects in Portraits?
Yes, you can use colored candles for unique lighting effects in portraits. They'll add warmth and atmosphere, creating interesting hues and shadows. Experiment with different colors to achieve various moods and enhance your subject's features creatively.
In Summary
You've now got the tools to create stunning candlelit portraits with just your smartphone. Remember, it's all about mastering low light, embracing the mood, and experimenting with composition. Don't be afraid to play with manual controls and get creative with your setups. With practice, you'll capture enchanting images that glow with warmth and mystery. Keep pushing your boundaries, and you'll soon be producing professional-quality candlelit portraits that'll wow your audience.


Leave a Reply