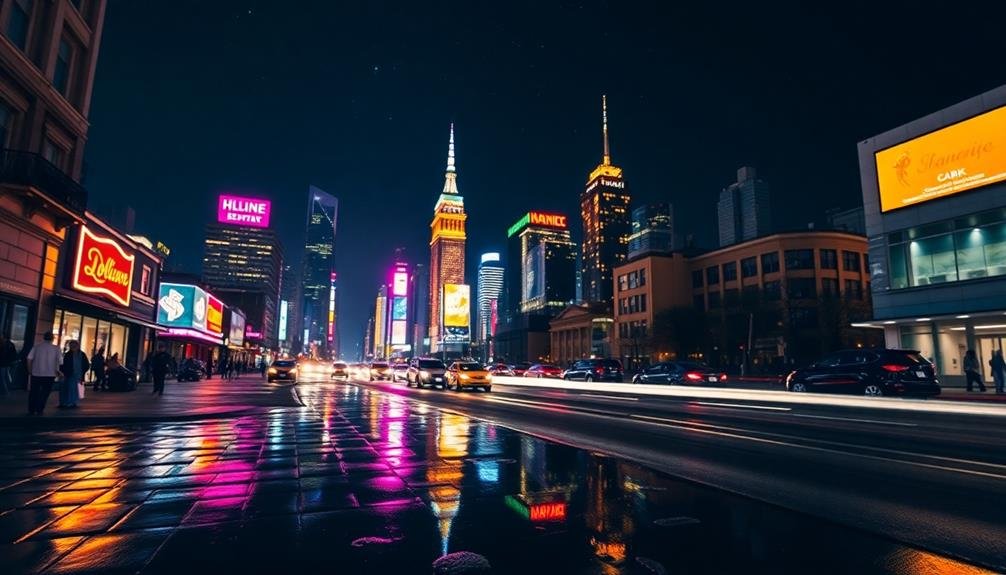
Master long exposure techniques to create mesmerizing light trails and smooth motion effects. Capture traffic light trails by setting up your camera on a tripod and using longer shutter speeds. Utilize manual camera settings to control exposure, focusing on the exposure triangle for best results. Embrace high contrast scenes by incorporating bright artificial lights against dark backgrounds for dramatic compositions. Experiment with reflections in puddles, glass buildings, or polished surfaces to add depth and intrigue to your urban night photos. These pro tricks will elevate your nighttime cityscape photography, but there's even more to explore in the world of after-dark urban imagery.
Master Long Exposure Techniques

To capture stunning urban night photos, mastering long exposure techniques is essential. You'll need a sturdy tripod, a camera with manual mode, and a remote shutter release.
Start by setting your camera to its lowest ISO, typically 100 or 200, to reduce noise. Choose a narrow aperture, like f/11 or f/16, for a greater depth of field and sharper images.
Experiment with shutter speeds between 5 and 30 seconds, depending on the amount of light and motion you want to capture. Longer exposures will create more light trails and smooth out moving water. Use your camera's bulb mode for exposures longer than 30 seconds.
To avoid camera shake, enable mirror lock-up if your camera has this feature. Focus manually, as autofocus may struggle in low light. Use the rule of thirds to compose your shot, placing key elements along the gridlines.
Consider using neutral density filters to reduce light entering the lens, allowing for even longer exposures. This can create dreamy, ethereal effects with clouds and water.
Always shoot in RAW format to preserve maximum detail for post-processing.
Capture Light Trails Effectively
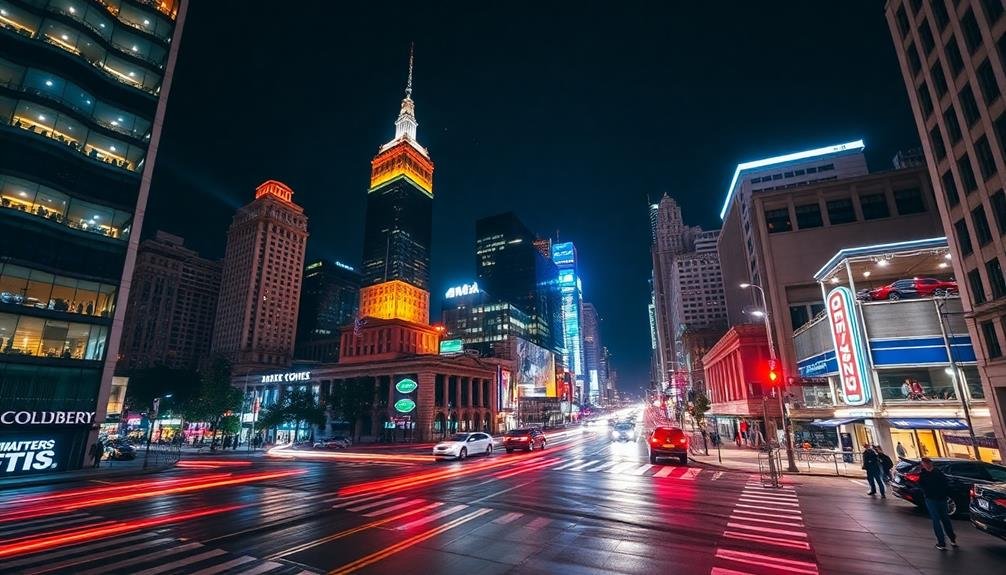
Light trails from moving vehicles can transform your urban night photos into dynamic, eye-catching compositions. To capture these streaks effectively, you'll need to master a few key techniques. First, choose a location with heavy traffic and interesting background elements. Overpasses, bridges, or busy intersections work well.
Set up your camera on a sturdy tripod and use a remote shutter release to minimize camera shake. Select a narrow aperture (f/8 to f/16) for a greater depth of field and sharper overall image. Adjust your ISO to the lowest setting possible to reduce noise. For exposure time, start with 10-30 seconds and experiment from there.
Timing is essential. Begin your exposure just as vehicles enter the frame and end it before they leave. This creates clean, unbroken light trails. Try capturing both headlights and taillights for a more colorful effect.
Don't forget to include stationary elements in your composition to provide context and contrast to the moving lights.
Post-processing can enhance your light trail photos. Adjust contrast, saturation, and sharpness to make the trails pop. Consider using luminosity masks to balance exposure between bright trails and darker areas of the image.
Utilize Manual Camera Settings
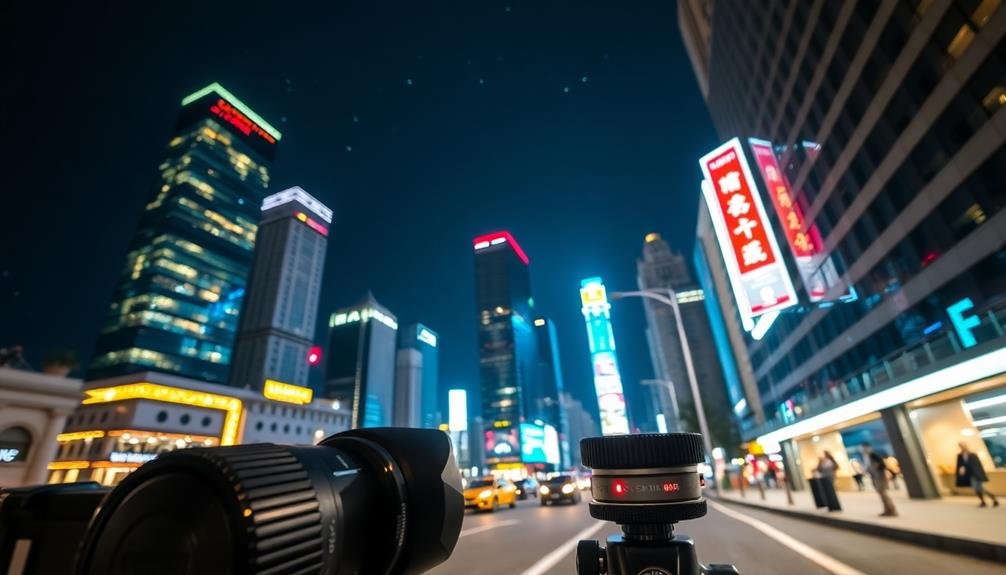
For capturing stunning urban night photos, mastering manual camera settings is essential. You'll need to take control of your camera's exposure triangle: aperture, shutter speed, and ISO.
Start by setting your aperture wide open (lowest f-number) to allow more light in. Then, adjust your shutter speed to balance light intake with motion blur. For stationary subjects, you can use slower speeds, but for moving elements, you'll need faster speeds to freeze motion.
Next, adjust your ISO to fine-tune exposure without introducing too much noise. Here are key manual settings to experiment with:
- Aperture: f/1.8 to f/4 for low-light situations
- Shutter speed: 1/15 to 30 seconds, depending on desired effects
- ISO: 800 to 3200, balancing light sensitivity and noise
- White balance: Tungsten or custom setting for accurate colors
- Focus: Manual focus for precise control in low light
Don't forget to use a tripod to keep your camera steady during long exposures.
Experiment with different combinations of these settings to achieve your desired look. With practice, you'll develop an intuition for the right manual settings in various urban night scenes, allowing you to capture truly stunning images.
Embrace High Contrast Scenes
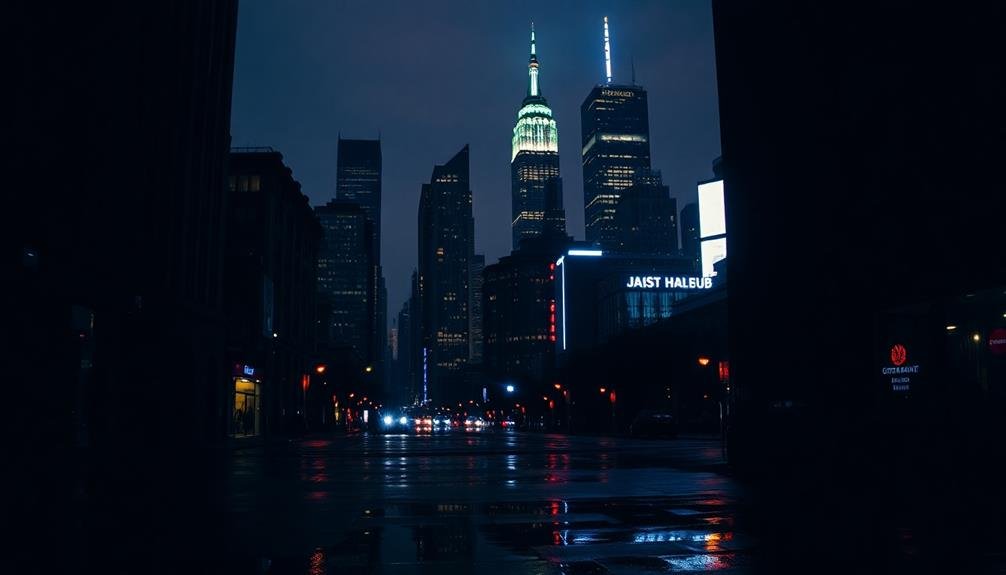
Urban nightscapes offer a wealth of high contrast scenes that can create visually striking photographs. To capture these dramatic moments, you'll need to embrace the interplay between light and shadow. Look for areas where bright artificial lights illuminate parts of the scene while leaving others in darkness. Street lamps, neon signs, and illuminated buildings can serve as powerful light sources against the dark night sky.
When composing your shot, use the contrast to guide the viewer's eye. Place bright elements strategically within your frame to create visual interest and depth. Don't be afraid of deep shadows; they can add mystery and mood to your images. Experiment with silhouettes by positioning dark subjects against brighter backgrounds.
To maximize contrast, expose for the highlights and let the shadows fall where they may. This technique will prevent overexposure of bright areas while maintaining detail in darker regions.
You can further enhance contrast in post-processing by adjusting levels and curves. Remember, high contrast scenes often benefit from black and white conversion, which can emphasize the stark differences between light and dark elements, creating a timeless and dramatic effect in your urban night photography.
Experiment With Reflections
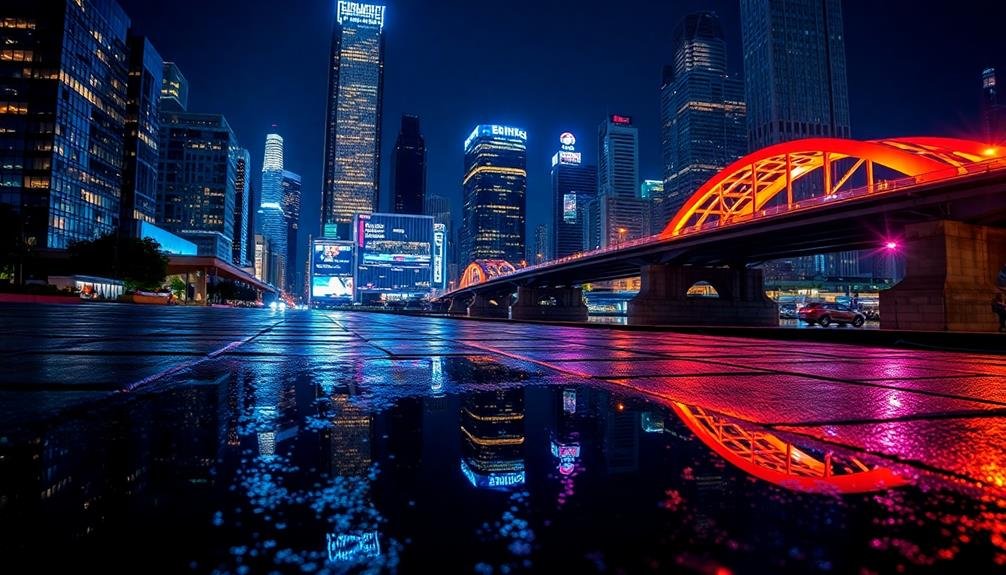
After mastering high contrast scenes, turn your attention to the mesmerizing world of reflections in urban night photography. Reflections can add depth, symmetry, and intrigue to your images, transforming ordinary cityscapes into enchanting works of art. Look for reflective surfaces like puddles, glass buildings, polished cars, or wet streets to incorporate this effect into your shots.
To make the most of reflections, consider these tips:
- Use a tripod to guarantee sharp, stable images
- Experiment with different angles to find the most compelling composition
- Try long exposures to capture smooth water reflections
- Play with the balance between the subject and its reflection
- Look for unique light sources to create interesting reflection patterns
Don't be afraid to get creative with your reflection shots. You can focus solely on the reflection itself, creating an abstract image, or include both the subject and its mirror image for a more traditional composition.
Frequently Asked Questions
What Camera Gear Is Essential for Urban Night Photography?
You'll need a camera with manual settings, a sturdy tripod, and a wide-angle lens. Don't forget a remote shutter release to avoid camera shake. Fast prime lenses and a flashlight for light painting are also helpful.
How Do You Handle Noise Reduction in Low-Light Urban Settings?
You'll need to balance noise reduction with detail preservation. Use a low ISO when possible, shoot in RAW, and apply noise reduction in post-processing. Don't overdo it, as some grain can add character to urban night shots.
Are There Legal Considerations When Photographing Buildings at Night?
You'll need to contemplate legal issues when photographing buildings at night. Be aware of property rights, privacy laws, and potential security concerns. It's best to research local regulations and obtain permission when necessary to avoid legal troubles.
How Can You Keep Your Camera Stable Without a Tripod?
You can stabilize your camera without a tripod by using nearby objects like walls or benches. Try resting your elbows on a flat surface, holding your breath, or using image stabilization features. Don't forget to increase your ISO if needed.
What Post-Processing Techniques Enhance Urban Night Photos?
You'll enhance urban night photos by adjusting contrast, sharpening details, and reducing noise. Try boosting shadows, tweaking white balance for mood, and selectively brightening key elements. Don't overdo it; subtle edits often yield the best results.
In Summary
You've now got the tools to take your urban night photography to the next level. Don't be afraid to experiment with these techniques and push your creative boundaries. Remember, practice makes perfect, so get out there and start shooting! Whether you're capturing light trails, playing with reflections, or mastering long exposures, you'll soon be creating stunning nighttime cityscapes that'll wow your audience. Keep exploring, and watch your skills grow with each shot.


Leave a Reply