
You can elevate your mobile still life photography with these seven diffused lighting techniques. Try window light diffusion using sheer curtains, or create a DIY softbox for your smartphone. Bounce lighting with household items like white walls or mirrors can soften shadows. Experiment with translucent fabrics for unique textures, or use paper lanterns for a gentle glow. For small objects, a light tent provides controlled illumination. Finally, consider the frosted glass method for studio-like quality. Each technique offers a way to transform harsh light into soft, flattering illumination. Mastering these methods will open up new possibilities for your mobile photography.
Window Light Diffusion
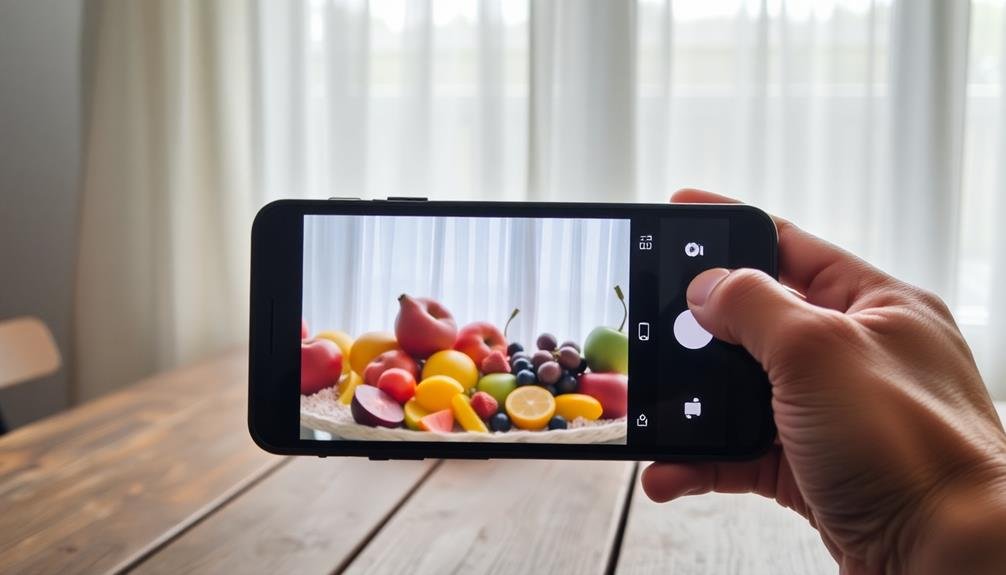
Three key techniques can transform harsh window light into a soft, flattering glow for your mobile photos.
First, use sheer curtains or translucent blinds to diffuse direct sunlight. These act as natural softboxes, creating an even, gentle light that wraps around your subject. Adjust the curtains' distance from the window to control the light's intensity and spread.
Second, employ a reflector or white foam board opposite the window. This bounces light back onto your subject, filling in shadows and balancing the overall exposure. You can easily make a DIY reflector using cardboard covered with aluminum foil or white paper.
Lastly, consider using a diffusion panel. Place a large sheet of translucent material, like a shower curtain or frosted acrylic, between the window and your subject. This technique works wonders for harsh midday sun, softening the light and reducing contrast.
Experiment with these methods individually or in combination to achieve the perfect diffused lighting for your mobile still life photography.
Remember to adjust your phone's exposure settings to complement the softer light, ensuring your images capture the full range of tones and details.
DIY Softbox for Smartphones
A cardboard box can become your smartphone's best friend when it comes to creating soft, diffused light. To craft a DIY softbox for your mobile photography, start with a medium-sized box and cut out one side, leaving a small border.
Line the interior with white paper or aluminum foil to maximize light reflection. Next, cover the open side with a sheet of white tissue paper or parchment paper to diffuse the light.
To use your homemade softbox, position your smartphone's flashlight or an external LED light at the back of the box, pointing towards the diffusion material. This setup will create a larger, softer light source that's perfect for still life photography.
You can adjust the distance between the light and the diffusion material to control the softness of the light.
For added versatility, cut small flaps on the sides of the box to control light spill and create directional lighting. You can also experiment with colored paper or gels to add creative effects to your images.
This simple DIY solution will greatly improve the quality of light in your mobile photography, rivaling results from more expensive equipment.
Bounce Lighting With Household Items

You can create soft, diffused lighting for your mobile photos using common household items as bounce surfaces.
Look around your home for reflective surfaces like white walls, mirrors, or even a light-colored tablecloth to redirect and soften your light source.
If you're feeling crafty, you can easily make your own bounce boards using cardboard and aluminum foil, providing a portable and customizable lighting solution for your smartphone photography.
Everyday Reflective Surfaces
With everyday objects around you, creating soft, diffused light for your mobile photos is easier than you might think. Look for common reflective surfaces in your home or office that can bounce light onto your subject. Mirrors, white walls, and even large appliances like refrigerators can serve as makeshift reflectors.
When using these surfaces, position your subject between the light source and the reflective surface. Adjust the angle and distance of the reflective surface to control the intensity and direction of the bounced light. You'll notice how this technique softens shadows and creates a more even illumination across your subject.
Here's a quick guide to everyday reflective surfaces and their effects:
| Surface | Reflection Quality | Best For | Precautions |
|---|---|---|---|
| White Wall | Soft, diffused | Portraits, still life | May lack intensity |
| Mirror | Strong, directional | Highlighting details | Can create hotspots |
| Metal Appliance | Cool, neutral | Product photography | Watch for glare |
| Window | Natural, varied | Food, plant shots | Time-dependent |
Experiment with these surfaces to find the perfect balance for your mobile photography. You'll be surprised at how professional your results can look with just a little creativity and attention to light.
DIY Cardboard Bounce Boards
Cardboard bounce boards offer a budget-friendly solution for mobile photographers seeking to enhance their lighting setup. You can easily create these versatile tools using materials found around your home.
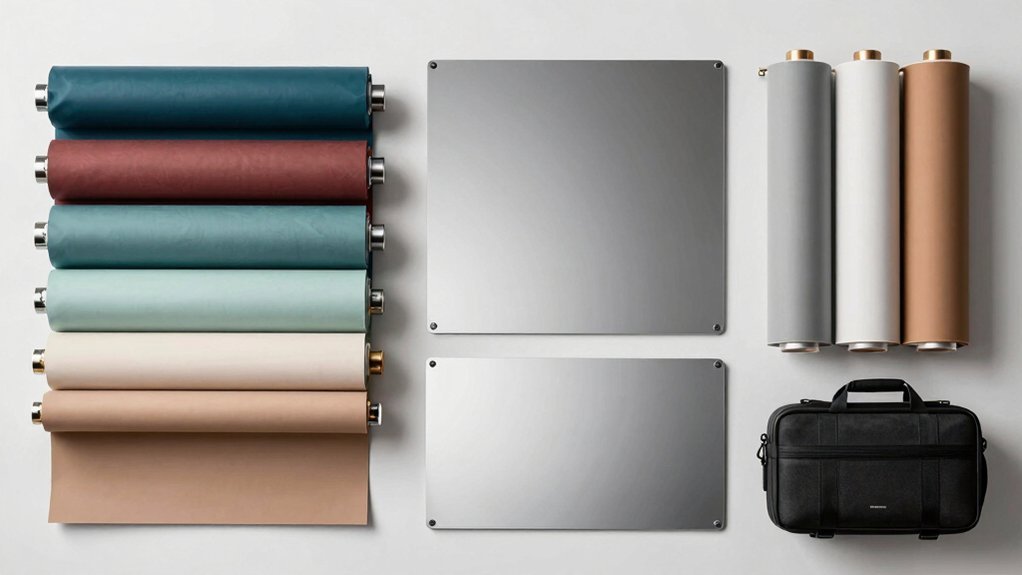
Start by cutting a piece of cardboard to your desired size, typically around 12×18 inches for portability. Cover one side with aluminum foil, securing it with tape for a reflective surface that bounces light effectively.
For a softer light, cover the other side with white paper or fabric. This dual-sided board gives you options for different lighting scenarios.
When shooting, position the board opposite your light source to fill in shadows and create a more balanced exposure. Experiment with angles to control the intensity of the reflected light.
You can also make smaller boards for tighter spaces or larger ones for broader coverage. Consider creating a set with various sizes to adapt to different subjects and locations.
Don't forget to reinforce the edges with tape for durability. With these DIY bounce boards, you'll have a cost-effective way to improve your mobile photography lighting, allowing you to achieve professional-looking results without breaking the bank.
Translucent Fabric Diffusion Techniques

Explore the versatility of translucent fabrics to diffuse light in your mobile photography.
You'll find that careful fabric selection and strategic placement can greatly soften harsh light sources, while adjusting the distance between the fabric and your subject allows for precise control over light intensity.
Experiment with different fabric textures to add creative effects to your images, enhancing the mood and atmosphere of your shots.
Fabric Selection and Placement
For translucent fabric diffusion techniques, selecting the right material and positioning it correctly are essential steps. Choose lightweight, semi-sheer fabrics like voile, chiffon, or thin muslin. These materials diffuse light effectively without completely blocking it. White or light-colored fabrics work best, as they won't introduce unwanted color casts into your shots.
When placing the fabric, you'll want to position it between your light source and the subject. For natural light, drape the fabric over a window or use a frame to hold it in place. If you're using artificial light, create a simple diffuser by stretching the fabric over a wire hanger or embroidery hoop.
Experiment with the distance between the fabric and your subject to find the ideal balance of softness and contrast. You can also layer multiple pieces of fabric for increased diffusion or combine different materials to achieve unique lighting effects.
Don't be afraid to wrinkle or fold the fabric to create interesting textures in your lighting. Remember, the goal is to soften harsh shadows and create a more even, flattering light for your mobile still life photography.
Light Intensity Control
Having selected and positioned your fabric diffuser, you'll want to master light intensity control. This essential aspect of mobile still life photography allows you to fine-tune the mood and depth of your images.
Start by adjusting the distance between your light source and the diffuser. Moving the light closer increases intensity, while moving it farther away softens it. Experiment with different distances to achieve your desired effect.
You can also control intensity by adjusting your phone's exposure settings. Use the manual mode to decrease or increase exposure compensation as needed.
Consider using multiple layers of fabric to further soften harsh light. Stack two or three layers of sheer fabric to create a more subdued effect. Alternatively, use a single layer of denser fabric for stronger diffusion.
For precise control, try creating a gradient effect by folding the fabric to vary its thickness across the frame.
Don't forget to leverage natural light sources. Position your setup near a window and use the fabric diffuser to soften incoming sunlight.
As the day progresses, you'll notice subtle changes in light intensity, allowing for diverse shooting opportunities.
Creative Texture Effects
Translucent fabric diffusers offer a world of creative texture effects for mobile photographers. By experimenting with different fabrics, you can add unique textures and patterns to your still life images.
Try using materials like tulle, lace, or sheer curtains to create soft, dreamy effects or add subtle patterns to your backgrounds.
To achieve these effects, place the fabric between your light source and your subject. The closer the fabric is to your subject, the more defined the texture will appear in your image. You can also layer multiple fabrics for more complex patterns or use colored fabrics to add a tint to your lighting.
- Use lace for intricate shadow patterns
- Experiment with crinkled fabrics for abstract textures
- Try stretching fabric tightly for a smoother, more uniform effect
Don't be afraid to get creative with your fabric choices. Even everyday items like stockings or mesh produce interesting results.
Remember to adjust your camera settings to compensate for the reduced light intensity when using fabric diffusers. By mastering these techniques, you'll be able to add depth, interest, and a touch of artistry to your mobile still life photography.
Paper Lantern Light Modifiers

Crafting soft, ethereal lighting for your mobile photos is easy with paper lantern light modifiers. These affordable and versatile tools can transform harsh light into a gentle, diffused glow that's perfect for still life compositions. You'll find paper lanterns in various sizes and shapes, allowing you to experiment with different lighting effects.
To use a paper lantern as a light modifier, place it between your light source and your subject. For mobile photography, you can use a small LED light or even your phone's flashlight as the light source. The paper lantern will scatter the light, creating a softer, more even illumination across your scene.
Try positioning the lantern at different angles and distances to achieve your desired effect. You can also combine multiple lanterns for more complex lighting setups. Don't be afraid to get creative – use colored paper lanterns to add a subtle tint to your images or create interesting shadows by placing objects between the lantern and your subject.
Remember to adjust your camera settings to accommodate the softer light. You might need to increase your ISO or use a longer exposure time to capture the full effect of the diffused lighting.
Light Tent for Small Objects
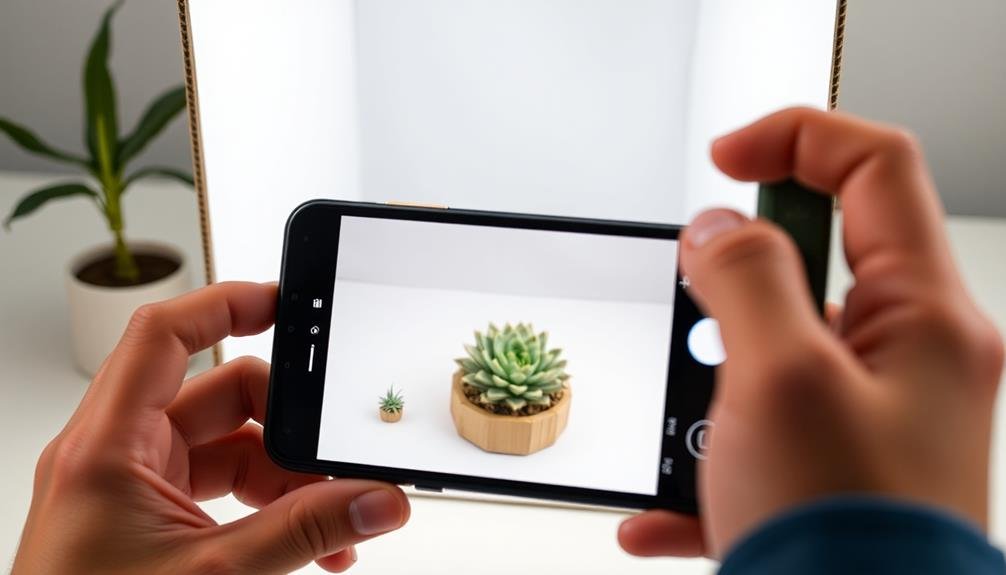
While paper lanterns offer versatile lighting options, a light tent provides a controlled environment for photographing small objects. This portable studio setup consists of a collapsible cube made of translucent white fabric, which diffuses light evenly around your subject.
You'll find light tents particularly useful for product photography, macro shots, and still life compositions.
To use a light tent effectively, place your small object inside and position your light sources outside the tent. The fabric walls will soften and spread the light, reducing harsh shadows and reflections. You can experiment with different lighting angles by moving your light sources around the tent's exterior.
For best results, use at least two light sources to create a balanced illumination.
- Eliminates unwanted reflections and shadows
- Creates a clean, uniform background
- Allows for consistent lighting across multiple shots
When shooting with your mobile phone, set it on a small tripod or prop it up securely to maintain stability. Adjust your camera settings to compensate for the diffused light, which may require a slightly longer exposure time or higher ISO.
Don't forget to clean your phone's lens before shooting to guarantee sharp, clear images of your small objects.
Frosted Glass Diffusion Method

The frosted glass diffusion method offers a simple yet effective way to soften harsh light for your mobile photography. You'll need a piece of frosted glass or plexiglass, which you can easily find at hardware stores or online.
Position this translucent material between your light source and your subject to create a softer, more even illumination.
To use this technique, set up your mobile photography scene as usual. Place your light source, whether it's a window or artificial lighting, on one side. Then, position the frosted glass between the light and your subject.
You'll notice immediately how the light becomes more diffused, reducing harsh shadows and creating a gentler overall look.
Experiment with the distance between the glass and your subject to fine-tune the effect. Moving the glass closer to your light source will produce a more dramatic diffusion, while placing it nearer to your subject will result in a subtler effect.
You can also try angling the glass slightly to direct the light more precisely. This method works particularly well for small objects and tabletop setups, giving your mobile still life photos a professional, studio-like quality.
Frequently Asked Questions
How Does Color Temperature Affect Diffused Lighting in Mobile Still Life Photography?
Color temperature greatly impacts your diffused lighting. You'll notice warmer tones create a cozy atmosphere, while cooler temperatures produce a crisp, clean look. Adjusting color temperature lets you control the mood and feel of your still life photos.
Can LED Ring Lights Be Effectively Diffused for Smartphone Photography?
Yes, you can effectively diffuse LED ring lights for smartphone photography. Use a diffusion material like frosted plastic or fabric over the light. This'll soften harsh shadows and create a more even, flattering illumination for your subjects.
What Are the Best Apps for Adjusting Diffused Light in Post-Processing?
You'll find Snapseed, VSCO, and Lightroom Mobile excellent for adjusting diffused light post-processing. They offer tools like brightness, shadows, and highlights controls. Don't forget Adobe Photoshop Express for its powerful light adjustment features.
How Do You Balance Diffused Artificial Light With Ambient Light Outdoors?
You'll want to balance artificial and ambient light outdoors by adjusting your diffuser's position and intensity. Use reflectors to fill shadows, and don't forget to tweak your camera settings. Experiment with different ratios until you're satisfied.
Are There Any Waterproof Diffusion Techniques for Underwater Mobile Photography?
For underwater mobile photography, you'll want to use waterproof housings with built-in diffusers. You can also try attaching waterproof diffusion materials to your housing or using underwater strobes with diffusion domes for softer lighting effects.
In Summary
You've now got a toolkit of seven easy diffused lighting techniques for your mobile still life photography. Whether you're using window light, DIY softboxes, or household items, you'll be able to create soft, flattering light for your subjects. Don't be afraid to experiment with different methods and materials. With practice, you'll master these techniques and elevate your smartphone photography. Remember, great lighting is key to stunning still life shots, so keep exploring and refining your skills.
Leave a Reply