Elevate your mobile landscape photography with these pro lighting tricks. Master the golden hour, shooting just after sunrise or before sunset for warm, soft light. Take advantage of dramatic weather conditions like storms or fog to add atmosphere. Create striking silhouettes and use backlighting techniques for added depth. Experiment with long exposure light trails to capture dynamic nighttime scenes. Utilize HDR mode for balanced exposures in challenging lighting situations. With these techniques, you'll capture stunning landscape photos that rival those taken with professional cameras. Dive deeper to reveal the full potential of your smartphone's camera and transform your landscape photography skills.
Golden Hour Mastery
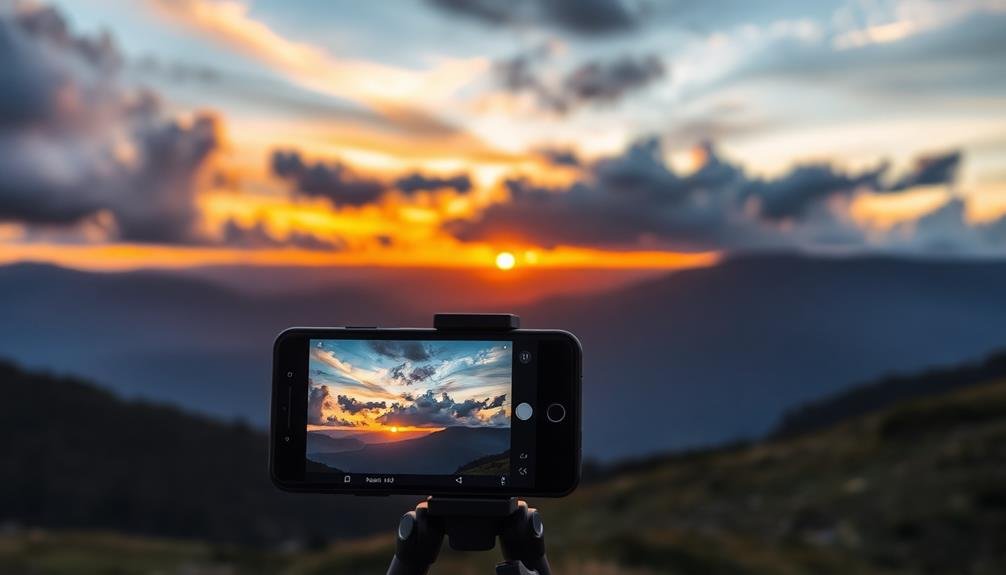
Often overlooked by novice photographers, the golden hour is a landscape photographer's secret weapon. This magical time occurs twice daily, just after sunrise and before sunset, when the sun's low angle bathes everything in warm, golden light.
To master golden hour photography with your mobile device, you'll need to plan ahead and be prepared. First, use apps like PhotoPills or The Photographer's Ephemeris to predict exact golden hour times for your location. Arrive early to scout your composition and set up.
During golden hour, experiment with different angles to capture long shadows and sun flares. Try shooting directly into the sun for dramatic silhouettes, or position it just out of frame for a softer glow.
Your phone's HDR mode can help balance exposure between bright sky and darker foreground. Use the AE/AF lock feature to maintain consistent exposure as light changes rapidly.
Don't forget to explore various focal lengths; wide-angle shots capture expansive scenes, while zooming in highlights specific elements bathed in golden light.
Leveraging Dramatic Weather Conditions

Dramatic weather conditions can transform an ordinary landscape into a breathtaking scene, perfect for mobile photography. To capture these moments, you'll need to be prepared and willing to venture out when others stay indoors. Keep an eye on weather forecasts and plan your shoots around approaching storms, fog, or unusual cloud formations.
When shooting in challenging conditions, protect your mobile device with a waterproof case or cover. Use HDR mode to balance exposure in high-contrast scenes, like stormy skies with dark foregrounds. Experiment with different angles and compositions to emphasize the weather's impact on the landscape.
| Weather Condition | Emotion Evoked | Photographic Technique |
|---|---|---|
| Storm Clouds | Tension | Silhouettes |
| Fog | Mystery | Soft Focus |
| Rainbow | Hope | Wide-Angle Shot |
Don't forget to adjust your camera settings for the specific weather conditions. In low light, increase your ISO and use a longer exposure time. For fast-moving clouds or rain, opt for a faster shutter speed to freeze the action. Remember, safety comes first – avoid dangerous situations and always respect nature's power while capturing its beauty.
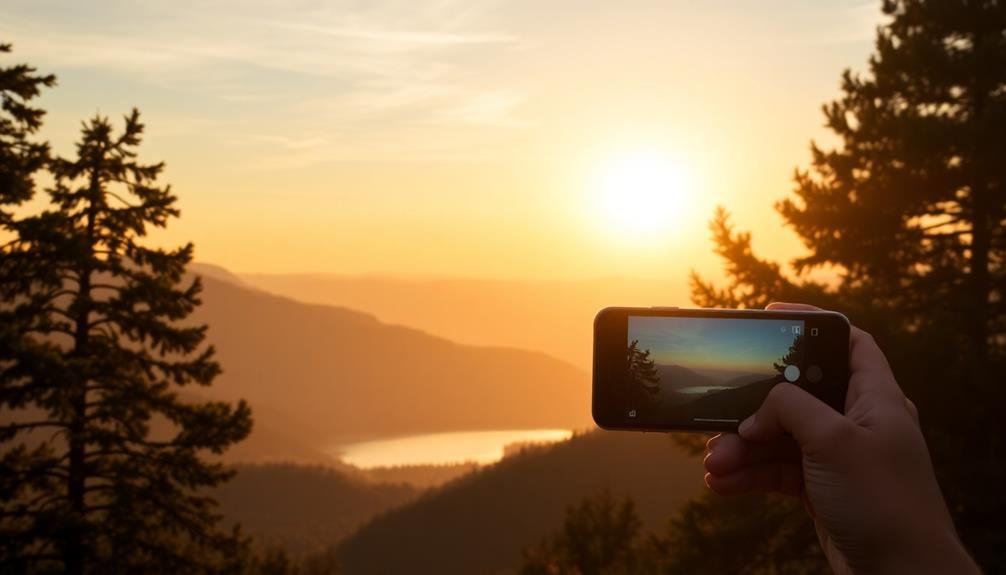
Silhouettes and Backlighting Techniques

Silhouettes and backlighting can elevate your mobile landscape photography, adding depth and drama to your images. To create striking silhouettes, position your subject between your camera and the light source, typically the sun. Expose for the bright background, letting your subject fall into shadow. This technique works best during golden hour when the sun is low on the horizon.
For backlighting, shoot towards the light source, placing it behind your subject. This creates a glowing effect around the edges, known as rim lighting. Use your phone's HDR mode to balance the exposure between the bright background and darker foreground. Alternatively, try manually adjusting the exposure by tapping on different areas of the screen.
Experiment with partial silhouettes by slightly underexposing the scene, revealing some detail in your subject while maintaining the dramatic lighting.
When shooting backlit scenes, use natural elements like trees or rock formations to partially block the sun, creating sun stars or flare effects.
Don't forget to clean your lens before shooting backlit scenes, as any smudges or dust will become visible when shooting into the light.
With practice, you'll master these techniques and create enchanting landscape images with your mobile device.
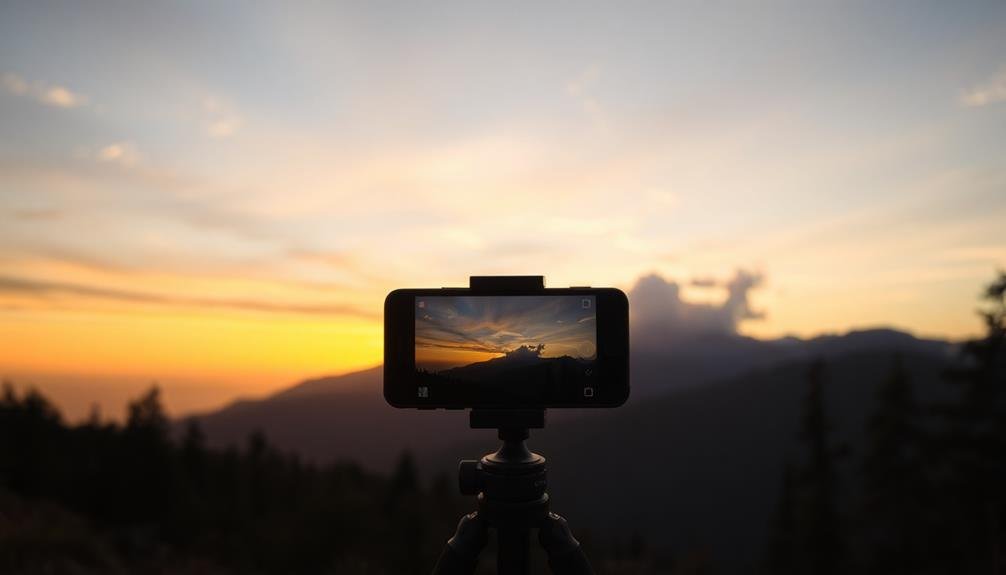
Long Exposure Light Trails

Long exposure light trails can transform your mobile landscape photography, adding a dynamic and ethereal quality to nighttime scenes. To capture these mesmerizing streaks of light, you'll need a few essential tools: a sturdy tripod, a mobile camera app with manual controls, and a remote shutter release or self-timer.
Start by finding a location with moving light sources, such as car headlights on a busy street or boats on a harbor. Set your phone on the tripod and compose your shot. Use your camera app's manual mode to adjust settings: lower ISO (100-200), smaller aperture (f/8-f/16), and a longer shutter speed (1-30 seconds). Experiment with different exposures to achieve the desired effect.
| Emotion | Light Trail Type | Scene Example |
|---|---|---|
| Excitement | Vibrant streaks | City traffic |
| Serenity | Soft glows | Starry sky |
| Wonder | Circular patterns | Ferris wheel |
As you shoot, focus on balancing the light trails with other elements in your composition. Include static objects like buildings or trees to provide contrast and context. Don't forget to clean your lens and check your framing between shots. With practice, you'll master the art of capturing stunning light trails that elevate your mobile landscape photography.
HDR for Balanced Exposures
High Dynamic Range (HDR) photography frequently comes to the rescue when you're faced with challenging lighting conditions in landscape shots.
It's particularly useful when capturing scenes with bright skies and darker foregrounds. Most modern smartphones offer built-in HDR modes, but you can also use third-party apps for more control.
To use HDR effectively, start by enabling it in your camera settings. When activated, your phone will take multiple exposures of the same scene and blend them together. This process preserves details in both highlights and shadows, creating a more balanced image.
For best results, keep your phone steady or use a tripod to avoid ghosting effects.
While HDR can be powerful, it's important not to overuse it. In some cases, it may produce an unnatural look. Instead, use it selectively when the scene's contrast exceeds your phone's sensor capabilities.
Pay attention to moving elements in your frame, as HDR works best with static subjects. Experiment with different HDR strengths and compare the results to single exposures.
With practice, you'll develop an eye for when HDR can truly enhance your landscape photos, creating stunning images with balanced exposures across the entire frame.
Frequently Asked Questions
What Equipment Do I Need Besides My Smartphone for Pro-Level Landscape Photography?
You don't need much beyond your smartphone for pro-level landscape photos. Consider investing in a tripod, wide-angle lens attachment, and neutral density filters. A remote shutter or bluetooth trigger can also help reduce camera shake.
How Can I Protect My Phone From Harsh Weather During Outdoor Shoots?
You'll want to invest in a waterproof case or pouch for your phone. Use silica gel packets to absorb moisture. Keep your device warm in cold weather. Always carry a microfiber cloth to wipe away water droplets.
Are There Any Apps That Can Help Predict Ideal Lighting Conditions?
Yes, you'll find several apps that predict ideal lighting conditions. Try PhotoPills, The Photographer's Ephemeris, or Sun Surveyor. They'll show you sun and moon positions, golden hour times, and help you plan your shoots effectively.
What's the Best Way to Clean My Phone's Camera Lens for Crisp Shots?
To clean your phone's camera lens, use a microfiber cloth to gently wipe away smudges. If it's really dirty, you can lightly dampen the cloth with distilled water. Don't use harsh chemicals or abrasive materials.
How Do I Maintain Image Quality When Printing Large-Format Landscape Photos?
To maintain quality for large-format landscape prints, you'll want to shoot in RAW, use a high-resolution camera, and guarantee proper exposure. Resize your image correctly, choose the right paper, and use a professional printing service for best results.
In Summary
You've now got the tools to take your mobile landscape photography to the next level. Whether you're chasing golden hour light, embracing stormy skies, crafting striking silhouettes, capturing light trails, or balancing exposures with HDR, you're ready to create stunning images. Remember, it's not just about the gear—it's about your vision and how you use light. So get out there, experiment with these techniques, and watch your landscapes come alive.


Leave a Reply