HDR photography can transform your mobile shots, turning ordinary textures into stunning visual experiences. By capturing multiple exposures, HDR reveals intricate details in both highlights and shadows, perfect for landscapes, architecture, and nature scenes. To get started, experiment with your phone's HDR modes and focus on high-contrast subjects. Compose your shots carefully, using the rule of thirds and leading lines to guide the viewer's eye. When editing, adjust exposure and contrast to enhance textures without overdoing it. Remember to keep results natural-looking by making subtle adjustments. With these techniques, you'll uncover a world of texture magic in your mobile photography.
Understanding HDR in Mobile Photography
HDR, or High Dynamic Range, is a game-changer in mobile photography. It's a technique that combines multiple exposures of the same scene to create a single image with a broader range of tones and details. When you enable HDR on your smartphone, it takes several photos in quick succession at different exposure levels: underexposed, properly exposed, and overexposed.
Your phone's software then merges these images, selecting the best parts from each to produce a final photo with improved dynamic range. This means you'll see more detail in both the shadows and highlights, resulting in a more balanced and visually appealing image.
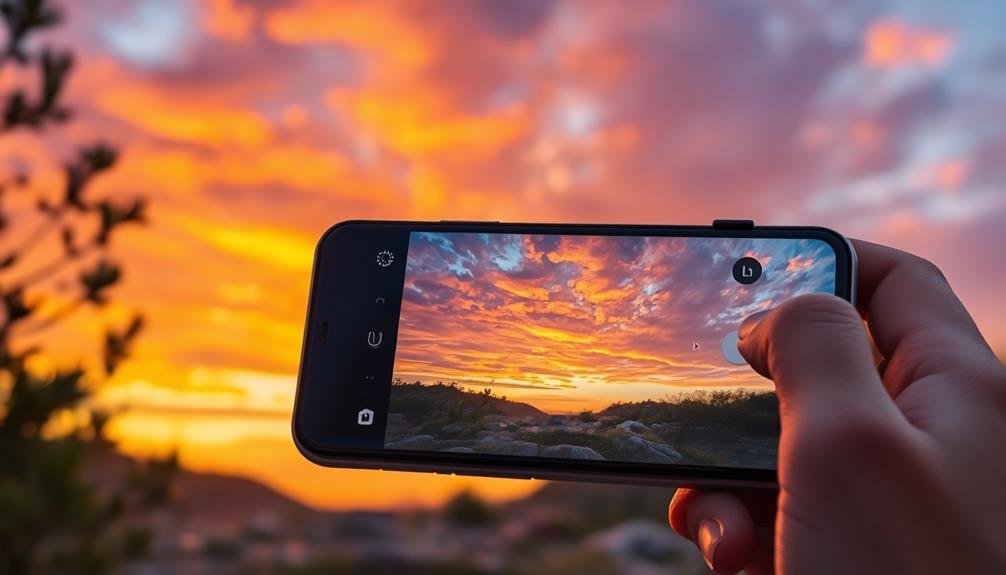
HDR is particularly useful in high-contrast situations, such as landscapes with bright skies and dark foregrounds, or backlit subjects.
Most modern smartphones offer built-in HDR capabilities, which you can usually find in your camera app's settings. Some devices even have an "Auto HDR" feature that intelligently decides when to use HDR based on the scene.
While HDR can greatly enhance your photos, it's important to use it judiciously, as overuse can lead to unnatural-looking images with exaggerated colors and details.
Selecting the Right HDR Mode

With modern smartphones offering various HDR options, selecting the right mode can greatly impact your photo quality. Most devices have three main HDR settings: Auto HDR, HDR On, and HDR Off.
Auto HDR is ideal for casual photographers, as it intelligently determines when to use HDR based on scene conditions. It's a reliable choice for everyday shots.
HDR On forces your camera to use HDR for every photo. This mode is best for high-contrast scenes, like landscapes with bright skies and dark foregrounds. It's also useful for backlit subjects or scenes with deep shadows.
However, it may not be suitable for moving subjects or low-light situations.
HDR Off is preferable when you want to capture scenes with natural contrast or when photographing fast-moving subjects. It's also better for low-light conditions where HDR might introduce noise or blur.
Some advanced smartphones offer additional HDR modes, such as Smart HDR or Live HDR. These modes use AI to enhance image processing, often producing superior results.
Experiment with these options to find the one that best suits your photography style and the scenes you're capturing.
Ideal Subjects for HDR Textures
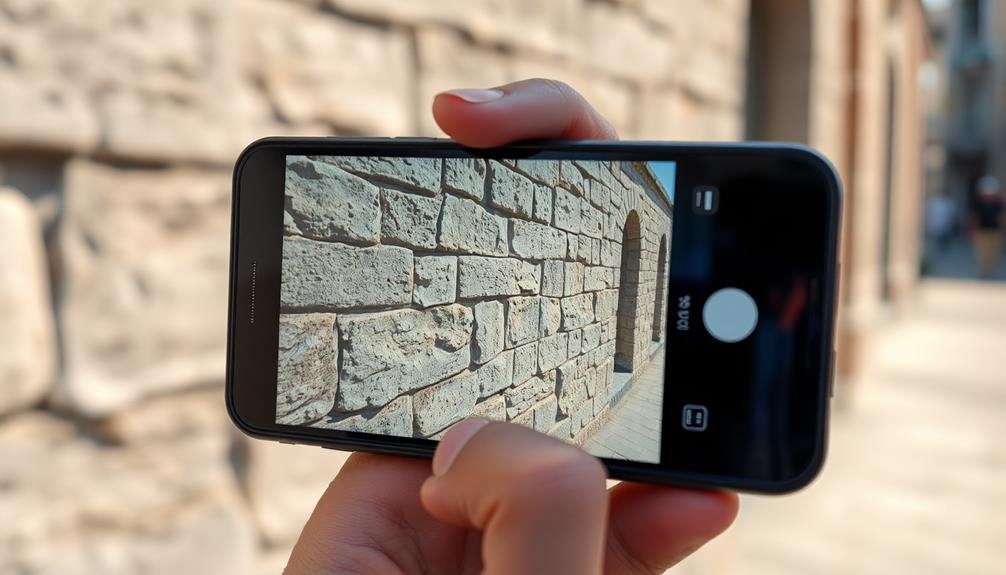
Understanding which subjects benefit most from HDR textures can help you make the most of this powerful photography technique. When you're looking to capture stunning textures, focus on subjects with intricate details, contrasting elements, or a wide range of tones. Landscapes, architecture, and nature scenes are prime candidates for HDR textures.
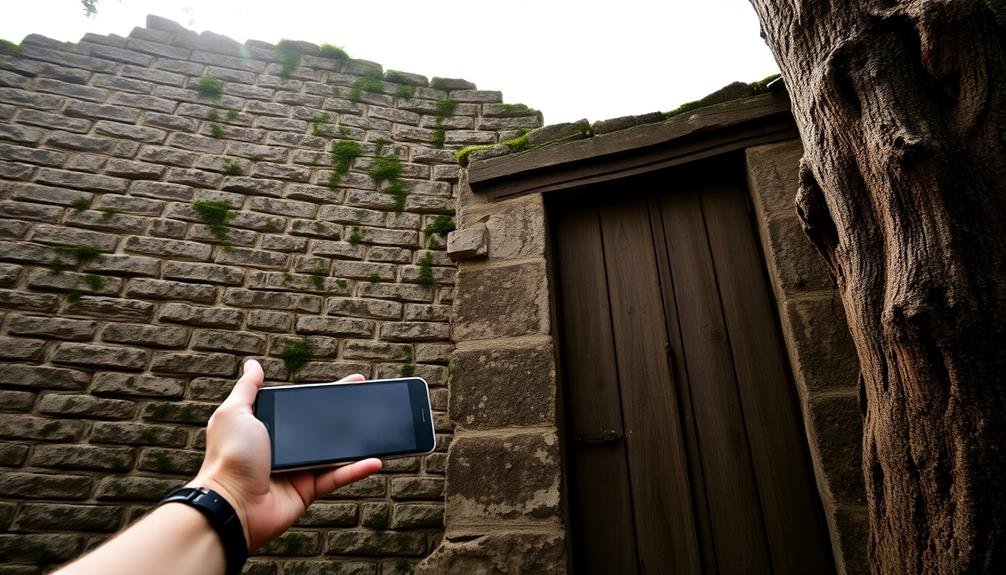
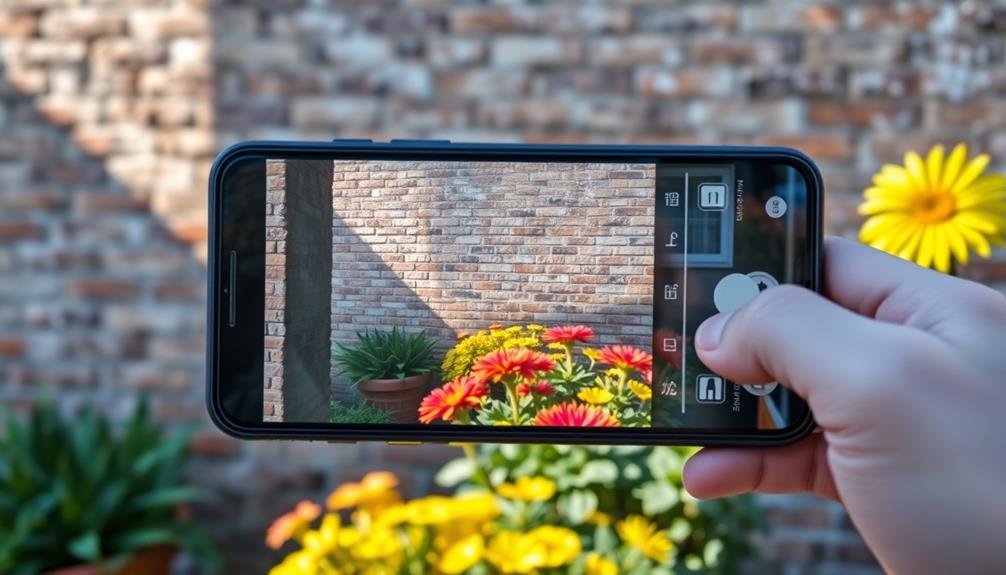
In landscapes, HDR can bring out the richness of clouds, the texture of rocks, and the subtle variations in foliage. For architecture, it's excellent at revealing the intricate details of ornate buildings, weathered surfaces, and the interplay of light and shadow.
In nature photography, HDR textures can emphasize the delicate patterns of leaves, the roughness of tree bark, or the smooth surface of water.
Consider these ideal subjects for HDR textures:
- Weathered surfaces: Rusted metal, peeling paint, or aged wood
- Natural elements: Rock formations, sand dunes, or ice crystals
- Man-made structures: Brick walls, cobblestone streets, or intricate tile work
Composition Techniques for HDR Shots
Mastering composition techniques is essential for creating stunning HDR shots. When framing your HDR image, use the rule of thirds to place key elements at intersecting gridlines. This creates a more balanced and visually appealing composition.
Incorporate leading lines to guide the viewer's eye through the image, emphasizing depth and texture. Pay attention to symmetry and patterns, as HDR can enhance these elements beautifully. Frame your subject with natural elements or architectural features to add context and depth.
For landscape shots, include a foreground element to create a sense of scale and dimension. Use negative space strategically to highlight your subject and prevent visual clutter. Experiment with different angles and perspectives to find unique viewpoints that showcase textures and details.
Consider the Golden Ratio for a more sophisticated composition, aligning key elements along its spiral. When capturing cityscapes or architectural scenes, look for reflections in water or glass to add interest and symmetry.
Adjusting Exposure for Texture Details
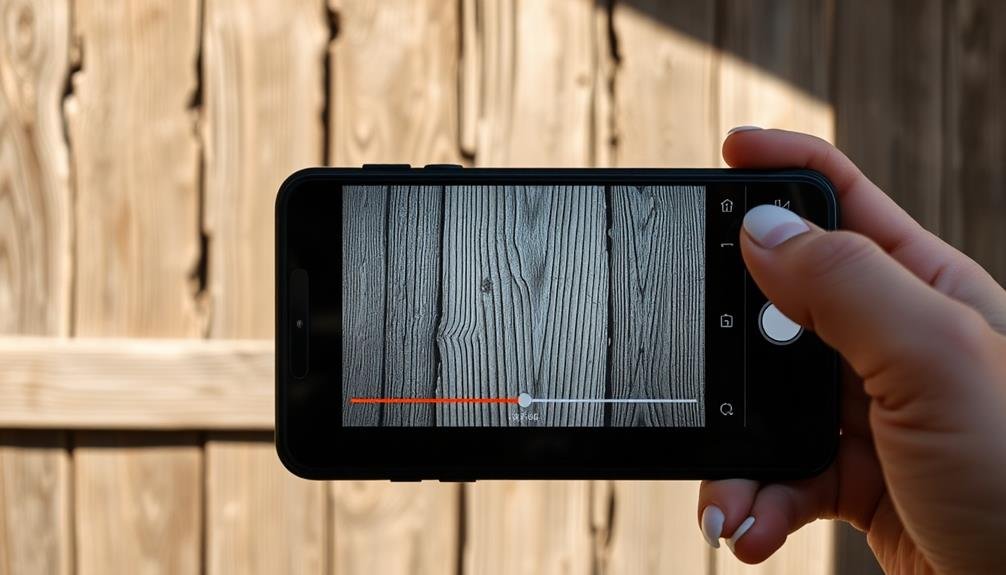
Adjusting exposure correctly is essential for capturing intricate texture details in HDR photography. When shooting with your mobile device, you'll want to experiment with different exposure levels to guarantee you're capturing the full range of textures in your scene.
Start by tapping on the area of your image where you want to focus, then use the exposure slider to fine-tune the brightness.
For the best results, take multiple shots at different exposure levels:
- Underexposed: Capture darker areas and shadows
- Properly exposed: Balanced overall exposure
- Overexposed: Highlight brighter areas and details
By combining these shots, you'll create an HDR image that reveals textures in both the darkest and brightest parts of your scene.
Don't be afraid to push the limits of your phone's camera – you might be surprised by the amount of detail it can capture.
Remember to hold your device steady or use a tripod for sharper images. If your phone has a manual mode, try adjusting the ISO and shutter speed to further control exposure.
With practice, you'll develop an eye for identifying which textures require specific exposure adjustments, resulting in stunning HDR photos that showcase every intricate detail.
Balancing Highlights and Shadows
Strike a balance between highlights and shadows to create visually striking mobile photos.
Begin by identifying the areas of your image that are too bright or too dark. Use your phone's HDR mode or a third-party app to capture multiple exposures, then blend them together for a well-balanced result.
When editing, pay attention to the histogram, ensuring it's evenly distributed across the range.
Adjust the highlights slider to recover detail in bright areas without washing out the image. Similarly, lift the shadows to reveal hidden details in darker regions without introducing noise.
Use selective adjustments to target specific areas of your photo. Tap on highlights or shadows to fine-tune their intensity independently.
Don't be afraid to experiment with contrast to add depth and dimension to your image.
Capturing Architectural Textures With HDR
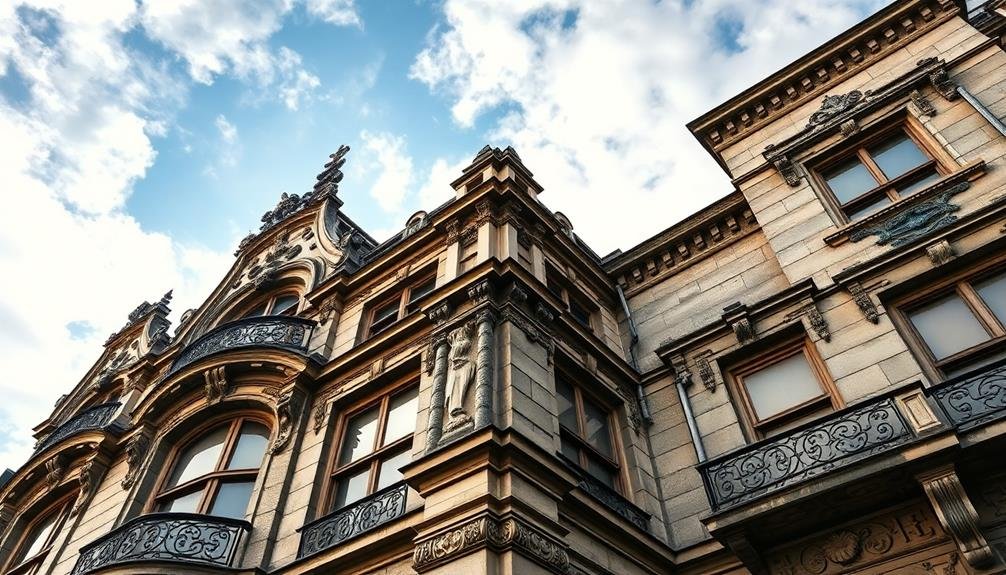
When capturing architectural textures with HDR, you'll want to emphasize geometric patterns to highlight the building's unique design elements.
By focusing on material contrasts, you can showcase the interplay between different surfaces like glass, metal, and stone.
To enhance depth perception, experiment with varying angles and lighting conditions, which will bring out the intricate details and three-dimensional qualities of the structure.
Emphasize Geometric Patterns
To capture the striking beauty of architectural textures, HDR photography can be your secret weapon. When emphasizing geometric patterns in architecture, HDR techniques allow you to bring out intricate details that might otherwise be lost in shadows or highlights.
Start by identifying structures with strong geometric elements like repeating shapes, symmetrical designs, or intricate lattice work.
Position yourself to frame the geometric patterns in a way that maximizes their impact. Consider these tips:
- Look for natural light and shadows that enhance the patterns
- Experiment with different angles to create depth and perspective
- Use leading lines to draw the viewer's eye through the composition
When shooting in HDR mode, take multiple exposures to capture the full range of tones in the scene. This will help you preserve details in both the brightest and darkest areas of the image.
In post-processing, carefully adjust contrast and clarity to make the geometric patterns pop without oversaturating the image. Remember, the goal is to emphasize the natural beauty of the architecture, not create an artificial-looking result.
With practice, you'll develop an eye for spotting and showcasing stunning geometric patterns in your mobile HDR photography.
Highlight Material Contrasts
Architecture's beauty often lies in the interplay of different materials. When capturing these contrasts with your mobile phone, HDR (High Dynamic Range) can be your secret weapon. It'll help you showcase the subtleties between rough concrete and polished steel, or weathered wood against sleek glass.
To highlight material contrasts effectively, start by identifying the most striking material combinations in your scene. Position yourself to capture these elements in the same frame. Enable HDR mode on your phone's camera app, which will take multiple exposures and combine them. This technique preserves details in both shadows and highlights, essential for capturing textures.
Pay attention to how light interacts with different surfaces. HDR excels at revealing the play of light on various materials, enhancing their unique characteristics. Experiment with different angles to maximize the contrast between materials. Don't be afraid to get close – sometimes a tight shot of contrasting textures can be more impactful than a wide view.
After shooting, use editing apps to fine-tune contrast, clarity, and texture sliders. This will further emphasize the material differences and bring out the richness of architectural textures in your mobile photos.
Enhance Depth Perception
Depth perception in architectural photography can transform a flat image into a visually engaging experience. When capturing architectural textures with HDR, you'll want to enhance this sense of depth to create more immersive photos. By utilizing HDR techniques, you can bring out subtle details in both shadows and highlights, adding dimensionality to your images.
To enhance depth perception in your architectural HDR shots:
- Use leading lines to guide the viewer's eye through the image
- Emphasize foreground elements to create a sense of scale
- Incorporate varying textures at different distances from the camera
Pay attention to how light interacts with different surfaces and materials. HDR allows you to capture a wider range of tones, revealing intricate textures that might otherwise be lost in shadows or blown-out highlights.
Experiment with different angles and perspectives to maximize the sense of depth. Try shooting from low angles to exaggerate foreground elements or use wide-angle lenses to capture expansive scenes with multiple layers of depth.
Don't forget to adjust your HDR settings to maintain a natural look while enhancing depth. Subtle adjustments often yield the most realistic and visually appealing results, allowing the architectural textures to shine without appearing artificial or overprocessed.
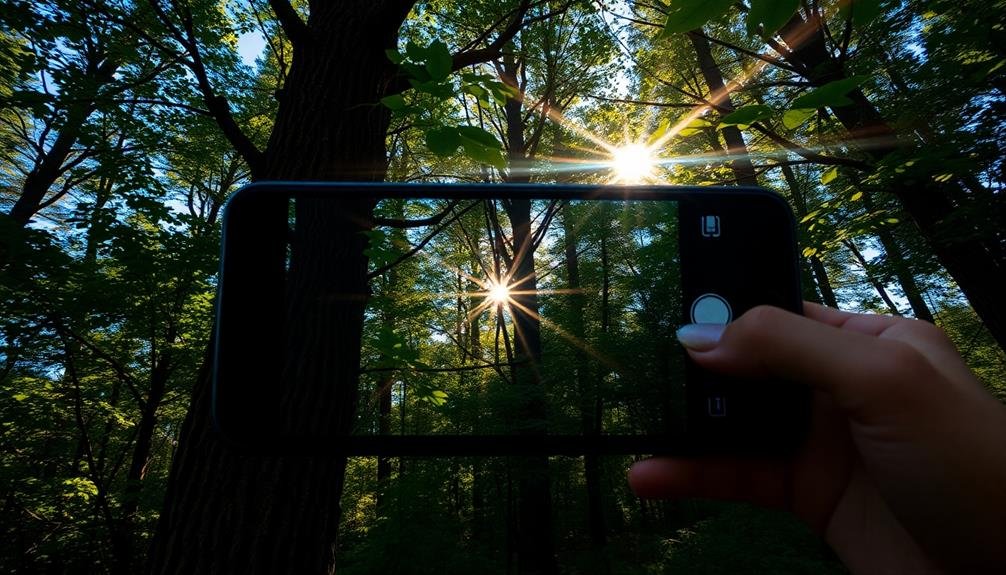
Nature's Textures Through HDR Lens
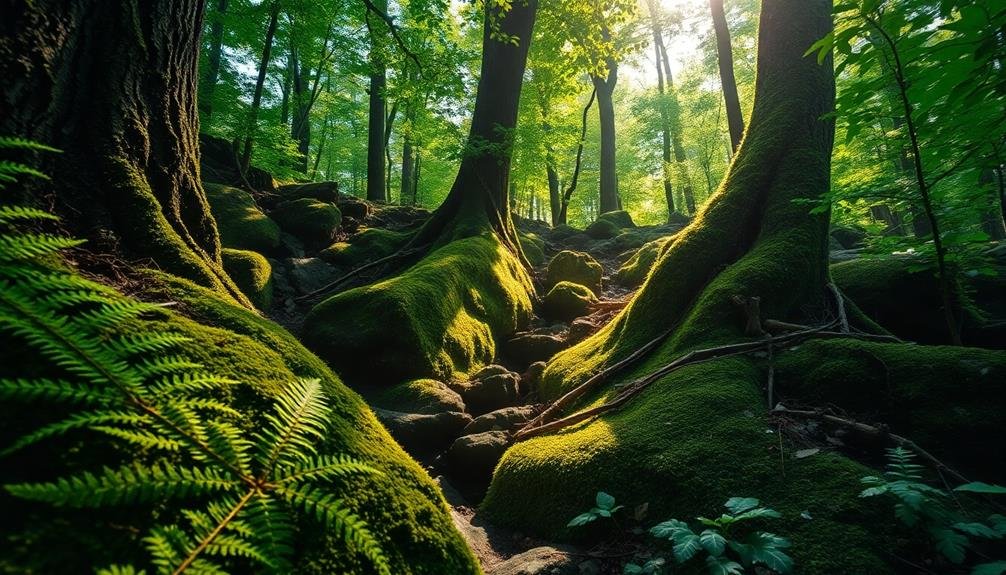
HDR photography reveals nature's intricate textures in stunning detail. When you're capturing the great outdoors, HDR can bring out the subtle nuances that often go unnoticed. Tree bark becomes a canvas of intricate patterns, while rock formations display their weathered history in vivid clarity.
To harness HDR for nature's textures, start by finding subjects with varied light and shadow. Look for rough surfaces like moss-covered stones or weathered driftwood. When shooting, bracket your exposures to capture the full range of tones. Most smartphone cameras offer an HDR mode, but for more control, use a dedicated HDR app.
In post-processing, focus on enhancing texture without overdoing it. Adjust contrast and clarity carefully to bring out details without creating an unnatural look. Pay attention to highlights and shadows, ensuring you don't lose texture in either extreme.
Experiment with different scenes and lighting conditions. You'll find that HDR can transform even mundane natural objects into fascinating subjects. The key is to maintain a balance between enhancing textures and preserving the natural beauty of your subject.
HDR for Intricate Fabric Patterns
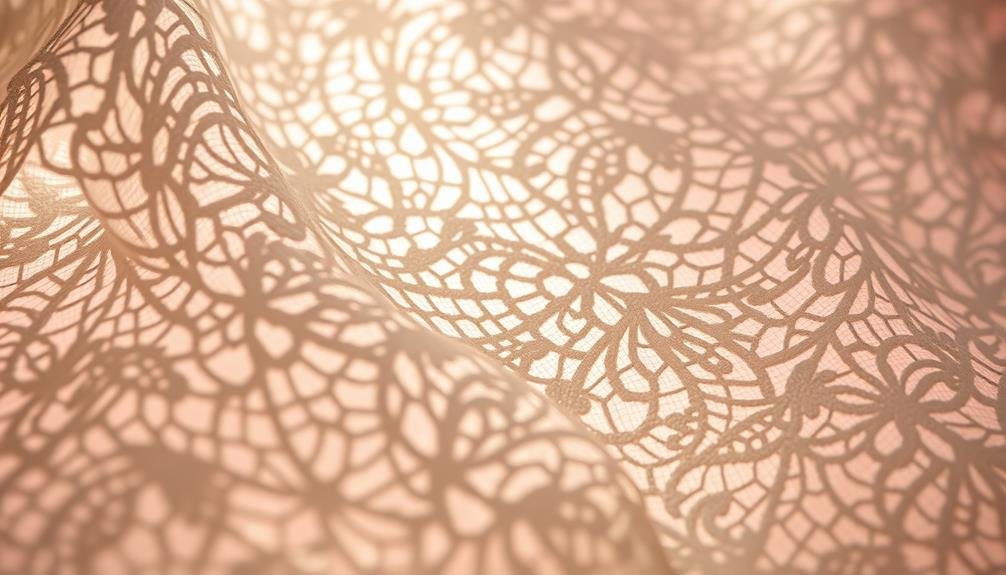
From delicate lace to intricate embroidery, fabric patterns come alive through HDR photography. You'll capture the subtle textures and intricate details that often get lost in standard mobile shots. By bracketing your exposures, you'll preserve both the highlights and shadows, revealing the fabric's true depth and complexity.
When shooting fabric patterns with HDR:
- Position your fabric to catch natural light, emphasizing its texture
- Use a tripod or steady surface to guarantee sharp, aligned images
- Experiment with different angles to showcase the fabric's dimensionality
HDR excels at capturing the nuances of woven textiles, bringing out the interplay of threads and fibers. You'll notice how it enhances the contrast between raised and recessed areas, making patterns pop.
For shiny fabrics like silk or satin, HDR helps balance the reflective highlights with the deeper tones, presenting a more accurate representation of the material.
Don't shy away from challenging fabrics like velvet or brocade. HDR's ability to merge multiple exposures allows you to showcase their complex textures and light-absorbing qualities.
With practice, you'll master the art of using HDR to elevate fabric photography, turning ordinary textiles into extraordinary visual experiences.
Enhancing Skin Textures Subtly
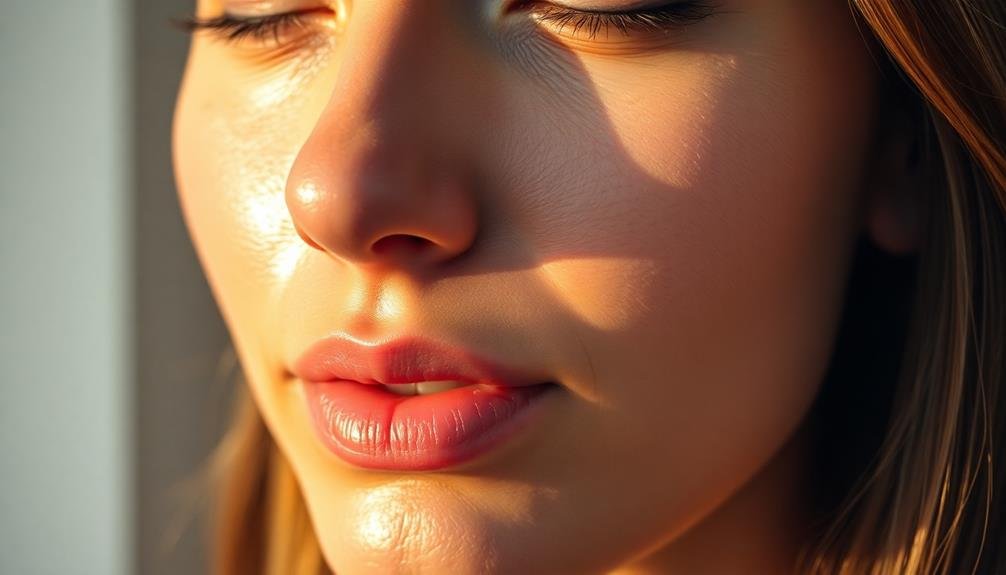
When enhancing skin textures in your mobile photos, you'll want to strike a balance between improvement and maintaining a natural look.
Start by applying HDR gently to bring out subtle details without overprocessing.
You can then use skin smoothing techniques to soften imperfections, but be careful not to erase all texture, as this can result in an artificial appearance.
Gentle HDR Application
Have you ever wondered how to make skin look natural yet flawless in your mobile photos? Gentle HDR application can help you achieve this balance. HDR, or High Dynamic Range, isn't just for landscapes; it's a powerful tool for enhancing skin textures subtly.
When applying HDR to portraits, remember these key points:
- Use a light touch: Overdo it, and you'll end up with an unnatural, plastic-like appearance.
- Focus on shadow areas: HDR can bring out details in darker regions without affecting highlights.
- Adjust contrast carefully: Slight increases can add depth without exaggerating skin imperfections.
Start by taking multiple exposures of your subject, or use your phone's built-in HDR mode. Then, blend these images or adjust the HDR settings to create a natural-looking result.
Pay attention to areas around the eyes, nose, and mouth, where shadows often hide subtle skin textures.
As you refine your technique, you'll find that gentle HDR application can dramatically improve your portrait photography. It's all about finding the sweet spot between enhancing details and maintaining a natural appearance.
With practice, you'll develop an eye for creating stunning, lifelike skin textures in your mobile photos.
Skin Smoothing Techniques
While gentle HDR application can enhance skin textures, mastering specific skin smoothing techniques takes your mobile portraits to the next level. Start by adjusting your phone's beauty mode or using a dedicated skin smoothing app. Apply these effects sparingly to maintain a natural look.
Focus on problem areas like under-eye circles, blemishes, and uneven skin tone. Use selective editing tools to target these spots without affecting the entire image. Experiment with reducing clarity or structure slightly to soften skin texture while preserving important details like eyes and hair.
Consider the following techniques for different skin types:
| Skin Type | Technique | Effect |
|---|---|---|
| Oily | Reduce highlights | Minimize shine |
| Dry | Boost shadows | Add dimension |
| Mature | Soften wrinkles | Subtle rejuvenation |
| Acne-prone | Spot healing | Clear complexion |
Balancing Natural Look
Three key principles guide the art of enhancing skin textures subtly: moderation, authenticity, and detail preservation. When you're aiming for a natural look, it's essential to find the right balance between smoothing imperfections and maintaining the skin's inherent character.
Start by applying minimal adjustments, then gradually increase the intensity until you achieve the desired effect without crossing into an artificial appearance.
To preserve authenticity, focus on enhancing rather than erasing. Retain fine lines, freckles, and other unique features that contribute to a person's individuality.
Use selective editing tools to target specific areas, allowing you to maintain a realistic skin texture while addressing minor blemishes or uneven tones.
Consider these tips for balancing natural-looking skin textures:
- Utilize high-dynamic range (HDR) techniques to bring out subtle skin details
- Experiment with various opacity levels to blend edits seamlessly
- Combine multiple editing techniques for a more nuanced result
Post-Processing HDR Texture Photos

Post-processing HDR texture photos can greatly enhance your mobile photography. After capturing your HDR images, it's time to fine-tune them for maximum impact.
Start by adjusting the exposure and contrast to bring out the texture details. You'll want to increase clarity and structure slightly, but be careful not to overdo it, as this can lead to an unnatural look.
Next, focus on color adjustments. Boost saturation selectively in areas where you want to emphasize texture, such as rough surfaces or intricate patterns. Use the HSL (Hue, Saturation, Luminance) sliders to target specific color ranges without affecting the entire image.
Don't forget about sharpening. Apply a subtle amount of sharpening to enhance edge details, but avoid creating halos or noise. You can use masking techniques to apply sharpening only to textured areas, preserving smooth surfaces.
Common HDR Texture Pitfalls

As you explore HDR texture photography, it's important to be aware of common pitfalls that can diminish the quality of your images. One of the most frequent mistakes is overdoing the effect, resulting in unrealistic and overly processed photos. To avoid this, always aim for a balance between enhancing textures and maintaining a natural look.
Another pitfall is improper alignment of multiple exposures. When combining different shots, even slight misalignments can lead to ghosting or blurring, especially in areas with fine details. Use your camera's HDR mode or a tripod to minimize movement between shots.
Be cautious of these additional HDR texture pitfalls:
- Excessive noise in shadow areas
- Loss of highlight details
- Unnatural color saturation
Pay attention to your camera's dynamic range limitations. While HDR can expand the tonal range, pushing it too far can lead to artifacts and loss of image quality. Instead, focus on capturing the most important details and textures within your camera's capabilities.
Lastly, don't forget about composition. HDR texture techniques should enhance your image, not become the main focus. Keep your artistic vision in mind and use HDR as a tool to support your overall photographic goals.
HDR Texture Stacking Techniques

To master HDR texture stacking, you'll need to focus on layering for enhanced detail.
Start by capturing multiple exposures of your subject, then blend these layers to bring out intricate textures and boost overall image quality.
You can fine-tune your results by adjusting exposure bracketing, ensuring you capture the full range of highlights and shadows in your scene.
Layering for Enhanced Detail
Beneath the surface of a single mobile photo lies untapped potential for incredible detail. By layering multiple exposures, you'll reveal a world of enhanced textures and intricate features.
Start by capturing a series of shots at different exposure levels, focusing on your subject's key elements. Then, use a mobile editing app to align and blend these images, creating a composite that's rich in detail.
As you layer your exposures, pay attention to these key areas:
- Highlights: Recover blown-out areas to reveal hidden textures
- Shadows: Bring out subtle details in darker regions
- Midtones: Enhance overall contrast and definition
Fine-tune each layer's opacity to achieve the perfect balance. You'll notice how shadows become less murky, highlights regain their subtle gradations, and midtones pop with newfound clarity.
Don't be afraid to experiment with masking techniques to selectively apply enhancements to specific areas of your image.
Adjusting Exposure Bracketing
Mastering exposure bracketing is essential for creating stunning HDR (High Dynamic Range) images with your mobile device. To adjust exposure bracketing effectively, start by enabling your camera app's HDR mode or downloading a specialized HDR app. These tools automatically capture multiple exposures of the same scene.
Begin with a standard three-shot bracket: underexposed, properly exposed, and overexposed. Adjust the exposure compensation (EV) values to -2, 0, and +2 for a wider dynamic range. For scenes with extreme contrast, consider expanding to five or seven shots, using smaller EV increments.
When shooting, keep your device steady or use a tripod to prevent misalignment between exposures. If your subject is moving, prioritize faster shutter speeds to minimize ghosting effects. Experiment with different bracketing ranges to find the best balance for various lighting conditions.
After capturing your bracketed shots, use HDR merging software to combine them. Adjust the tone mapping settings to fine-tune contrast, saturation, and detail. Pay attention to highlight and shadow recovery to reveal texture in both bright and dark areas of your image.
Achieving Natural-Looking HDR Results

HDR's power to enhance mobile photos can be a double-edged sword. While it can bring out incredible detail and dynamic range, it's easy to overdo it and create unnatural-looking images. To achieve natural-looking HDR results, you'll need to strike a balance between enhancing your photo and maintaining its authenticity.
Start by adjusting your HDR settings conservatively. Many mobile apps offer sliders for contrast, saturation, and detail. Begin with subtle adjustments and gradually increase them until you're satisfied with the result.
Pay close attention to the edges of objects in your image, as excessive HDR can create halos or ghosting effects.
To create natural-looking HDR photos:
- Focus on preserving realistic colors and tones
- Avoid pushing shadows and highlights to extremes
- Maintain a sense of depth and dimension in the image
Remember that the goal is to enhance your photo, not transform it into something unrecognizable.
Frequently Asked Questions
Can HDR Photography Be Used Effectively for Low-Light or Nighttime Scenes?
Yes, you can effectively use HDR for low-light and nighttime scenes. It'll help you capture more details in shadows and highlights, reducing noise and improving overall image quality. However, you'll need a steady hand or tripod for best results.
How Does HDR Affect Battery Life When Used Frequently on Mobile Devices?
You'll notice HDR drains your battery faster when used often. It's processing multiple exposures and merging them, which requires more power. Consider limiting HDR use or carrying a portable charger if you're a heavy user.
Are There Any Privacy Concerns When Using HDR in Public Spaces?
While using HDR in public spaces, you're not facing significant privacy concerns. However, be mindful of capturing people without consent. HDR doesn't inherently pose more risks than regular photography, but always respect others' privacy when shooting.
Can HDR Be Combined With Other Mobile Photography Techniques Like Panoramas?
Yes, you can combine HDR with panoramas on your mobile device. You'll capture multiple exposures for each frame of the panorama, allowing for enhanced detail and dynamic range across the entire wide-angle scene you're photographing.
How Do Different Mobile Phone Brands Compare in Their HDR Capabilities?
You'll find HDR capabilities vary across phone brands. Apple and Google often lead with advanced algorithms. Samsung excels in vivid colors. OnePlus and Huawei offer customizable HDR. Pixel phones are known for their impressive night HDR performance.
In Summary
You've now got the tools to transform your mobile photos with HDR texture magic. Remember to experiment with different modes, subjects, and compositions. Don't be afraid to adjust exposures and post-process for ideal results. Avoid common pitfalls and try stacking techniques for more depth. With practice, you'll create stunning, natural-looking HDR images that showcase intricate textures. Keep shooting, refining your skills, and watch as your mobile photography reaches new heights.


Leave a Reply