
Mobile HDR nature photos elevate your outdoor shots by capturing a wider dynamic range, balancing extreme light conditions, and preserving rich colors. You'll get enhanced detail in both shadows and highlights, preventing washed-out skies while retaining vibrant foliage. HDR is particularly effective for high-contrast scenes like sunrises, sunsets, and forest environments with dappled light. It adds depth and dimensionality to your images, creating more immersive landscapes. By using HDR judiciously, you can overcome your smartphone camera's sensor limitations and produce stunning nature photographs that pop with life-like detail. Mastering this technique will take your outdoor photography to new heights.
Understanding HDR in Mobile Photography
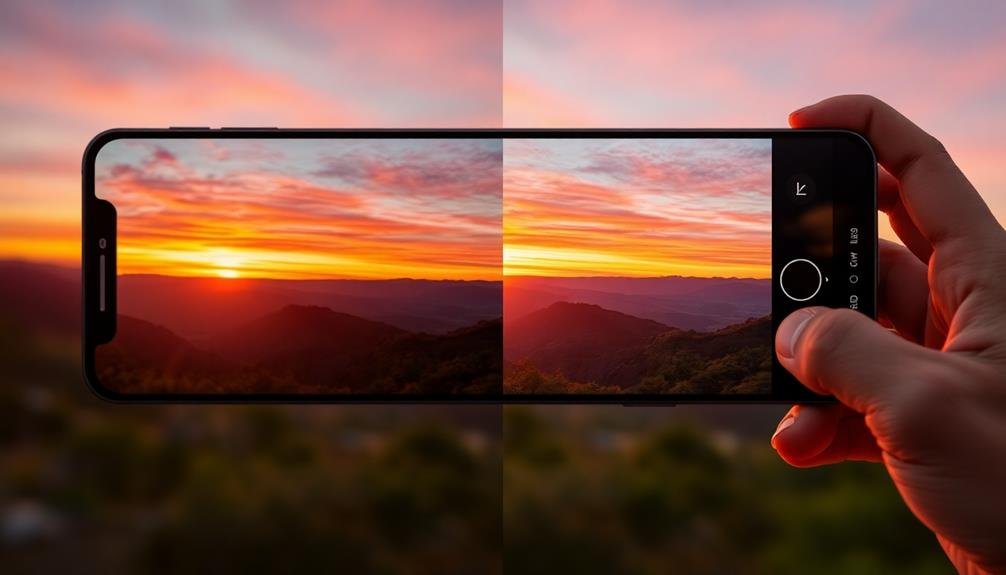
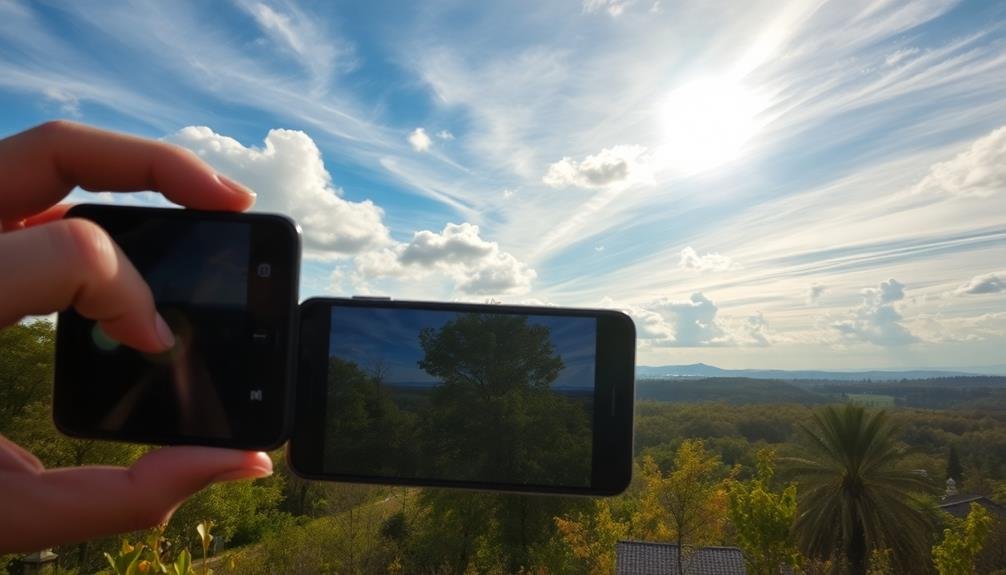
Anyone who's dabbled in mobile photography has likely come across the term HDR. It stands for High Dynamic Range, a technique that combines multiple exposures of the same scene to create a single image with enhanced detail in both bright and dark areas.
When you enable HDR on your smartphone, it captures several photos in rapid succession at different exposure levels. These images are then merged to produce a final photo with improved dynamic range. This process helps overcome the limitations of your phone's camera sensor, which often struggles to capture the full range of light in high-contrast scenes.
HDR is particularly useful in nature photography, where you'll frequently encounter challenging lighting conditions. It can help you capture details in both shadowy foregrounds and bright skies, resulting in more balanced and visually appealing images.
However, it's important to use HDR judiciously, as overuse can lead to unnatural-looking photos.
Most modern smartphones offer HDR as a built-in feature, either as an automatic setting or a manual option. By understanding how HDR works, you can make informed decisions about when to use it to enhance your nature shots.
Benefits of HDR for Nature Shots
When capturing nature's beauty with your smartphone, HDR can be a game-changer. It enhances your outdoor shots by balancing extreme light conditions, which are common in nature photography. You'll notice improved detail in both shadowy areas and bright highlights, creating a more balanced image that closely resembles what your eyes see.
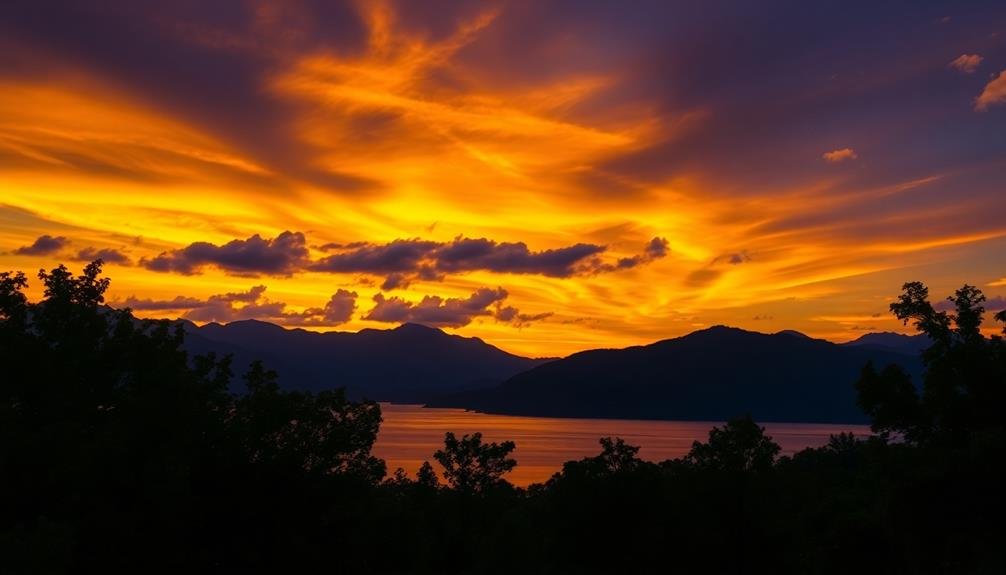
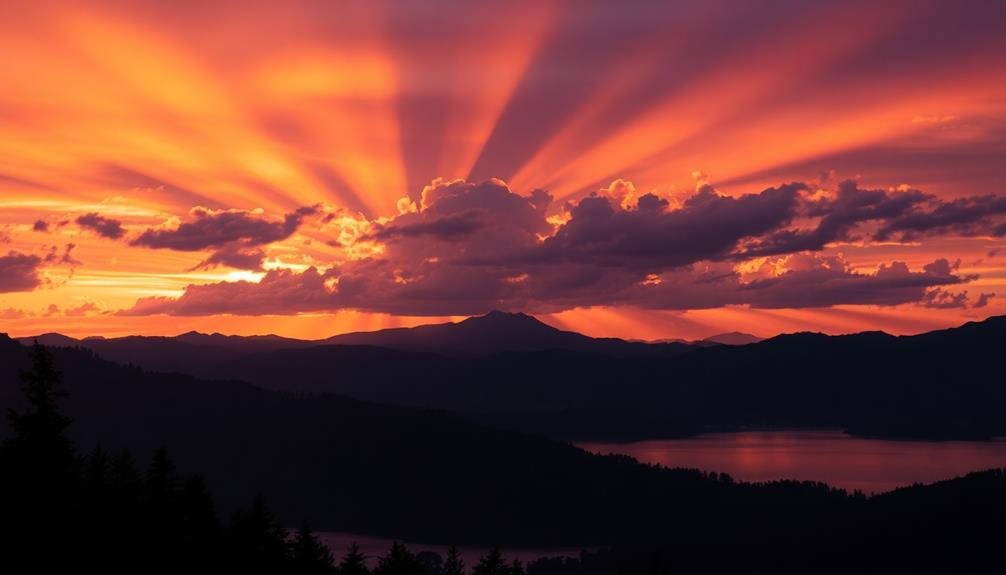
HDR excels at preserving the rich colors of landscapes. It prevents washed-out skies and guarantees vibrant foliage retains its natural hues. This technique is particularly useful for sunset or sunrise shots, where you'll capture the full spectrum of colors without losing detail in the brightest or darkest areas.
Water features benefit greatly from HDR. You'll capture the shimmering surface of lakes or the misty spray of waterfalls while maintaining detail in surrounding rocks or vegetation.
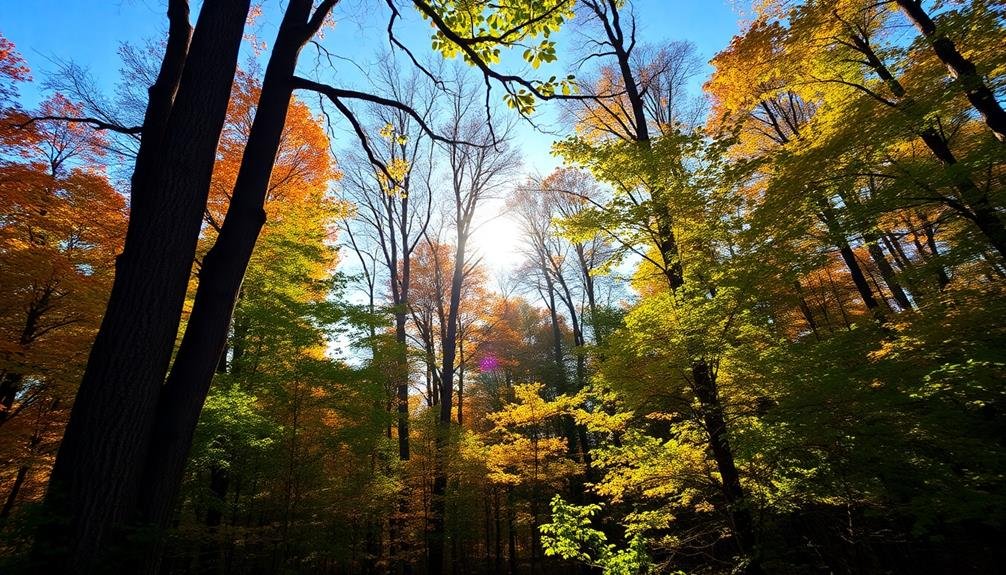
For forest scenes, HDR helps you navigate the challenging dappled light, revealing intricate textures in tree bark and leaves.
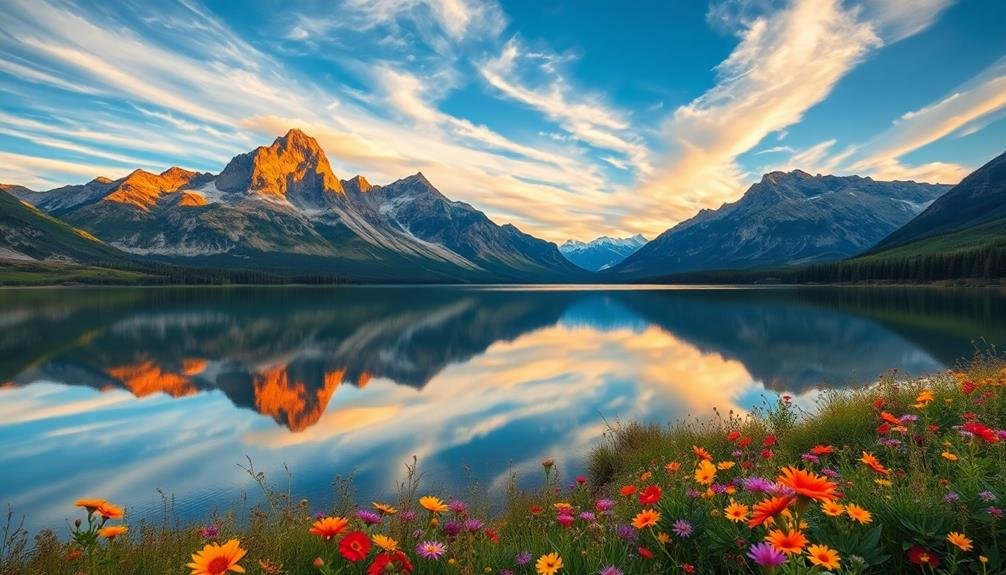
HDR also enhances depth and dimensionality in your nature photos. By properly exposing all elements in the frame, you create a more immersive image that draws viewers in.
This technique allows you to showcase nature's complexity, from foreground wildflowers to distant mountain peaks, all in one stunning shot.
Ideal Scenarios for HDR Outdoors
Several outdoor scenarios are perfect for HDR photography on your mobile device. When you're faced with high-contrast scenes, HDR can help you capture details in both bright and dark areas.
Sunrise and sunset shots benefit greatly from HDR, allowing you to preserve the vibrant sky colors while maintaining detail in the foreground landscape.
Forests with dappled light filtering through the canopy are ideal for HDR. You'll capture both the bright spots where sunlight breaks through and the darker, shadowy areas on the forest floor.
Waterfalls and flowing streams also present excellent opportunities for HDR, helping you balance the bright, fast-moving water with darker surrounding rocks and vegetation.
Here are four specific scenarios where HDR shines:
- Capturing a dramatic cloudy sky over a sunlit landscape
- Photographing backlit subjects against a bright background
- Shooting reflections on water surfaces with varying light intensities
- Capturing details in both shadowy canyons and bright rock formations
Mastering HDR Camera Settings
To master HDR camera settings for nature photos, you'll need to focus on three key areas.
First, set your ideal exposure bracketing to capture a wide range of light and shadow details.
Next, select the appropriate HDR mode on your mobile device, whether it's auto or manual.
Optimal Exposure Bracketing
Mastering exposure bracketing is crucial for capturing stunning HDR nature photos on your mobile device. By taking multiple shots at different exposure levels, you'll guarantee you've captured the full range of light in your scene.
To achieve ideal exposure bracketing, you'll need to experiment with your phone's HDR settings and understand how to adjust exposure compensation manually.
Start by setting your phone's camera to HDR mode and follow these steps:
- Take a baseline shot at the camera's recommended exposure
- Capture an underexposed image (typically -1 to -2 EV)
- Shoot an overexposed image (+1 to +2 EV)
- For high-contrast scenes, consider additional shots at -3 EV and +3 EV
HDR Mode Selection
When it comes to HDR mode selection, understanding your phone's camera settings is essential. Most modern smartphones offer multiple HDR options, including Auto HDR, HDR On, and HDR Off.
Auto HDR is typically the default setting, allowing your phone to decide when to use HDR based on lighting conditions. While convenient, it may not always capture the best results for nature photography.
For more control, switch to manual HDR mode. This lets you decide when to activate HDR, giving you greater flexibility in challenging lighting situations.
Some phones offer advanced HDR settings, like HDR+ or Smart HDR, which use AI to enhance image processing. These can be particularly effective for capturing landscapes with high dynamic range.
Experiment with different HDR strengths if your phone offers this option. A higher strength can produce more dramatic results but may look unnatural if overdone.
For nature shots, aim for a balance that enhances details in shadows and highlights without losing the scene's natural feel.
Manual HDR Adjustments
For those who want to take their mobile HDR nature photography to the next level, mastering manual HDR adjustments is essential. By fine-tuning your camera settings, you'll have greater control over the final image's dynamic range, contrast, and overall look. Most advanced mobile camera apps offer manual HDR controls, allowing you to adjust exposure, shadows, highlights, and more.
To get started with manual HDR adjustments, focus on these key areas:
- Exposure bracketing: Set your camera to capture multiple shots at different exposure levels, typically -2, 0, and +2 EV.
- Shadow recovery: Boost the details in darker areas without introducing noise or losing contrast.
- Highlight retention: Prevent bright areas from becoming overexposed while maintaining natural-looking skies and light sources.
- Tone mapping: Adjust the overall balance of lights and darks to create a more realistic or stylized final image.
As you experiment with these settings, you'll develop a better understanding of how each adjustment affects your nature photos.
Don't be afraid to push the boundaries and create unique looks that showcase the beauty of the outdoors. With practice, you'll find the perfect balance between natural-looking results and stunning HDR effects.
Composition Techniques for HDR Landscapes
Capturing stunning HDR landscapes on your mobile device requires more than just technical know-how; it demands a keen eye for composition. When framing your HDR shot, consider the rule of thirds. Divide your screen into a 3×3 grid and place key elements along these lines or at their intersections. This creates a more balanced and visually appealing image.
Look for leading lines in the landscape to guide the viewer's eye through the frame. These can be rivers, roads, or even natural formations that draw attention to your focal point.
Don't forget to include foreground elements to add depth and context to your HDR landscape. A well-placed rock, flower, or tree branch can provide scale and interest.
Pay attention to the horizon line. Keep it straight and position it either in the upper or lower third of the frame, depending on whether you want to emphasize the sky or the land.
Use natural frames like archways or overhanging branches to create a sense of depth and draw focus to your subject.
Capturing Dynamic Range in Sunsets
When capturing HDR sunsets with your mobile device, you'll need to balance the bright sky with the darker foreground elements.
Focus on preserving the vibrant colors and intricate details of the setting sun while carefully managing the exposure.
Be cautious not to overexpose the highlights, as this can result in a loss of the sunset's natural beauty and dynamic range.
Balancing Sky and Foreground
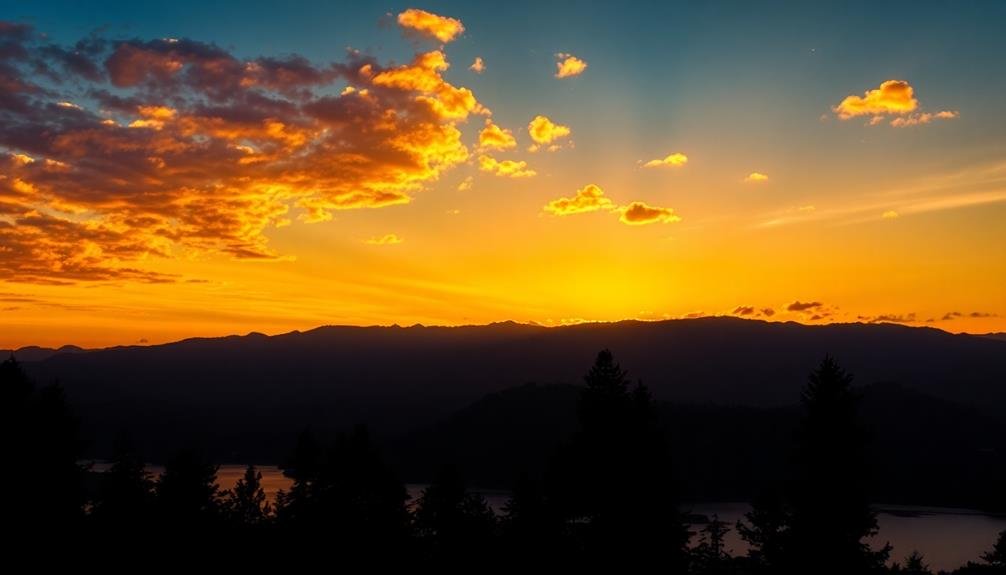
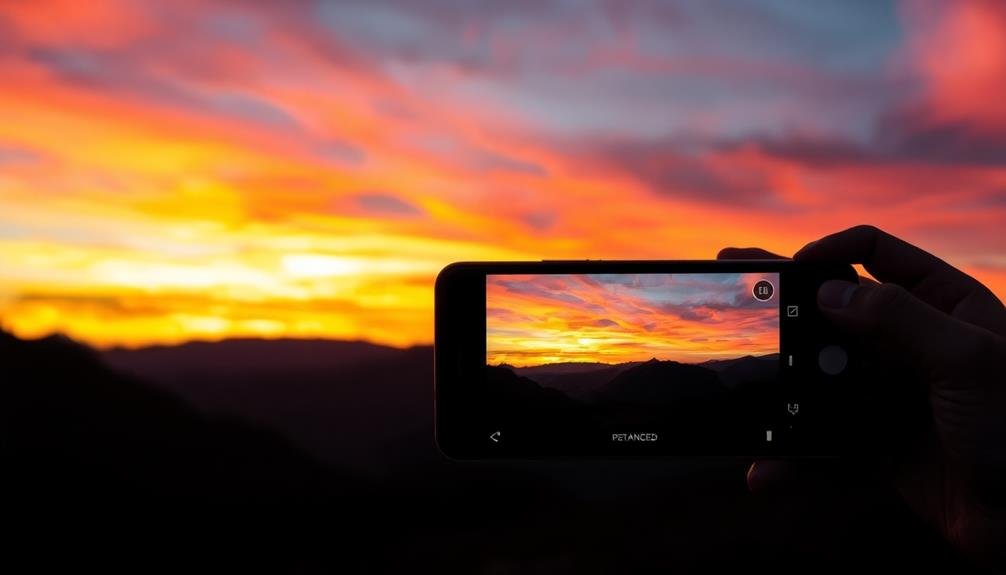
The challenge of capturing a stunning sunset lies in balancing the bright sky with the darker foreground. Mobile HDR technology can help you overcome this obstacle, allowing you to create breathtaking images that capture the full range of colors and details in both areas.
To effectively balance sky and foreground in your mobile HDR nature photos:
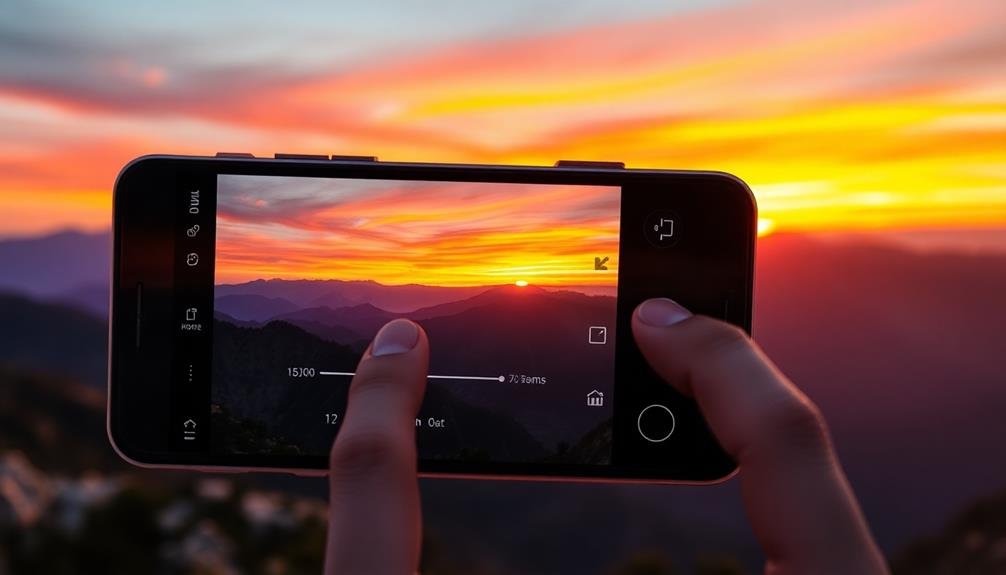
- Use the HDR mode on your smartphone camera to capture multiple exposures.
- Frame your shot to include interesting foreground elements.
- Experiment with different angles to find the best composition.
- Adjust exposure compensation to fine-tune the balance.
When you're composing your shot, look for elements that can anchor the foreground, such as rocks, trees, or water reflections. These elements add depth and interest to your image, creating a more engaging overall composition.
Don't be afraid to try unconventional angles or perspectives. Sometimes, getting low to the ground or finding a unique vantage point can dramatically improve your photo's impact.
Preserving Sunset Color Detail
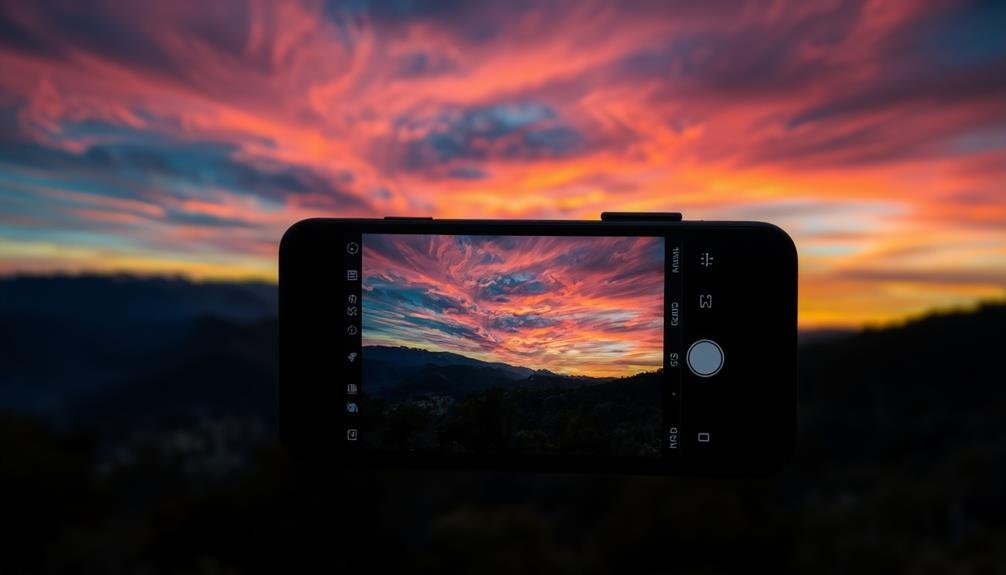
Sunsets offer a spectacular array of colors, but they're notoriously tricky to capture accurately with a smartphone camera. HDR technology can help you preserve the full range of sunset hues, from deep oranges to subtle purples. When you're shooting a sunset, enable your phone's HDR mode to capture multiple exposures and blend them seamlessly.
Position your camera to include interesting foreground elements, which will add depth to your sunset photo. Tap on different areas of the screen to see how it affects the exposure, then use the exposure compensation slider to fine-tune the brightness. Don't be afraid to underexpose slightly, as this can intensify the sunset colors.
Pay attention to the horizon line, keeping it straight for a more polished look. If your phone has a manual mode, experiment with different white balance settings to capture the most accurate colors.
After taking the shot, use your phone's built-in editing tools to adjust contrast, saturation, and highlights to further enhance the sunset's vibrant hues. Remember, subtle adjustments often yield the most natural-looking results.
With practice, you'll be able to capture stunning sunset photos that rival those taken with professional cameras.
Avoiding Overexposed Highlights
As the sun dips below the horizon, capturing the full dynamic range of a sunset becomes challenging. Mobile HDR photography can help you avoid overexposed highlights, ensuring your nature shots maintain their rich, vibrant colors without losing detail in the brightest areas.
To prevent overexposed highlights in your sunset photos:
- Enable HDR mode on your smartphone camera
- Frame your shot to include both bright and dark areas
- Tap on the brightest part of the scene to set exposure
- Hold steady while your phone captures multiple exposures
HDR for Challenging Lighting Conditions
When faced with challenging lighting conditions, HDR photography becomes an invaluable tool for mobile nature photographers.
You'll often encounter scenes with extreme contrasts, like a bright sky and shadowy foreground. HDR techniques help you capture details in both highlights and shadows, producing a balanced image.
In backlit situations, HDR allows you to expose properly for your subject without losing the background. It's particularly useful for sunset shots, where you can retain the vibrant sky colors while still revealing landscape details.
For forest scenes with dappled light, HDR helps you manage the stark differences between sunlit patches and deep shadows.
HDR also shines in high-contrast situations like waterfalls or streams. You'll be able to capture the water's motion while maintaining detail in surrounding rocks and foliage.
When shooting in foggy or misty conditions, HDR helps you preserve the atmosphere while still defining your subject.
Post-Processing HDR Nature Photos
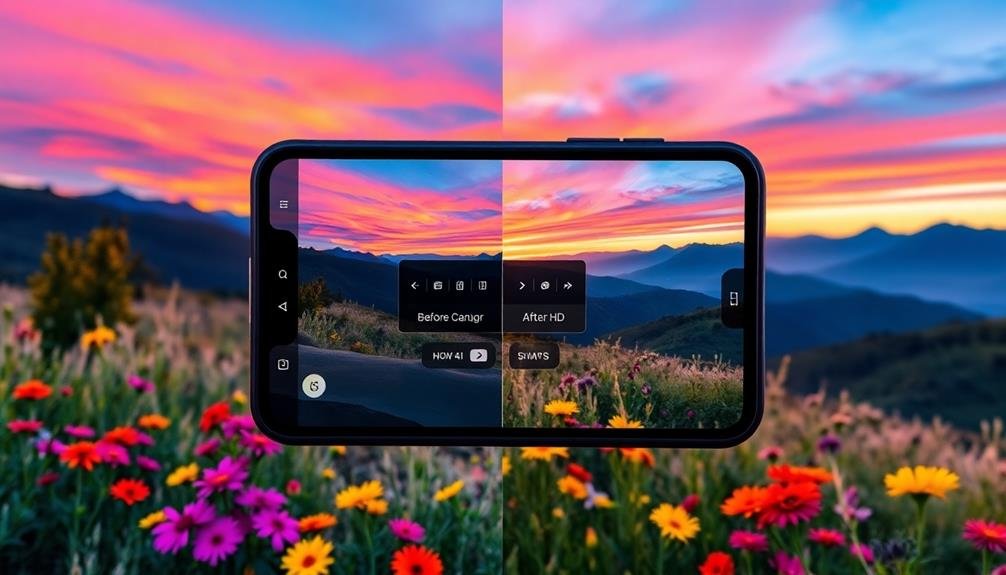
Once you've captured your HDR nature photos, you'll need to fine-tune them in post-processing.
Start by adjusting the exposure and contrast to balance the overall image and bring out the dynamic range.
Next, enhance the colors and saturation to make your nature scenes pop, but be careful not to overdo it and create an unnatural look.
Adjusting Exposure and Contrast
The post-processing stage is where your HDR nature photos truly come to life. Adjusting exposure and contrast is essential for achieving the perfect balance in your images. You'll want to fine-tune these elements to enhance the natural beauty of your outdoor scenes without overdoing it.
Start by examining your photo's histogram to identify any clipping in the highlights or shadows. Then, make subtle adjustments to bring out the details in both bright and dark areas. Remember, the goal is to create a natural-looking image that closely resembles what you saw with your own eyes.
When adjusting contrast, focus on:
- Enhancing the midtones for a more balanced look
- Boosting local contrast to add depth and dimension
- Adjusting the black and white points for improved dynamic range
- Fine-tuning the overall contrast to maintain a realistic appearance
Don't be afraid to experiment with different settings, but always keep the original scene in mind.
You're aiming for a photo that captures the essence of the moment, not an over-processed image that looks artificial. With practice, you'll develop an eye for the perfect balance of exposure and contrast in your HDR nature photos.
Enhancing Colors and Saturation
After fine-tuning exposure and contrast, it's time to breathe life into your HDR nature photos by enhancing colors and saturation. Start by adjusting the overall saturation of your image, but be cautious not to overdo it. Aim for vibrant yet natural-looking colors that capture the essence of the scene.
Next, focus on individual color channels. Boost the greens to make foliage pop, intensify blues for sky and water, and enhance warm tones like reds and oranges for sunsets or autumn scenes. Use the HSL (Hue, Saturation, Luminance) sliders in your editing app to target specific colors without affecting others.
Don't forget to fine-tune the white balance to guarantee accurate color representation. Adjust the temperature and tint to remove any unwanted color casts and achieve a natural look.
Consider using selective adjustments to enhance specific areas of your photo, such as boosting the saturation of a flower in the foreground while keeping the background more subdued.
Fine-Tuning Details and Sharpness
Sharpening and fine-tuning details are essential steps in post-processing HDR nature photos, bringing out the intricate textures and enhancing overall image clarity.
You'll want to focus on areas that demand attention, such as leaves, rocks, or water droplets. Be cautious not to over-sharpen, as this can create unnatural-looking edges and introduce noise.
When fine-tuning details, pay attention to these key aspects:
- Clarity: Adjust the midtone contrast to enhance texture and depth
- Texture: Bring out surface details without affecting overall sharpness
- Dehaze: Remove atmospheric haze to reveal hidden details in distant elements
- Noise reduction: Minimize graininess while preserving fine details
Use local adjustments to target specific areas of your image that require more attention.
You can selectively sharpen or soften different parts of the photo to create a more balanced and visually appealing result.
Don't forget to zoom in and examine your image at 100% to verify you're not introducing artifacts or over-processing.
Common HDR Mistakes to Avoid
While HDR photography can create stunning images, it's easy to fall into common traps that diminish the final result. One of the most frequent mistakes is overprocessing, which leads to unnatural-looking photos with exaggerated colors and halos around edges. To avoid this, use a light touch when adjusting your HDR settings and aim for a realistic look.
Another mistake is poor alignment of multiple exposures. Even slight movement between shots can cause ghosting or blurring in the final image. Use a tripod or stable surface when possible, and if shooting handheld, enable your phone's auto-alignment feature.
Be cautious of high-contrast scenes that exceed your camera's dynamic range capabilities. In these situations, HDR might struggle to capture details in both highlights and shadows effectively. Consider using manual exposure techniques or waiting for more favorable lighting conditions.
Lastly, don't rely solely on HDR for every shot. Some scenes, particularly those with subtle lighting or low contrast, may look better without HDR processing. Learn to recognize when HDR will enhance your image and when it's best to stick with a single exposure.
HDR Apps for Enhanced Results
Dedicated HDR apps can greatly elevate your mobile photography game. These specialized tools offer advanced features and algorithms that go beyond your phone's built-in HDR capabilities. When you're capturing nature's beauty, having the right app can make all the difference in achieving stunning results.
To get started with HDR apps, consider these top options:
- Aurora HDR: Known for its powerful AI-driven HDR processing and intuitive interface
- ProHDR X: Offers manual controls and real-time HDR preview
- Snapseed: Google's versatile editing app with a robust HDR feature
- Lightroom Mobile: Adobe's professional-grade editor with HDR merge capabilities
When using these apps, you'll have more control over your HDR process. You can adjust exposure bracketing, fine-tune tone mapping, and apply selective edits to specific areas of your image.
This level of precision allows you to create natural-looking HDR photos that truly capture the dynamic range of outdoor scenes.
Remember to experiment with different apps and settings to find what works best for your style. With practice, you'll be able to produce breathtaking HDR nature photos that stand out from the crowd.
Preserving Natural Look in HDR
A common pitfall in HDR photography is over-processing, which can lead to unnatural-looking images. To preserve a natural look in your mobile HDR nature photos, you'll need to strike a balance between enhancing dynamic range and maintaining realism.
Start by adjusting the HDR strength in your chosen app, opting for a more subtle effect rather than pushing it to the extreme. Pay close attention to the shadows and highlights, ensuring they're not overly brightened or darkened.
When editing, focus on enhancing the existing colors rather than introducing new ones. Avoid oversaturating your images, as this can quickly make your nature shots appear artificial. Instead, aim for gentle adjustments that bring out the natural vibrancy of the scene.
Keep an eye on the contrast levels, maintaining a natural progression between light and dark areas. Don't forget to check the details in both bright and shadowy areas, ensuring they're visible without appearing forced.
Frequently Asked Questions
Can HDR Be Used for Wildlife Photography in Motion?
Yes, you can use HDR for wildlife photography in motion, but it's challenging. You'll need a camera with fast processing and burst mode capabilities. It's best for slower-moving animals or predictable movements to avoid ghosting effects.
How Does HDR Affect Battery Life on Mobile Devices?
HDR can drain your phone's battery faster. It's capturing multiple images and processing them, which requires more power. You'll notice your device gets warmer and battery life decreases when you're using HDR extensively for photos.
Are There Any Weather Conditions Where HDR Should Be Avoided?
You should avoid HDR in heavy rain or snow, as it can create unwanted artifacts. It's also less effective in very low light or extremely bright conditions. Instead, rely on your camera's standard mode for better results.
Can HDR Be Combined With Other Mobile Photography Features Like Portrait Mode?
Yes, you can combine HDR with other features like portrait mode. You'll get the benefits of both – balanced exposure from HDR and the bokeh effect from portrait mode. Experiment with different combinations to enhance your mobile photos.
How Do Different Phone Brands Compare in Their HDR Capabilities?
You'll find that HDR capabilities vary among phone brands. Apple, Samsung, and Google often lead the pack, but many others offer impressive HDR features. It's best to compare specific models and read reviews for detailed performance insights.
In Summary
You've now got the tools to take your outdoor photography to new heights with mobile HDR. Remember to experiment with different scenes, master your camera settings, and refine your post-processing skills. Don't be afraid to push creative boundaries, but always aim for a natural look. With practice, you'll capture stunning nature shots that truly pop. Keep exploring, keep shooting, and watch as your HDR landscapes become more breathtaking with each click.


Leave a Reply