
Focus stacking can dramatically sharpen your mobile photos by combining multiple images at different focus points. To master this technique, choose stationary subjects with intricate details and distinct depth layers. Stabilize your smartphone using a tripod or steady-hand techniques. Capture 3-5 images, adjusting focus from foreground to background. Lock your exposure settings for consistency. In post-processing, carefully align and blend your images, then enhance details with selective sharpening. Troubleshoot common issues like ghosting or blurry edges by fine-tuning your process. With practice, you'll create stunningly sharp photos that showcase every detail from front to back. These tips are just the beginning of your focus stacking journey.
Understanding Focus Stacking Basics
Every smartphone photographer should understand focus stacking basics before diving into advanced techniques.
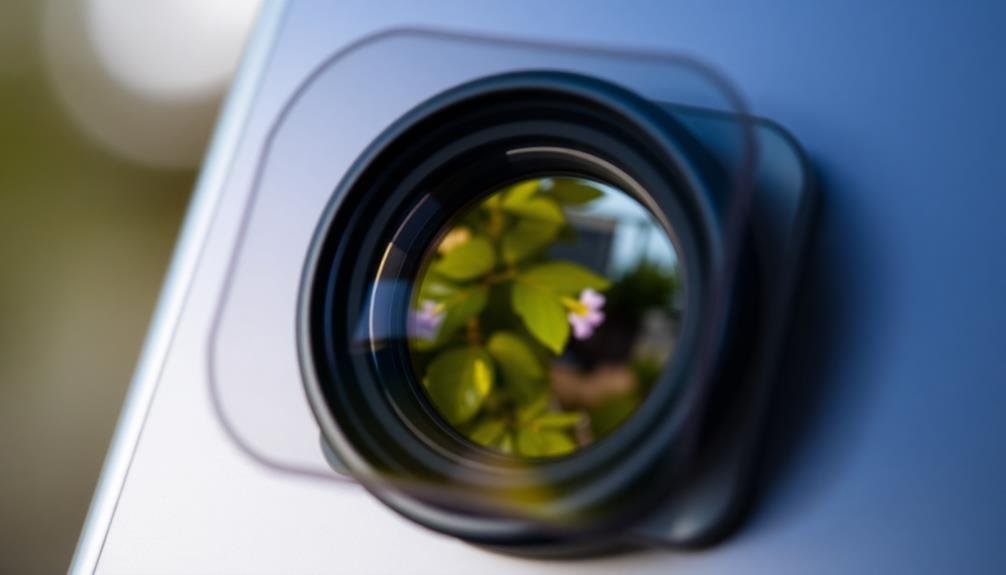
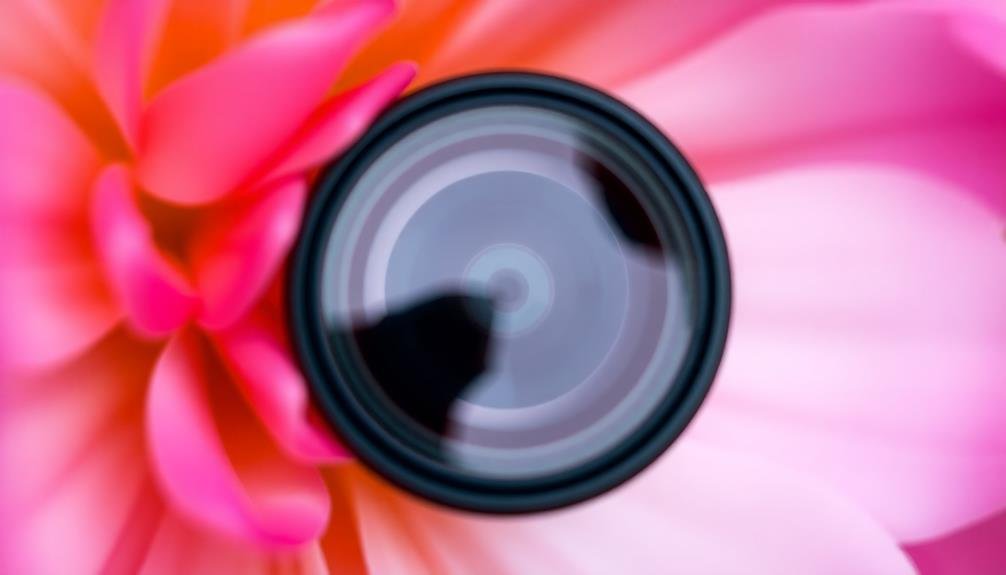
Focus stacking is a method that combines multiple images taken at different focus points to create a single, sharp photo with extended depth of field. It's particularly useful for close-up or macro photography, where achieving a wide depth of field is challenging.
To begin, you'll need to take a series of photos of your subject, each with a slightly different focus point. Start by focusing on the nearest part of your subject and gradually move to the farthest point, taking photos at each step.
Make certain your phone remains steady throughout the process; a tripod or stable surface is ideal.
Once you've captured your series of images, you'll need to blend them using specialized software. Many mobile apps now offer focus stacking capabilities, making it easier than ever to create sharp, detailed photos directly on your smartphone.
These apps analyze your images, identify the sharpest areas of each, and combine them into a single photo with enhanced overall focus.
Choosing the Right Subject

When choosing a subject for focus stacking on your mobile phone, you'll want to contemplate a few key factors.
Start with stationary objects that have interesting textures or fine details, as these will showcase the technique's strengths.
Look for scenes with multiple layers of depth, which will allow you to create a striking image with everything in sharp focus from foreground to background.
Stationary vs. Moving Objects
While focus stacking can enhance many types of photos, it is crucial to choose the right subject for this technique. When deciding between stationary and moving objects, consider the limitations of your mobile device and the nature of focus stacking.
Stationary objects are ideal for focus stacking. They allow you to take multiple shots without worrying about movement between frames. You'll have an easier time aligning and blending these images later. Examples include landscapes, still life compositions, and macro shots of flowers or insects at rest.
Moving objects, on the other hand, present challenges. Even slight movements can disrupt the alignment process, resulting in ghosting or blurring. However, with practice and the right conditions, you can still achieve impressive results with slow-moving subjects.
| Subject Type | Pros | Cons |
|---|---|---|
| Stationary | Easy alignment | Limited dynamism |
| Consistent focus | Can appear static | |
| Moving | Dynamic results | Difficult alignment |
| Unique captures | Potential blurring | |
| Challenging technique | Time-sensitive |
When choosing your subject, consider your skill level, available time, and desired outcome. Start with stationary objects to master the technique before attempting more challenging moving subjects.
Textures and Fine Details
Textures and fine details make ideal subjects for focus stacking with mobile devices. When selecting subjects, look for items with intricate patterns, varying depths, or complex surfaces. Flowers, insects, and small objects with multiple layers work exceptionally well. Think about photographing rough tree bark, delicate lace, or the intricate wings of a butterfly.
For the best results, choose subjects that remain still throughout the shooting process. This allows you to capture multiple frames without movement-induced blurring. If you're photographing outdoors, opt for a calm day to minimize wind interference. Indoor setups offer more control over your subject and lighting conditions.
Pay attention to the composition of your shot. Frame your subject to emphasize its most interesting features and textures. Use leading lines or the rule of thirds to create a visually appealing image.
Don't forget to think about the background; a simple, uncluttered backdrop often works best to highlight your subject's details.
Experiment with different angles and perspectives to find the most engaging view of your subject. Sometimes, getting up close or shooting from an unusual angle can reveal unexpected textures and details that make your focus-stacked image truly stand out.
Depth and Layers
How can you select subjects that truly showcase the power of focus stacking? Look for scenes with distinct layers of depth. Landscapes with foreground elements, mid-ground subjects, and distant backgrounds are ideal.
Consider a flower-filled meadow with mountains in the distance or a cityscape with architectural details in the foreground and skyscrapers behind.
Choose subjects with varying distances from your lens. A macro shot of an insect on a leaf, with branches and sky in the background, creates multiple focal planes. This allows you to capture sharp details from the insect's eyes to the distant foliage.
When shooting products, arrange items at different distances to create depth.
Don't shy away from complex scenes. A bustling market stall with items at various distances or a workshop filled with tools can benefit from focus stacking.
Look for scenes where important details exist at different depths. Remember, the goal is to create an image where everything from front to back is in sharp focus, so select subjects that would typically be challenging to capture in a single shot with your mobile device's limited depth of field.
Stabilizing Your Smartphone

Stabilizing your smartphone is essential for successful focus stacking.
You'll find tripods and grip accessories invaluable for keeping your device steady during multiple shots.
If you don't have these tools, you can still improve your results by mastering steady-hand shooting techniques, such as bracing your elbows against your body and using your phone's volume buttons as a shutter release.
Tripods and Grip Accessories
Once you've mastered the basics of focus stacking, it's time to elevate your mobile photography game with proper stabilization techniques. Tripods and grip accessories play an essential role in achieving sharp, well-aligned images for focus stacking. A compact tripod designed for smartphones is an indispensable tool, allowing you to maintain a consistent position across multiple shots.
Look for models with flexible legs that can wrap around objects, giving you more versatility in challenging environments.
For handheld shooting, consider investing in a smartphone grip. These accessories provide a more ergonomic hold, reducing camera shake and improving your ability to capture steady shots. Some grips even come with built-in remote shutter buttons, making it easier to take photos without touching the screen.
If you're on a budget, you can improvise with everyday items. Use a bag of rice or beans as a makeshift support, or lean your phone against a stable object.
For added stability, use your phone's voice commands or timer function to trigger the shutter without physical contact. Remember, the key to successful focus stacking is minimizing movement between shots, so any method that helps you keep your phone steady will improve your results.
Steady-Hand Shooting Techniques
Your hands are your most versatile tools for stabilizing your smartphone when shooting focus-stacked images. To maximize stability, adopt a firm grip with both hands, tucking your elbows into your body. This creates a triangular support system, reducing camera shake.
When possible, lean against a wall or sturdy object to further steady yourself.
Practice controlled breathing techniques to minimize movement during capture. Inhale deeply, then slowly exhale as you take the series of shots. This helps maintain a consistent posture throughout the focus stacking process.
Additionally, use your smartphone's volume buttons as a shutter release to avoid tapping the screen, which can introduce unwanted motion.
For added stability, try the "three-point stance." Plant your feet shoulder-width apart, then bend slightly at the waist, creating a third point of contact with your body. This lowered center of gravity enhances overall steadiness.
When shooting in low light or with slower shutter speeds, consider using the "human tripod" technique. Sit or kneel, resting your elbows on your knees to create a stable platform for your device.
Selecting Optimal Focus Points

The key to successful focus stacking lies in choosing the right focus points. When you're setting up your shot, identify the nearest and farthest elements you want in focus. These will be your boundary points. Start by focusing on the closest point and take your first shot.
Then, gradually move your focus towards the background, capturing images at regular intervals. For landscapes, you'll typically need 3-5 focus points. Begin with the foreground, then capture the middle ground, and finally the background.
In macro photography, you might need more shots due to the shallow depth of field. Focus on the front edge of your subject, then move in small increments towards the back.
Don't forget about important midground elements. If there's a key feature in the middle distance, guarantee you include a focus point there.
For portraits, focus on the eyes, then the nose, and finally the ears. This technique guarantees a sharp face while maintaining a natural look.
Adjusting Exposure for Each Shot

Maintaining consistent exposure across all shots is essential for seamless focus stacking. As you move through your focus points, lighting conditions may change subtly, affecting the overall exposure. To combat this, you'll need to adjust your camera settings for each shot manually.
Start by setting your phone's camera to manual or pro mode. This gives you control over exposure settings like ISO, shutter speed, and aperture. As you capture each frame, pay close attention to the histogram and make small adjustments to maintain consistency. If your phone doesn't offer manual controls, use exposure compensation to fine-tune each shot.
Here are some key tips to remember:
- Lock your white balance to prevent color shifts between frames
- Use a tripod to minimize camera movement and maintain composition
- Avoid auto-exposure modes, which can cause inconsistencies
- Consider using a neutral density filter for challenging lighting situations
Using Burst Mode Effectively
While manual adjustments offer precise control, burst mode provides a quick and efficient alternative for focus stacking. To use burst mode effectively, start by identifying your subject and positioning your phone. Hold your device steady and tap the shutter button, keeping it pressed to capture a rapid series of shots.
As you're shooting, slowly move your phone closer to or farther from the subject. This movement allows the camera to capture images with different focal points. Aim for at least 10-15 shots to guarantee you have enough variety for stacking.
Here's a quick guide to using burst mode for focus stacking:
| Step | Action | Purpose | Tips |
|---|---|---|---|
| 1 | Identify subject | Set composition | Choose a static subject |
| 2 | Enable burst mode | Prepare for rapid shots | Check your phone's settings |
| 3 | Press and hold shutter | Capture multiple images | Keep your hand steady |
| 4 | Move phone slowly | Vary focal points | Maintain consistent speed |
After capturing your burst, review the images and select the sharpest ones for each focal point. You'll then use these selected shots in your focus stacking software to create the final, fully focused image.
Aligning Images in Post-Processing

After capturing your burst of images, precise alignment is essential for successful focus stacking. Most mobile editing apps don't offer automatic alignment features, so you'll need to manually align your images.
Start by selecting a reference image, typically the sharpest one in your burst. Then, overlay each subsequent image on top of the reference, adjusting its position pixel by pixel until key elements line up perfectly.
Pay close attention to the following areas when aligning your images:
- Edges of objects in the foreground
- Distinct patterns or textures
- High-contrast boundaries
- Prominent features in the background
Use transparency tools to make the overlaid image semi-transparent, allowing you to see both images simultaneously. This technique helps you spot misalignments more easily.
If your app supports layers, create a new layer for each image and toggle their visibility to check alignment accuracy.
Remember that even slight misalignments can result in ghosting or blurring in your final stacked image. Take your time with this step, as it's vital for achieving a crisp, professional-looking result.
Once you're satisfied with the alignment, you can proceed to blend the images using your chosen focus stacking method.
Blending Stacked Photos Seamlessly

To blend your stacked photos seamlessly, you'll need to master a few key techniques.
Start by adjusting the layer opacity of each image to find the right balance between sharpness and overall composition.
Then, use masks creatively to selectively reveal or hide portions of each layer, ensuring a smooth shift between focal points and creating a final image that's sharp throughout.
Adjust Layer Opacity
Once you've aligned your stacked photos, adjusting layer opacity is essential for seamlessly blending them together. This step allows you to fine-tune the visibility of each layer, guaranteeing a smooth shift between focal points.
Start by setting the base layer to 100% opacity, then gradually adjust the opacity of subsequent layers. As you work through the layers, pay close attention to how the details in each area of focus blend with the others. You'll want to strike a balance between maintaining sharpness and creating a natural-looking final image.
Don't be afraid to experiment with different opacity levels to achieve the best results.
Here are some key tips to keep in mind when adjusting layer opacity:
- Begin with small increments, typically 5-10% at a time
- Focus on areas where different layers meet to guarantee smooth shifts
- Use layer masks to selectively adjust opacity in specific areas
- Regularly zoom in and out to check overall image cohesion
Remember that the goal is to create a final image that appears as if it was captured in a single shot. By carefully adjusting layer opacity, you'll be able to produce a stunningly sharp and professional-looking focus-stacked photo using just your mobile device and some post-processing skills.
Use Masks Creatively
While adjusting layer opacity helps blend your stacked photos, using masks creatively takes your focus stacking to the next level. Masks allow you to selectively reveal or hide parts of each layer, giving you precise control over which areas of each photo are visible in the final image.
Start by creating a mask for each layer in your stack. Use a soft brush to paint white on areas you want to keep and black on areas you want to hide. Focus on changeover zones between sharp and blurry areas, blending them seamlessly.
Pay special attention to complex edges, like tree branches or intricate textures. Don't be afraid to experiment with different brush sizes and hardness levels. A larger, softer brush works well for gradual changeovers, while a smaller, harder brush is ideal for fine details.
You can also use gradients or custom brush shapes to create unique blending effects. Remember to zoom in and work at high magnification to guarantee smooth changeovers. If you make a mistake, simply switch to black and paint over the area to hide it.
This non-destructive approach allows you to refine your mask until you achieve the perfect blend.
Enhancing Details With Sharpening Techniques

After you've successfully stacked your mobile photos, sharpening techniques can take your images to the next level. These methods enhance fine details and create a crisper overall appearance.
Start by using your phone's built-in sharpening tools, typically found in the editing menu. Adjust the sharpness slider carefully, as overdoing it can lead to unnatural-looking results.
For more advanced sharpening, consider third-party apps that offer more granular control. These apps allow you to target specific areas or apply different sharpening intensities to various parts of your image. Remember to zoom in while sharpening to guarantee you're not introducing unwanted artifacts or noise.
Here are some key sharpening techniques to experiment with:
- Unsharp Mask: Enhances edges without affecting smoother areas
- High Pass Filter: Sharpens fine details while preserving overall tones
- Local Contrast Enhancement: Increases perceived sharpness by boosting edge contrast
- Selective Sharpening: Applies sharpening only to specific parts of the image
When sharpening, always view your image at 100% to accurately assess the effects. It's often better to slightly under-sharpen than to over-sharpen, as excessive sharpening can create an artificial look.
Troubleshooting Common Focus Stacking Issues

Even with careful technique and proper sharpening, you might encounter some challenges when focus stacking mobile photos. One common issue is misalignment between frames, which can result in ghosting or blurry edges. To fix this, use alignment tools in your stacking software or manually align layers in a photo editing app.
Another problem is inconsistent exposure across your stack. Combat this by locking your exposure settings before shooting or adjusting individual frames in post-processing.
You may also face depth map errors, where your app struggles to blend images correctly. Try reducing the number of photos in your stack or manually selecting focus points to improve results.
Sometimes, you'll notice halos or artifacts around high-contrast edges. These can often be minimized by adjusting blend modes or using masking techniques.
If your final image lacks overall sharpness, consider adding a subtle sharpening layer to enhance details without introducing noise.
Lastly, be aware of moving subjects within your frame. Even slight movements can cause blurring or duplication in your stacked image. In these cases, you might need to composite parts of a single frame back into your final image to maintain sharpness.
Frequently Asked Questions
Can Focus Stacking Be Done With Older Smartphone Models?
You can try focus stacking with older smartphones, but it's more challenging. You'll need to manually take multiple shots at different focus points and use third-party apps to merge them. Results may vary depending on your device's capabilities.
Are There Any Apps Specifically Designed for Focus Stacking on Smartphones?
You'll find several apps designed for focus stacking on smartphones. Try options like Helicon Focus, Zerene Stacker, or Photoshop Express. They're easy to use and can greatly improve your photo's sharpness. Experiment with different apps to find your favorite.
How Many Images Are Typically Needed for a Successful Focus Stack?
You'll typically need 3-10 images for a successful focus stack. It depends on your subject's depth and desired sharpness. Start with fewer shots and increase if needed. Don't overdo it, as more images can complicate processing.
Does Focus Stacking Work Well for Moving Subjects or Action Shots?
Focus stacking isn't ideal for moving subjects or action shots. You'll struggle to align multiple images of a moving target. It's best suited for stationary subjects where you can take several shots without any movement between frames.
Can Focus Stacking Be Combined With Other Mobile Photography Techniques Like HDR?
Yes, you can combine focus stacking with HDR on your mobile device. You'll capture multiple shots at different focus points and exposures, then merge them. This technique enhances both depth of field and dynamic range in your photos.
In Summary
You've now got the tools to create stunning, sharp images with your smartphone. Don't be afraid to experiment and push your limits. Remember, practice makes perfect. As you refine your focus stacking technique, you'll capture details you never thought possible. Keep exploring new subjects and lighting conditions. With patience and creativity, you'll soon master this powerful mobile photography skill. So grab your phone and start stacking – your best shots are waiting!


Leave a Reply