
To craft pro-quality Google Street View panoramas, start by choosing the right equipment. Invest in a high-resolution 360-degree camera, sturdy tripod, and essential accessories like remote controls and GPS modules. Next, master composition and lighting techniques. Apply the rule of thirds, shoot during golden hours, and experiment with creative angles to enhance your images. Finally, focus on post-processing for seamless results. Use specialized software for panorama stitching, make careful seam adjustments, and perform global and selective edits to perfect your final product. By following these three key tips, you'll be well on your way to creating stunning, professional-grade panoramas. Dive deeper to reveal even more secrets of panoramic mastery.
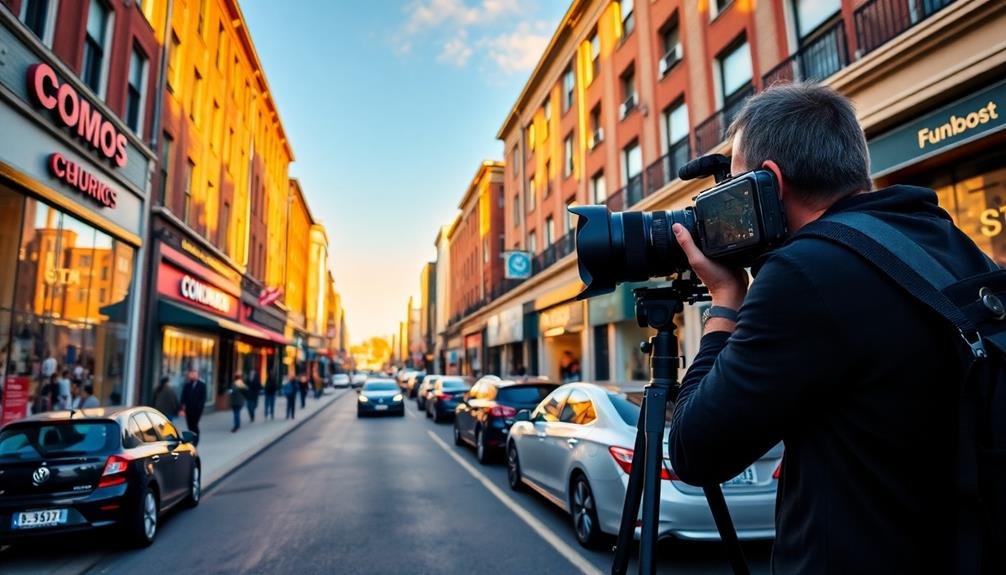
Choose the Right Equipment

In order to create stunning Google Street View panoramas, selecting the appropriate gear is vital. You'll need a 360-degree camera capable of capturing high-resolution images with minimal distortion. Popular options include the Insta360 ONE X2, Ricoh Theta Z1, and GoPro MAX. These cameras offer excellent image quality and user-friendly features.
A sturdy tripod is essential for stability and consistent height across shots. Look for a lightweight, portable tripod with adjustable legs to accommodate uneven terrain. Consider a carbon fiber model for durability and ease of transport.
Don't forget about accessories. A remote control or smartphone app allows you to trigger the camera without disturbing its position. Invest in extra batteries and memory cards to guarantee uninterrupted shooting during long sessions.
For more advanced setups, consider a GPS module to geotag your images automatically. This saves time during post-processing and improves the accuracy of your panoramas' placement on Google Maps.
Lastly, pack a microfiber cloth to keep your lens clean and a weather-resistant bag to protect your equipment from the elements. With the right gear, you'll be well-equipped to capture professional-quality Street View panoramas.
Master Composition and Lighting
With your equipment ready, it's time to focus on the artistic aspects of creating Google Street View panoramas. Composition and lighting are vital elements that can elevate your images from amateur to professional quality.
When framing your shots, consider the rule of thirds and look for leading lines that guide the viewer's eye through the scene. Pay attention to the horizon line, ensuring it's level to avoid disorienting viewers.
Lighting plays a significant role in the overall mood and quality of your panoramas. Aim to shoot during the golden hours – shortly after sunrise or before sunset – for warm, soft light that enhances colors and textures. If you're shooting in harsh midday light, use shadows creatively to add depth and interest to your images.
To master composition and lighting, keep these tips in mind:
- Scout locations in advance to plan your shots
- Use natural frames like archways or trees to add depth
- Experiment with different angles and perspectives
- Balance light and shadow to create visual interest
Post-Processing for Seamless Results

After capturing your panoramic shots, post-processing is essential for creating seamless, professional-looking results.
Begin by importing your images into specialized panorama stitching software like PTGui or Hugin. These tools automatically align and blend your photos, but you'll need to fine-tune the results.
Pay close attention to the seams between images, adjusting exposure and color to guarantee a smooth shift. Use masking techniques to correct any misalignments or moving objects that appear in multiple frames.
Don't forget to remove any visible tripod or camera equipment from the nadir (bottom) of your panorama.
Next, apply global adjustments to enhance the overall look of your Street View panorama. Adjust contrast, saturation, and sharpness carefully, maintaining a natural appearance.
Use selective editing to bring out details in shadows or highlights without overdoing it.
Frequently Asked Questions
How Long Does It Take to Create a Professional Google Street View Panorama?
You'll typically spend 15-30 minutes creating a professional Google Street View panorama. This includes setup, capturing multiple images, and post-processing. However, your experience level and the complexity of the location can affect the timeframe.
Can I Use a Smartphone to Capture Street View Panoramas?
Yes, you can use your smartphone to capture Street View panoramas. While it's not ideal for pro-quality results, it's a great starting point. You'll need to download the Street View app and follow its instructions for capturing images.
Are There Legal Considerations When Publishing Street View Panoramas?
When publishing street view panoramas, you'll need to take into account privacy laws. You should blur faces and license plates, respect private property rights, and be aware of local regulations. Always obtain necessary permissions before publishing your images.
How Often Should I Update My Street View Panoramas?
You should update your Street View panoramas at least annually, or more frequently if there are significant changes. It's important to keep your content fresh and accurate. You'll want to reflect seasonal changes and new developments in your area.
Can I Earn Money by Creating Google Street View Panoramas?
Yes, you can earn money creating Google Street View panoramas. You'll need to become a certified photographer through Google's program. Once certified, you can offer your services to businesses looking to improve their online presence.
In Summary
You've now got the key ingredients to create stunning Google Street View panoramas. By selecting proper gear, mastering composition and lighting, and honing your post-processing skills, you'll elevate your panoramas to a professional level. Remember, practice makes perfect. Don't be afraid to experiment and push your boundaries. With these tips in your toolkit, you're well on your way to capturing immersive, high-quality street view experiences that'll wow viewers and stand out from the crowd.


Leave a Reply