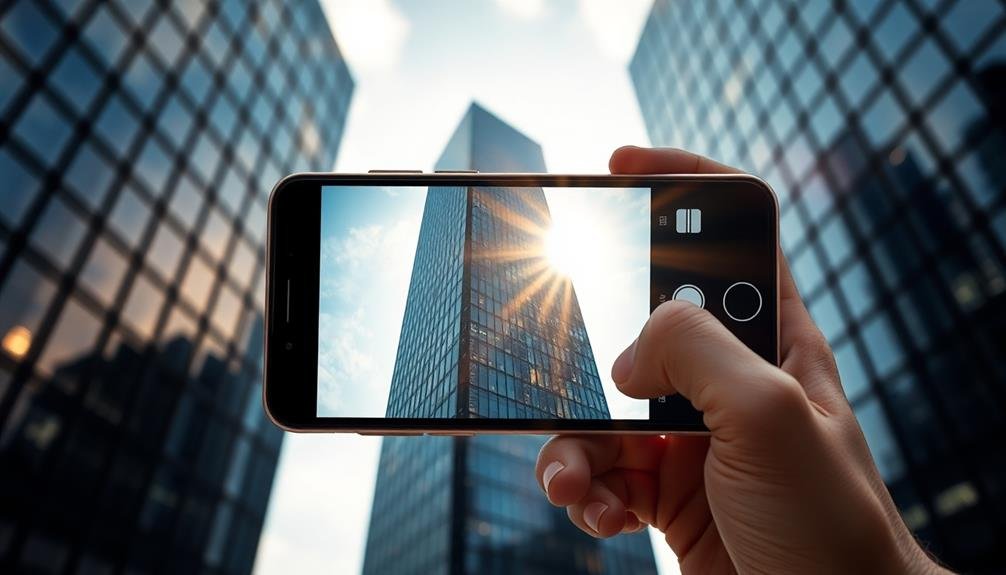
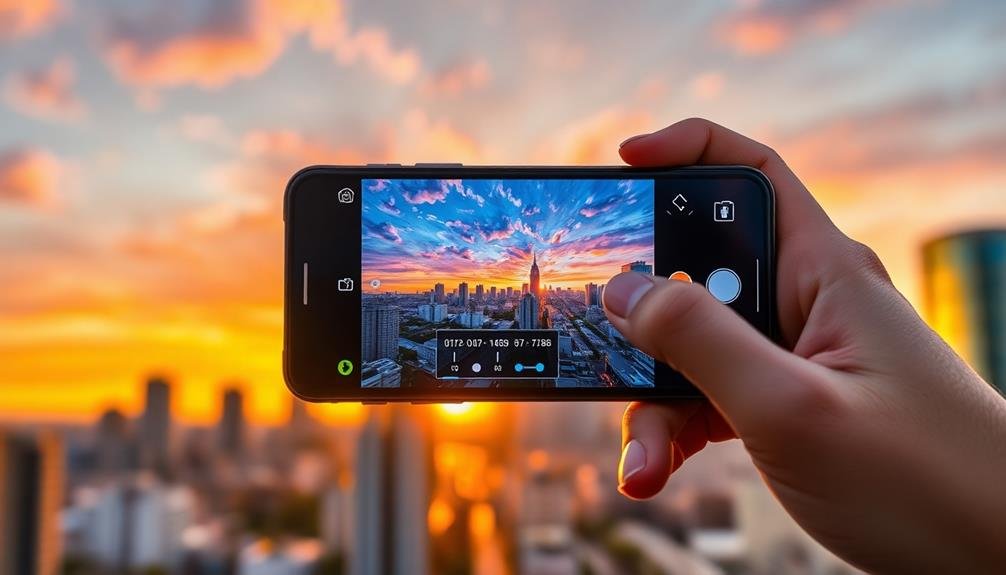
To capture stunning HDR architectural photos on your mobile device, start by understanding how HDR combines multiple exposures to reveal details in both highlights and shadows. Use a sturdy tripod and remote shutter release to guarantee sharp, aligned images. Compose your shots using leading lines, symmetry, and framing techniques to create depth and balance. Experiment with specialized apps like Adobe Lightroom Mobile or Snapseed for capturing bracketed exposures and processing HDR images. When editing, focus on adjusting tone mapping, contrast, and perspective correction to enhance architectural details. By mastering these techniques, you'll elevate your mobile architectural photography to new heights.
Understanding HDR in Architectural Photography

HDR photography brings out the best in architectural subjects, allowing you to capture a wider range of light and detail than traditional techniques. It's particularly useful for buildings with high contrast scenes, where bright exteriors and dark interiors coexist.
HDR, or High Dynamic Range, combines multiple exposures to create a single image that represents a broader spectrum of luminosity.
When shooting architecture, you'll often encounter challenging lighting situations. Bright windows, shadowy corners, and reflective surfaces can confuse your camera's sensor.
HDR compensates for these extremes by merging shots at different exposure levels. This results in images that reveal details in both highlights and shadows, closely mimicking what the human eye sees.
To create HDR images, you'll need to take multiple shots of the same scene at varying exposures. Most mobile phones now offer built-in HDR modes, simplifying the process.
However, for more control, you can manually bracket your exposures and combine them later using specialized software.
Essential Mobile HDR Equipment

Now that you understand the basics of HDR in architectural photography, let's look at the gear you'll need for mobile HDR shots. Your smartphone is the cornerstone of mobile HDR photography, so verify you're using a recent model with advanced camera capabilities. Look for phones with multiple lenses and HDR shooting modes.
A sturdy tripod is vital for capturing sharp, aligned images. Opt for a lightweight, portable tripod with flexible legs for versatile positioning. A smartphone mount or clamp is key to securely attach your device to the tripod.
Remote shutter release options, such as Bluetooth remotes or your phone's voice control feature, help minimize camera shake. Consider investing in clip-on lenses to expand your focal range and creative possibilities.
For more control over your shots, download a third-party camera app that offers manual exposure settings and RAW capture. A portable battery pack will keep your phone charged during extended shooting sessions.
Lastly, don't forget post-processing tools. Install HDR merging and editing apps on your phone to fine-tune your images on the go.
With this equipment, you'll be well-prepared to capture stunning HDR architectural photos using just your mobile device.
Composition Techniques for HDR Architecture

Three key composition techniques elevate HDR architectural photography: leading lines, symmetry, and framing.
Leading lines guide the viewer's eye through the image, creating depth and perspective. In architectural shots, use staircases, hallways, or rows of columns to draw attention to the main subject. Experiment with different angles to find the most compelling lines that lead to your focal point.
Symmetry is a powerful tool in architectural photography. Look for reflections in glass facades, mirror images in water features, or perfectly balanced structural elements. Center your composition to emphasize symmetry, or intentionally break it for a more dynamic effect.
Don't forget to straighten your horizons and vertical lines to maintain the integrity of the building's design.
Framing adds context and depth to your HDR images. Use doorways, windows, or arches to frame the main architectural element. This technique creates a sense of place and draws the viewer's eye to the central focus.
When framing, pay attention to the exposure differences between the frame and the subject, as HDR can help balance these contrasts effectively.
Capturing Bracketed Exposures on Mobile

To capture bracketed exposures for HDR architecture on your mobile device, you'll need to use specialized apps or manual controls.
Consider downloading exposure bracketing apps like ProCamera or Camera+ 2, which offer automated multi-exposure capture.
If your phone's native camera app includes manual controls, you can also adjust exposure compensation manually, taking a series of shots at different exposure levels.
Exposure Bracketing App Recommendations
When capturing bracketed exposures on your mobile device, having the right app can make all the difference. Several apps excel at this task, offering features tailored for HDR architectural photography.
ProCamera is a top choice for iOS users, providing manual controls and an intuitive bracketing mode. It allows you to set the number of exposures and EV steps, giving you precise control over your bracketing sequence.
For Android, Camera FV-5 offers similar functionality, with a user-friendly interface and RAW capture capabilities.
If you're looking for a cross-platform option, VSCO is worth considering. While primarily known for its filters, it also includes a robust exposure bracketing feature.
Another versatile choice is Adobe Lightroom Mobile, which not only captures bracketed exposures but also provides powerful editing tools for post-processing your HDR images.
For those seeking simplicity, HDR Camera+ (Android) and Pro HDR X (iOS) automate the bracketing process, making it easier for beginners to capture HDR shots. These apps handle exposure calculations and merging, producing ready-to-share results with minimal effort.
Experiment with these apps to find the one that best suits your workflow and skill level.
Manual Exposure Adjustment Techniques
Many mobile photographers rely solely on apps for exposure bracketing, but mastering manual adjustment techniques can give you greater control and flexibility. To capture bracketed exposures manually, start by setting your camera app to Pro or Manual mode. Adjust the exposure compensation (EV) value, typically ranging from -2 to +2 in full stops.
For a standard three-shot bracket, take your first shot at the metered exposure (0 EV), then adjust for underexposed (-2 EV) and overexposed (+2 EV) shots. For more detail, consider a five-shot bracket with additional -1 EV and +1 EV exposures. Remember to keep your phone steady between shots, ideally using a tripod.
Here's a quick guide for manual bracketing:
| Exposure | EV Value | Shutter Speed | ISO |
|---|---|---|---|
| Base | 0 | 1/60 | 100 |
| Under 1 | -1 | 1/125 | 100 |
| Under 2 | -2 | 1/250 | 100 |
| Over 1 | +1 | 1/30 | 100 |
| Over 2 | +2 | 1/15 | 100 |
HDR Processing Apps for Smartphones

You'll find numerous HDR processing apps available for smartphones, each offering unique features and capabilities.
Popular options include Adobe Lightroom Mobile, Snapseed, and ProHDR X, which provide powerful tools for merging and enhancing your bracketed exposures.
To choose the best app for your needs, compare their processing techniques, interface ease-of-use, and the quality of final results they produce.
Top HDR Apps
Smartphones have revolutionized HDR photography, putting powerful processing capabilities in the palm of your hand. To make the most of your architectural HDR shots, you'll want to explore the top HDR apps available.
Adobe Lightroom Mobile stands out as a versatile option, offering advanced HDR merging and editing tools. It's perfect for those familiar with the desktop version and seeking professional-grade results.
For a more user-friendly experience, try Snapseed. This free app from Google provides intuitive HDR processing with a range of presets and fine-tuning options.
HDR Camera+ is another popular choice, known for its real-time HDR preview and ability to capture up to 3 exposures.
If you're an iPhone user, ProCamera is a powerful option with manual controls and a dedicated HDR mode.
Android users might prefer Camera FV-5, which offers DSLR-like manual controls and RAW capture for maximum editing flexibility.
For a unique approach, consider Hydra. This app uses advanced algorithms to create HDR-like images from a single exposure, ideal for capturing fast-moving scenes or when you can't use a tripod.
Processing Techniques Comparison
Each HDR processing app offers unique techniques and approaches to creating stunning architectural images. When comparing processing techniques, you'll find that some apps focus on automated HDR merging, while others provide more manual control.
Apps like Snapseed and Adobe Lightroom Mobile excel at quick, one-tap HDR processing. They use AI algorithms to analyze and blend multiple exposures, producing natural-looking results with minimal effort. These are great for on-the-go editing or when you're short on time.
For more control, consider apps like ProCamera or Focos. They allow you to adjust individual exposure levels, fine-tune contrast, and manipulate highlights and shadows. This granular control is ideal for complex architectural scenes with challenging lighting conditions.
Some apps, like Aurora HDR, offer specialized architectural presets. These can be excellent starting points for enhancing structural details and textures. You'll find tools for perspective correction and lens distortion removal, which are essential for architectural photography.
When choosing a processing technique, consider your subject matter and desired outcome. Experiment with different apps to find the one that best suits your style and workflow.
Post-Processing Tips for Stunning Results

Post-processing is where the magic of HDR architectural photography truly comes to life. You'll need to blend your multiple exposures seamlessly and enhance the image's overall impact. Start by aligning your bracketed shots in your chosen HDR software, then adjust the tone mapping to bring out the details in both highlights and shadows.
Next, fine-tune the contrast, saturation, and sharpness to make your architecture pop. Don't overdo it; aim for a natural look that maintains the building's true character. Pay special attention to straightening vertical lines and correcting lens distortions, which are essential for architectural shots.
Consider these key adjustments for stunning results:
| Adjustment | Purpose | Tip |
|---|---|---|
| Highlights | Recover detail | Lower gradually |
| Shadows | Reveal texture | Lift cautiously |
| Clarity | Enhance structure | Use sparingly |
| Dehaze | Improve depth | Apply subtly |
Frequently Asked Questions
How Does HDR Affect the File Size of Architectural Photos?
HDR typically increases your architectural photo file sizes. You're combining multiple exposures, resulting in larger files. However, the exact increase depends on factors like the number of exposures used and your camera's resolution.
Can HDR Be Used Effectively for Night-Time Architectural Photography?
Yes, you can use HDR effectively for night-time architectural photography. It'll help you capture both bright lights and dark shadows, revealing intricate details. You'll get stunning results by balancing exposure and preserving the building's mood and atmosphere.
Are There Any Ethical Concerns When Using HDR in Real Estate Photography?
Yes, you should be aware of ethical concerns when using HDR in real estate photography. It's important to maintain accuracy and not misrepresent properties. Avoid over-processing images that could mislead potential buyers about the true appearance of a home.
How Does HDR Impact the Authenticity of Architectural Documentation?
You'll find HDR can impact architectural documentation's authenticity. It enhances details but may exaggerate colors and contrast. You're capturing a heightened reality, which might not accurately represent the space as it appears in person.
What Are the Limitations of HDR When Photographing Reflective Building Materials?
When photographing reflective materials, you'll face challenges with HDR. It can't eliminate all glare or unwanted reflections. You might struggle to capture true surface textures and colors, especially on highly polished or mirrored surfaces.
In Summary
You've now got the tools to create stunning HDR architectural photos with your smartphone. Remember to experiment with composition, capture multiple exposures, and use HDR apps for processing. Don't be afraid to fine-tune your images in post-processing. With practice, you'll master the art of mobile HDR architectural photography. Keep exploring new techniques and pushing your creative boundaries. Your smartphone is a powerful tool – use it to showcase architecture in all its glory.


Leave a Reply