
HDR photos pop on mobile devices by capturing a wider range of light and color, enhancing detail in both highlights and shadows. You'll achieve stunning results by choosing high-contrast scenes, mastering exposure bracketing, and utilizing your device's dynamic range effectively. Balance highlights and shadows, enhance color and contrast, and optimize your HDR settings for the best outcome. Avoid common pitfalls like over-processing and movement issues. Post-processing and using specialized HDR apps can further elevate your images. Compose your shots thoughtfully, and don't be afraid to push creative boundaries. The world of HDR photography offers endless possibilities for breathtaking mobile images.
Understanding HDR Photography Basics
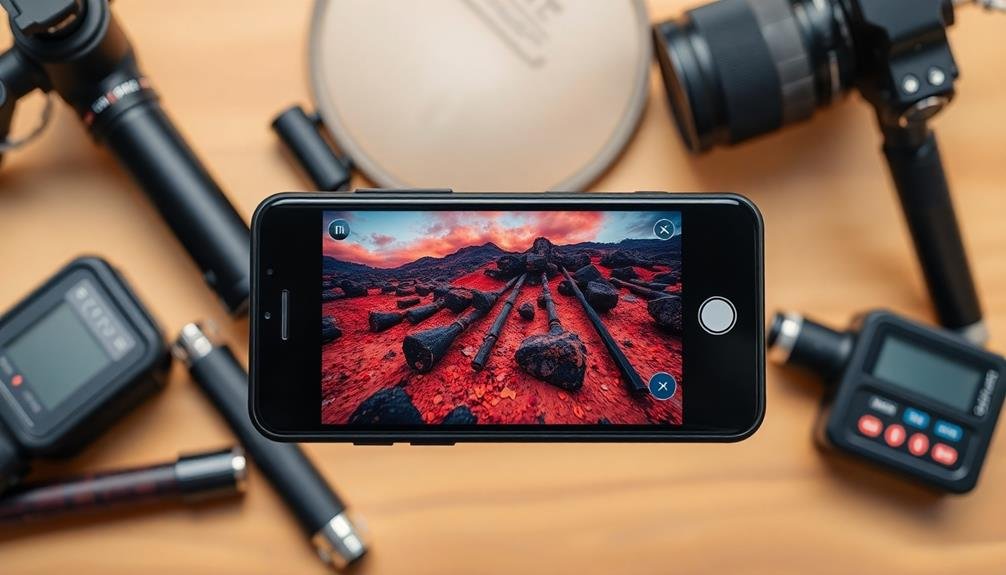
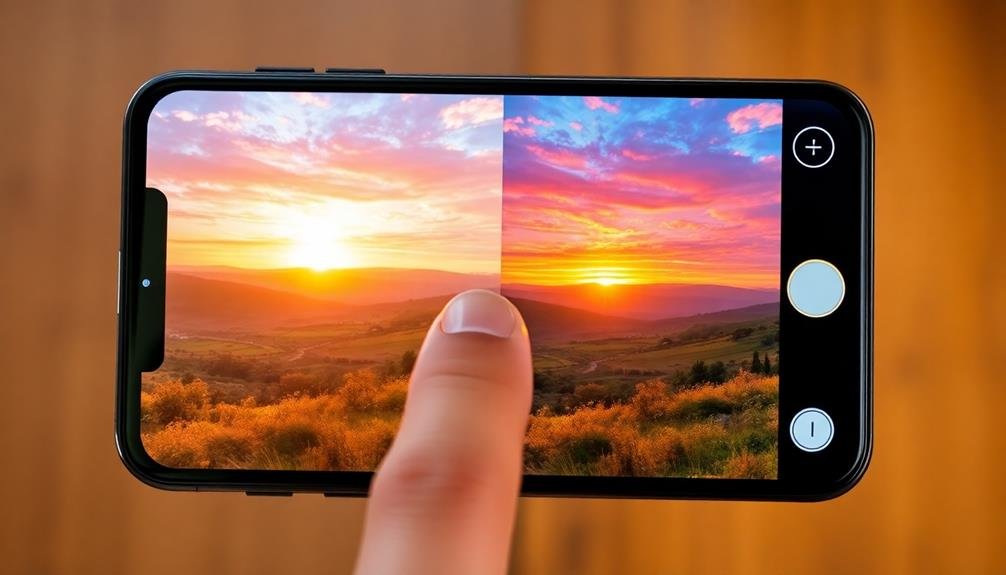
HDR, or High Dynamic Range, photography is a technique that captures a wider range of light intensities than standard digital images. It works by combining multiple exposures of the same scene, typically one underexposed, one properly exposed, and one overexposed. This process allows you to capture details in both the brightest highlights and darkest shadows that might be lost in a single exposure.
When you take an HDR photo on your mobile device, the camera rapidly captures these multiple exposures and merges them into a single image. The result is a photo with improved dynamic range, showing more detail across the entire tonal range. You'll notice enhanced shadow details, richer colors, and preserved highlights in your HDR images.
Understanding HDR basics helps you know when to use this feature. It's particularly useful in high-contrast scenes, like landscapes with bright skies and dark foregrounds, or interiors with bright windows.
However, it's not ideal for moving subjects or low-light situations where hand-holding your device might introduce blur. By grasping these fundamentals, you'll be better equipped to leverage HDR effectively on your mobile device, creating more visually striking and balanced photos.
Choosing the Right Scenes
When shooting HDR photos on your mobile device, you'll want to look for high contrast environments that showcase the technique's strengths.
Seek out scenes with a wide dynamic range, where both bright highlights and deep shadows are present.
Don't forget to experiment with vibrant color scenes, as HDR can enhance the richness and depth of hues in your images.
High Contrast Environments
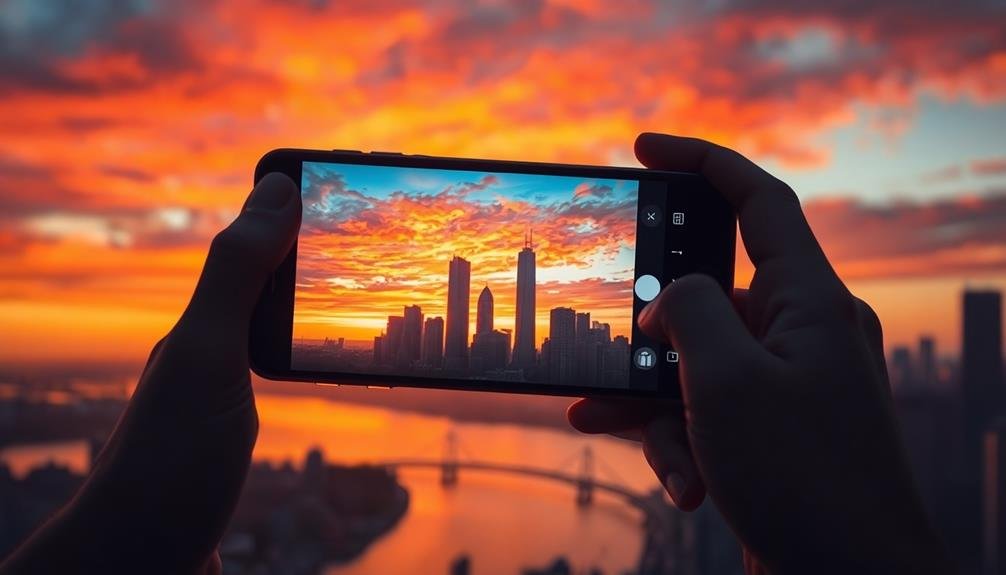
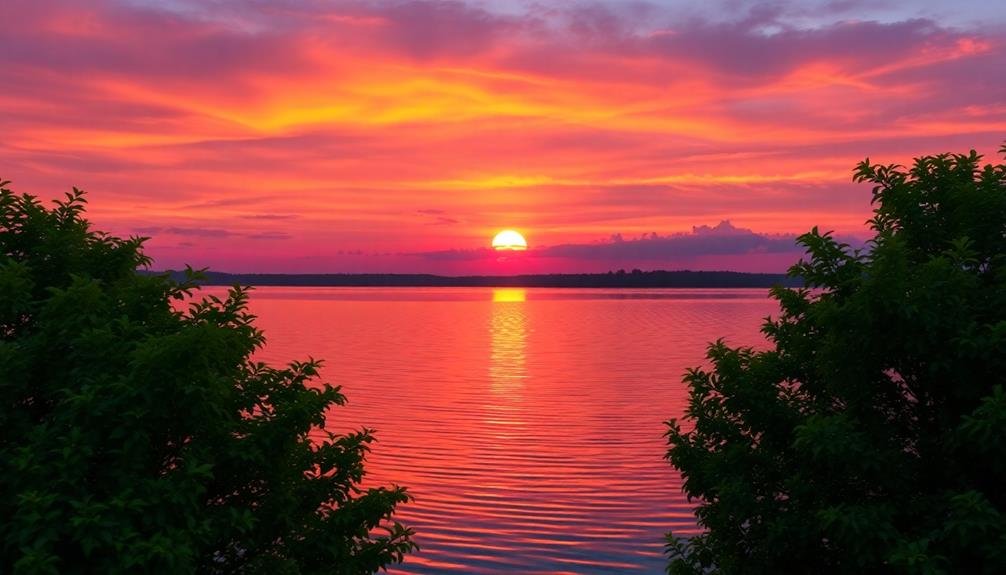
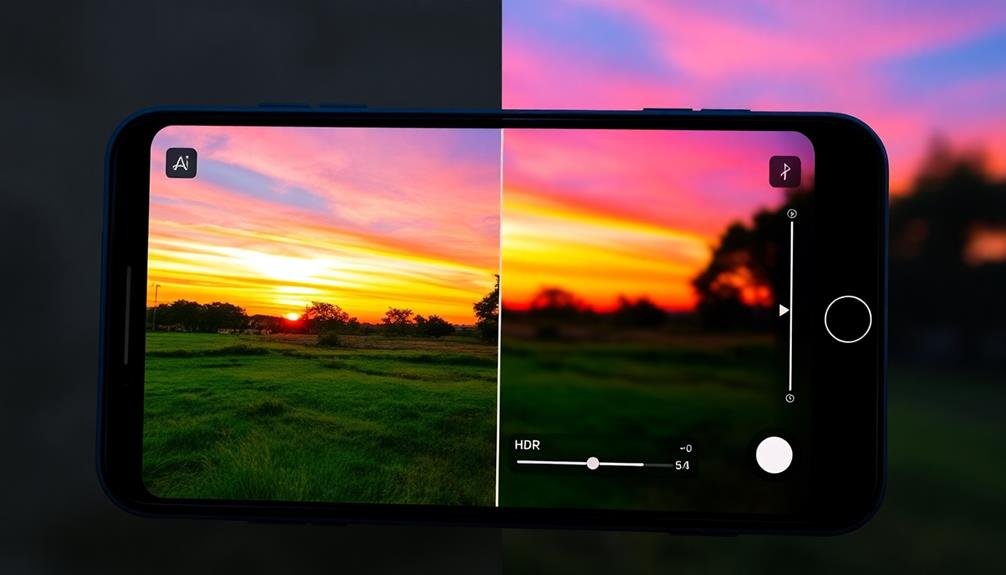
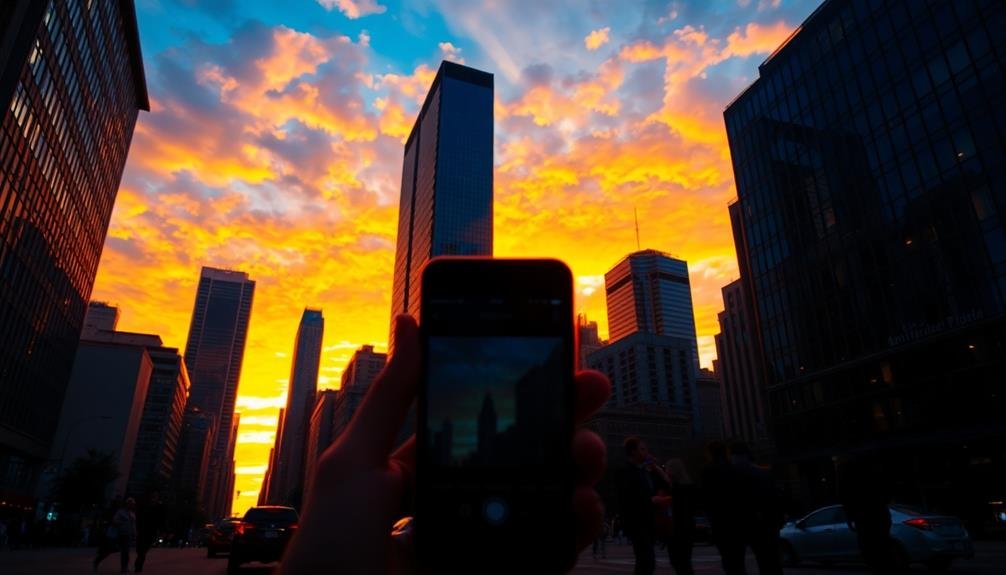
Photography's high contrast scenes present the perfect opportunity to showcase HDR's strengths. When you're faced with bright skies and deep shadows, HDR can help you capture all the details that your phone's camera might otherwise miss. Look for scenes where there's a significant difference between the lightest and darkest areas, such as a sunset behind a cityscape or a brightly lit window in a dimly lit room.
To make the most of HDR in high contrast environments, consider these tips:
| Scenario | HDR On | HDR Off |
|---|---|---|
| Sunsets | ✓ | ✗ |
| Backlit subjects | ✓ | ✗ |
| Indoor/outdoor shots | ✓ | ✗ |
| Landscapes | ✓ | ✗ |
| Night scenes | ✓ | ✗ |
Dynamic Range Opportunities
Recognizing scenes with a wide dynamic range is essential for maximizing HDR's potential on your mobile device. Look for scenes with stark contrasts between light and dark areas, as these provide the perfect canvas for HDR photography.
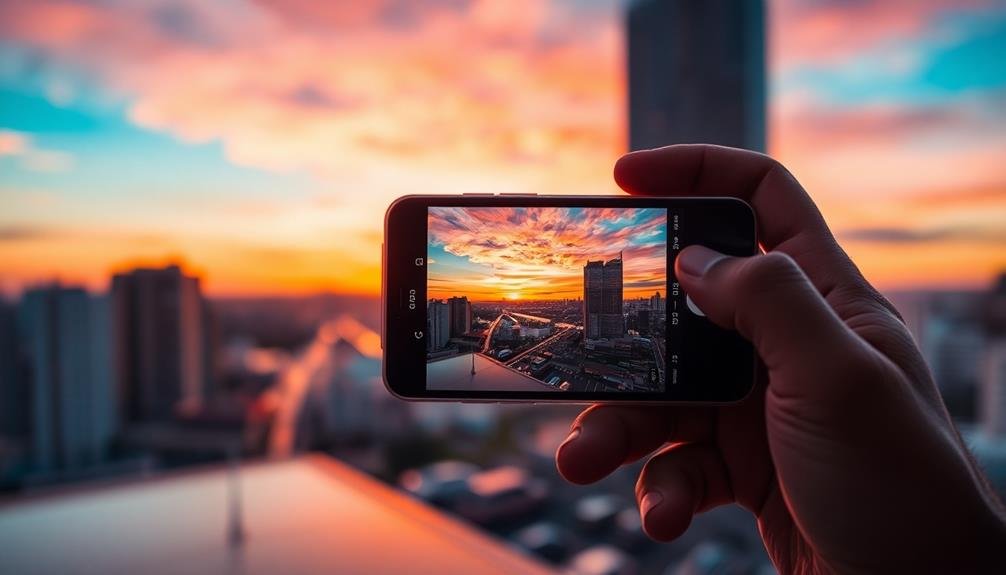
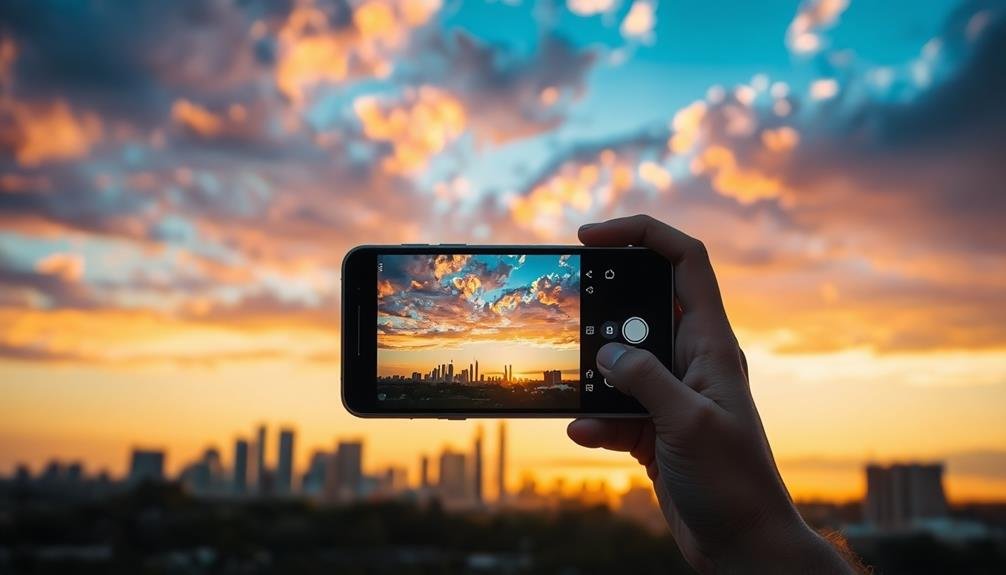
Sunsets and sunrises offer excellent opportunities, with their bright skies and shadowy foregrounds. Cityscapes at night, featuring bright lights against dark buildings, also create compelling HDR subjects.
Interior scenes with bright windows and dimly lit rooms are ideal for showcasing HDR's capabilities. When shooting landscapes, seek out scenes with both shadowy areas and brightly lit elements, such as a forest with sunlight filtering through the canopy.
Cloudy days can provide unique opportunities, as the varying cloud densities create natural contrasts in the sky.
Don't overlook reflective surfaces like water or glass, which can add depth and complexity to your HDR images. Remember that HDR shines in challenging lighting conditions, so don't shy away from backlit subjects or scenes with extreme brightness variations.
Vibrant Color Scenes
Numerous vibrant color scenes present excellent opportunities for HDR photography on mobile devices.
You'll find that colorful landscapes, sunsets, and urban environments are perfect subjects for HDR. Look for scenes with a wide range of colors and tones, as HDR can bring out subtle hues and details that might be lost in standard photos.
When shooting landscapes, focus on scenes with vibrant skies, lush vegetation, and varied terrain.
Sunsets and sunrises offer a natural palette of rich colors that HDR can enhance beautifully.
In urban settings, seek out colorful street art, neon signs, and architectural details that pop against the cityscape.
Don't overlook indoor scenes with mixed lighting, such as museums or churches with stained glass windows.
These environments often have challenging lighting conditions that HDR can balance effectively.
Remember to take into account the contrast between colors in your composition.
HDR excels at capturing scenes with both bright and dark areas, so look for subjects that incorporate a range of tones.
Mastering Exposure Bracketing
At the heart of HDR photography lies exposure bracketing, a technique that's essential for capturing a wider range of light than your camera can handle in a single shot.
To master exposure bracketing, you'll need to understand how to adjust your camera's settings to take multiple shots at different exposures.
Start by setting your camera to Aperture Priority mode, which allows you to control the depth of field while the camera adjusts shutter speed.
Next, use your device's exposure compensation feature to capture a series of images at different brightness levels. Typically, you'll want to take at least three shots:
- One at the standard exposure
- One underexposed (to capture highlights)
- One overexposed (to capture shadows)
- Optional: Additional shots for more detail
Remember to keep your device steady or use a tripod to guarantee alignment between shots.
Many mobile devices now offer built-in HDR modes that automate this process, but understanding manual bracketing gives you more control over the final image.
With practice, you'll develop an eye for scenes that benefit most from HDR techniques, allowing you to create stunning, high-dynamic-range photos right from your mobile device.
Utilizing Dynamic Range Effectively

When utilizing dynamic range effectively in HDR photography on your mobile device, you'll need to focus on balancing highlights and shadows.
You can achieve this by carefully adjusting exposure settings to capture details in both bright and dark areas of your scene.
Balancing Highlights and Shadows
Over the years, HDR photography has revolutionized how we capture scenes with extreme lighting contrasts.
When balancing highlights and shadows in HDR photos on mobile devices, you're aiming to create a natural-looking image that retains detail in both bright and dark areas.
To achieve this balance, focus on these key aspects:
- Expose for the highlights: Set your camera to prioritize highlight retention, as it's easier to recover shadow detail in post-processing.
- Use bracketing: Take multiple exposures at different settings to capture the full range of light in the scene.
- Adjust tone mapping: Fine-tune the balance between highlights and shadows using your device's HDR software or a third-party app.
- Pay attention to mid-tones: Don't forget the importance of maintaining natural-looking mid-tones while balancing extremes.
Capturing Wide Tonal Range
Capturing a wide tonal range is at the heart of HDR photography on mobile devices. When you're shooting HDR, you're aiming to capture as much detail as possible from the darkest shadows to the brightest highlights. This extended range allows you to create images that more closely resemble what your eyes see in real life.
To capture a wide tonal range effectively, you'll need to understand your device's HDR capabilities. Most modern smartphones can take multiple exposures in quick succession, each capturing different parts of the scene's tonal range. The key is to hold your device steady during this process to guarantee sharp, aligned images.
Pay attention to scenes with high contrast, such as sunsets or interiors with bright windows. These situations benefit most from HDR's ability to capture a wide tonal range.
You'll want to frame your shot carefully, considering both the brightest and darkest areas. Experiment with your phone's HDR settings, as some devices offer HDR auto, HDR on, or even HDR strong options. Each can produce different results depending on the lighting conditions and subject matter.
Balancing Highlights and Shadows
Although HDR photography aims to create balanced images, the key lies in effectively managing highlights and shadows. You'll want to guarantee that your brightest areas retain detail without becoming overexposed, while your darkest areas remain visible without appearing too murky. This balance is essential for creating HDR photos that truly pop on mobile devices.
To achieve this balance, focus on:
- Exposure bracketing: Take multiple shots at different exposures to capture the full range of light in the scene.
- Selective adjustments: Use your mobile editing tools to fine-tune specific areas of the image.
- Contrast management: Adjust the overall contrast to enhance the separation between light and dark areas.
- Tone mapping: Apply algorithms that compress the tonal range while preserving local contrast.
When balancing highlights and shadows, you'll need to make judgments based on the specific scene. Some images may benefit from slightly brighter highlights to create a sense of luminosity, while others might require deeper shadows for dramatic effect.
The goal is to create a natural-looking image that accurately represents the scene's dynamic range while still being visually appealing on your mobile device's screen.
Enhancing Color Saturation
With HDR photography, enhancing color saturation can take your mobile images to the next level. This technique intensifies the vibrancy of colors in your photos, making them more visually appealing and impactful.
To boost color saturation effectively, start by adjusting the overall saturation levels in your mobile editing app. Be careful not to overdo it, as excessive saturation can look unnatural and distract from the image's quality.
Focus on enhancing specific color ranges to create a more balanced and realistic look. You can target individual hues like blues in the sky or greens in foliage to make them pop without affecting the entire image.
Experiment with the vibrance tool, which increases the intensity of muted colors while leaving already saturated areas untouched. This approach helps maintain a natural appearance while still adding depth to your HDR photos.
Consider the mood you want to convey when adjusting color saturation. Warmer tones can create a cozy atmosphere, while cooler tones might evoke a sense of calm.
Don't forget to fine-tune the contrast and brightness to complement your saturation adjustments, ensuring a harmonious and eye-catching final result.
Implementing Contrast for Impact
To elevate your HDR photos on mobile devices, focus on implementing contrast for maximum impact.
You'll want to enhance light-dark differences, boost color contrasts, and perfect the tonal range.
Enhancing Light-Dark Differences
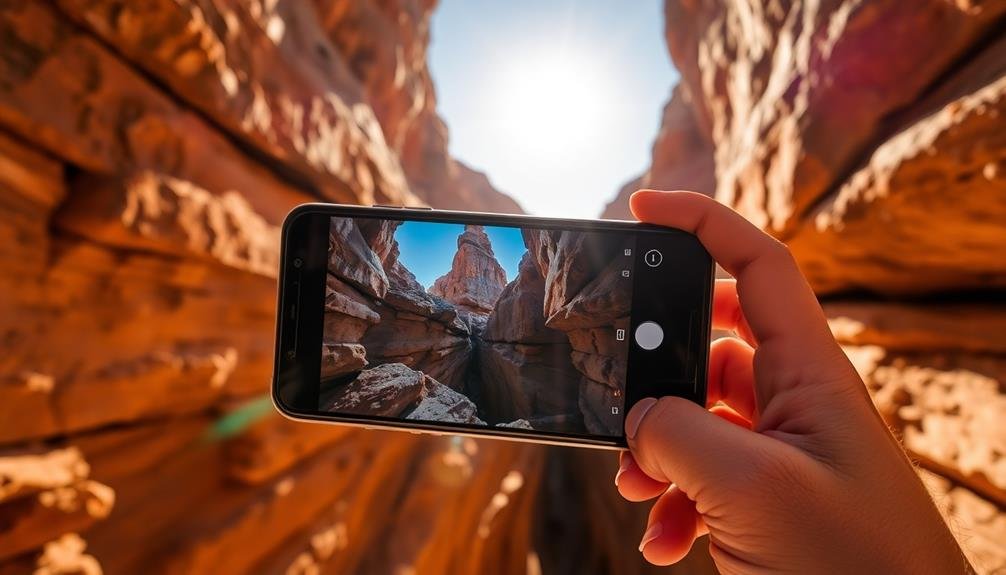
HDR photography excels at enhancing light-dark differences, creating images with striking contrast and visual impact. When you're shooting HDR photos on your mobile device, focus on scenes with a wide range of tones to maximize this effect. Look for situations where there's a significant difference between the brightest and darkest areas in your frame.
To enhance light-dark differences in your HDR photos:
- Seek out high-contrast scenes, like sunsets or backlit subjects.
- Use the HDR mode to capture details in both highlights and shadows.
- Adjust exposure compensation to fine-tune the overall brightness.
- Experiment with different HDR settings or apps for varied results.
Once you've captured your HDR image, don't be afraid to make further adjustments in post-processing. Many mobile editing apps offer tools to enhance contrast, adjust shadows and highlights, and fine-tune the overall tonal range.
Boosting Color Contrasts
Beyond enhancing light-dark differences, HDR photography on mobile devices offers a powerful tool for boosting color contrasts. This feature allows you to create images with vibrant, eye-catching hues that stand out from standard photos. By capturing multiple exposures, HDR technology can bring out subtle color variations that might be lost in a single shot.
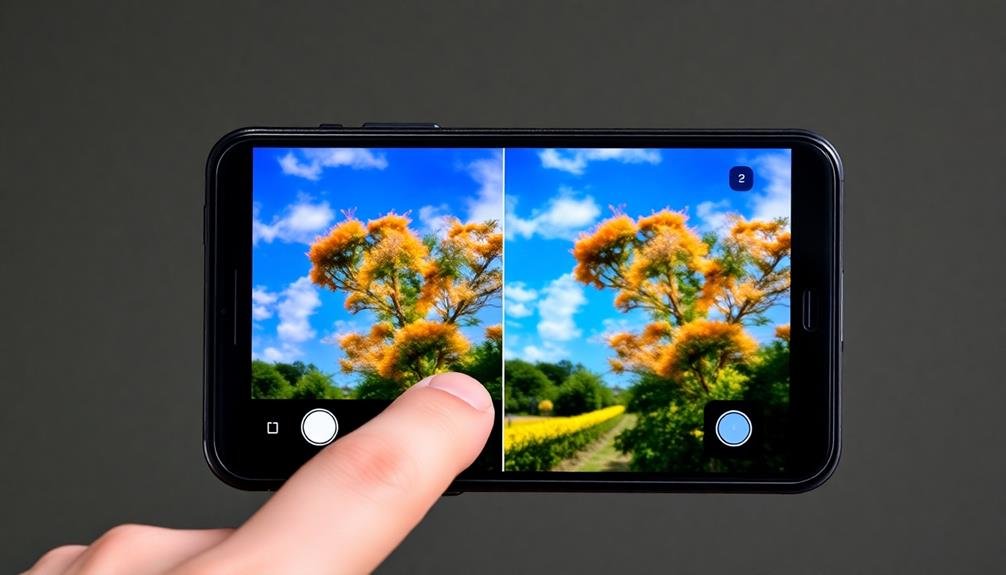
When you're using HDR mode, pay attention to scenes with a wide range of colors. Landscapes with blue skies, green foliage, and colorful flowers are perfect subjects. The HDR process will help separate these colors, making each one more distinct and vivid. You'll notice that reds appear richer, blues deeper, and greens more lush.
HDR also excels at revealing color details in shadows and highlights. It can pull out hidden hues in dark areas while preserving the delicate tones in bright spots. This balanced approach results in photos with a more natural, yet enhanced color palette.
To make the most of HDR's color-boosting abilities, experiment with different scenes and lighting conditions. You'll soon discover how this technology can transform ordinary shots into striking, color-rich images that truly pop on your mobile device's screen.
Perfecting Tonal Range
Mastering tonal range is essential for creating impactful HDR photos on your mobile device.
It's all about balancing the lightest and darkest areas of your image to reveal details that might otherwise be lost. To perfect your tonal range, you'll need to adjust highlights, shadows, whites, and blacks in your HDR editing app.
Start by identifying the key elements in your photo that you want to emphasize.
Then, use these techniques to enhance your image's tonal range:
- Boost shadows to reveal details in darker areas without losing contrast
- Reduce highlights to recover information in bright spots
- Adjust whites to set the brightest point in your image
- Fine-tune blacks to deepen dark areas and add depth
Optimizing HDR Settings
While capturing stunning HDR photos on your mobile device is an art, optimizing your settings can greatly enhance the results. Start by adjusting your exposure compensation. Aim for a slightly underexposed image to preserve highlights, as you can always recover shadow details later.
Next, set your ISO as low as possible to minimize noise, especially in darker areas where HDR tends to amplify grain. Consider using manual focus to guarantee sharpness across all exposures.
If your device offers bracketing options, experiment with different exposure values to find the ideal range for your scene. Many phones now offer AI-assisted HDR modes; while these can be helpful, don't rely on them entirely. Instead, learn to recognize high-contrast scenes where HDR truly shines.
Pay attention to movement within your frame. HDR works best with static subjects, so use burst mode or faster shutter speeds for scenes with motion.
Finally, explore your device's HDR-specific settings, such as HDR strength or tone mapping intensity. These can help you fine-tune the balance between natural-looking results and more dramatic effects.
Capturing Details in Challenging Light
When capturing HDR photos in challenging light conditions, you'll need to focus on balancing highlights and shadows effectively.
By using HDR mode, you're expanding the dynamic range of your image, allowing for more detail in both bright and dark areas.
This technique enables you to preserve information that might otherwise be lost in overexposed or underexposed regions of your photo.
Balancing Highlights and Shadows
The art of balancing highlights and shadows is essential for capturing stunning HDR photos on mobile devices. When you're faced with high-contrast scenes, your phone's HDR mode works to bring out details in both bright and dark areas.
To make the most of this feature, you'll need to understand how to manipulate light and shadow effectively. Start by identifying the brightest and darkest parts of your scene. Then, consider how you want to balance these extremes. You don't always need to expose everything equally; sometimes, a dramatic contrast can create a more impactful image.
Experiment with different compositions to find the perfect balance.
Here's a quick guide to balancing highlights and shadows:
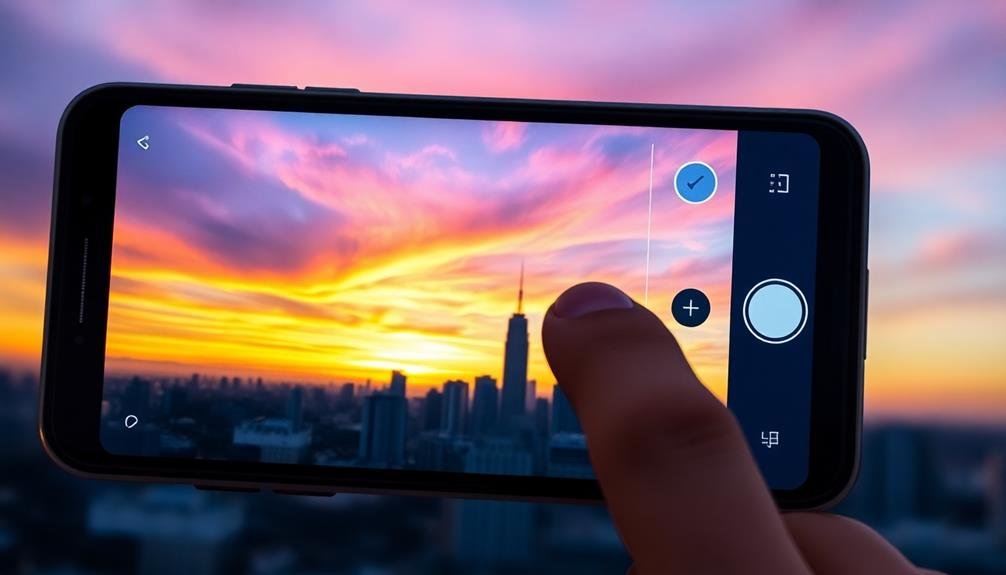
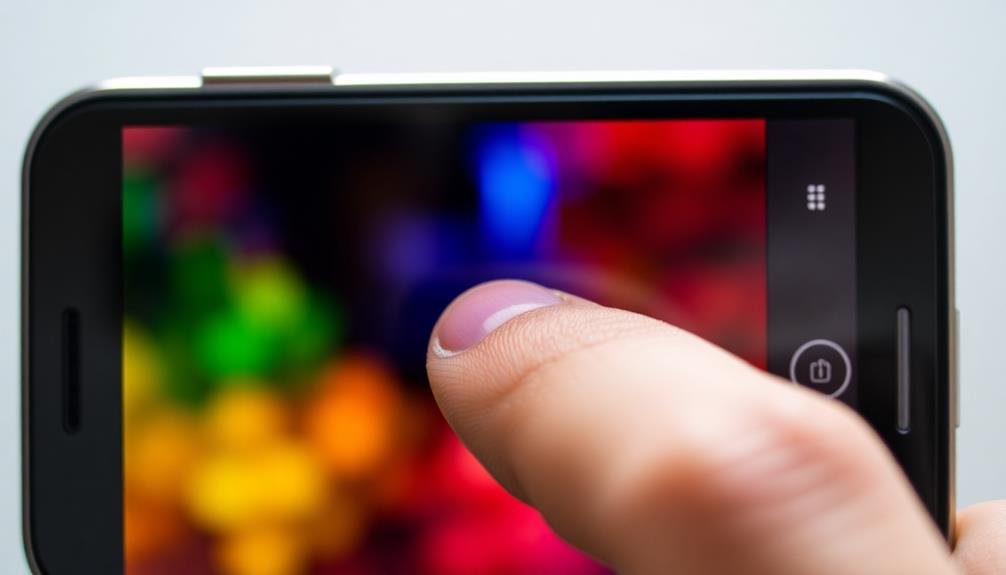
- Tap on different areas of the screen to adjust exposure
- Use HDR mode for high-contrast scenes
- Try bracketing your shots (taking multiple exposures)
- Edit your photos to fine-tune the balance
Expanding Dynamic Range
Challenging lighting conditions can push your mobile device's camera to its limits. That's where HDR's ability to expand dynamic range comes into play. By capturing multiple exposures and combining them, HDR technology allows you to capture details in both bright and dark areas that would otherwise be lost.
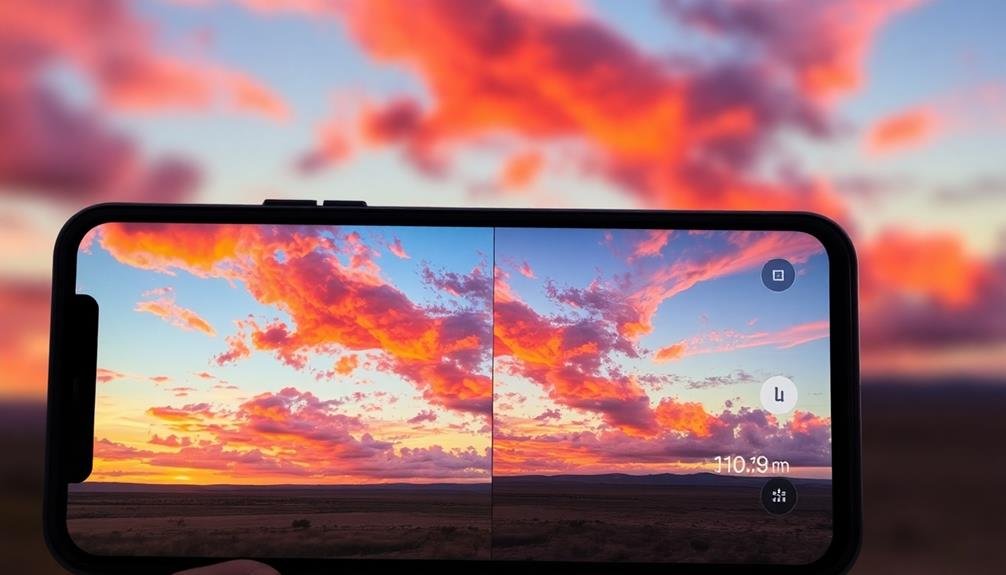
When you're shooting a scene with high contrast, such as a landscape with a bright sky and shadowy foreground, HDR can help you retain details in both areas. It'll preserve the cloud textures in the sky while also revealing the intricate details in the shadowy parts of the scene.
HDR is particularly useful in backlit situations. Instead of ending up with a silhouette or an overexposed background, you'll be able to capture details in both your subject and the background.
This technique is especially valuable for portrait photography in challenging light.
Avoiding Common HDR Pitfalls
Several common pitfalls can undermine your efforts when shooting HDR photos on mobile devices. To guarantee your HDR images truly pop, you'll need to avoid these mistakes.
First, don't overdo it. While HDR can enhance your photos, excessive processing can lead to unnatural-looking results. Aim for a balanced look that maintains the scene's realism while expanding its dynamic range.
Be mindful of movement in your frame. HDR requires multiple exposures, so any motion can cause ghosting or blurring. This applies to both camera shake and moving subjects. Use a stable surface or tripod when possible, and choose static scenes for the best results.
To further improve your HDR photography, keep these points in mind:
- Choose appropriate scenes: HDR works best with high-contrast situations
- Check for artifacts: Look for halos or unnatural edges in your final image
- Use manual controls: Adjust exposure settings for more precise results
- Experiment with HDR strength: Many apps offer adjustable HDR intensity
Post-Processing HDR Images
Most HDR photos benefit from some level of post-processing to truly shine. After capturing your HDR images, you'll want to fine-tune them to achieve the best results. Start by adjusting the overall exposure to guarantee a balanced look.
Then, focus on tweaking the highlights and shadows to bring out details in both bright and dark areas.
Color correction is vital in HDR post-processing. Adjust the white balance to eliminate any color casts, and fine-tune the saturation to make colors pop without appearing unnatural.
Pay attention to the contrast, as HDR images can sometimes look flat. Increase it slightly to add depth and dimension to your photo.
Don't forget about sharpening. Apply a subtle amount to enhance details without introducing noise. If your HDR photo looks too artificial, try reducing the HDR effect strength or opacity to achieve a more natural look.
Lastly, consider local adjustments. Use brushes or gradients to selectively enhance specific areas of your image. This technique can help draw attention to your subject and create a more dynamic composition.
HDR Apps for Mobile Devices
Today's smartphones come equipped with powerful cameras and advanced software, making HDR photography more accessible than ever. Many mobile devices now offer built-in HDR capabilities, but you can enhance your photography even further with specialized HDR apps. These apps provide more control over your HDR images and offer advanced features for capturing and processing high dynamic range photos.
When choosing an HDR app for your mobile device, consider the following features:
- Multiple exposure bracketing
- Automatic alignment and ghost removal
- Tone mapping and contrast adjustment
- Custom presets and filters
Popular HDR apps include Adobe Lightroom Mobile, ProHDR X, and Snapseed. These apps allow you to capture HDR images directly or process existing photos for an HDR effect. They offer intuitive interfaces and powerful editing tools to help you achieve stunning results.
Experiment with different apps to find the one that best suits your style and needs. Remember that while HDR can create impressive images, it's important to use the technique judiciously. Overprocessed HDR photos can look unnatural and garish, so aim for a balanced approach that enhances the scene without compromising its authenticity.
Composing for HDR Success
Successful HDR photography relies heavily on thoughtful composition. When framing your shot, look for scenes with a wide range of light and dark areas. Seek out high-contrast situations where shadows and highlights play a significant role.
Include elements in the foreground, mid-ground, and background to create depth and showcase HDR's ability to capture detail across the entire scene. Pay attention to leading lines and symmetry, as these compositional techniques can enhance the impact of your HDR images.
Don't forget about the rule of thirds; placing key elements off-center can create more dynamic and visually appealing photos. When shooting landscapes, try to incorporate interesting skies or reflective surfaces to maximize the HDR effect.
Be mindful of movement within your frame. HDR often requires multiple exposures, so static subjects work best. If you're including people or moving objects, consider using HDR sparingly or opting for single-shot HDR modes.
Pushing Creative Boundaries With HDR
While mastering HDR composition is fundamental, it's time to push the boundaries of what's possible with this technique. Experiment with unconventional subjects and lighting conditions to create truly unique HDR images.
Try capturing high-contrast scenes that would typically be challenging for traditional photography, such as sunsets behind silhouetted objects or dimly lit interiors with bright windows.
Don't be afraid to combine HDR with other mobile photography techniques. Mix HDR with long exposure shots, panoramas, or even macro photography to achieve striking results.
Play with different HDR strengths in your mobile app, adjusting the intensity to find the sweet spot between natural-looking and surreal images.
To inspire your creative journey, consider these innovative approaches:
- Shoot HDR time-lapses to capture dramatic changes in light
- Create HDR double exposures by blending multiple scenes
- Use HDR for abstract architectural shots, emphasizing textures and patterns
- Experiment with HDR in low-light situations to reveal hidden details
Frequently Asked Questions
Can HDR Photography Negatively Affect My Device's Storage Capacity?
Yes, HDR photography can impact your device's storage capacity. HDR photos are typically larger files, as they combine multiple exposures. You'll use more storage space if you frequently take HDR shots, potentially filling up your device faster.
How Does HDR Impact Battery Life When Shooting Extensively?
HDR can considerably drain your device's battery when used extensively. It's demanding on your processor, as it captures multiple exposures and merges them. You'll notice faster battery depletion, especially during long shooting sessions.
Are There Privacy Concerns With GPS Tagging in HDR Mobile Photography?
You should be aware of privacy concerns with GPS tagging in HDR mobile photography. It can reveal your location to anyone who views the photo's metadata. Consider disabling this feature if you're sharing sensitive images online.
Can HDR Photos Be Printed Without Losing Their Enhanced Visual Qualities?
Yes, you can print HDR photos while retaining their enhanced visual qualities. You'll need a high-quality printer and HDR-compatible paper. It's best to use a professional printing service for superior results, preserving the vivid colors and dynamic range.
How Do Different Mobile Operating Systems Handle HDR Photo Sharing?
You'll find that iOS and Android handle HDR photo sharing differently. iOS uses its own format, while Android typically converts to standard formats. Both systems aim to preserve HDR qualities when sharing between compatible devices.
In Summary
You've learned the essentials of creating stunning HDR photos on your mobile device. From understanding the basics to mastering exposure and post-processing, you're now equipped to capture eye-catching images. Remember to choose the right scenes, balance highlights and shadows, and use HDR apps effectively. Don't be afraid to push creative boundaries and experiment with composition. With practice, you'll soon be producing HDR photos that truly pop on mobile screens.


Leave a Reply