HDR photos can develop halos due to excessive tone mapping and misaligned exposure brackets. These bright outlines appear around high-contrast areas, often detracting from the image's natural beauty. To avoid halos, use a tripod for steady shots and capture bracketed exposures in quick succession. When processing, be conservative with tone mapping settings and pay attention to alignment. On smartphones, experiment with HDR modes and manual controls to achieve better results. Post-processing software can help refine your HDR images, allowing you to blend exposures manually for more control. By understanding the causes and implementing proper techniques, you'll be on your way to creating stunning, halo-free HDR photographs.
Understanding HDR Halos
Many HDR photos suffer from an unwanted effect known as halos. These bright outlines appear around objects in high-contrast areas of an image, particularly where light and dark regions meet. You'll often spot them along the edges of buildings against the sky or around tree branches.
Halos occur due to the nature of HDR processing. When you merge multiple exposures, the software attempts to blend the different light levels. Sometimes, it struggles to shift smoothly between extreme contrasts, resulting in these glowing edges. The effect is more pronounced when you've pushed the HDR settings too far or when there's significant movement between shots.
Understanding halos is vital for improving your HDR photography. They can make your images look artificial and over-processed, detracting from the natural beauty you're trying to capture.
Causes of HDR Halos
You'll often encounter HDR halos due to two main culprits: excessive tone mapping and misaligned exposure brackets.
When you push tone mapping too far, you're likely to create unnatural-looking edges around high-contrast areas in your image.
If your exposure brackets aren't perfectly aligned, you'll see ghosting and halos where the different exposures don't match up precisely.
Excessive Tone Mapping
Excessive tone mapping stands out as a primary culprit behind those pesky halos in HDR photos. When you merge multiple exposures, you're fundamentally compressing a wide range of tones into a single image. If you push this process too far, you'll start to see unnatural-looking edges where bright and dark areas meet.
The problem often occurs when you're trying to recover details in both highlights and shadows simultaneously. You might be tempted to crank up the local contrast, but this can lead to those telltale halos. It's a delicate balance between enhancing detail and maintaining a natural look.
Here's a quick breakdown of how excessive tone mapping affects different image elements:
| Image Element | Moderate Tone Mapping | Excessive Tone Mapping |
|---|---|---|
| Edges | Crisp, natural | Glowing, artificial |
| Textures | Enhanced, detailed | Overprocessed, grainy |
| Colors | Vibrant, true-to-life | Oversaturated, unrealistic |
To avoid halos, you'll need to exercise restraint with your tone mapping. Start with conservative settings and gradually increase them until you achieve the desired effect without introducing unwanted artifacts. Remember, subtlety is key in creating natural-looking HDR images.
Misaligned Exposure Brackets
While excessive tone mapping is a common culprit, misaligned exposure brackets can also lead to those dreaded halos in HDR photos.
When you're capturing multiple exposures for HDR, even the slightest movement between shots can cause misalignment. This misalignment creates edge artifacts when the images are combined, often resulting in visible halos.
Camera shake, handheld shooting, or moving subjects are frequent causes of misalignment. If you're photographing a landscape and the trees sway between exposures, you'll likely see halos around their edges in the final HDR image.
The same applies to clouds drifting across the sky or waves crashing on a beach.
To avoid these issues, always use a sturdy tripod when shooting HDR brackets.
Enable your camera's auto-bracketing feature to minimize the time between exposures. If possible, use a remote shutter release to prevent camera shake.
For scenes with moving elements, try capturing your brackets in rapid succession. Some advanced HDR software can correct minor misalignments, but it's best to get it right in-camera.
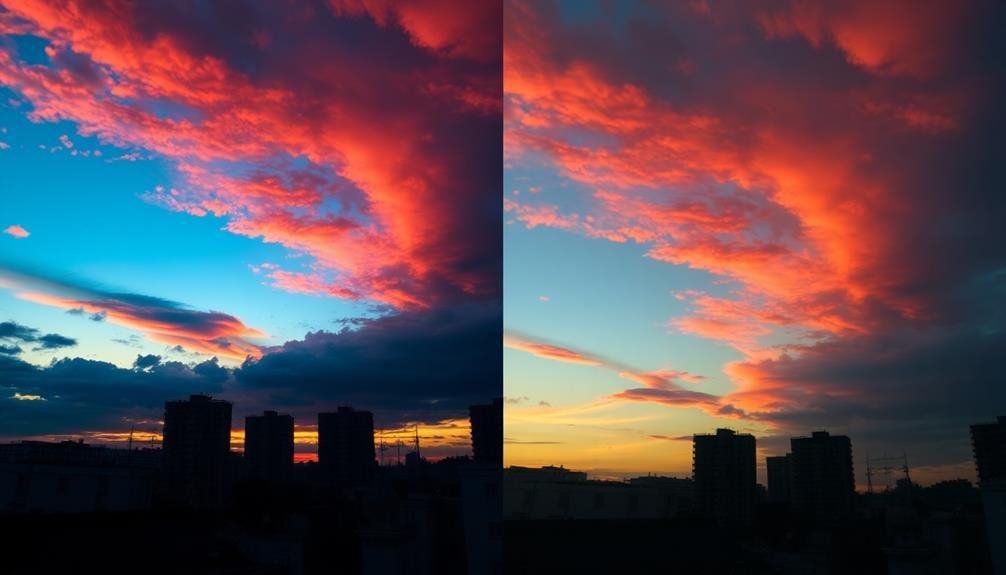
Common HDR Halo Scenarios
In spite of careful processing, HDR halos often appear in specific scenarios that photographers frequently encounter.
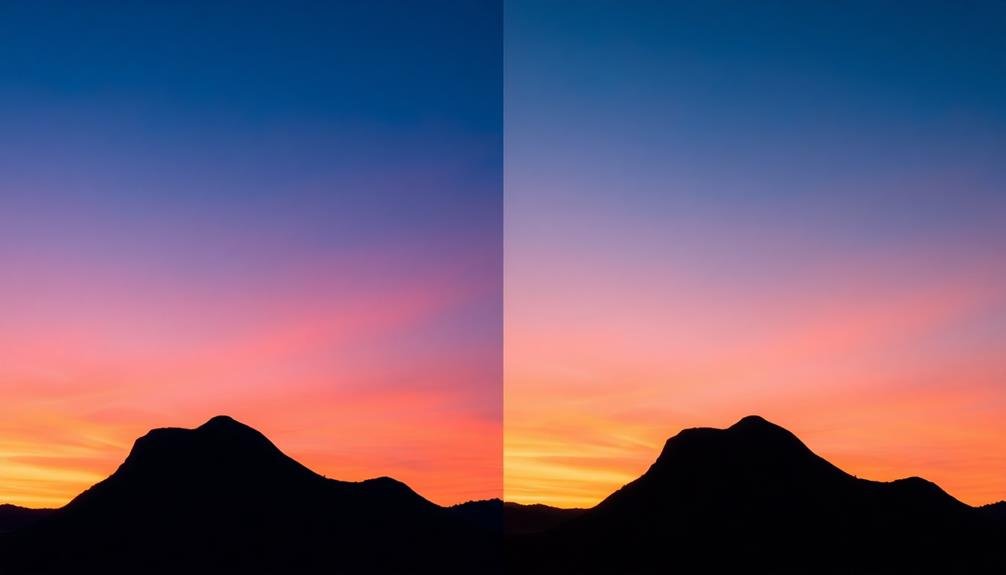
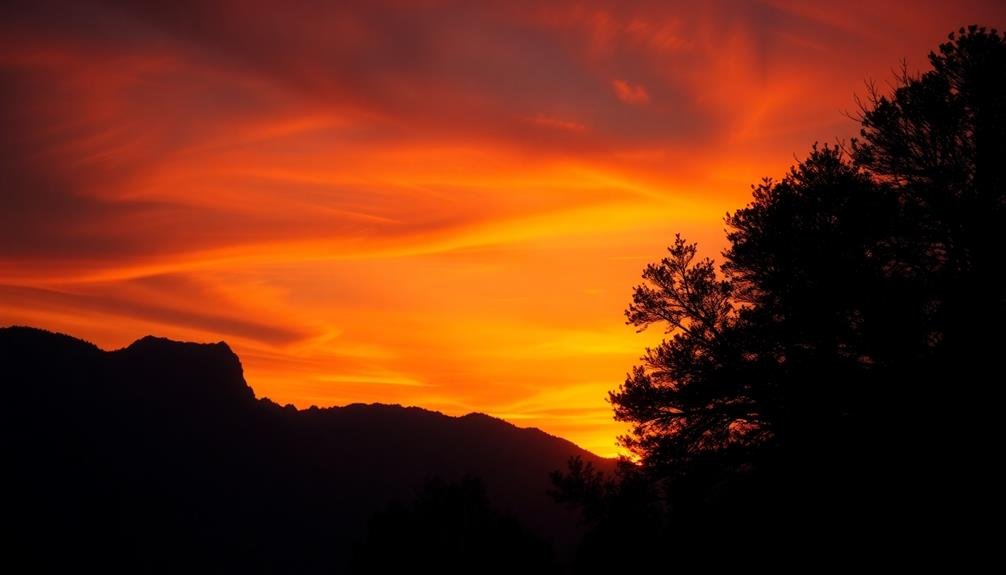
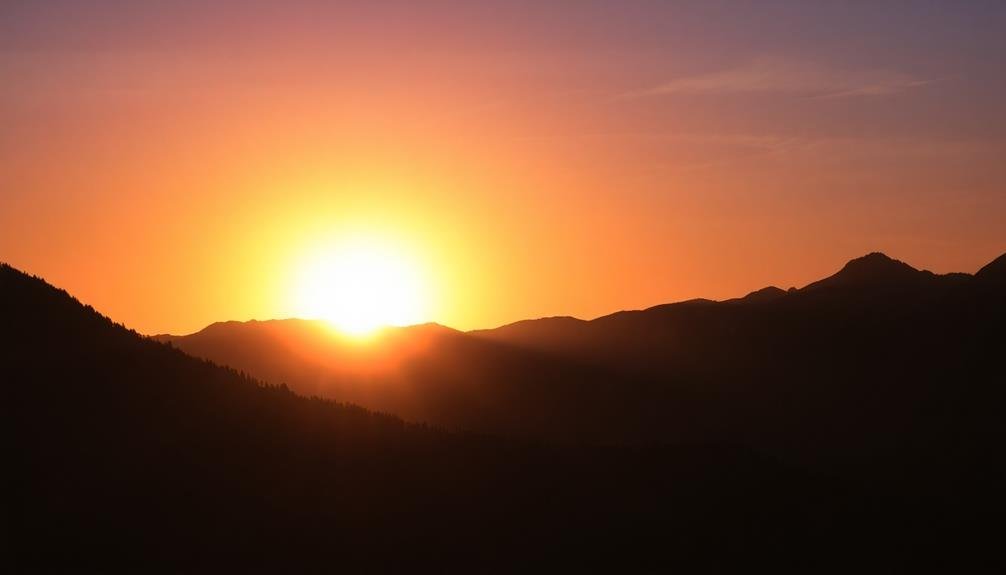
You'll commonly see these artifacts in images with high-contrast edges, particularly where bright skies meet darker landscapes or buildings. Sunrise and sunset shots are especially prone to halos, as the luminous sky contrasts sharply with silhouetted foregrounds.
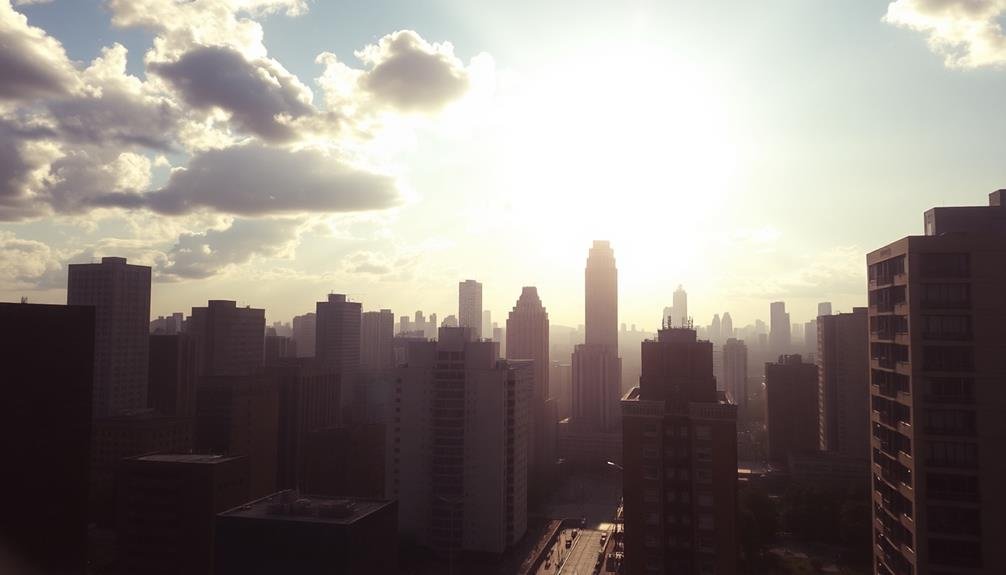
Architecture photography is another area where you'll frequently spot halos. The straight lines of buildings against bright skies create perfect conditions for these unwanted glows.
Similarly, landscape photos featuring trees or mountains against bright backgrounds often suffer from this issue.
You'll also notice halos in HDR images with moving subjects, such as clouds or water. The movement between exposure brackets can create misalignments, leading to halo effects around these elements.
Interior shots with bright windows are another common culprit, as the extreme contrast between the indoor space and the outside view challenges even the best HDR software.
Recognizing these scenarios will help you anticipate potential halo problems and take preventive measures during both shooting and post-processing stages.
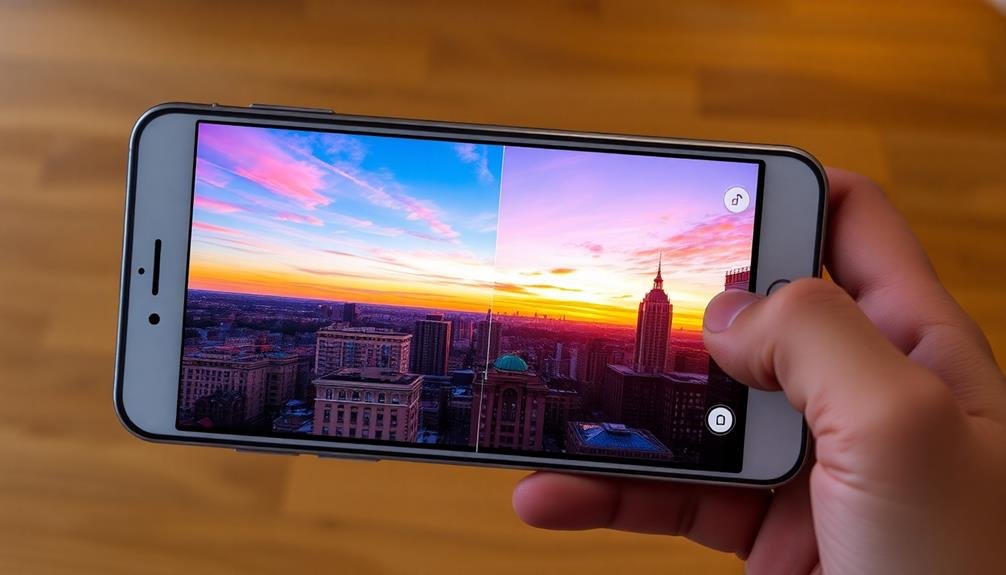
Smartphone HDR Limitations
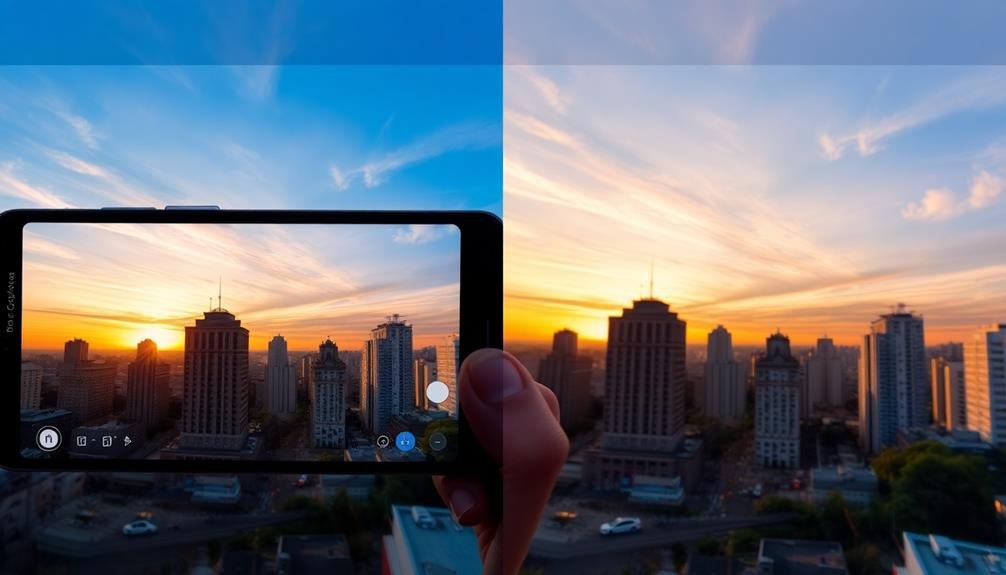
You'll find that smartphones face unique challenges when capturing HDR images.
Their limited dynamic range and smaller sensor sizes restrict the amount of light and detail they can capture in a single shot.
To compensate, smartphones rely heavily on automatic processing algorithms, which can sometimes struggle to balance highlights and shadows effectively, leading to those pesky halos.
Limited Dynamic Range
Smartphones have come a long way in photography, but they're still constrained by their small sensors and limited dynamic range. When you're trying to capture a scene with both bright highlights and deep shadows, your phone's camera might struggle to retain detail in both areas simultaneously.
This limitation often leads to the creation of halos in HDR photos, especially around high-contrast edges. The limited dynamic range of smartphone cameras means they can't capture the full spectrum of light in a single exposure.
To compensate, HDR processing combines multiple exposures, which can result in unrealistic-looking images if not done carefully. You'll notice this effect most prominently in scenes with:
- Bright skies against darker foregrounds
- Backlit subjects
- Interior shots with bright windows
To minimize halos in your smartphone HDR photos, try to avoid extreme lighting situations. Instead, opt for more evenly lit scenes or use manual exposure controls when available.
You can also experiment with third-party HDR apps that offer more advanced processing algorithms, potentially reducing the halo effect. Remember, while HDR can enhance your photos, it's not always the best choice for every situation.
Automatic Processing Algorithms
While smartphone cameras have become increasingly sophisticated, their automatic HDR processing algorithms still have limitations.
These algorithms are designed to quickly combine multiple exposures into a single image, but they often struggle with complex scenes. You'll notice that they tend to oversimplify tonal shifts, leading to those telltale halos around high-contrast edges.
The algorithms prioritize speed over precision, making rapid decisions about which parts of the image to brighten or darken. This can result in unnatural-looking areas where light and dark regions meet. They also struggle with movement, as even slight shifts between exposures can cause ghosting or blurring.
Another issue is that these algorithms often apply global adjustments, meaning they treat the entire image uniformly. This can lead to over-processing in some areas while under-processing others. You might see this as exaggerated colors or loss of detail in shadows or highlights.
Lastly, smartphone HDR algorithms typically lack the fine-tuning options available in dedicated HDR software. This means you're largely at the mercy of the phone's pre-programmed settings, which may not always produce the most natural-looking results.
Sensor Size Constraints
One of the key limitations in smartphone HDR photography stems from the compact sensor size. These smaller sensors found in smartphones have less dynamic range compared to larger sensors in DSLR or mirrorless cameras. This means they're less capable of capturing a wide range of light intensities in a single exposure, making HDR processing more challenging and prone to halo artifacts.
When you're shooting HDR with your smartphone, you're working with a sensor that has:
- Limited light-gathering capacity
- Reduced ability to distinguish between subtle tonal differences
- Higher noise levels in low-light situations
These constraints force smartphone HDR algorithms to work harder to combine multiple exposures, often leading to more aggressive processing. As a result, you'll notice more pronounced edge halos, especially in high-contrast areas of your photos.
The limited sensor size also means that smartphones rely more heavily on software processing to create HDR images, which can sometimes overcompensate and create unnatural-looking results.
To minimize these issues, try using manual HDR settings when available, and avoid scenes with extreme contrast differences when possible.
Proper Exposure Bracketing Techniques
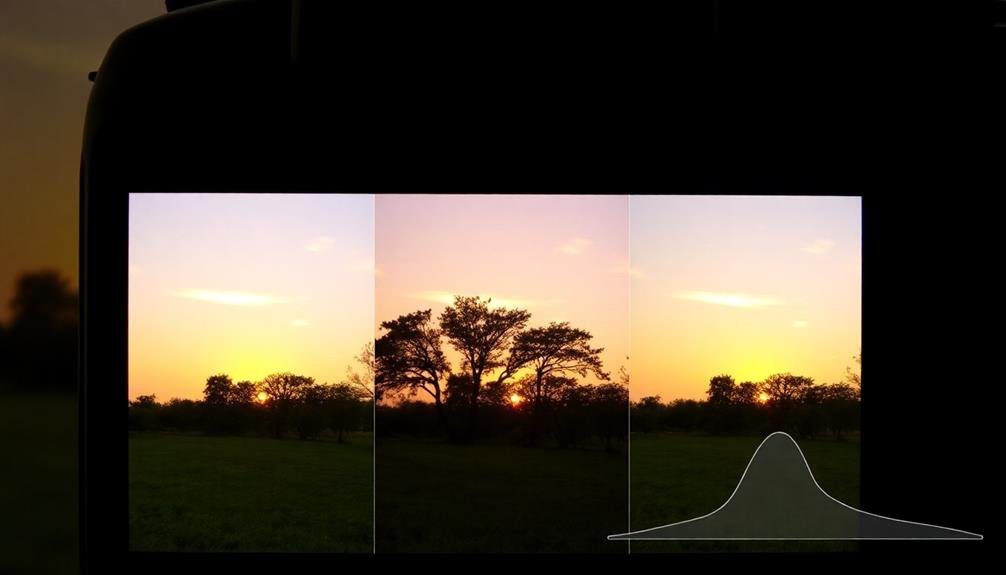
Mastering proper exposure bracketing techniques is essential for creating stunning HDR photos without those pesky halos. To achieve this, you'll need to capture a range of exposures that cover the entire dynamic range of the scene.
Start by setting your camera to manual mode and using a tripod to guarantee consistency between shots.
Begin with a base exposure that captures the mid-tones correctly. Then, take additional shots at 1-2 stop intervals above and below this base exposure. For high-contrast scenes, you may need up to 7 exposures to capture all the details.
Use your camera's auto-bracketing feature if available, or adjust the shutter speed manually while keeping the aperture constant.
Pay attention to your histogram to confirm you're capturing both highlight and shadow details. Avoid extreme overexposure or underexposure, as these can lead to unwanted artifacts in your final HDR image.
When processing your bracketed exposures, use software that allows for fine-tuning of tone mapping and edge detection. This will help you blend the exposures smoothly and minimize the risk of halos appearing around high-contrast edges in your final HDR photo.
Adjusting HDR Settings on Smartphones
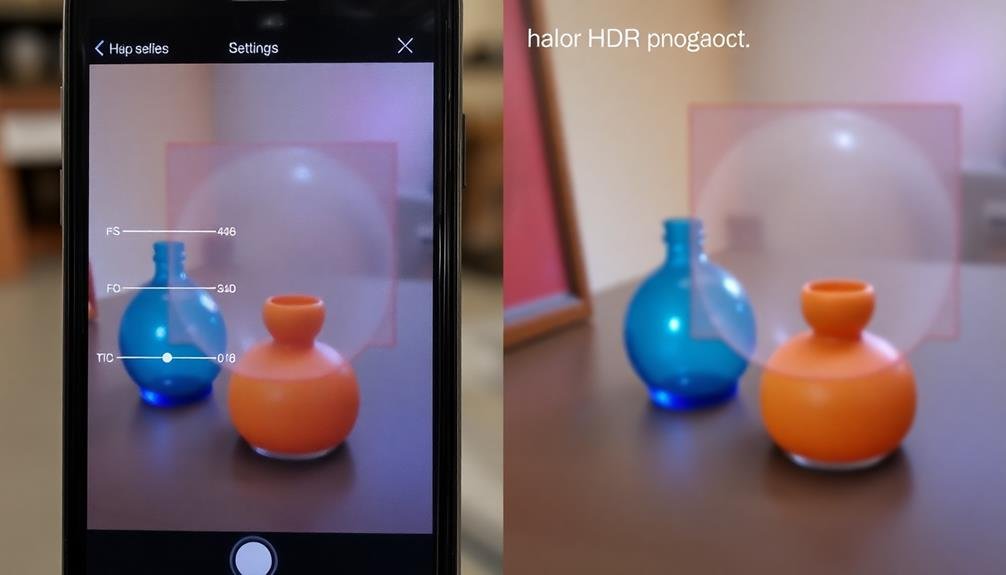
Modern smartphones have made HDR photography more accessible than ever, with built-in HDR modes that simplify the process. However, to avoid halos and achieve the best results, you'll need to adjust your phone's HDR settings carefully.
First, locate your camera app's HDR settings. You'll typically find options for Auto HDR, HDR On, or HDR Off. Start by experimenting with Auto HDR, as it'll determine when HDR is necessary based on the scene. If you're still noticing halos, switch to manual HDR control.
When using manual HDR, consider these tips:
- Adjust exposure compensation to prevent overexposure in bright areas
- Use HDR only in high-contrast scenes to minimize processing artifacts
- Enable HDR RAW capture if available for more editing flexibility
Many smartphones now offer advanced HDR settings, such as intensity sliders or AI-enhanced HDR. These tools can help you fine-tune the HDR effect and reduce halos.
Remember to review your photos after capture and make adjustments as needed.
If your smartphone's built-in HDR still produces halos, consider using third-party HDR apps. These often provide more control over the HDR process and can yield better results in challenging lighting conditions.
Post-Processing HDR Images
Post-processing is an essential step in creating stunning HDR images without halos. After you've captured your bracketed exposures, it's time to merge and refine them in software.
Start by selecting a reputable HDR program like Aurora HDR, Photomatix, or Adobe Lightroom's built-in HDR feature.
When merging your exposures, pay close attention to the alignment and deghosting options. These help reduce artifacts caused by movement between shots.
Next, focus on tone mapping, which balances the overall exposure and contrast. Be careful not to push the sliders too far, as this often leads to those dreaded halos.
Fine-tune your image by adjusting highlights, shadows, and local contrast. Use masked adjustments to target specific areas without affecting others. This precision helps prevent halos around high-contrast edges.
Don't forget to sharpen your image, but do so judiciously to avoid enhancing any existing halos.
Alternative HDR Apps for Smartphones
While dedicated HDR software offers powerful tools for desktop editing, smartphone users have plenty of options to create impressive HDR images on the go. Many apps provide advanced HDR capabilities, allowing you to capture and process high dynamic range photos directly on your mobile device.
Popular alternatives to built-in HDR features include:
- ProCamera: This app offers manual controls and a true HDR mode that captures multiple exposures and combines them intelligently.
- Adobe Lightroom Mobile: With its powerful editing tools and HDR merge feature, you can create stunning HDR images from your smartphone photos.
- Snapseed: Google's free editing app includes an HDR Scape filter that can enhance single images with an HDR-like effect.
When using these apps, you'll have more control over the HDR process, potentially reducing unwanted halos. They often provide fine-tuning options for highlights, shadows, and contrast, allowing you to achieve a more natural look.
Experiment with different apps to find the one that best suits your style and delivers the results you're after. Remember, the key to avoiding halos in HDR photos is to maintain a balanced approach and avoid over-processing, regardless of the app you choose.
Manual HDR Blending Techniques
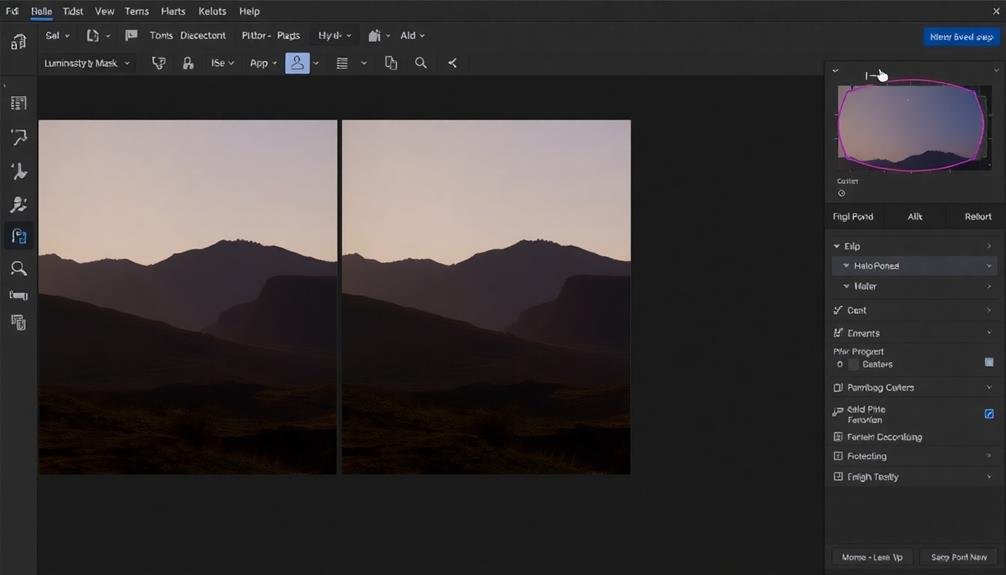
Advanced photographers often turn to manual HDR blending techniques for ultimate control over their high dynamic range images. This approach involves taking multiple exposures of the same scene and combining them in post-processing software like Adobe Photoshop or GIMP.
To start, you'll need to capture at least three bracketed exposures: one properly exposed, one underexposed, and one overexposed. Import these images into your editing software as layers, with the darkest exposure on top. Use layer masks to selectively reveal or hide parts of each exposure, focusing on blending the best-exposed areas from each image.
Pay close attention to edges where bright and dark areas meet, as these are prone to halo effects. Use soft brush strokes and gradually decrease brush opacity as you approach these edges. You can also employ luminosity masks to target specific tonal ranges for more precise blending.
For added realism, consider using the "auto-align" feature if your camera moved slightly between shots.
Frequently Asked Questions
Can HDR Halos Be Added Intentionally for Artistic Effect?
Yes, you can intentionally add HDR halos for artistic effect. It's a stylistic choice that some photographers use to create a surreal or ethereal look. However, be cautious as overuse can make your images appear artificial or overprocessed.
How Do HDR Halos Differ From Lens Flare?
HDR halos and lens flare are distinct effects. You'll notice halos as bright outlines around objects in HDR images, while lens flare appears as scattered light patterns. Halos result from tone mapping, but flares come from light hitting your lens.
Are Some Camera Sensors More Prone to Producing HDR Halos?
You'll find that camera sensors themselves don't cause HDR halos. They're primarily a result of processing techniques. However, cameras with higher dynamic range might make it easier to avoid halos during HDR creation and editing.
Can HDR Halos Occur in Black and White Photography?
Yes, you'll find that HDR halos can occur in black and white photography. They're not limited to color images. When you blend multiple exposures, you're still at risk of creating halos around high-contrast edges in monochrome shots.
Do HDR Halos Affect Image Quality When Printing Large-Format Photographs?
Yes, HDR halos can affect image quality when printing large-format photographs. You'll notice them as unnatural-looking glows around edges, which can be distracting and detract from the overall impact of your printed image. It's best to avoid them.
In Summary
You've learned how to spot and prevent HDR halos, whether you're using a smartphone or advanced camera. Remember, it's all about balancing exposures and fine-tuning your technique. Don't be afraid to experiment with different apps, manual blending, or adjusting your phone's HDR settings. With practice, you'll create stunning HDR images without those pesky halos. Keep shooting, refining your skills, and soon you'll master the art of halo-free HDR photography.


Leave a Reply