
To add light leaks to your mobile photos, you've got several options. Use dedicated apps like LensLight for pre-made effects, or experiment with lens flare filters in your favorite editing app. Try overlaying transparent light leak images for precise control. Create custom presets to streamline your workflow and maintain consistency. Apply gradient tools creatively to mimic natural light sources. Don't forget about bokeh effect overlays for dreamy atmospheres. For a more advanced technique, blend multiple exposures to achieve authentic light leak effects. With these methods, you'll be able to transform your photos and add that perfect touch of warmth and nostalgia.
Use Dedicated Light Leak Apps

Photographers seeking to add light leaks to their mobile photos can turn to dedicated light leak apps. These specialized tools offer a wide range of pre-made light leak effects that you can easily apply to your images. Popular options include LensLight, Lens Distortions, and RNI Films, each providing unique collections of light leaks and flares.
When using these apps, you'll typically start by importing your photo. Then, you'll browse through various light leak overlays, selecting one that complements your image. You can adjust the intensity, color, and positioning of the light leak to achieve the desired effect. Many apps also allow you to blend multiple light leaks for more complex results.
Look for apps that offer customization options, such as opacity controls and blending modes. These features will help you fine-tune the light leak effect to match your creative vision. Some apps even provide realistic lens flare simulations, adding authenticity to your edits.
Remember to experiment with different light leak styles and placements. You might find that subtle, warm-toned leaks work best for portrait photos, while bold, colorful streaks enhance landscape shots.
With practice, you'll develop an eye for which light leak effects suit different types of images.
Experiment With Lens Flare Filters
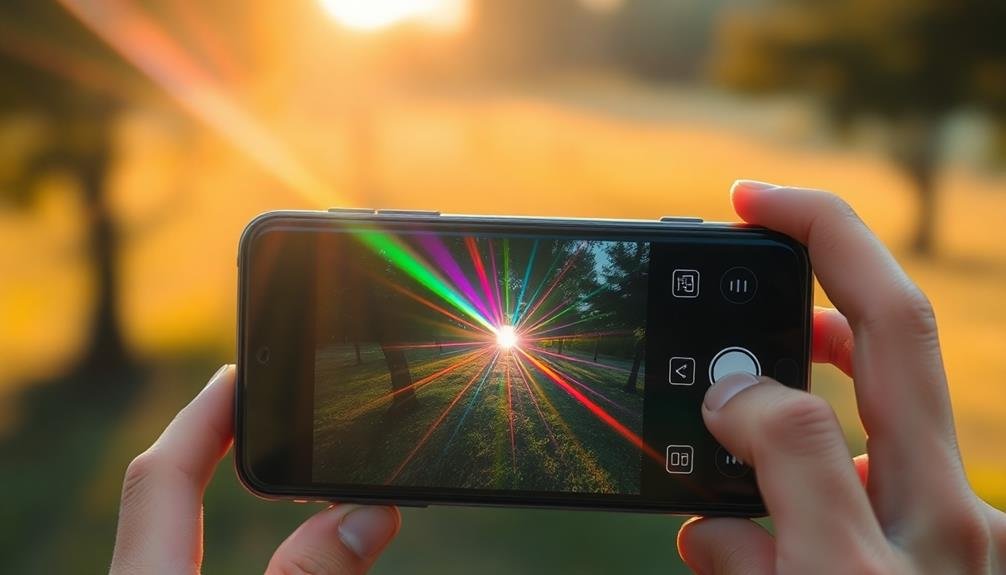
Building on the concept of light leaks, lens flare filters offer another avenue for enhancing your mobile photos. These filters simulate the effect of light scattering within the lens, creating a dreamy, ethereal quality in your images. Many photo editing apps now include lens flare options, allowing you to experiment with different styles and intensities.
When using lens flare filters, consider the direction of light in your original photo. Place the flare in a position that complements the existing light source for a more natural look. You can adjust the size, color, and opacity of the flare to achieve the desired effect. Some apps even let you layer multiple flares for more complex lighting scenarios.
Don't be afraid to mix lens flares with other effects like color grading or texture overlays. This combination can create a unique, stylized look that sets your photos apart.
Overlay Transparent Light Leak Images

Another powerful technique for adding light leaks to your mobile photos is overlaying transparent light leak images. This method allows you to add pre-made light leak effects to your photos with precision and control.
You'll find numerous transparent light leak image packs available online, often in PNG format, which you can easily import into your mobile photo editing app.
To use this technique effectively, follow these steps:
- Choose a light leak image that complements your photo's composition and mood. Consider the color, intensity, and direction of the light leak.
- Import the transparent light leak image into your editing app as a new layer on top of your photo.
- Adjust the opacity, blend mode, and position of the light leak layer to achieve the desired effect. Experiment with different blend modes like Screen, Overlay, or Soft Light for varied results.
You can fine-tune the light leak by using masking tools to selectively reveal or hide parts of the effect.
This approach gives you more flexibility than built-in filters, allowing you to create unique and customized light leak effects that enhance your mobile photos without overwhelming them.
Create Custom Light Leak Presets
Once you've mastered overlaying light leak images, you can streamline your workflow by creating custom light leak presets. These presets allow you to apply your favorite light leak effects quickly and consistently across multiple photos. To create a preset, start by perfecting a light leak effect on a single image. Adjust the opacity, blending mode, and positioning until you're satisfied with the result.
Next, save these settings as a custom preset within your editing app. Name it descriptively, such as "Warm Sunset Leak" or "Cool Blue Corner." You can create multiple presets for different moods and styles. Here's a table showcasing some preset ideas:
| Preset Name | Color | Intensity |
|---|---|---|
| Golden Hour | Warm | Subtle |
| Retro Fade | Pastel | Moderate |
| Neon Glow | Vivid | Intense |
When applying presets, remember to fine-tune them for each photo. Adjust the opacity or positioning slightly to guarantee the light leak complements the specific image. By creating and using custom presets, you'll save time and maintain a consistent editing style across your mobile photography portfolio.
Apply Gradient Tools Creatively

When applying gradient tools for light leaks, you'll want to contemplate the direction of your gradient to mimic natural light sources.
You can fine-tune the effect by adjusting opacity settings, creating subtle or dramatic light leaks as desired.
Don't be afraid to experiment with different color combinations to achieve unique and eye-catching results in your mobile photos.
Choose Gradient Direction
Creatively applying gradient tools, you'll find that choosing the right gradient direction is essential for achieving realistic light leak effects. The direction of your gradient will determine how the light appears to enter the frame, mimicking the behavior of actual light leaks in photography.
You'll want to take into account the composition of your image and the story you're trying to tell with your light leak effect.
When selecting the gradient direction, keep these key points in mind:
- Diagonal gradients: These often create the most natural-looking light leaks, as they simulate light entering from a corner of the frame. They're versatile and work well in various compositions.
- Horizontal gradients: Use these to mimic light entering from the sides of the frame. They're particularly effective for landscape shots or images with a strong horizontal element.
- Vertical gradients: These can simulate light coming from the top or bottom of the frame. They're great for creating a dramatic effect in portrait shots or tall, vertical compositions.
Experiment with different angles and directions to find what works best for your specific image.
Don't be afraid to combine multiple gradients with varying opacities to create more complex and realistic light leak effects.
Adjust Opacity Settings
Adjusting opacity settings is essential when applying gradient tools for light leak effects. Once you've chosen your gradient direction, you'll want to fine-tune the opacity to achieve a natural and subtle look. Start by setting the opacity of your gradient layer to around 50% and adjust from there. This allows you to see how the light leak interacts with your photo without overwhelming it.
As you work, remember that light leaks are often soft and ethereal. You can create this effect by lowering the opacity even further, perhaps to 30-40%. Don't be afraid to experiment with different levels for various parts of your gradient. You might want the center of the leak to be more intense, while the edges fade out gently.
Use the eraser tool with a soft brush at a low opacity to selectively remove parts of the gradient, creating a more organic shape. This technique helps blend the light leak seamlessly into your image.
If you're working with multiple gradient layers, adjust their individual opacities to create depth and complexity in your light leak effect.
Experiment With Colors
Now that you've mastered opacity settings, it's time to play with colors in your light leak effects. Experimenting with colors can dramatically transform your mobile photos, adding depth and emotion to your images. Most photo editing apps offer gradient tools that allow you to apply color shifts seamlessly.
Don't be afraid to mix unexpected hues for unique results.
When working with color gradients for light leaks, consider these creative approaches:
- Use complementary colors: Pair opposite colors on the color wheel, like orange and blue, to create striking contrasts that draw the eye.
- Mimic natural light: Experiment with warm yellows and oranges for a sunset effect, or cool blues for a moonlit ambiance.
- Create mood: Apply deep purples or reds for a dramatic, moody atmosphere, or soft pastels for a dreamy, ethereal look.
Remember to adjust the direction and angle of your gradients to simulate realistic light sources.
You can also layer multiple color gradients with varying opacities to achieve more complex light leak effects.
Utilize Bokeh Effect Overlays

To enhance your light leak effects, you'll want to incorporate bokeh overlays strategically.
Start by selecting bokeh shapes that complement your image's theme and existing light sources. You can then adjust the overlay's opacity to blend seamlessly with your photo, ensuring it doesn't overpower the original composition.
Choose Appropriate Bokeh Shapes
For an enhanced bokeh effect in your mobile photos, selecting the right shapes is essential. When choosing bokeh shapes, consider the mood and theme of your image.
Circular bokeh shapes create a soft, dreamy atmosphere, while star-shaped bokeh can add a festive or magical touch. Hexagonal shapes often mimic the look of a camera's aperture blades, lending a more natural feel to your photos.
Don't limit yourself to traditional shapes; experiment with custom bokeh patterns to make your images truly unique. You can create heart-shaped bokeh for romantic shots or use snowflake shapes for winter scenes.
Remember that the size of your bokeh shapes matters too. Larger shapes will be more prominent and eye-catching, while smaller ones create a subtler effect.
To choose the most appropriate bokeh shapes for your photos:
- Analyze the overall composition and subject matter
- Consider the lighting conditions and background elements
- Think about the emotional response you want to evoke in viewers
Adjust Overlay Opacity
When utilizing bokeh effect overlays in your mobile photos, adjusting the opacity is crucial for achieving a natural and balanced look. Start by selecting your chosen bokeh overlay and applying it to your image. Most mobile editing apps allow you to adjust the opacity or transparency of layers, including overlays.
Begin with a low opacity setting, around 20-30%, and gradually increase it until you achieve the desired effect. This approach guarantees you don't overpower your original image with the light leak effect. As you adjust, pay close attention to how the bokeh interacts with different areas of your photo, especially highlights and shadows.
Remember that less is often more when it comes to light leaks. You want to enhance your image, not dominate it. Experiment with different opacity levels to find the sweet spot that adds a subtle, dreamy quality without looking artificial.
If your app allows it, try blending modes like "Screen" or "Overlay" in combination with opacity adjustments for even more control over the final look. Don't hesitate to make localized adjustments, reducing opacity in certain areas while increasing it in others to create a more dynamic and realistic light leak effect.
Position for Natural Effect
The art of positioning bokeh effect overlays can make or break the natural appearance of light leaks in your mobile photos. To achieve a realistic look, you'll need to take into account the light source and how it would naturally interact with your image.
Start by placing the overlay in a corner or along an edge of your photo, as light typically enters the frame from these areas. Experiment with different angles and positions to find what works best for your specific image. You can rotate, flip, or resize the overlay to create a more authentic effect.
Remember that light leaks often appear more prominent in darker areas of the photo, so adjust accordingly.
To create a truly natural-looking light leak, take note of these key factors:
- Direction: Make sure the overlay aligns with the existing light sources in your photo
- Intensity: Adjust the opacity based on the brightness of your image
- Color: Choose an overlay that complements the overall color scheme of your photo
Blend Multiple Exposures Technique

Photographers seeking to harness light leaks creatively can employ the blend multiple exposures technique. This method involves capturing several photos of the same scene with different exposure settings and then combining them to create a final image with light leaks.
To start, take your base photo as you normally would. Then, intentionally overexpose additional shots by adjusting your camera's exposure compensation or manual settings. Aim to create bright, washed-out areas that'll serve as your light leaks. You can also experiment with different angles to capture various light patterns.
Next, use a photo editing app that supports layering, such as Snapseed or Adobe Lightroom Mobile. Import your base photo and the overexposed images as separate layers. Adjust the opacity of the overexposed layers to blend them seamlessly with the base image.
You can use masking tools to control where the light leaks appear and how intensely they affect specific areas of your photo. Fine-tune the blended result by adjusting contrast, saturation, and color temperature to achieve a natural, cohesive look.
This technique gives you precise control over your light leaks, allowing for endless creative possibilities.
Frequently Asked Questions
Can Light Leaks Be Added to Existing Photos or Only During Shooting?
You can add light leaks to existing photos or during shooting. For existing images, use editing apps or software to apply light leak effects. When shooting, you can create natural light leaks or use specialized apps for real-time effects.
How Do Light Leaks Affect the Overall Mood of a Photograph?
Light leaks can drastically alter your photo's mood. They'll add warmth, nostalgia, and a dreamy quality to your images. You'll notice they create a soft, ethereal atmosphere that can evoke emotions and enhance the overall visual appeal.
Are There Any Risks of Overusing Light Leak Effects in Photography?
You're risking your photos looking cliché and overdone if you overuse light leaks. They can distract from your subject and make images appear artificial. It's best to use them sparingly and purposefully for maximum impact.
What's the Difference Between Light Leaks and Lens Flares?
You'll notice light leaks are unintentional streaks of light from camera body gaps, while lens flares are intentional effects from light hitting the lens. They're both light-based effects, but their origins and appearances differ markedly.
Can Light Leaks Be Removed From Photos if Added Accidentally?
Yes, you can remove accidental light leaks from photos. You'll find various editing tools and software that offer options to reduce or eliminate them. It's often easier to remove digital light leaks than those captured in-camera.
In Summary
You've now got a range of techniques to add light leaks to your mobile photos. Whether you're using dedicated apps, experimenting with filters, or creating custom presets, you'll be able to enhance your images with unique, ethereal effects. Don't be afraid to mix and match these methods to develop your own style. With practice, you'll master the art of adding beautiful light leaks that'll make your photos stand out from the crowd.


Leave a Reply