To capture stunning nighttime wildlife shots on your mobile, start by using manual camera settings to control ISO, shutter speed, and aperture. Stabilize your phone with a tripod or lean it against a solid surface for sharper images. Don't shy away from high ISO capabilities, as they can greatly brighten your shots. Take advantage of your phone's night mode features for enhanced low-light performance. Focus on animals' eye shine to locate and capture them effectively. Choose the right location by researching wildlife habitats and patterns. Finally, edit your photos to enhance details and remove unwanted elements. These pro tips are just the beginning of your nocturnal photography journey.
Use Manual Camera Settings
With manual camera settings, you'll have greater control over your nighttime wildlife shots. Most modern smartphones offer manual or "pro" modes that let you adjust essential parameters.
Start by setting your ISO, which controls the camera's sensitivity to light. For nighttime wildlife, you'll want a higher ISO, typically between 800 and 3200, depending on the available light.
Next, adjust your shutter speed. Slower speeds allow more light in but can result in motion blur. For stationary subjects, try speeds between 1/15 and 1/4 of a second. For moving animals, you'll need faster speeds, around 1/60 to 1/125, to freeze motion.
Aperture control may be limited on your phone, but if available, opt for the widest aperture (lowest f-number) to let in more light. Focus manually on your subject, as autofocus often struggles in low light.
White balance is vital for accurate colors. Choose the "tungsten" or "incandescent" preset for artificial lighting, or "daylight" for moonlit scenes. Alternatively, use a custom white balance setting for the most accurate results.
Lastly, enable RAW capture if your phone supports it. This format preserves more data, giving you greater flexibility when editing your nighttime wildlife shots later.
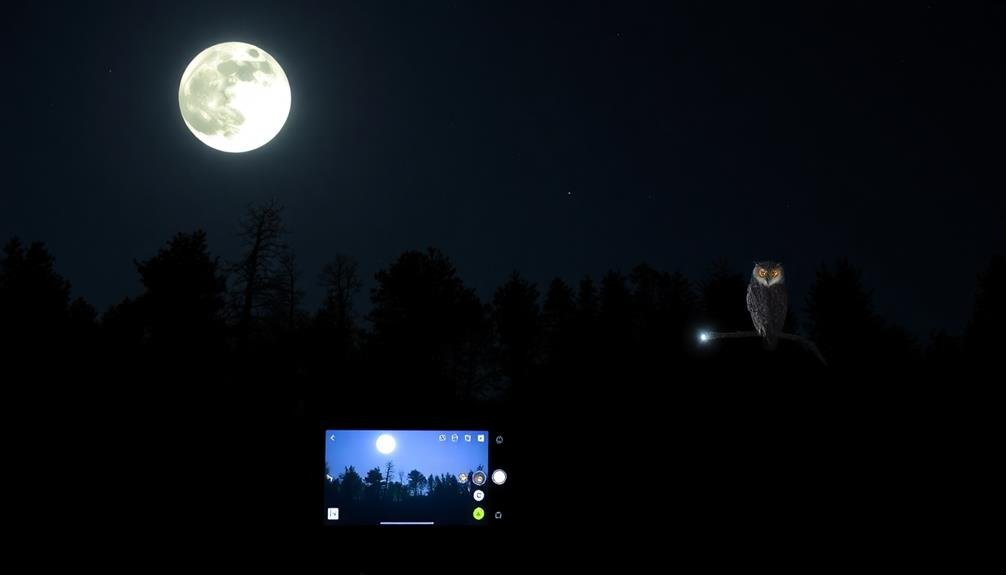
Stabilize Your Smartphone
To capture crisp nighttime wildlife photos, you'll need to keep your smartphone steady.
Consider investing in a portable tripod designed for mobile devices, which can provide excellent stability in various outdoor settings.
If you don't have a tripod handy, try leaning your phone against solid surfaces like tree trunks or rocks to minimize camera shake.
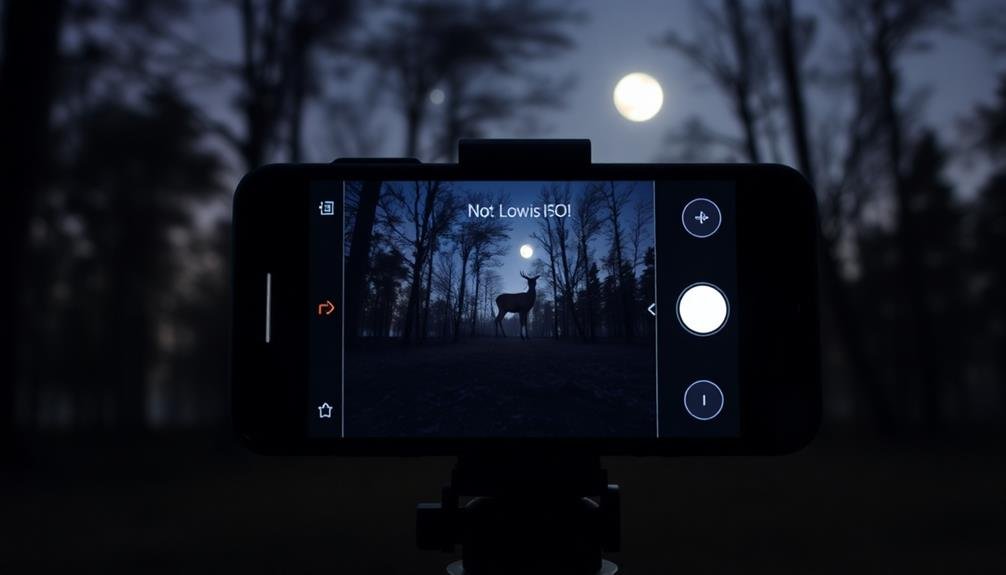
Use Portable Tripods
Capturing clear nighttime wildlife shots relies heavily on keeping your smartphone steady. While handheld techniques can help, using a portable tripod takes your stability game to the next level. These compact, lightweight tools are designed specifically for smartphones and can make a world of difference in low-light conditions.
When choosing a portable tripod, look for one that's sturdy yet easy to carry. Many models fold down to fit in your pocket or backpack. Opt for a tripod with flexible legs that can wrap around tree branches or fence posts, giving you more versatility in the field. Some even come with remote shutters, allowing you to trigger your camera without touching the phone.
To use your portable tripod effectively, set it up on a stable surface and adjust the legs for balance. Attach your smartphone securely using the tripod's phone mount. Enable your camera's timer or use a remote shutter to avoid any movement when taking the shot.
This setup will help you achieve crisp, clear images of nocturnal wildlife, even in challenging lighting conditions.
Lean on Solid Surfaces
While portable tripods are excellent tools, they're not always necessary or practical. In these situations, you can still stabilize your smartphone by leaning on solid surfaces.
Look for sturdy objects in your environment that can serve as makeshift supports. Trees, rocks, fence posts, or even your car's hood can provide the stability you need for crisp nighttime wildlife shots.
When using a solid surface, press your phone firmly against it to minimize vibrations. If possible, use both hands to grip your device securely. This technique works well when you're trying to capture animals in low-light conditions where every bit of stability counts.
Don't forget to use your body as a stabilizer too. Tuck your elbows into your sides and hold your breath while taking the shot to reduce camera shake.
If you're using a timer or voice command to trigger the shutter, this becomes even more effective.
Embrace High ISO Capabilities

Despite the low-light challenges, modern smartphones boast impressive high ISO capabilities that you shouldn't shy away from. When capturing wildlife at night, don't hesitate to crank up your ISO settings. Higher ISO values allow your camera to be more sensitive to light, resulting in brighter images in dark conditions.
While increased ISO can introduce noise, many smartphones now feature advanced noise reduction algorithms. Experiment with different ISO levels to find the sweet spot for your device. Start at ISO 800 and gradually increase it until you achieve the desired exposure. Remember, a slightly noisy image is better than a blurry or underexposed one.
To maximize high ISO performance, use your phone's manual or pro mode if available. This allows you to fine-tune ISO settings alongside shutter speed and aperture. Combine high ISO with a slower shutter speed to gather more light, but be mindful of motion blur.
If your phone has night mode or a dedicated wildlife mode, these often leverage high ISO capabilities automatically.
Post-processing can help mitigate noise from high ISO shots. Use noise reduction tools in editing apps, but apply them judiciously to maintain image detail and texture.
Leverage Night Mode Features

Many smartphones now come equipped with powerful night mode features, specifically designed for low-light photography.
These modes can considerably improve your nighttime wildlife shots by enhancing brightness, reducing noise, and sharpening details. When you're out in the field, activate your phone's night mode before attempting to capture nocturnal animals.
Night mode works by taking multiple exposures and combining them into a single, well-lit image. To make the most of this feature, keep your phone as steady as possible during capture. Use a tripod or rest your device against a stable surface to minimize shake.
If your subject is stationary, you'll achieve the best results. However, for moving wildlife, experiment with your phone's settings to find the right balance between exposure time and motion blur.
Some night modes allow manual adjustments. Play with these settings to fine-tune your shots. Adjust the exposure time, ISO, and focus to suit your specific scene.
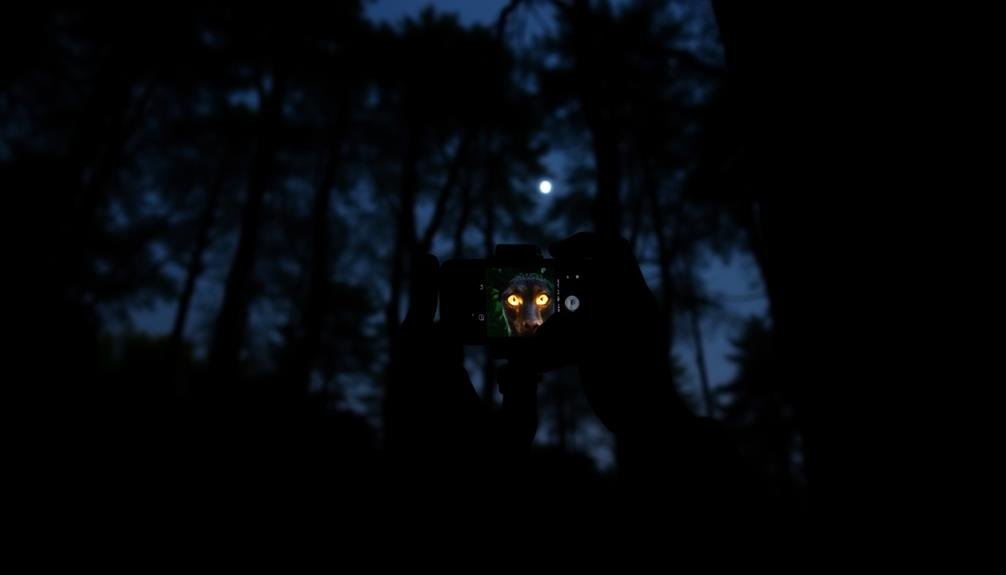
Focus on Eye Shine
A telltale sign of nocturnal wildlife is the distinctive eye shine that appears when light hits their eyes. This phenomenon can be your secret weapon for capturing stunning nighttime wildlife shots on your mobile device.
To make the most of eye shine, position your phone's flashlight or an external light source near your camera lens. This will create a reflection in the animal's eyes, making them easier to spot and focus on in the dark.
When you've located your subject, tap on the glowing eyes on your screen to set the focus point. Many mobile cameras now offer manual focus options, which can be incredibly useful for fine-tuning your shot.
Remember to keep your device steady, as any movement can blur the image in low-light conditions.
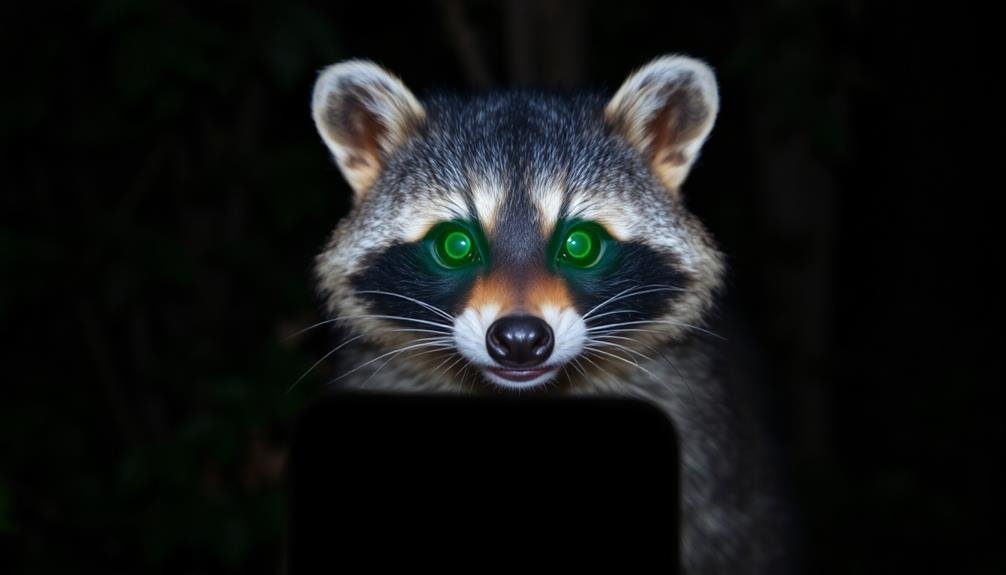
Experiment with different angles and distances to capture varying intensities of eye shine. Some animals, like cats and deer, have particularly reflective eyes, while others may require you to get closer for a good shot.
Be patient and take multiple photos, as the eye shine can change with slight movements of the animal's head. Always prioritize the animal's well-being and maintain a safe distance to avoid disturbing their natural behavior.
Choose the Right Location
For successful nighttime wildlife photography, selecting the right location is essential. You'll want to find areas where animals are active after dark and where you can safely set up your equipment. Research local wildlife habitats and their nocturnal patterns. Look for places like water sources, feeding grounds, or known animal trails.
Consider accessibility and safety. Choose spots you can easily reach and navigate in the dark. Avoid areas with steep terrain or dense vegetation that could be hazardous at night. Opt for locations with clear sightlines and minimal light pollution for better visibility and image quality.
Scout your chosen location during daylight hours to familiarize yourself with the surroundings. Look for natural features that could serve as backdrops or framing elements for your shots. Identify potential hiding spots where you can set up without disturbing wildlife.
Don't forget to check local regulations. Some areas may have restrictions on nighttime access or wildlife photography. Obtain necessary permits and respect private property boundaries.
Edit for Enhanced Details

Once you've captured your nighttime wildlife shots, you'll need to enhance the details through editing.
Start by sharpening any blurry images to bring out the subject's features, then adjust the exposure settings to balance the light and dark areas.
Sharpen Blurry Images
Sharpening blurry images is essential for enhancing nighttime wildlife shots taken on mobile devices. When you're dealing with low-light conditions and moving subjects, blurriness can be a common issue. To combat this, start by using your phone's built-in sharpening tools in the photo editing app. Adjust the sharpness slider carefully, as overdoing it can introduce unwanted noise and artifacts.
For more control, consider using third-party editing apps like Snapseed or Adobe Lightroom Mobile. These offer advanced sharpening features, including selective sharpening for specific areas of your image. Focus on sharpening the animal's eyes and fur details, while leaving softer areas like the background untouched.
Another technique is to use the clarity or structure sliders, which can help bring out textures and enhance the overall sharpness of your wildlife shots. If noise is an issue, apply noise reduction before sharpening to avoid amplifying graininess.
Adjust Exposure Settings
After sharpening your nighttime wildlife shots, it's time to fine-tune the exposure settings to bring out hidden details.
Start by lowering the exposure slightly to preserve the dark, moody atmosphere of nighttime scenes. This will prevent overexposure and maintain the natural ambiance.
Next, increase the shadows slider to reveal details in darker areas without compromising the overall mood. Be careful not to push it too far, as this can introduce noise.
Adjust the highlights to recover any blown-out areas, especially in reflective surfaces or bright spots.
Boost the contrast slightly to add depth and dimension to your wildlife subjects. This will help separate them from the background and make them pop.
Tweak the black levels to deepen the darkest parts of the image, creating a more dramatic effect.
Don't forget to adjust the white balance to counteract any color casts from artificial lighting or moonlight. A cooler temperature often works well for nighttime scenes, enhancing the nocturnal atmosphere.
Remove Unwanted Elements
Despite your best efforts to capture a clean shot, unwanted elements can often creep into nighttime wildlife photos. These distractions can range from stray branches to unwanted light sources or even other animals in the background.
Fortunately, modern mobile editing apps offer powerful tools to help you remove these unwanted elements and enhance your wildlife shots.
To effectively remove unwanted elements from your nighttime wildlife photos:
- Use the healing brush tool to seamlessly blend out small imperfections or distractions.
- Apply the clone stamp tool for larger areas that need replacing with nearby textures.
- Utilize the content-aware fill feature to intelligently remove objects and fill the space.
- Employ selective masking to isolate the subject and blur or darken distracting backgrounds.
Start by identifying the most noticeable distractions in your image. Work on larger elements first, then focus on smaller details.
Be careful not to overdo it – maintaining a natural look is essential. You'll want to preserve the authenticity of the wildlife scene while subtly enhancing its visual appeal.
With practice, you'll develop a keen eye for spotting and removing unwanted elements, resulting in cleaner, more impactful nighttime wildlife shots.
Frequently Asked Questions
How Do I Protect Myself While Photographing Wildlife at Night?
To protect yourself while photographing wildlife at night, you'll need to stay alert and keep a safe distance. Bring a buddy, use bright clothing, carry a flashlight, and research local animal behavior. Always prioritize your safety over getting the shot.
What's the Best Way to Attract Animals for Nighttime Photos?
You shouldn't actively attract animals for nighttime photos. It's unethical and can disrupt their natural behavior. Instead, research common wildlife areas and wait patiently. Use red light to preserve your night vision without disturbing animals.
Can I Use External Lighting Sources for Nighttime Wildlife Photography?
You can use external lighting for nighttime wildlife photography, but it's essential to be cautious. Use red lights or dim, diffused lighting to minimize disturbance. Avoid bright flashes, as they can startle animals and disrupt their natural behavior.
How Do I Minimize Disturbing Animals During Nighttime Photo Sessions?
To minimize disturbing animals at night, you'll want to keep your distance, use red light filters, avoid flash, move slowly, and stay quiet. Don't approach or feed wildlife. Always prioritize the animals' well-being over getting the perfect shot.
Are There Specific Apps for Identifying Nocturnal Wildlife Species in Photos?
You'll find several apps useful for identifying nocturnal wildlife in photos. Try iNaturalist, Seek, or Merlin Bird ID. They use AI to recognize species. You can also join online communities where experts help with identifications.
In Summary
You're now equipped with pro tips for capturing stunning nighttime wildlife photos on your smartphone. Remember, practice makes perfect. Don't be afraid to experiment with different settings and techniques. As you venture out, always prioritize the safety and well-being of both yourself and the animals. With patience and persistence, you'll soon be taking breathtaking nocturnal wildlife shots that rival those of professional photographers. So grab your phone, head out after dark, and start capturing nature's nightlife!


Leave a Reply