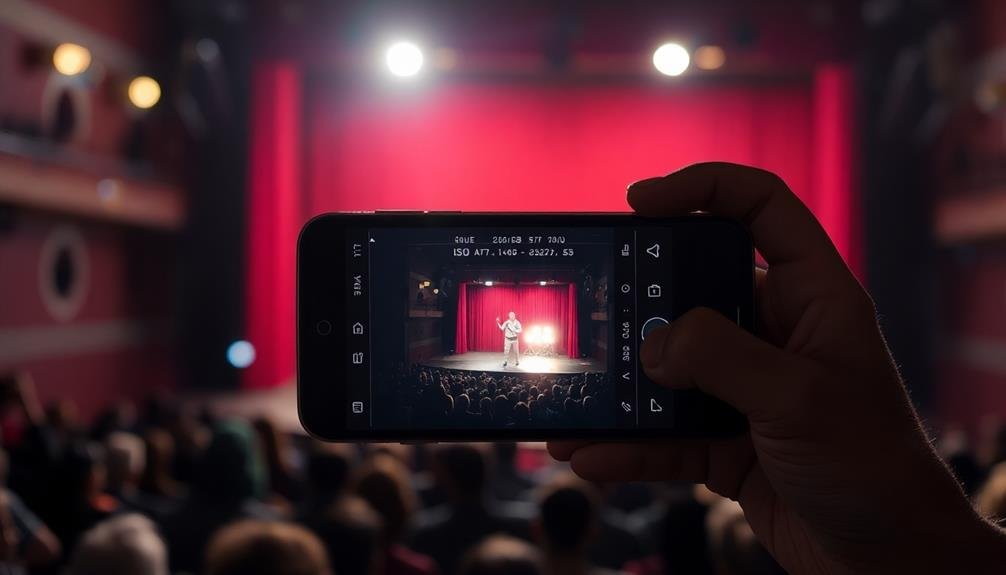
To capture epic mobile theater photos in low light, start by stabilizing your device using both hands or a tripod. Adjust your camera's ISO and shutter speed settings for ideal exposure. Utilize your phone's night mode features to enhance low-light performance. Focus on bright spots on stage to create compelling compositions. Embrace silhouettes and shadows for dramatic effects. After shooting, edit your photos to enhance drama and contrast. Finally, experiment with long exposure apps to capture stunning light trails from moving performers or stage effects. These tips will help you elevate your theater photography game and create memorable images.
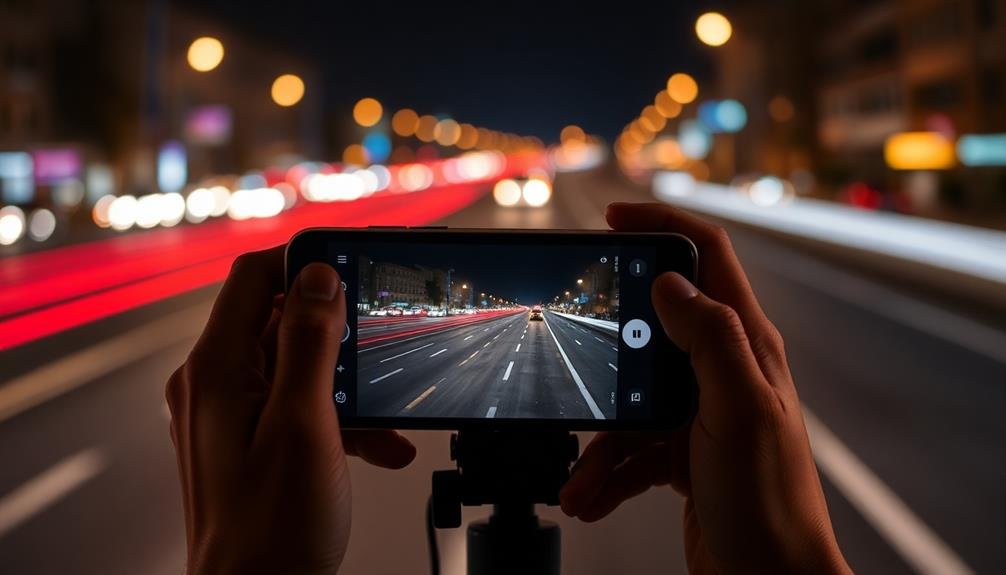
Steady Your Device

In spite of the excitement surrounding mobile theater, capturing epic photos hinges on a steady hand. When you're in a dimly lit auditorium, even the slightest movement can blur your images. To combat this, you'll need to focus on keeping your device as still as possible.
Start by holding your phone with both hands, elbows tucked close to your body for added stability. If you're sitting, rest your elbows on the armrests or your knees. For standing shots, lean against a wall or column if available. Consider using a small tripod or selfie stick with a phone mount for ultimate stability.
Enable your camera's grid feature to help you align shots and avoid tilted horizons. When you're ready to shoot, gently press the shutter button or use your volume keys instead of tapping the screen. If your device has it, utilize the burst mode to capture multiple shots in quick succession, increasing your chances of getting a crisp image.
Remember to turn off your flash, as it's often disruptive and ineffective in theater settings. Instead, rely on the stage lighting and adjust your camera's exposure settings manually if possible.
Adjust ISO and Shutter Speed
Diving into ISO and shutter speed adjustments can take your mobile theater photos from amateur to professional. These settings control how your camera sensor responds to light, allowing you to capture stunning images even in dim theater conditions.
Start by adjusting your ISO. Higher ISO values increase your camera's sensitivity to light, but they can also introduce noise. In theaters, try setting your ISO between 800 and 3200, depending on the available light. Experiment to find the sweet spot that balances brightness and image quality.
Next, focus on shutter speed. Slower shutter speeds let in more light but can lead to motion blur. For theater performances, aim for a shutter speed between 1/60 and 1/200 of a second. This range usually provides enough light while minimizing blur from performer movements.
Many mobile camera apps offer manual controls for these settings. If yours doesn't, consider downloading a third-party app that does.
As you adjust ISO and shutter speed, watch how your image changes in real-time. With practice, you'll develop an intuition for the right settings in various theater lighting situations.
Utilize Night Mode Features
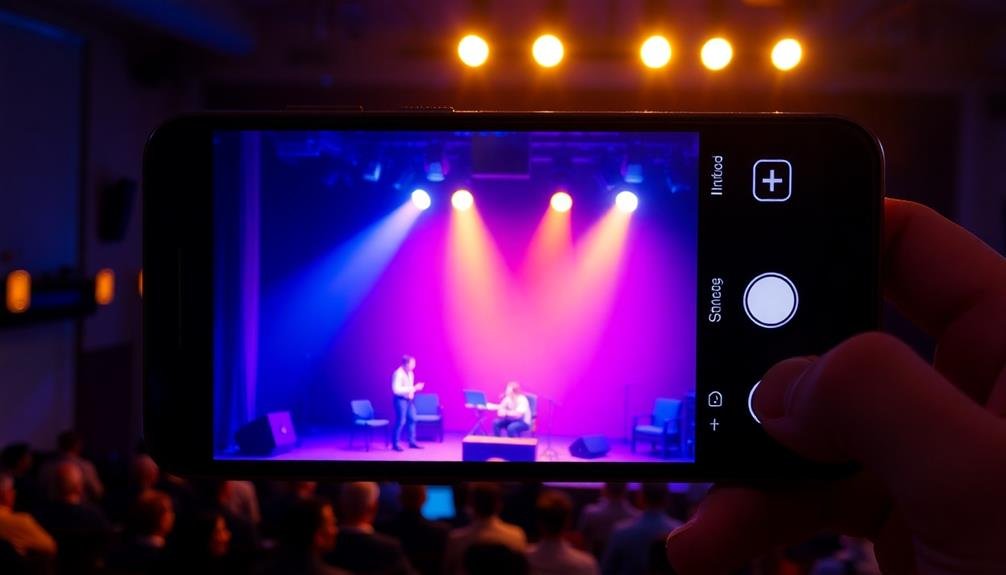
Many modern smartphones come equipped with a powerful night mode feature that can revolutionize your theater photography. This AI-powered tool automatically adjusts multiple camera settings to capture more light and detail in low-light conditions.
To make the most of night mode, make sure it's enabled in your camera app before the performance begins.
When using night mode, hold your phone steady for a few seconds as it takes multiple exposures to create a single, well-lit image. If your phone has a tripod mode within night mode, use it for even sharper results.
Experiment with focusing on different areas of the stage to see how it affects the overall composition.
Keep in mind that night mode may not always be the best choice for fast-moving scenes. In such cases, you might need to switch back to manual settings.
However, for capturing the ambiance of dimly lit sets or dramatic spotlighting, night mode can produce stunning results.
Don't forget to turn off your flash when using night mode, as it relies on available light for the best outcome.
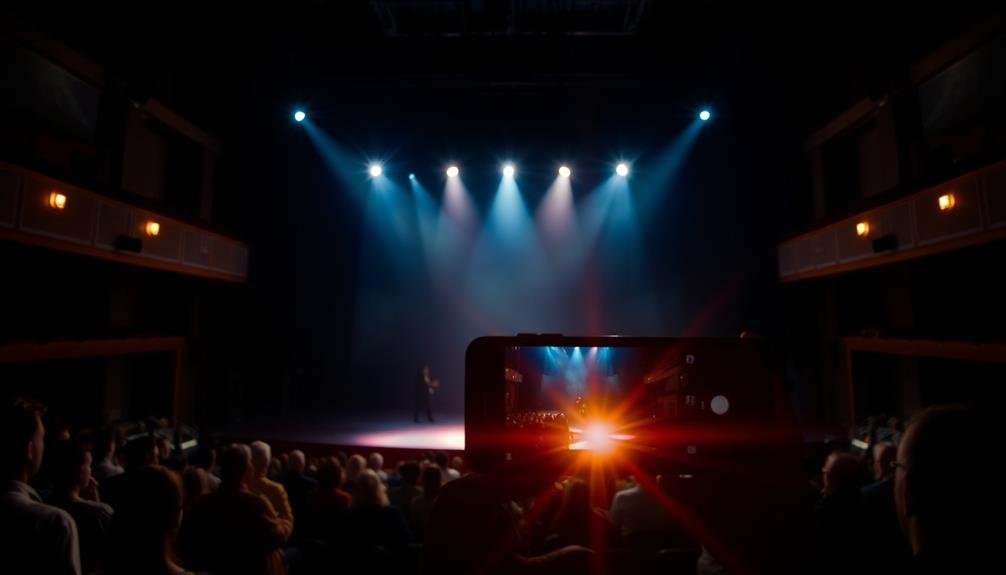
Focus on Bright Spots

When capturing mobile theater photos, bright spots on stage can serve as your guiding light. These areas of illumination can help you create stunning images even in challenging low-light conditions.
To make the most of bright spots, start by identifying the key light sources on stage, such as spotlights, backlights, or set pieces with built-in illumination.
Once you've located these bright areas, use them to frame your shots. Position your subjects near or within these illuminated zones to guarantee they're well-lit and stand out from the darker background. You can also use bright spots to create interesting silhouettes or dramatic contrasts between light and shadow.
Don't be afraid to experiment with different angles and compositions that highlight these bright areas. Try shooting from the side or below to capture unique perspectives that emphasize the interplay of light and shadow.
Remember to adjust your camera's exposure settings to prevent overexposure of the bright spots while maintaining detail in the darker areas. Use features like spot metering or exposure compensation to fine-tune your shots and achieve the perfect balance between light and dark elements in your theater photos.
Embrace Silhouettes and Shadows

In the domain of mobile theater photography, silhouettes and shadows can be powerful tools for creating dramatic, eye-catching images. They add depth, mystery, and intrigue to your shots, elevating them from ordinary to extraordinary.
To capture compelling silhouettes, position your subject between your camera and the light source. Expose for the brightest part of the scene, typically the background. This will darken your subject, creating a striking outline. Experiment with different poses and angles to achieve interesting shapes and profiles.
Shadows can be equally impactful. Look for areas where stage lighting creates interesting patterns or textures. Use these shadows to frame your subject or add visual interest to negative space.
Don't shy away from high contrast scenes; they often result in the most dramatic shots.
When embracing shadows, pay attention to the interplay between light and dark. Capture moments where actors move in and out of shadowy areas, creating a sense of dynamism. Use your phone's manual exposure controls to fine-tune the balance between highlights and shadows.
Edit for Drama and Contrast
To create truly epic theater photos, you'll need to master post-processing techniques.
Start by enhancing shadows and highlights to add depth and dimension to your images.
Apply dramatic color grading to evoke powerful emotions and set the mood that matches the performance you've captured.
Enhance Shadows and Highlights
Dramatic shadows and highlights can transform your mobile theater photos from ordinary to extraordinary. To enhance these elements, start by adjusting the exposure in your phone's camera app. Underexpose slightly to preserve details in the highlights, then use editing tools to bring out the shadows later.
When editing, increase the contrast to make the dark areas darker and the bright spots brighter. Use the shadows slider to reveal details in darker areas without washing out the image. Conversely, lower the highlights to prevent overexposure and maintain texture in bright areas.
Experiment with selective adjustments by using masking tools or brush features in advanced editing apps. This allows you to enhance specific areas of the photo without affecting others. For instance, you can brighten an actor's face while keeping the dramatic shadows of the set intact.
Don't be afraid to push the boundaries with vignetting or graduated filters. These tools can help draw attention to the focal point of your image by darkening the edges or creating a subtle gradient effect.
Apply Dramatic Color Grading
Color grading can elevate your mobile theater photos from good to stunning. It's a powerful tool that allows you to create a specific mood or atmosphere in your images.
Start by adjusting the overall temperature of your photo. For theatrical scenes, you might want to lean towards cooler tones to create a mysterious ambiance or warmer hues for a more intimate feel.
Next, focus on the shadows and highlights. Deepen the blacks to add drama and contrast, but be careful not to lose important details. Boost the highlights to make key elements pop, like spotlights or actors' faces.
Experiment with split toning, applying different colors to the shadows and highlights for a cinematic look.
Don't shy away from bold color choices. Theater is all about drama, so consider using vibrant hues or even monochromatic color schemes to enhance the emotional impact of your shot.
Pay attention to the interplay of colors between costumes, set design, and lighting.
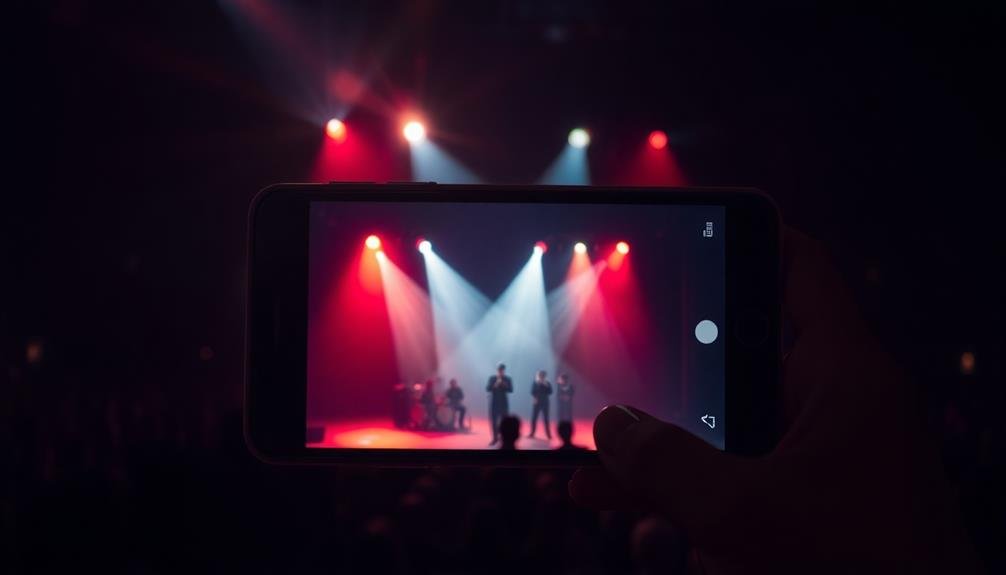
Experiment With Long Exposure Apps
Experiment with long exposure apps to add dynamic elements to your theater photos.
You'll be able to capture stunning light trails from moving performers or stage effects, creating a sense of motion and energy.
To achieve the best results, stabilize your smartphone using a tripod or steady surface, ensuring crisp images even with extended exposure times.
Capture Light Trails
In light of the dynamic nature of mobile theater, capturing light trails can add a mesmerizing element to your photos. These streaks of light create a sense of movement and energy, perfect for showcasing the excitement of live performances. To achieve this effect, you'll need to use a long exposure app and keep your phone steady.
Start by finding a vantage point where you can see moving lights, such as spotlights or performers with illuminated costumes. Set your exposure time to at least 2-3 seconds, depending on the speed of the light sources. Experiment with different settings to find the ideal balance between light trails and background details.
Here's a quick guide to capturing light trails in various mobile theater scenarios:
| Scenario | Exposure Time | ISO | Focus |
|---|---|---|---|
| Spotlights | 2-3 seconds | 100-200 | Center stage |
| LED costumes | 3-4 seconds | 200-400 | Performers |
| Audience phones | 4-5 seconds | 100-200 | Crowd |
| Moving set pieces | 2-3 seconds | 200-400 | Stage |
| Fireworks/pyrotechnics | 3-5 seconds | 100 | Sky/stage |
Remember to hold your phone steady or use a mobile tripod for the sharpest results. Don't be afraid to take multiple shots, adjusting your composition and settings as needed to capture the perfect light trail image.
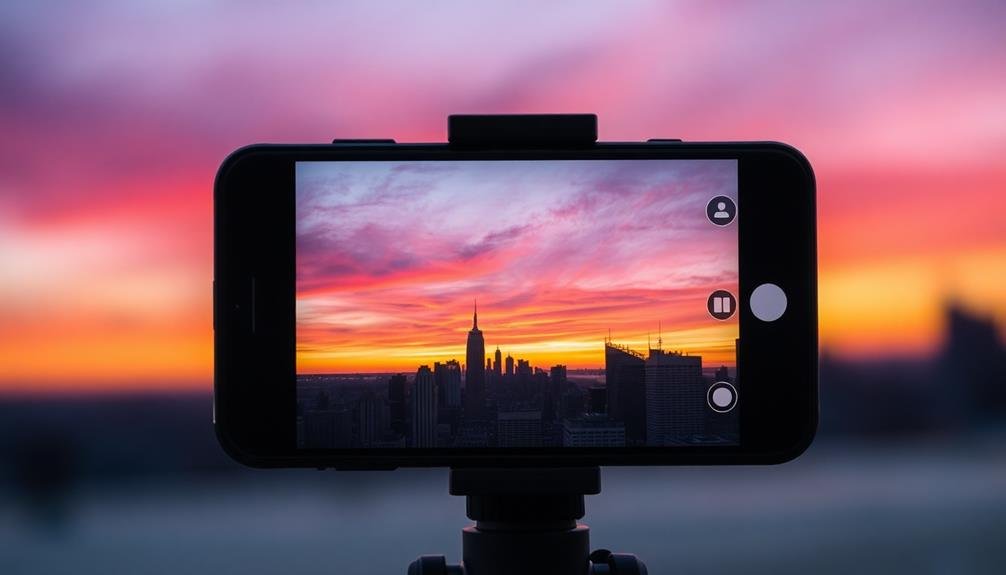
Stabilize Your Smartphone
Smartphone stability is essential for capturing stunning long-exposure shots in mobile theater photography. To achieve this, you'll need to minimize camera shake during longer exposures.
Start by finding a stable surface to rest your phone on, like a theater seat or railing. If you don't have a surface available, use a small tripod designed for smartphones or a flexible grip-and-wrap tripod that can attach to various objects.
When hand-holding your phone, adopt a stable stance with your elbows tucked close to your body. Exhale slowly as you press the shutter button to reduce movement.
Many smartphones now offer built-in stabilization features, so make sure to enable these in your camera settings.
Experiment with long exposure apps that offer advanced stabilization algorithms. These apps can combine multiple shots to create a sharper final image. Some popular options include Slow Shutter Cam, ProCam, and NightCap Camera.
These apps often allow you to adjust exposure time, ISO, and other settings to fine-tune your results.
Don't forget to use your phone's timer or a bluetooth remote to trigger the shutter, further reducing the risk of camera shake when capturing those epic mobile theater photos.
Frequently Asked Questions
Can I Use External Lighting Sources for Mobile Theater Photography?
Yes, you can use external lighting sources for mobile theater photography. They'll help illuminate your subjects and improve image quality. Consider using small LED lights, portable flash units, or even a friend's phone flashlight for added illumination.
What's the Best Mobile App for Post-Processing Low-Light Theater Photos?
You'll find Snapseed and Lightroom Mobile excellent for post-processing low-light theater photos. They offer powerful tools to adjust exposure, reduce noise, and enhance details. Don't forget VSCO for artistic filters that can elevate your theater shots.
How Do I Capture Fast-Moving Performers Without Blur in Low Light?
You'll want to increase your shutter speed and ISO. Use your phone's Pro or Manual mode to adjust these settings. Try burst mode to capture multiple shots quickly. Consider using a phone tripod for added stability.
Are There Specific Phone Models That Excel in Low-Light Theater Photography?
You'll find the latest iPhone Pro models and Google Pixel phones excel in low-light theater photography. They've got advanced night modes and larger sensors. Samsung's Galaxy S series also performs well. Don't forget to check reviews for camera comparisons.
How Can I Minimize Noise in Mobile Theater Photos Without Losing Detail?
You'll reduce noise while preserving detail by using your phone's night mode, lowering ISO, and shooting in RAW. Steady your device, focus manually, and adjust exposure compensation. Post-processing with noise reduction software can also help.
In Summary
You've got the tools to capture stunning mobile theater photos in low light. Don't be afraid to experiment and push your device's capabilities. Remember, practice makes perfect. Keep shooting, adjusting, and refining your technique. With these tips, you'll soon be creating dramatic, professional-looking images that capture the essence of live performances. So go ahead, dim the lights, and let your creativity shine. Your best shots are waiting in the shadows.

Leave a Reply