To boost your phone's ISO for low-light photos, start by understanding ISO sensitivity and its impact on image quality. Next, access your camera's manual mode to adjust ISO settings, typically between 800 and 3200 for low-light conditions. Be cautious, as higher ISO can introduce digital noise. Finally, consider using third-party camera apps that offer advanced controls and noise reduction features. These apps often provide more flexibility than your phone's native camera app. Experiment with different ISO levels and app settings to find the perfect balance between brightness and image quality. Mastering these techniques will open up a world of low-light photography possibilities.
Understand ISO Sensitivity
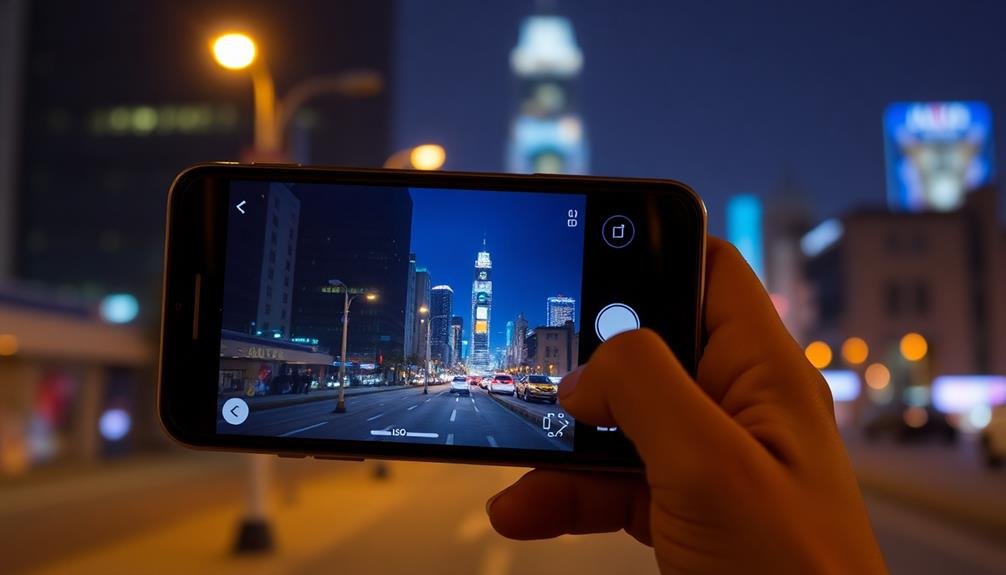
ISO sensitivity is a crucial concept in digital photography. It determines how sensitive your phone's camera sensor is to light. The higher the ISO number, the more sensitive the sensor becomes, allowing you to capture images in low-light conditions without using a flash.
When you increase your phone's ISO, you're fundamentally amplifying the light signal that reaches the sensor. This means you can use faster shutter speeds or smaller apertures while still maintaining proper exposure. However, there's a trade-off: higher ISO settings can introduce digital noise, resulting in grainy or speckled images.
Modern smartphones have made significant improvements in handling high ISO settings, but it's still important to find the right balance. Start by experimenting with different ISO levels in various lighting situations to understand how your phone's camera performs.
You'll notice that in well-lit environments, lower ISO values (e.g., 100-400) produce cleaner images. As light decreases, gradually increase the ISO to maintain proper exposure.
Adjust Camera Settings Manually
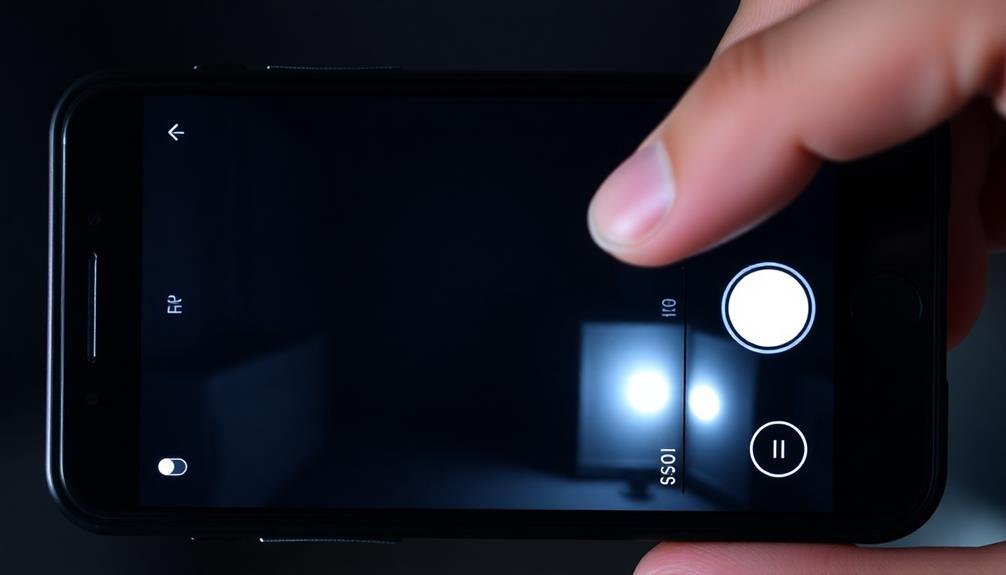
To truly harness the power of ISO in low-light photography, you'll need to take control of your phone's camera settings. Most modern smartphones offer a "Pro" or "Manual" mode that allows you to adjust various parameters, including ISO.
First, locate this mode in your camera app. Once activated, you'll see options for ISO, shutter speed, and white balance. Start by setting your ISO to a higher value, typically between 800 and 3200, depending on the lighting conditions. Remember, higher ISO values can introduce more noise, so find the right balance.
Next, adjust your shutter speed. In low light, you'll want a slower shutter speed to allow more light in, but be cautious of camera shake. If possible, use a tripod or steady surface to minimize blur.
Fine-tune your white balance to match the ambient light source, whether it's tungsten, fluorescent, or moonlight. This guarantees accurate color reproduction in your photos.
Experiment with different combinations of these settings to achieve the best results. Don't be afraid to take multiple shots with varying parameters. With practice, you'll develop an intuition for the right settings in different low-light scenarios.
Use Third-Party Camera Apps

While your phone's native camera app offers basic controls, third-party camera apps can reveal even more advanced features for low-light photography. These apps often provide greater control over ISO settings, allowing you to push your phone's camera to its limits in challenging lighting conditions.
Popular apps like ProCam, Camera+ 2, and Halide offer manual ISO controls, along with other advanced features such as shutter speed adjustment and RAW image capture. By using these apps, you'll have more flexibility to fine-tune your camera's sensitivity to light.
When selecting a third-party camera app, look for ones that offer a clean, intuitive interface and real-time previews of your adjustments. This will help you quickly adapt to changing lighting conditions and capture the best possible low-light images.
Keep in mind that higher ISO settings can introduce more noise into your photos. Many third-party apps include noise reduction features or allow you to shoot in RAW format, giving you more control over post-processing.
Experiment with different apps and settings to find the right balance between brightness and image quality for your low-light photos.
Frequently Asked Questions
Can High ISO Settings Damage My Phone's Camera Sensor?
Don't worry, high ISO settings won't damage your phone's camera sensor. They simply increase light sensitivity digitally. However, you'll notice more noise in your photos. It's best to use high ISO only when necessary.
How Does ISO Affect Battery Life When Taking Photos?
When you increase your phone's ISO, it'll consume more battery power. Higher ISO settings require more processing, which drains your battery faster. If you're taking lots of high-ISO photos, you'll notice your battery life decreasing more quickly.
Are There Ai-Powered Tools to Enhance Low-Light Photos Post-Capture?
Yes, there are AI-powered tools to enhance low-light photos after you've taken them. You'll find apps like Lightroom, Snapseed, and Night Sky that use machine learning to brighten, reduce noise, and improve details in your dark images.
What's the Relationship Between ISO and Image Stabilization in Smartphones?
ISO and image stabilization work together to improve your low-light photos. While ISO increases light sensitivity, image stabilization reduces camera shake. You'll get clearer, brighter shots by using both features, especially in challenging lighting conditions.
How Do Different Phone Brands Compare in Terms of Maximum ISO Capabilities?
You'll find that maximum ISO capabilities vary among phone brands. Top-tier models from Apple, Samsung, and Google often offer higher ISOs. However, don't just focus on numbers; consider how well each phone processes high-ISO images.
In Summary
You've now got the tools to take better low-light photos with your phone. Remember to experiment with ISO sensitivity, don't shy away from manual settings, and explore third-party apps for more control. As you practice, you'll find the right balance between brightness and noise in your nighttime shots. Keep pushing your phone's camera to its limits, and you'll soon be capturing stunning low-light images you didn't think were possible.


Leave a Reply