Master night street photography with these pro tips: Use manual settings to control exposure, focusing on ISO, aperture, and shutter speed. Seek out interesting light sources like neon signs and reflections. Embrace higher ISO for capturing atmospheric effects, even if it means some noise. Stabilize your smartphone or camera using a tripod or steady surface. Experiment with slow shutter speeds to capture motion and light trails. In post-processing, edit for mood and atmosphere by adjusting contrast and color grading. Finally, play with reflections and shadows to add depth to your images. These techniques will elevate your nighttime urban shots, but there's always more to explore in the world of after-dark photography.
Use Manual Camera Settings
While automatic settings on your camera can be convenient, switching to manual mode is vital for capturing stunning night street photos. Manual mode gives you full control over exposure, allowing you to adapt to challenging lighting conditions.
Start by setting your ISO between 800 and 3200, depending on the available light. Higher ISO values increase sensitivity but may introduce noise.
Next, adjust your aperture. A wide aperture (low f-number) like f/1.8 or f/2.8 lets in more light and creates a shallow depth of field, perfect for isolating subjects. For sharpness across the frame, use a narrower aperture like f/8 or f/11.
Shutter speed is important for night photography. Use slower speeds (1/15 to 1 second) to capture more light, but be aware of motion blur. To freeze action, opt for faster speeds (1/60 to 1/250) and compensate with higher ISO or wider aperture.
Experiment with white balance to achieve the desired color temperature. Auto white balance can struggle with mixed lighting, so try preset options like "tungsten" or create a custom setting.
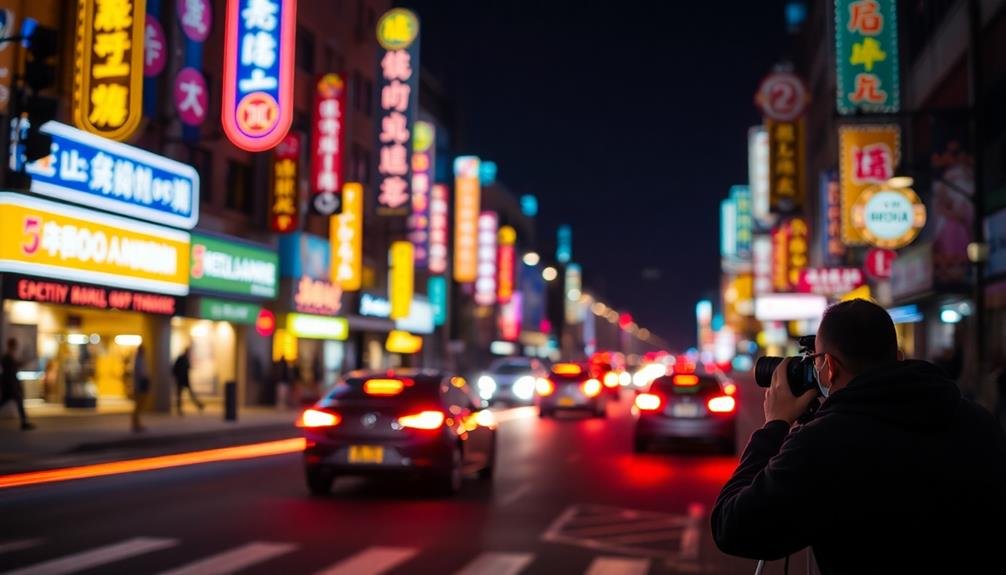
Find Interesting Light Sources
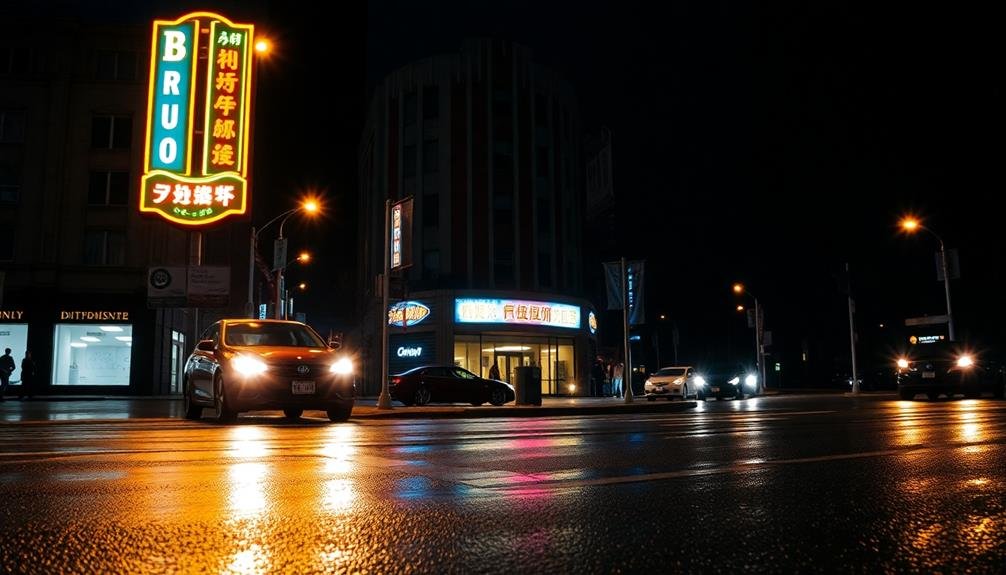
When capturing night street photos, you'll want to seek out enchanting light sources.
Look for vibrant neon signs and their reflections on wet pavement or in puddles to add color and interest to your shots.
Don't overlook the dynamic possibilities of car headlights and light trails, which can create striking streaks of illumination through your frame.
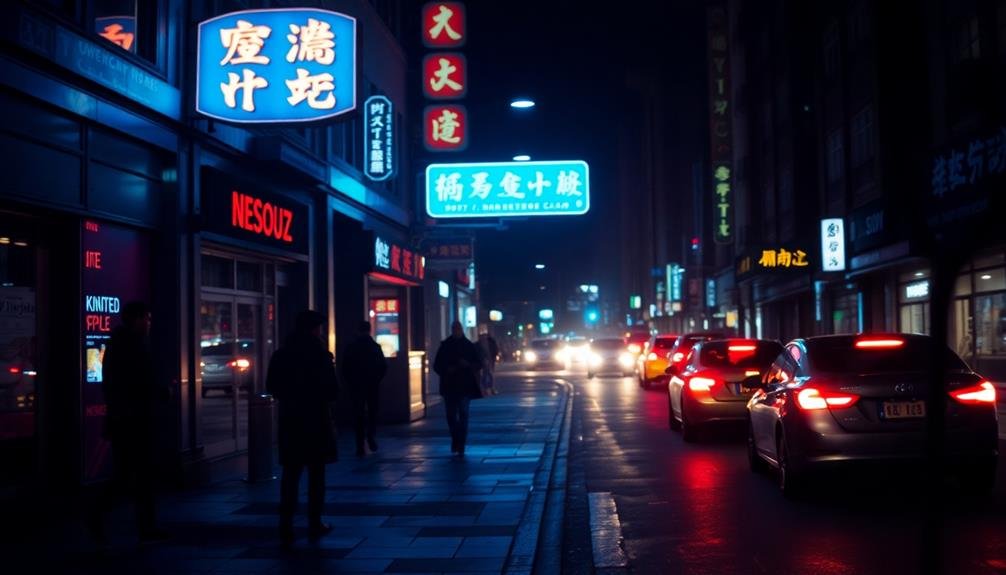
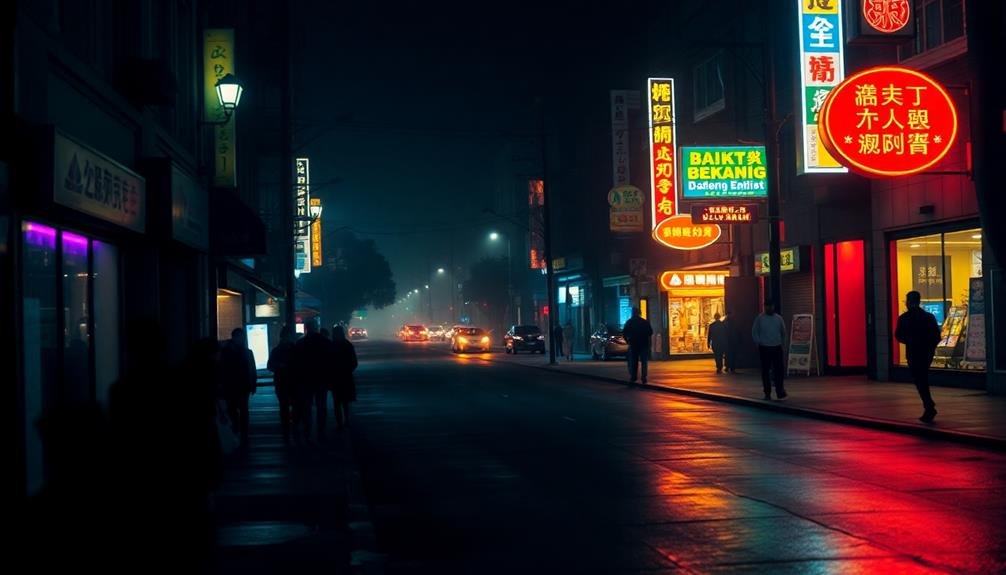
Neon Signs and Reflections
Glowing in the darkness, neon signs and their reflections offer enchanting subjects for night street photography. These vibrant light sources create a unique atmosphere and add a pop of color to your nighttime shots. To capture them effectively, look for signs with bold designs or interesting typography.
Position yourself to include reflections in puddles, windows, or polished surfaces for added depth and visual interest. When photographing neon signs, experiment with different angles and compositions. Get up close to isolate specific elements or step back to include the surrounding environment.
Use a wide aperture to create a shallow depth of field, making the sign stand out against a blurred background. For sharper images, increase your ISO and use a faster shutter speed to freeze any movement.
Don't forget to play with reflections. Shoot after rain for mirror-like puddles on streets and sidewalks. Seek out glass storefronts or car windows to capture distorted reflections of neon lights.
Try long exposures to create light trails from passing vehicles, adding dynamic streaks of color to your composition. By focusing on neon signs and their reflections, you'll add an enthralling element to your night street photography.
Car Headlights and Trails
Beyond neon signs, car headlights and light trails offer another fascinating subject for night street photography. You'll find that these dynamic light sources can add motion, depth, and intrigue to your images. To capture stunning car light trails, use a slow shutter speed and a sturdy tripod. Experiment with exposures ranging from 5 to 30 seconds, depending on traffic flow and desired effect.
Position yourself at busy intersections, highway overpasses, or winding roads for the most dramatic results. Don't forget to take into account your composition; include interesting architectural elements or city skylines as a backdrop. You can also try panning with moving vehicles to create a sense of speed while keeping the car in focus.
Here's a quick reference guide for capturing car headlights and trails:
| Technique | Shutter Speed | Aperture | ISO | Tripod | Best Locations |
|---|---|---|---|---|---|
| Long Light Trails | 10-30 seconds | f/8-f/16 | 100 | Yes | Busy highways, bridges |
| Short Trails | 1-5 seconds | f/5.6-f/8 | 200 | Yes | City intersections |
| Headlight Bursts | 1/15-1/4 sec | f/4-f/5.6 | 400 | No | Street corners |
| Car Panning | 1/15-1/60 sec | f/8-f/11 | 400 | No | Straight roads |
| Tail Light Bokeh | 1/60-1/125 sec | f/1.8-f/4 | 800 | No | Rainy nights |
Embrace High ISO
Don't fear high ISO settings when shooting night street scenes.
You can minimize noise creatively by incorporating it into the gritty urban atmosphere or using noise reduction software in post-processing.
Embracing higher ISO also allows you to capture atmospheric light effects like the glow of neon signs or the soft illumination of street lamps, adding depth and mood to your images.
Minimize Noise Creatively
Creativity flourishes in the face of limitations. When dealing with noise in your night street photos, embrace it as an artistic element rather than a flaw. You'll find that noise can add texture and atmosphere to your images, enhancing the gritty, urban feel of nighttime scenes.
To minimize noise creatively, try these techniques:
- Use noise as a storytelling element: Incorporate grainy textures to evoke a sense of mystery or nostalgia in your shots.
- Apply selective noise reduction: Focus on smoothing out noise in key areas while leaving texture in others to maintain visual interest.
- Experiment with black and white: Converting noisy images to monochrome can transform distracting color noise into appealing film-like grain.
Don't be afraid to push your camera's limits. Sometimes, a slightly noisy image with perfect composition and timing is far more compelling than a technically flawless but uninspiring shot.
Capture Atmospheric Light Effects
One of the most enchanting aspects of night street photography is the ability to capture atmospheric light effects. You'll find that embracing a higher ISO setting can help you achieve this goal. While it might seem counterintuitive, increasing your ISO allows you to capture more light and create stunning images with a unique ambiance.
To effectively capture atmospheric light effects, experiment with different light sources and their interactions with the environment. Look for fog, mist, or rain to add depth and texture to your shots. Pay attention to how artificial lighting interacts with these elements, creating halos, streaks, or reflections.
Here's a table to guide you in capturing various atmospheric light effects:
| Effect | Technique | Best Conditions |
|---|---|---|
| Light Trails | Long exposure | Clear nights, busy streets |
| Foggy Glow | High ISO, wide aperture | Foggy or misty evenings |
| Reflections | Low angle, wet surfaces | After rain, near water |
Remember to use a tripod for stability and experiment with different shutter speeds to achieve the desired effect. By mastering these techniques, you'll create enthralling night street photos that truly showcase the magic of urban environments after dark.
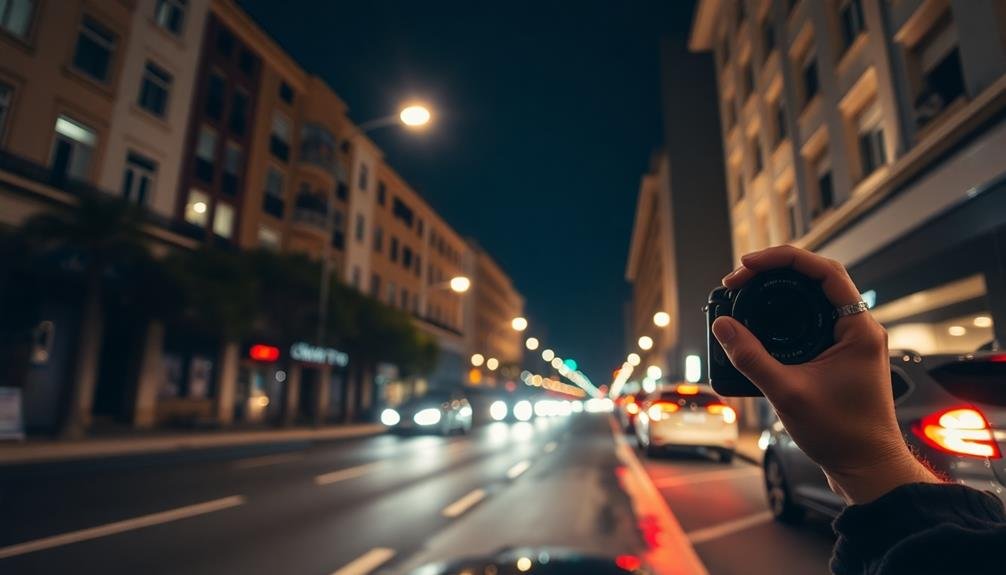
Stabilize Your Smartphone
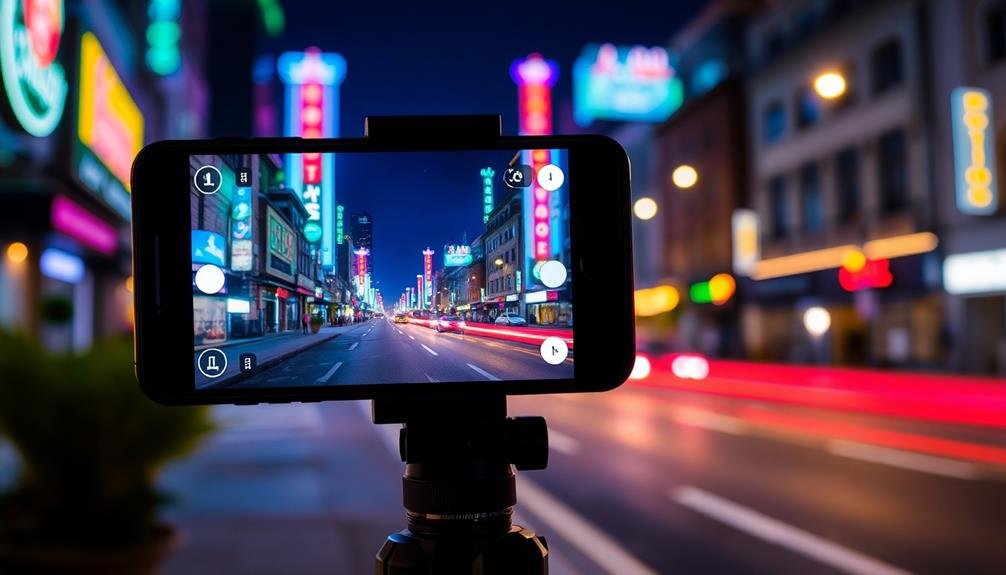
For capturing stunning night street photos with your smartphone, stability is key. Even the slightest movement can result in blurry images, especially in low-light conditions. To guarantee your night shots are crisp and clear, you'll need to stabilize your device effectively.
One of the simplest ways to stabilize your smartphone is by using a tripod. There are many compact, portable options designed specifically for mobile devices. If you don't have a tripod, lean against a wall or sturdy surface to minimize body movement.
Alternatively, place your phone on a flat surface and use the timer function to avoid any shake from pressing the shutter button.
Here are three additional tips to help stabilize your smartphone for night street photography:
- Use both hands to hold your device, keeping your elbows tucked close to your body
- Enable your phone's built-in image stabilization feature if available
- Take multiple shots in burst mode to increase your chances of capturing a sharp image
Capture Motion With Slow Shutter
Capturing motion with a slow shutter speed can transform your night street photos from static snapshots to dynamic works of art. This technique allows you to create light trails from moving vehicles, blur pedestrians, and capture the energy of bustling city streets.
To achieve this effect, you'll need to set your camera to manual mode and experiment with longer exposure times. Start with shutter speeds between 1/15 and 1 second, adjusting based on the amount of motion you want to capture. For longer exposures, you'll need a tripod or stable surface to prevent camera shake.
When shooting, look for scenes with a mix of stationary and moving elements. Streetlights, illuminated buildings, and neon signs provide excellent static anchor points, while cars, buses, and people in motion create streaks of light and blurred shapes.
Experiment with different compositions and angles. Try shooting from overpasses, intersections, or busy pedestrian areas.
Don't forget to adjust your ISO and aperture to maintain proper exposure as you lengthen your shutter speed. With practice, you'll master the art of capturing motion in your night street photography.
Edit for Mood and Atmosphere
Once you've captured your stunning night street photos, post-processing is your opportunity to enhance the mood and atmosphere. Start by adjusting the overall exposure and contrast to emphasize the interplay of light and shadow.
Don't be afraid to push the blacks for a more dramatic effect, but be careful not to lose important details in the shadows.
Color grading is essential for setting the right tone. Experiment with different color palettes to evoke specific emotions. Warm tones can create a cozy, inviting atmosphere, while cool blues and teals can lend a mysterious or futuristic vibe.
Use split toning to add depth and dimension to your images.
Consider these techniques to further enhance the mood:
- Add a subtle vignette to draw focus and create intimacy
- Utilize selective sharpening to highlight key elements
- Experiment with grain or noise to add texture and grit
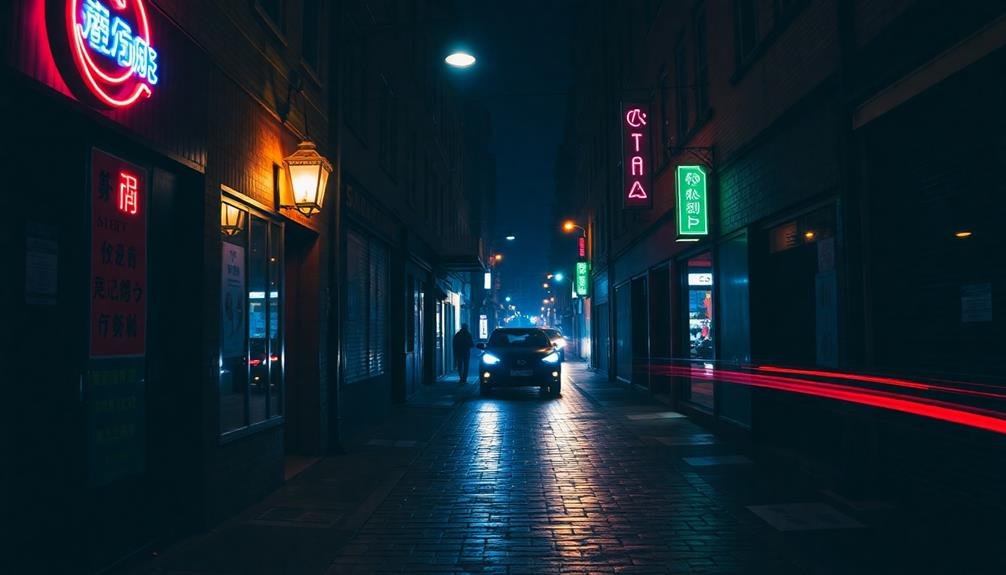
Experiment With Reflections and Shadows

Reflections and shadows are powerful tools in night street photography, offering unique opportunities to create visually striking images. Look for reflective surfaces like puddles, glass windows, or polished car hoods to add depth and intrigue to your shots. These reflections can create symmetry, distort reality, or provide a unique perspective on familiar scenes.
Experiment with different angles to capture the most interesting reflections. Sometimes, getting low to the ground or shooting from an elevated position can yield surprising results.
Don't forget to use artificial light sources like street lamps, neon signs, or car headlights to create dramatic shadows and silhouettes.
Play with the interplay between light and shadow to add mystery and drama to your photos. Use strong contrasts to emphasize shapes and forms, or softer changes for a more subtle effect.
Try positioning your subjects in areas where shadows and light intersect for added visual interest.
Remember that reflections and shadows can change rapidly, so be patient and observant. Sometimes, waiting for the perfect moment when a person walks through a specific light or shadow can transform an ordinary scene into an extraordinary photograph.
Frequently Asked Questions
What Safety Precautions Should I Take When Photographing at Night?
When photographing at night, you should stay aware of your surroundings, travel with a companion, stick to well-lit areas, and keep your gear secure. Don't forget to inform someone of your location and expected return time.
How Do I Protect My Camera Gear From Moisture in Night Conditions?
To protect your gear from moisture at night, you'll want to use a weatherproof camera bag. Keep silica gel packets inside, use a lens hood, and carry a microfiber cloth. Don't forget to acclimate your camera before use.
Are There Legal Considerations for Night Street Photography in Different Countries?
You'll find legal considerations vary widely by country. Always research local laws before shooting. Some places restrict photography of people or buildings at night. Be aware of privacy laws and obtain permits when necessary.
What Are the Best Locations for Capturing Unique Night Street Scenes?
You'll find unique night street scenes in bustling city centers, historic districts, and vibrant neighborhoods. Look for areas with interesting lighting, diverse architecture, and lively nightlife. Don't forget to explore markets, bridges, and waterfront locations for enchanting shots.
How Can I Approach and Photograph Strangers Ethically During Night Shoots?
You'll want to respect people's privacy and comfort. Always ask for permission before photographing strangers. Be friendly, explain your project, and offer to share the photos. If they decline, graciously thank them and move on.
In Summary
You're now equipped with pro tips to elevate your night street photography. Don't be afraid to experiment and push your creative boundaries. Remember, it's all about capturing the unique atmosphere of the urban nightscape. With practice, you'll develop your own style and techniques. So grab your camera or smartphone, hit the streets after dark, and start creating stunning images that showcase the city's nocturnal beauty. Happy shooting!


Leave a Reply