
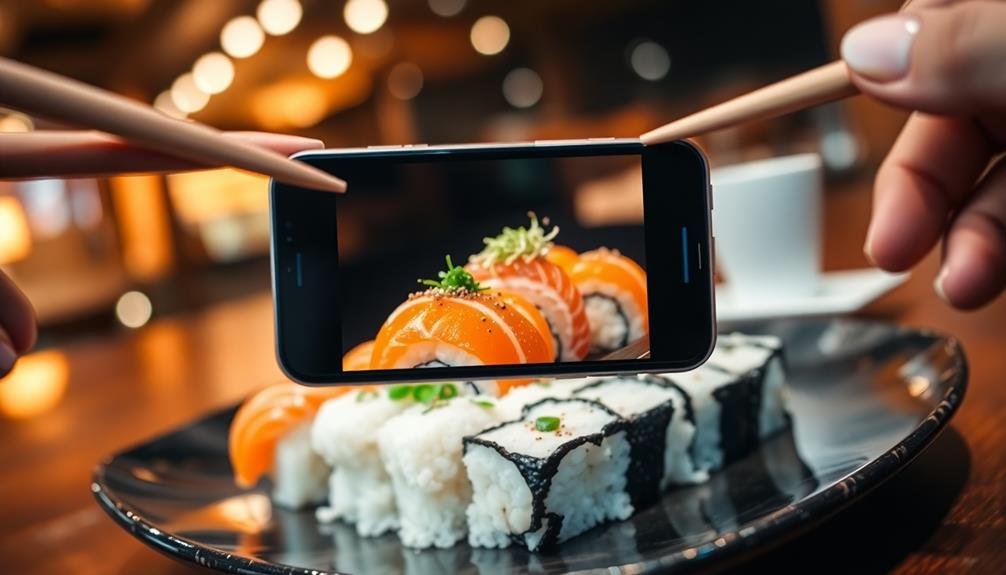
To capture delicious mobile food shots, master pro composition tricks like the rule of thirds, leading lines, and negative space. Use framing techniques to guide the viewer's eye, and experiment with symmetry and balance for visually appealing images. Leverage natural lighting near windows, and control shadows with reflectors. Choose props that complement your dish without overwhelming it. Embrace minimalism by simplifying your composition and focusing on a single focal point. Don't forget to add movement and action to your shots for dynamic results. These techniques will transform your ordinary food photos into mouthwatering masterpieces that'll have viewers craving more.
Rule of Thirds

The rule of thirds is a fundamental principle in photography that can dramatically improve your food shots. Imagine your phone screen divided into a 3×3 grid with two horizontal and two vertical lines. The key points where these lines intersect are your focal points.
When composing your food photo, place the main subject or most interesting elements along these lines or at their intersections. This technique creates a more balanced and visually appealing image than simply centering your subject. It guides the viewer's eye naturally through the photo, creating a sense of movement and interest.
For food photography, you might place a main dish at one of the intersections, with garnishes or complementary items along the grid lines.
Don't worry if your phone doesn't have a built-in grid. You can still visualize it or use editing apps later to crop your image according to this rule.
Leading Lines

Leading lines are a powerful tool in food photography that can elevate your shots.
You'll find that utensils, table edges, or even the food itself can create lines that draw the viewer's eye directly to your main subject.
Draw Eye to Subject
Numerous techniques can help guide viewers' eyes to the main subject of your food photos, but few are as effective as leading lines. These lines, whether actual or implied, create a path that naturally draws attention to your focal point. In food photography, you can use utensils, table edges, or even the arrangement of ingredients to create these lines.
To implement leading lines effectively, position them so they point towards your main subject. For instance, place a fork or chopsticks angling towards the dish you're highlighting. You can also use the edge of a plate or the curve of a bowl to create a subtle line that leads the eye. Even the placement of garnishes or sauce drizzles can form leading lines.
Don't limit yourself to straight lines; curved or circular lines can be just as effective. The spiral of pasta or the concentric circles of a sliced onion can create interesting paths for the eye to follow.
Create Visual Flow
By creating visual flow in your food photos, you'll enhance the overall composition and guide viewers' eyes through the image. Leading lines are a powerful tool to achieve this effect. Look for natural lines in your food arrangement, such as the curve of a fork, the edge of a plate, or the alignment of ingredients. These lines can direct attention to your main subject or create a path for the eye to follow.
When composing your shot, consider the following techniques:
| Technique | Description | Example |
|---|---|---|
| Diagonal Lines | Create dynamic energy | Angle utensils or food items |
| Curved Lines | Add a soft, flowing feel | Arrange noodles or sauces in curves |
| Straight Lines | Convey stability and order | Stack ingredients or use linear plating |
Experiment with different angles to emphasize these lines. Shooting from above can highlight circular patterns, while a side angle might accentuate horizontal or diagonal lines. Don't forget to use props strategically – a well-placed napkin or chopsticks can introduce additional leading lines. By mastering visual flow, you'll create more engaging and professional-looking food photos that keep viewers' attention focused on your delicious subject.
Frame With Utensils
Framing your food with utensils is a clever way to create leading lines in your mobile photography. This technique draws the viewer's eye directly to the main subject while adding depth and context to your shot.
You'll want to experiment with different utensils and placements to find the most appealing composition for your dish.
When framing with utensils, consider these tips:
- Use contrasting colors: Choose utensils that stand out against the food and background for maximum impact.
- Vary the angles: Place forks, knives, or spoons at different angles to create dynamic lines leading to the focal point.
- Incorporate negative space: Leave some empty areas in the frame to prevent the image from feeling cluttered.
- Mix textures: Combine smooth, shiny utensils with textured napkins or tablecloths for added visual interest.
Don't limit yourself to traditional silverware; chopsticks, wooden spoons, or even food items like bread sticks can serve as effective framing elements.
Remember to keep the focus on the food itself, using utensils as subtle guides rather than dominating elements.
With practice, you'll develop an eye for creating visually striking compositions that showcase your culinary creations in their best light.
Negative Space
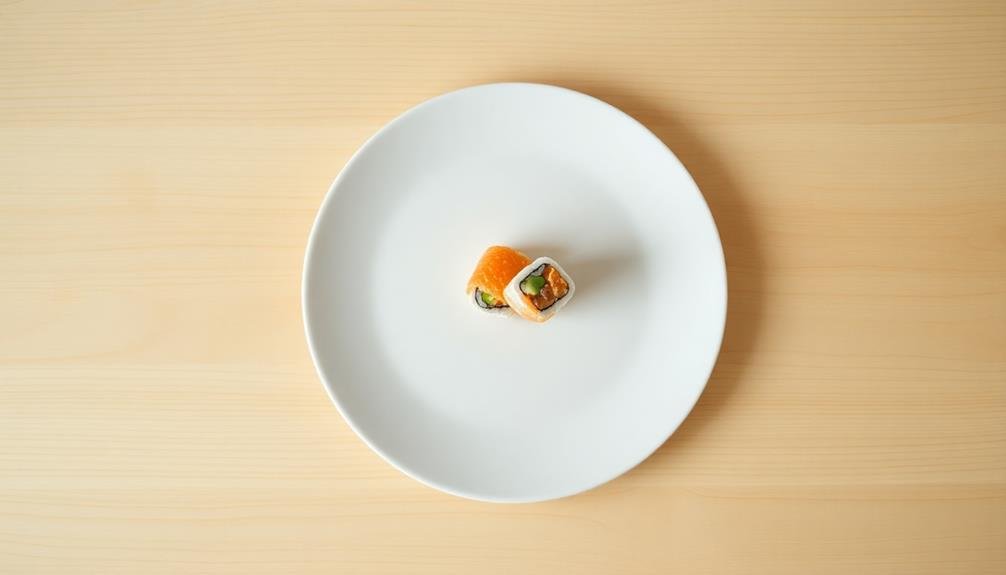
Negative space, often overlooked in food photography, can be a powerful tool to enhance your mobile shots. It's the empty area surrounding your main subject, and when used effectively, it can make your food pop and create a more impactful image.
To incorporate negative space, try positioning your dish off-center. Leave a portion of the frame empty, allowing the viewer's eye to naturally focus on the food. You can use a plain tablecloth, a minimalist plate, or even the restaurant table as your backdrop.
Don't be afraid to zoom out or step back to capture more of the surrounding area. Experiment with different angles to maximize negative space. Overhead shots can showcase the dish against a clean surface, while side angles can highlight the food against an uncluttered background.
Remember, the goal is to create balance and draw attention to your subject. When editing, resist the urge to crop too tightly. Keeping some negative space will give your image a more professional, editorial look.
It also provides room for text if you're planning to add captions or use the photo for social media posts.
Symmetry and Balance

When composing your food photos, you'll often find that symmetry and balance create visually appealing images.
You can achieve symmetry by centering your main subject in the frame, which draws the viewer's attention directly to the focal point.
Alternatively, applying the rule-of-thirds grid to your composition can help you create a balanced image by placing key elements along the intersecting lines or at their points of intersection.
Centering Your Main Subject
Centering your main subject can create a powerful and visually striking image. This technique works particularly well for symmetrical dishes or when you want to emphasize a single, standout element. When you're framing your shot, place the main food item directly in the middle of your screen. This draws the viewer's eye immediately to the focal point, creating a strong visual impact.
To effectively center your subject:
- Use your phone's grid feature to align the food precisely in the middle.
- Confirm there's equal space on all sides of the main subject.
- Remove distracting elements from the background to maintain focus.
- Experiment with different angles while keeping the subject centered.
While centering isn't always the best choice, it's ideal for showcasing round dishes, perfectly plated meals, or single items like a beautifully crafted latte.
It's also effective for overhead shots of table settings or multiple dishes arranged symmetrically. Remember, centering works best when the subject is inherently interesting or visually appealing.
Don't force this technique if the dish's composition naturally lends itself to a different approach. Always prioritize what best highlights the food's most attractive features.
Using the Rule-Of-Thirds
Mastering the rule-of-thirds can dramatically improve your food photography composition. This technique involves dividing your frame into a 3×3 grid and placing key elements along these lines or at their intersections. It's a simple yet powerful way to create balanced, visually appealing images.
To apply this rule, position your main dish or focal point at one of the grid's intersections rather than dead center. This off-center placement creates a more dynamic and engaging composition. Place supporting elements, like garnishes or utensils, along the grid lines to guide the viewer's eye through the image.
When shooting overhead, try aligning the edges of your plate with the grid lines. For angled shots, position the horizon or table edge along a horizontal line. Don't forget to use your phone's built-in grid feature to help you compose your shots.
While centering can work for symmetrical compositions, the rule-of-thirds often produces more interesting results. It allows you to showcase the food's environment and creates a sense of story within the frame.
Experiment with different placements to find what works best for each dish and setting.
Framing Techniques
Three key framing techniques can elevate your mobile food photography: the rule of thirds, negative space, and leading lines.
You've already learned about the rule of thirds, so let's explore the other two. Negative space refers to the empty areas around your subject. It's not just blank space; it's a powerful tool to draw attention to your food. By leaving ample room around your dish, you'll create a sense of simplicity and elegance.
Leading lines are elements in your composition that guide the viewer's eye to the main subject. In food photography, you can use utensils, table edges, or even the food itself to create these lines. They'll add depth and interest to your shots.
To master these framing techniques, try these tips:
- Experiment with different angles to find the most effective leading lines.
- Use props sparingly to avoid cluttering the negative space.
- Play with asymmetry to create dynamic compositions.
- Incorporate natural frames like plates or placemats.
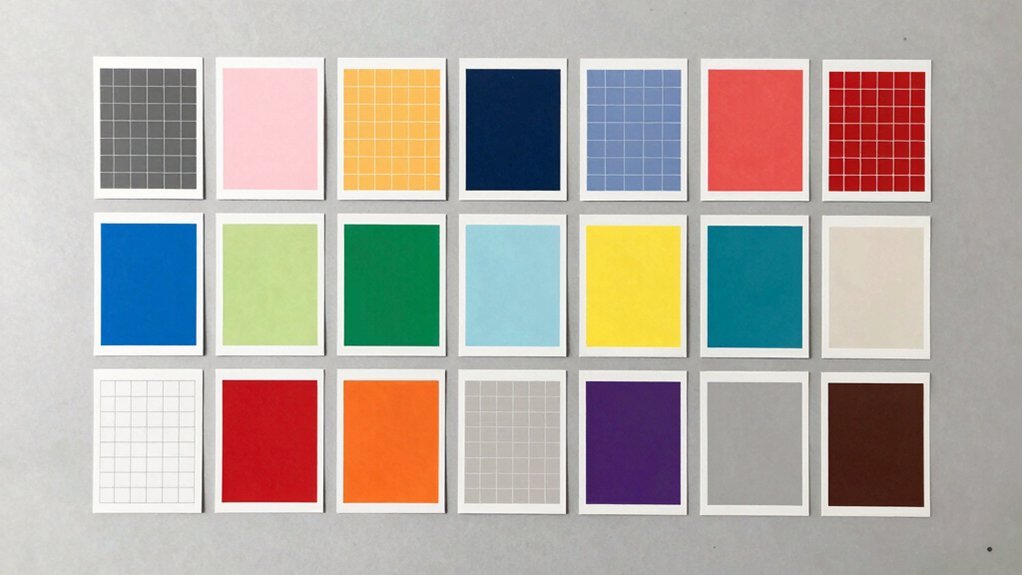
Color Theory

In light of the significance of visual appeal, color theory plays an essential role in mobile food photography. You'll want to understand how colors interact and influence each other to create stunning food shots. Start by familiarizing yourself with the color wheel and its relationships, such as complementary, analogous, and triadic color schemes.
When composing your shot, consider the natural colors of the food and how they can be enhanced or contrasted with the background and props. Use complementary colors to make your subject pop, like pairing a vibrant red tomato with a green garnish.
Alternatively, create a harmonious look with analogous colors, such as combining various shades of orange, yellow, and red in an autumn-themed dish.
Don't forget about white balance. Adjust your camera settings or use editing tools to guarantee the colors in your photo accurately represent the real-life dish.
Pay attention to lighting, as it can dramatically affect color perception. Natural light often provides the most flattering and true-to-life colors for food photography.
Experiment with different color combinations and lighting conditions to develop your unique style and create mouth-watering images that stand out on social media.
Storytelling Through Composition

Composition is the backbone of storytelling in mobile food photography. It's not just about capturing a delicious dish; it's about creating a narrative that engages your audience.
You'll want to reflect on the elements within your frame and how they interact to tell a compelling story.
To craft a powerful narrative through composition, focus on these key aspects:
- Lead the eye: Use leading lines or the rule of thirds to guide viewers through your image.
- Create depth: Incorporate foreground, middle ground, and background elements to add dimension.
- Set the scene: Include props or background elements that provide context and enhance the story.
- Frame within the frame: Use natural frames to draw attention to your main subject.
Perspective and Angle

Experiment with different perspectives to add visual interest to your food photos.
Try shooting from directly above for a flat lay effect, or get down to eye-level with your dish for a more intimate view.
Don't be afraid to tilt your camera at dramatic angles, creating dynamic compositions that draw the viewer's eye through the frame.
Overhead vs. Eye-level
Choosing the right angle for your food photos can make or break your shot. Two popular perspectives are overhead and eye-level, each offering unique advantages. Overhead shots provide a birds-eye view, showcasing the entire dish and its arrangement. They're perfect for flat lays, table spreads, and foods with interesting textures or patterns.
Eye-level shots, on the other hand, bring you face-to-face with the dish, highlighting its depth and layers.
When deciding between overhead and eye-level angles, consider:
- The dish's height: Tall foods benefit from eye-level shots, while flatter dishes shine from above.
- Your story: Overhead shots tell a broader narrative, while eye-level focuses on specific details.
- Composition: Overhead allows for symmetrical arrangements, while eye-level creates depth.
- Background: Eye-level shots incorporate more of the surrounding environment.
Experiment with both angles to find what works best for each dish. Don't be afraid to mix it up – sometimes a 45-degree angle can combine the best of both worlds.
Dramatic Tilts
Many food photographers overlook the power of dramatic tilts, but they can add a dynamic edge to your mobile food shots. By tilting your phone at an angle, you'll create unique perspectives that draw the viewer's eye and make your food appear more interesting.
To achieve a dramatic tilt, start by holding your phone at a 30 to 45-degree angle. This slight tilt can make tall dishes like stacked pancakes or layered cakes appear more imposing. For flatter foods, try a more extreme tilt of 60 to 75 degrees to emphasize texture and create depth.
When using dramatic tilts, pay attention to your background. The angle will affect what's visible behind your subject, so adjust accordingly. You can use this to your advantage by incorporating interesting elements or minimizing distractions.
Experiment with tilting in different directions. A left-to-right tilt can create a sense of movement, while a top-to-bottom tilt can make the food appear to be sliding towards the viewer.
Don't forget to use your phone's grid feature to maintain straight lines and avoid unintentional distortion.
Layering and Depth

Beyond the basics of composition, layering and depth can elevate your mobile food photography to new heights. By strategically arranging elements in your frame, you'll create a sense of dimension that draws viewers into the image.
Start by placing your main subject in the foreground, then add supporting elements in the middle ground and background. This technique adds visual interest and tells a more complete story about the dish.
To enhance depth in your food photos, try these four techniques:
- Use a shallow depth of field to blur the background
- Incorporate leading lines that guide the eye through the image
- Play with different heights and levels in your food styling
- Add props or ingredients in varying distances from the camera
When layering your shot, consider the color, texture, and shape of each element. Contrast these qualities to create visual separation between layers.
Don't be afraid to experiment with unconventional angles or partially obscured elements to add intrigue. Remember, the goal is to create a multi-dimensional scene that engages the viewer and highlights the main dish while providing context and atmosphere.
Texture and Detail

Texture and detail can make or break your food photography. To capture these elements effectively, focus on the unique surfaces and intricate features of your dish. Use macro mode or get close to your subject to highlight the crispy edges of fried foods, the glistening droplets on fresh produce, or the delicate patterns in pastries.
Experiment with different lighting angles to emphasize textures. Side lighting can cast shadows that accentuate the depth and contours of your food. For shiny or reflective surfaces, try backlighting to create a beautiful glow.
Don't forget about the background and props; choose items with complementary textures to add visual interest without overpowering the main subject.
When editing, use your phone's built-in tools to enhance texture and detail. Adjust contrast and clarity to make textures pop, but be careful not to overdo it. Selective sharpening can draw attention to specific areas of the image.
Lighting for Mobile Food Photography

Lighting is the backbone of great food photography, especially when shooting with a mobile device. Your phone's camera may have limitations, but with the right lighting techniques, you'll capture mouthwatering images.
Natural light is your best friend, so position your food near a window for soft, diffused illumination. Avoid harsh direct sunlight, which can create unflattering shadows and blown-out highlights.
If natural light isn't available, don't worry. You can still achieve stunning results with artificial lighting. Consider investing in a small, portable LED light panel designed for mobile photography. These versatile tools allow you to control the direction and intensity of light, giving you more creative freedom.
To elevate your mobile food photography lighting game, try these techniques:
- Use a white foam board or paper to reflect light onto shadowy areas
- Experiment with side lighting to create depth and texture
- Try backlighting for a dramatic, glowing effect
- Utilize your phone's HDR mode to balance high-contrast scenes
Props and Styling

Props and styling often make the difference between an ordinary food photo and an enchanting one. When shooting food with your mobile device, consider using complementary props to enhance the dish's appeal. Choose items that tell a story or create a mood, such as vintage cutlery, rustic linens, or seasonal decorations.
Don't overdo it, though. The food should remain the star of the show. Select props that complement the dish's colors and textures without overwhelming it. You'll want to create depth and interest in your composition, so experiment with layering. Try placing a napkin or placemat beneath the plate, or position utensils at different angles.
Pay attention to the styling of the food itself. Arrange ingredients artfully, and don't be afraid to get messy – a few crumbs or a drizzle of sauce can add authenticity.
Use garnishes sparingly to add pops of color or texture. Remember, less is often more in food styling.
Minimalism in Food Shots
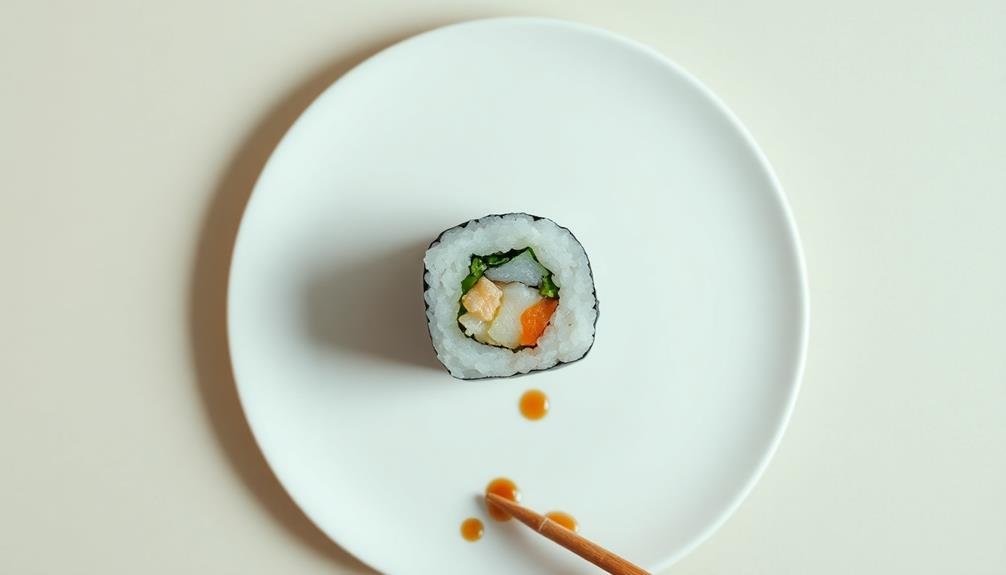
Less is more when it comes to minimalist food photography. By stripping your shots down to the essentials, you'll create compelling images that highlight the beauty of your subject. Embrace negative space to draw attention to the food and evoke a sense of simplicity and elegance.
To achieve a minimalist look in your mobile food shots:
- Choose a single focal point: Select one main element to showcase, whether it's a perfectly plated dish or a key ingredient.
- Use a clean, neutral background: Opt for plain surfaces like white plates or light-colored tablecloths to avoid distractions.
- Simplify your composition: Remove unnecessary elements and focus on clean lines and shapes.
- Play with light and shadow: Utilize natural light to create depth and texture without cluttering the frame.
When styling your minimalist food shots, stick to a limited color palette. This approach will help maintain a cohesive and uncluttered look.
Don't be afraid to experiment with unconventional angles or close-ups to add interest while keeping the overall composition simple.
Action and Movement

Capturing movement in food photography can transform static images into dynamic, mouthwatering scenes. To achieve this effect, you'll need to master the art of timing and composition.
Start by experimenting with pouring shots, like syrup cascading over pancakes or cream swirling into coffee. Use burst mode on your phone to capture multiple frames, ensuring you don't miss the perfect moment.
For action shots, try photographing food prep. Capture hands kneading dough, tossing salads, or slicing ingredients. These images add a human element and convey the process behind the dish.
You can also create movement by tossing ingredients in the air, like herbs or spices, and snapping the shot mid-fall.
Don't forget about steam! It's a great way to show freshness and warmth. Capture rising steam from hot dishes or drinks by adjusting your phone's focus and exposure.
For more dramatic effects, try splashing liquids or dropping food items into soups or sauces. Remember to use a fast shutter speed to freeze the action and maintain sharpness.
With practice, you'll be able to capture stunning, lively food images that leap off the screen.
Frequently Asked Questions
How Can I Prevent My Phone From Overheating During Extended Food Photography Sessions?
To prevent your phone from overheating during long photo sessions, you'll want to take breaks, avoid direct sunlight, remove the case, close unused apps, and use airplane mode. You can also try using a cooling phone grip.
What Are the Best Mobile Apps for Editing Food Photos?
You'll find several great apps for editing food photos. Try VSCO, Snapseed, or Foodie for filters and adjustments. Adobe Lightroom Mobile offers pro-level tools. Instagram's built-in editor is also handy for quick edits and sharing.
How Do I Capture Steam or Smoke in Food Photography Using a Smartphone?
To capture steam or smoke in food photography with your smartphone, you'll need good lighting. Use a dark background, place a light source behind the food, and shoot quickly. Consider using slow-motion video for better results.
Are There Any Legal Considerations When Photographing Food in Restaurants?
When photographing food in restaurants, you'll need to contemplate privacy laws and the establishment's policies. Always ask for permission first. Don't disrupt other diners, and be cautious about capturing people in your shots without consent.
How Can I Collaborate With Food Brands for Sponsored Mobile Food Photography?
You can reach out to food brands on social media, showcase your portfolio, and propose collaboration ideas. Build relationships with PR firms, attend industry events, and create a media kit. Don't forget to negotiate fair compensation for your work.
In Summary
You've now got a toolkit of pro composition tricks for mouthwatering mobile food shots. Remember, it's all about experimenting and finding your unique style. Don't be afraid to break the rules occasionally – that's where creativity thrives. Keep practicing, and you'll soon be capturing Instagram-worthy food photos that'll make everyone's stomachs growl. So grab your phone, arrange that dish, and start shooting. Your foodie followers are waiting!


Leave a Reply