
To capture stunning low-light HDR photos on your mobile, start by steadying your shot using both hands or a tripod. Adjust ISO settings for ideal sensitivity and use manual focus for sharp images. Leverage your phone's night mode and experiment with exposure compensation to fine-tune brightness. Keep your lens clean for clarity, and utilize HDR bracketing for balanced exposures. Post-process to enhance shadows and highlights, and practice long exposure techniques for creative effects. Don't forget to embrace natural light sources and compose your shots thoughtfully. These pro tips will elevate your low-light photography game, but there's even more to explore in the world of mobile HDR.
Steady Your Shot
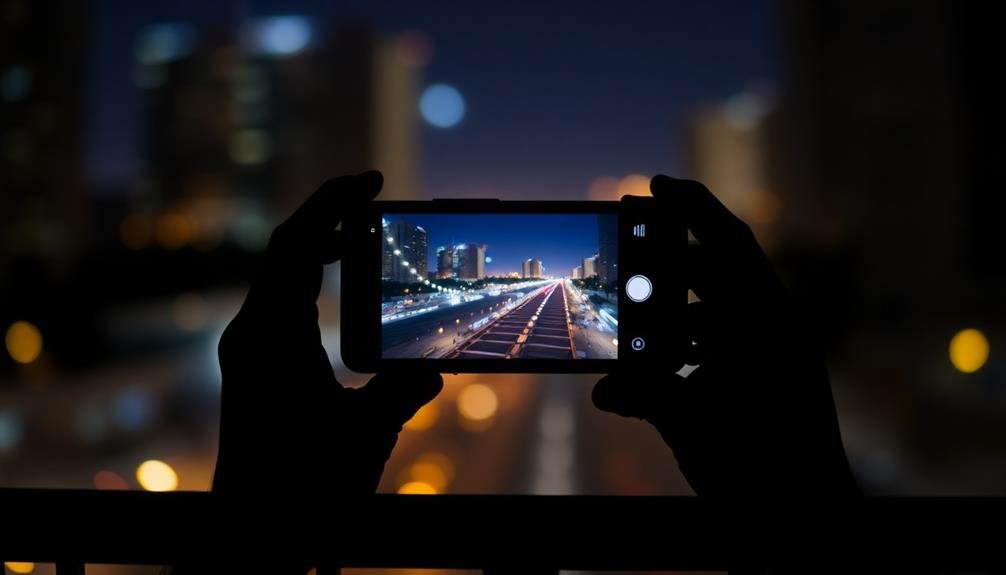
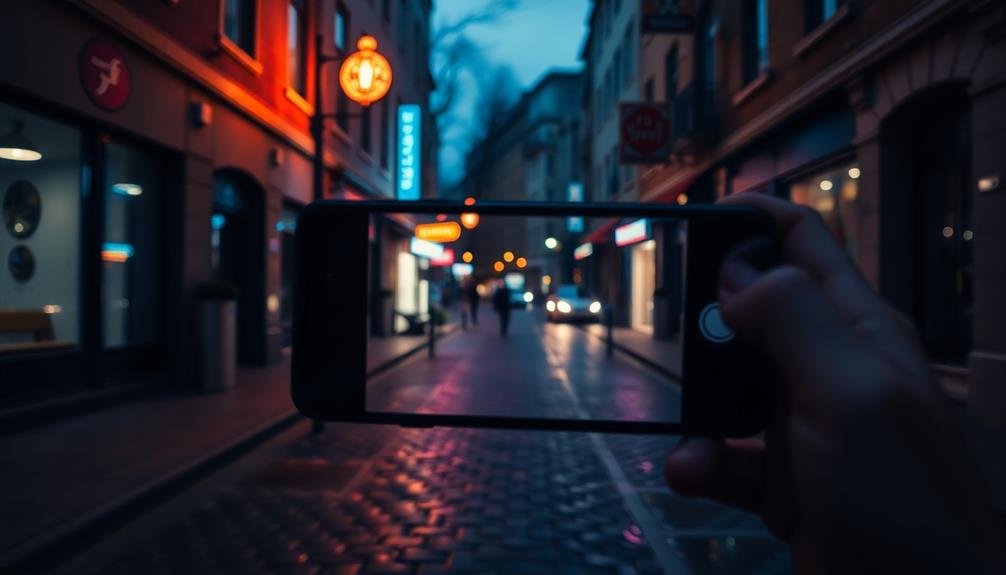
When taking low-light HDR photos on your mobile device, keeping your hands steady is essential. Even the slightest movement can result in blurry images, especially in low-light conditions. To minimize camera shake, hold your phone with both hands and keep your elbows close to your body. This stance provides a stable base for your shot.
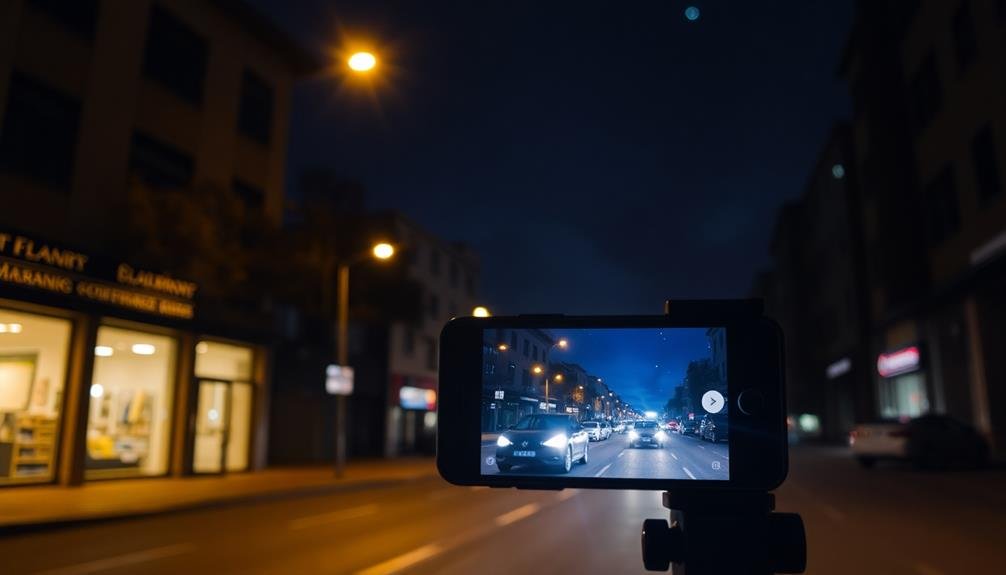
If possible, lean against a wall or sturdy object to further reduce movement. Alternatively, use a tripod or selfie stick for maximum stability. Many compact, portable options are available specifically designed for smartphones.
When you're ready to capture the image, avoid tapping the screen to take the photo. Instead, use your device's volume buttons or a Bluetooth remote shutter. This prevents the slight shake that occurs when you touch the screen.
Take advantage of your phone's built-in stabilization features. Many modern smartphones offer optical image stabilization (OIS) or electronic image stabilization (EIS). Enable these features in your camera settings to help counteract minor hand movements.
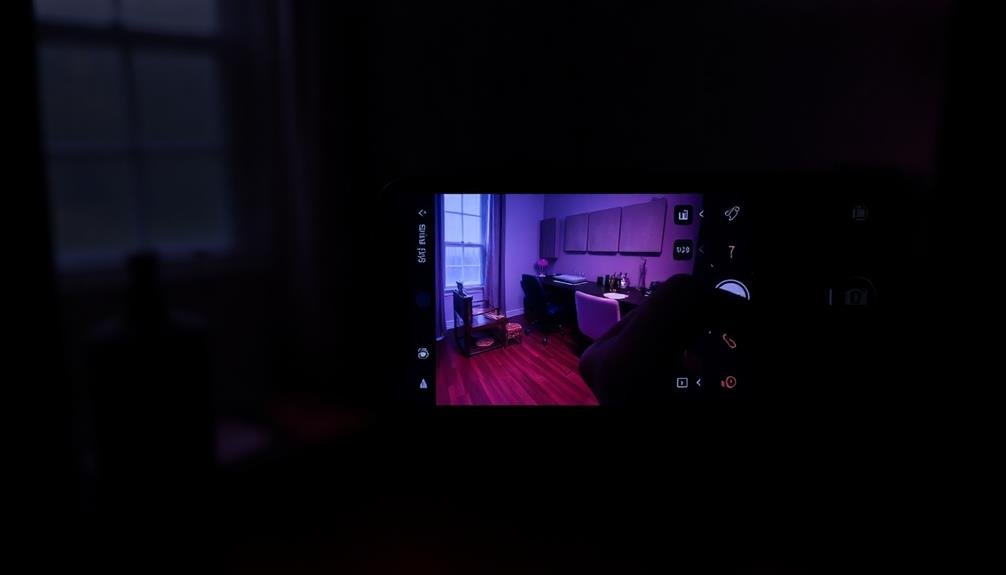
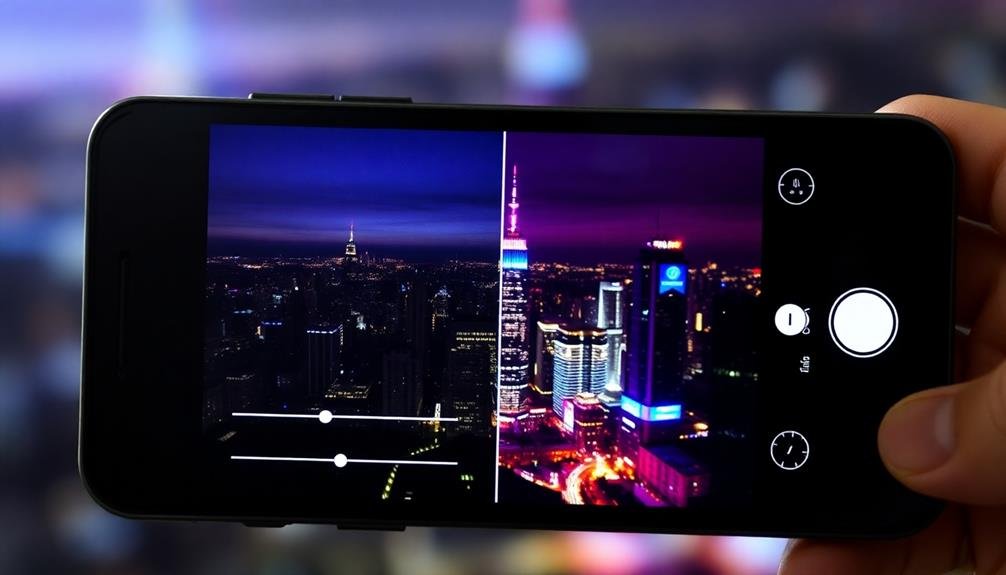
Lastly, use the HDR mode in conjunction with your phone's night mode or low-light setting. This combination will capture multiple exposures, allowing for better detail in both shadows and highlights while minimizing noise.
Adjust ISO Settings
You'll want to understand ISO sensitivity to effectively adjust your camera's settings in low light.
By balancing noise levels, you can achieve clearer images without excessive graininess.
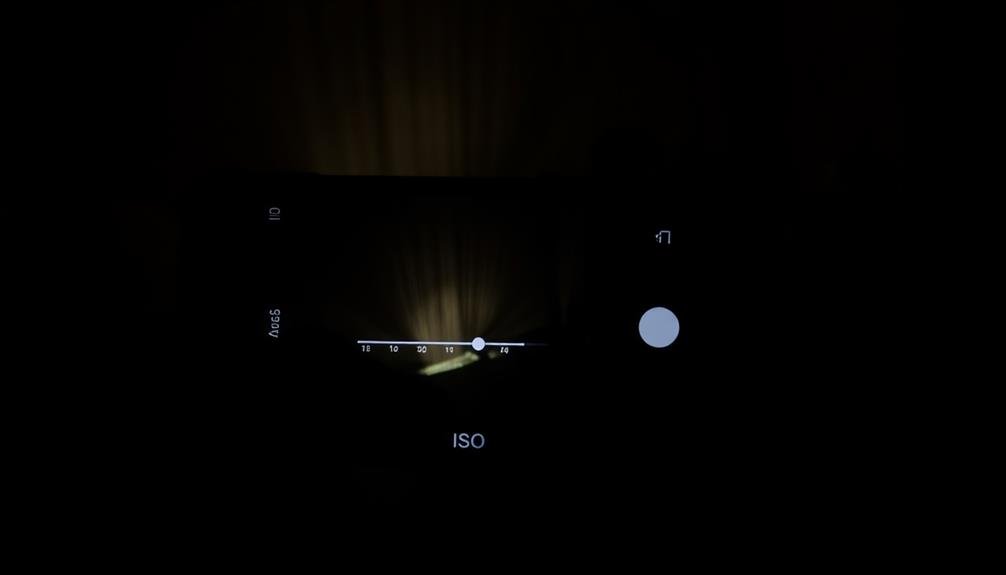
Aim for the ideal ISO range on your mobile device, typically between 100-800, to maintain image quality while capturing more light.
Understanding ISO Sensitivity
In low-light photography, understanding ISO sensitivity is vital for achieving well-exposed images. ISO determines how sensitive your camera's sensor is to light. Higher ISO values increase sensitivity, allowing you to capture brighter images in low-light conditions. However, this comes at the cost of introducing digital noise, which can reduce image quality.
When adjusting ISO settings on your mobile device, keep in mind that lower values (e.g., ISO 100-400) produce cleaner images but require more light. Higher values (e.g., ISO 800-3200) allow you to shoot in darker environments but may result in grainier photos. It's important to find the right balance between brightness and noise for your specific shooting conditions.
To make the most of ISO sensitivity in low-light HDR photography:
- Experiment with different ISO values to find your camera's sweet spot
- Use a tripod or stabilize your device to minimize camera shake at lower ISO settings
- Embrace the grain in certain artistic situations for a moody effect
- Combine ISO adjustments with other camera settings like shutter speed and aperture for best results
Balancing Noise Levels
Balancing noise levels is a critical aspect of low-light HDR photography on mobile devices. As you increase ISO sensitivity to capture more light, you'll inevitably introduce digital noise into your images. Your goal is to find the sweet spot where you've gathered enough light without compromising image quality.
Start by setting your ISO to the lowest possible value that still allows for a proper exposure. If you're using manual controls, adjust your shutter speed and aperture first. Only increase ISO when you can't achieve the desired brightness through other means. Remember, it's often better to have a slightly underexposed image with less noise than an overexposed, noisy one.
| ISO Level | Noise Impact | Best Use Case |
|---|---|---|
| Low (100-400) | Minimal | Well-lit scenes |
| Medium (400-1600) | Moderate | Indoor, twilight |
| High (1600+) | Significant | Very low light |
When shooting in HDR mode, your phone will typically capture multiple exposures at different ISO levels. This can help reduce overall noise by combining the least noisy parts of each exposure. However, you'll still want to keep your maximum ISO as low as possible to maintain image quality across all exposures.
Optimal ISO Range
Finding the ideal ISO range is essential for capturing high-quality low-light HDR photos on mobile devices.
You'll want to strike a balance between sensitivity and noise levels. Start by setting your ISO to the lowest possible value that still allows for a properly exposed image. This typically falls between 100 and 400 on most smartphones.
As you increase the ISO, be mindful of the noise introduced into your photos. Experiment with different settings to find the sweet spot for your specific device. Remember that higher ISOs can be useful in extremely low-light situations, but they come at the cost of image quality.
To optimize your ISO settings for low-light HDR photography:
- Feel confident by mastering your camera app's manual controls
- Get excited about pushing your device's limits in challenging lighting conditions
- Experience the thrill of capturing stunning night scenes with minimal noise
- Embrace the satisfaction of producing professional-looking images on your mobile device
Use Manual Focus
Manual focus can be your secret weapon for capturing stunning low-light HDR photos on your mobile device. When you're shooting in challenging lighting conditions, your phone's autofocus might struggle to lock onto the subject accurately. By taking control of the focus yourself, you'll guarantee that your main subject remains sharp and well-defined.
To use manual focus, look for the focus slider in your camera app's pro or manual mode. Adjust it carefully until your subject appears crisp on the screen. Don't forget to zoom in digitally to check for fine details. In low-light situations, it's often helpful to focus on areas with the most contrast or visible edges.
Remember that manual focus works hand-in-hand with your exposure settings. Once you've nailed the focus, fine-tune your exposure to balance the bright and dark areas in your HDR shot.
This combination of precise focus and well-balanced exposure will result in images with greater depth and clarity, even in challenging lighting conditions. Practice using manual focus in various scenarios to master this technique and elevate your low-light HDR photography skills.
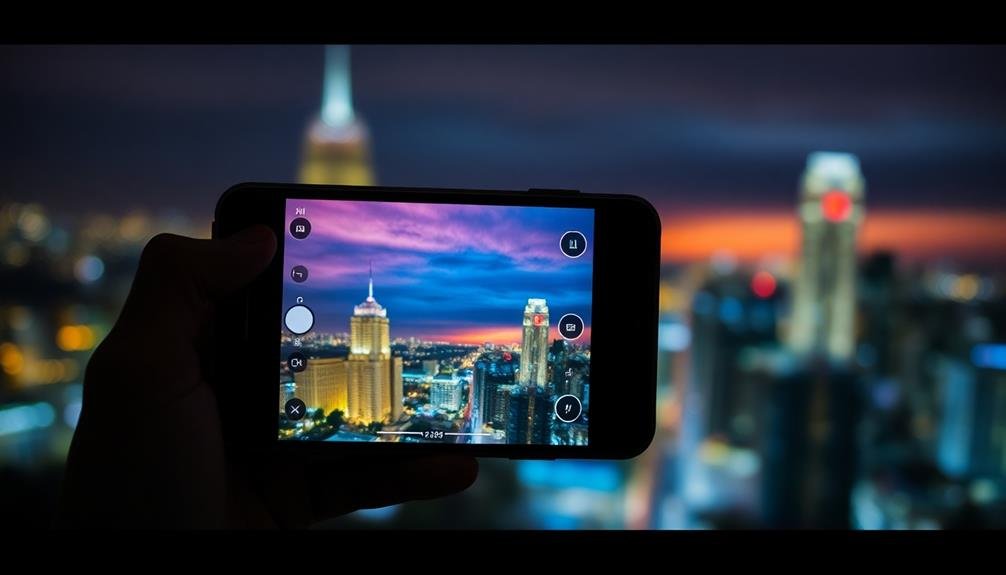
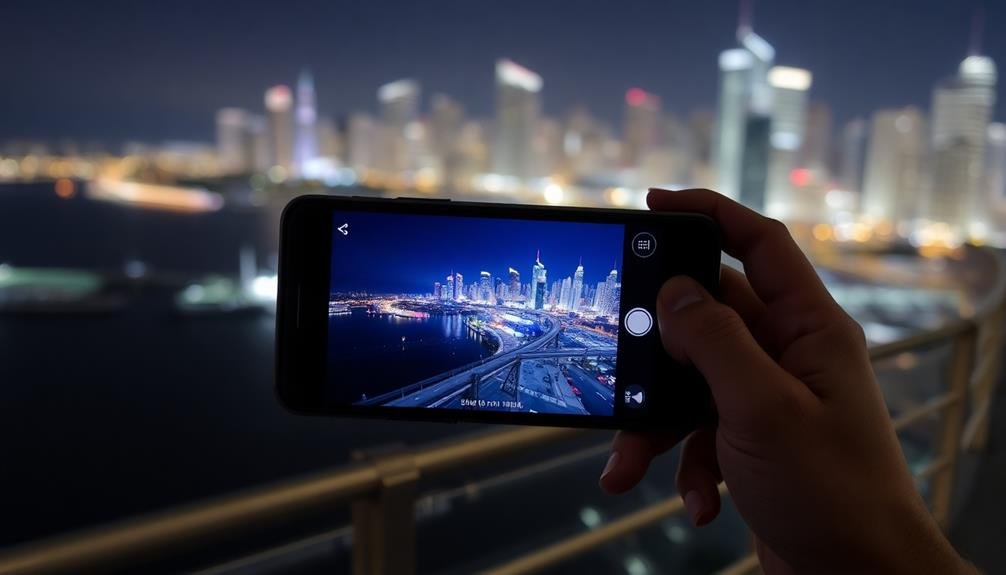
Leverage Night Mode
Night mode is a game-changer for low-light HDR photography on mobile devices. It's designed to capture more light and detail in dark environments, making it an essential tool for creating stunning HDR images in challenging lighting conditions.
When you activate night mode, your phone's camera will use longer exposure times and advanced computational photography techniques to produce brighter, clearer images with reduced noise.
To make the most of night mode for your low-light HDR photos:
- Hold your phone steady or use a tripod to avoid motion blur during longer exposures.
- Experiment with different exposure times to find the perfect balance between light and detail.
- Look for interesting light sources to create depth and contrast in your compositions.
- Capture multiple shots with varying exposures to combine later for even more dynamic range.
Remember that night mode isn't just for nighttime scenes. It can be incredibly effective in any low-light situation, such as indoor environments or twilight hours.
Experiment With Exposure Compensation
While night mode can markedly improve your low-light HDR photos, mastering exposure compensation will take your images to the next level. This feature allows you to manually adjust the brightness of your image before capturing it. By tweaking the exposure, you'll have more control over the final look of your HDR photo, especially in challenging lighting conditions.
To experiment with exposure compensation, locate the feature in your camera app's settings. It's often represented by a +/- symbol. Slide the bar to the right to increase exposure, brightening your image, or to the left to decrease it, darkening the scene.
In low-light situations, you might want to slightly overexpose to capture more detail in shadows. However, be cautious not to blow out highlights.
Try taking multiple shots with different exposure compensations. This approach will give you a range of options to choose from later.
Embrace Natural Light Sources
Despite the challenges of low-light photography, embracing natural light sources can greatly enhance your HDR photos on mobile. Look for available light in your surroundings, such as streetlamps, neon signs, or moonlight. These sources can create interesting shadows and highlights, adding depth and dimension to your images.
Position your subject near windows or doorways to take advantage of soft, diffused light. This technique works well for portraits and still life shots. When outdoors, seek out reflective surfaces like puddles or glass buildings that can bounce light onto your subject, creating a subtle glow.
To make the most of natural light in low-light situations, consider these emotional impacts:
- Anticipation: Wait for the perfect moment when light hits your subject just right.
- Curiosity: Explore unusual light sources to create unique effects.
- Patience: Allow your eyes to adjust to the darkness to spot hidden light sources.
- Wonder: Capture the magical quality of soft, ethereal light in twilight hours.
Clean Your Camera Lens
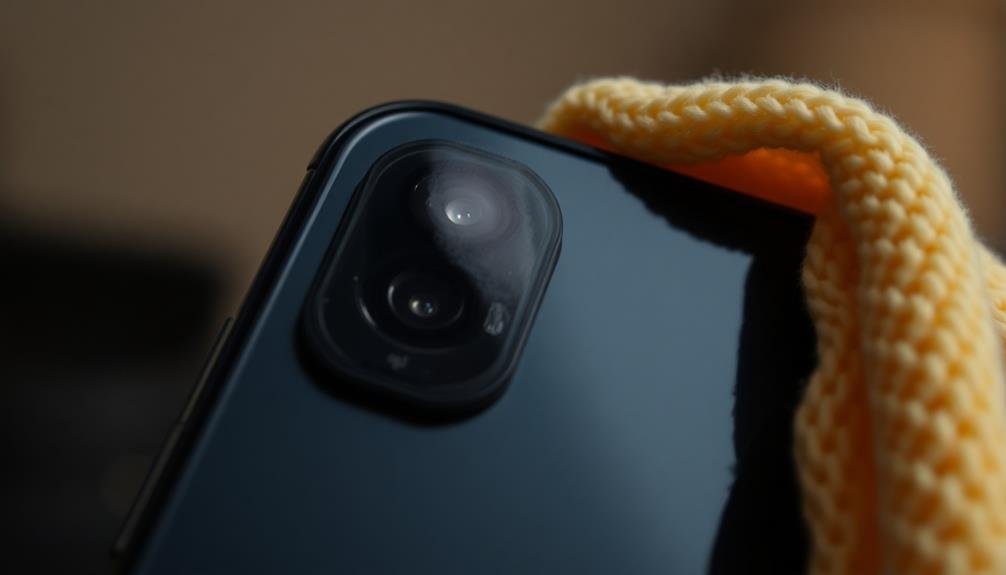
Keep your smartphone's camera lens spotless for the best low-light HDR results.
You'll need a microfiber cloth and lens cleaning solution to gently remove fingerprints, dust, and smudges that can degrade image quality.
Make lens cleaning a regular part of your mobile photography routine to guarantee consistently clear and sharp photos.
Importance of Lens Cleanliness
Although often overlooked, a clean camera lens is vital for capturing stunning low-light HDR photos on your mobile device. Dirt, smudges, and fingerprints on your lens can notably reduce image quality, especially in challenging lighting conditions. They scatter light, creating unwanted flares and reducing contrast, which can ruin your carefully composed shots.
To maintain ideal lens cleanliness, make it a habit to gently wipe your phone's camera lens before each photo session. Use a microfiber cloth or lens cleaning wipe to avoid scratching the delicate lens surface. If you're in a pinch, your shirt sleeve can work, but be cautious of abrasive materials.
A clean lens doesn't just improve image quality; it also enhances your overall photography experience. Here's why it's essential:
- Sharper, more detailed images that truly capture the moment
- Reduced post-processing time, as you'll have fewer imperfections to fix
- Increased confidence in your mobile photography skills
- Greater satisfaction when sharing your photos with friends and family
Don't let a dirty lens hold you back from achieving professional-looking low-light HDR photos on your mobile device. Make lens cleaning a vital part of your mobile photography routine.
Cleaning Techniques and Tools
Effective cleaning techniques and the right tools are essential for maintaining a pristine camera lens on your mobile device. Start with a soft, lint-free microfiber cloth to gently wipe away fingerprints and smudges.
For stubborn dirt, lightly dampen the cloth with distilled water or a lens cleaning solution specifically designed for camera lenses. Avoid using regular tap water, which can leave mineral deposits.
When cleaning, use circular motions from the center outward. Don't apply excessive pressure, as this can scratch the lens or damage its coating.
For hard-to-reach areas around the lens, use a small, soft-bristled brush or a blower to remove dust and debris.
Pre-moistened lens wipes are convenient for on-the-go cleaning, but verify they're safe for use on camera lenses. Never use tissues, paper towels, or your shirt, as these can scratch the lens surface.
For thorough cleaning, consider investing in a lens cleaning kit that includes a microfiber cloth, cleaning solution, and cleaning tools.
Always clean your lens before important photo shoots to guarantee peak image quality in your low-light HDR photos.
Regular Maintenance Routine
Beyond occasional deep cleans, establishing a regular maintenance routine for your mobile device's camera lens is essential to consistently capturing stunning low-light HDR photos.
Make it a habit to gently wipe your lens with a microfiber cloth before each shooting session. This simple act removes fingerprints, dust, and smudges that can greatly impact image quality, especially in challenging lighting conditions.
Don't forget to clean the surrounding areas, including the flash and any additional sensors. These components play vital roles in low-light photography and HDR processing.
For ideal results, incorporate these practices into your routine:
- Start each day by inspecting your lens for visible debris or smudges.
- Carry a small microfiber cloth in your pocket or bag for quick touch-ups.
- Use a soft-bristled brush weekly to remove stubborn particles from lens crevices.
- Apply a protective lens filter to minimize direct contact with environmental elements.
Utilize HDR Bracketing
HDR bracketing stands out as a powerful technique for capturing stunning low-light images on your mobile device. This method involves taking multiple shots at different exposures and combining them into a single, well-balanced image. To utilize HDR bracketing effectively, start by enabling your phone's HDR mode or downloading a dedicated HDR app.
When shooting, hold your phone steady or use a tripod to minimize motion blur. Frame your shot and tap to focus on the main subject. Your device will then capture a series of images at varying exposure levels. Typically, it'll take an underexposed, properly exposed, and overexposed shot. The HDR software will merge these images, preserving details in both shadows and highlights.
For best results, experiment with manual exposure settings if your app allows. Adjust the exposure compensation to fine-tune the brightness levels in each bracket.
Pay attention to moving subjects, as they can create ghosting effects in the final image. In challenging lighting conditions, consider using a wider bracket range to capture more detail.
Post-Processing for Enhanced Results
After capturing your HDR photos, you'll want to refine them through post-processing.
Start by adjusting the shadows and highlights to bring out details in both dark and bright areas of your image.
Next, fine-tune the color balance to guarantee your low-light photo maintains accurate and appealing hues, enhancing the overall visual impact of your shot.
Adjust Shadows and Highlights
Once you've captured your low-light HDR photos, fine-tuning the shadows and highlights can greatly enhance the final result. Use your mobile device's built-in editing tools or a third-party app to adjust these elements.
Start by slightly lifting the shadows to reveal hidden details in darker areas without compromising the image's mood. Then, carefully reduce highlights to prevent overexposure and maintain texture in brighter parts of the photo.
Experiment with the balance between shadows and highlights to achieve the desired atmosphere. Don't be afraid to push the boundaries, but remember that subtlety often yields the most natural-looking results.
Pay close attention to how these adjustments affect the overall contrast and color balance of your image.
When adjusting shadows and highlights, keep these emotional goals in mind:
- Intrigue: Reveal just enough detail in shadows to pique curiosity
- Drama: Emphasize contrast for a more impactful scene
- Serenity: Soften harsh highlights to create a calm, soothing atmosphere
- Depth: Use shadow and highlight interplay to enhance the photo's dimensionality
Fine-tune Color Balance
Perfecting the color balance of your low-light HDR photos can transform them from good to stunning. After adjusting shadows and highlights, focus on fine-tuning the overall color temperature and tint. Start by evaluating the white balance, ensuring it accurately represents the scene's lighting conditions. If your photo appears too warm or cool, adjust the temperature slider to achieve a natural look.
Next, address any color casts by tweaking the tint. This helps eliminate unwanted green or magenta hues that can occur in low-light situations. Pay attention to skin tones, ensuring they appear natural and not overly saturated.
Use the following table as a guide for common color balance issues and their solutions:
| Issue | Cause | Solution |
|---|---|---|
| Too warm | Excessive yellow/orange | Decrease temperature |
| Too cool | Excessive blue | Increase temperature |
| Green cast | Fluorescent lighting | Adjust tint towards magenta |
| Magenta cast | Mixed lighting sources | Adjust tint towards green |
| Dull colors | Underexposure | Increase saturation slightly |
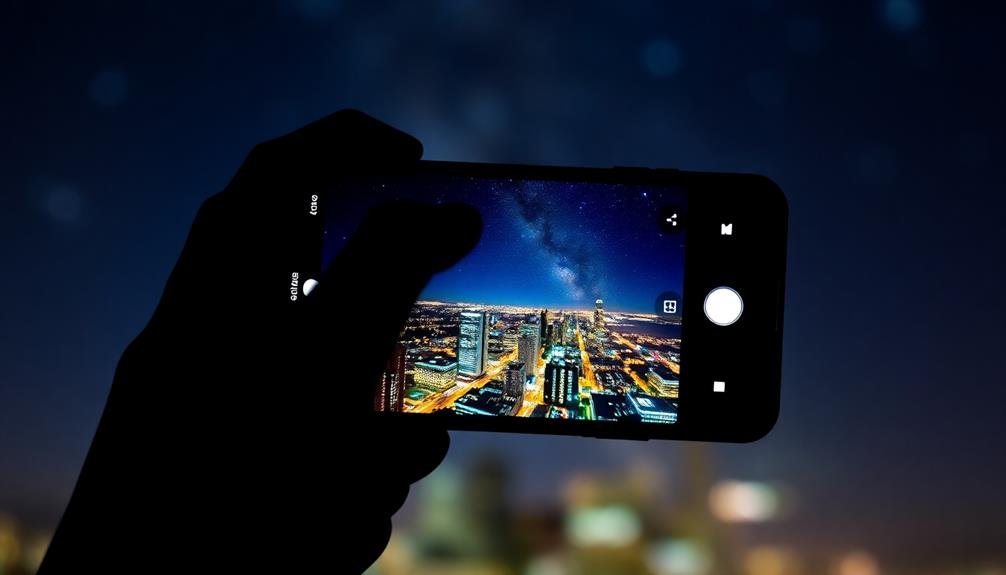
Practice Long Exposure Techniques
While mastering basic HDR techniques is essential, practicing long exposure methods can elevate your low-light photography to new heights. Long exposures allow you to capture more light, create stunning light trails, and add a sense of motion to your images.
To achieve this effect, you'll need to stabilize your phone using a tripod or steady surface and utilize your camera app's manual mode or a specialized long exposure app.
Start by experimenting with shutter speeds between 1 and 30 seconds, depending on the available light and your desired effect. For capturing light trails from moving cars or stars in the night sky, you'll want to use longer exposures. Remember to adjust your ISO and aperture settings to compensate for the extended shutter speed and prevent overexposure.
To truly master long exposure techniques, focus on these four key elements:
- Composition: Frame your shot carefully, considering both static and moving elements.
- Timing: Anticipate movement and plan your exposure accordingly.
- Patience: Be willing to take multiple shots to achieve the perfect result.
- Creativity: Experiment with different subjects and lighting conditions to find unique perspectives.
Frequently Asked Questions
Can I Use External Lenses for Low-Light HDR Photography on Mobile?
Yes, you can use external lenses for low-light HDR photography on mobile. They'll enhance your phone's camera capabilities, allowing you to capture more light and detail. However, verify the lens is compatible with your device for best results.
How Do I Prevent Lens Flare in Night HDR Shots?
To prevent lens flare in night HDR shots, you'll want to shield your lens from stray light. Use a lens hood or your hand to block light sources. Clean your lens thoroughly and avoid shooting directly at bright lights.
Are There Specific Mobile Apps Recommended for Low-Light HDR Photography?
You'll find several apps great for low-light HDR photography. Try ProCamera, Halide, or NightCap Camera for iOS, or Camera FV-5, Open Camera, or Adobe Lightroom for Android. These offer manual controls and HDR features for better night shots.
What's the Ideal File Format for Capturing Low-Light HDR Images?
For low-light HDR images, you'll want to use RAW format. It'll capture more data, giving you greater flexibility in post-processing. RAW files retain more detail in shadows and highlights, essential for HDR photography.
How Does Weather Affect Low-Light HDR Photography on Mobile Devices?
Weather greatly impacts your low-light HDR shots. Rainy or foggy conditions can create atmospheric effects, while clear skies allow for starry night captures. Be aware of humidity, which may cause lens condensation. Adjust your settings accordingly for best results.
In Summary
You've now got the tools to master low-light HDR photography on your mobile device. Don't be afraid to experiment with these techniques and find what works best for you. Remember, practice makes perfect. As you continue to refine your skills, you'll capture stunning images in challenging lighting conditions. Keep pushing your boundaries, and soon you'll be creating professional-quality photos that'll wow your friends and followers. Happy shooting!


Leave a Reply