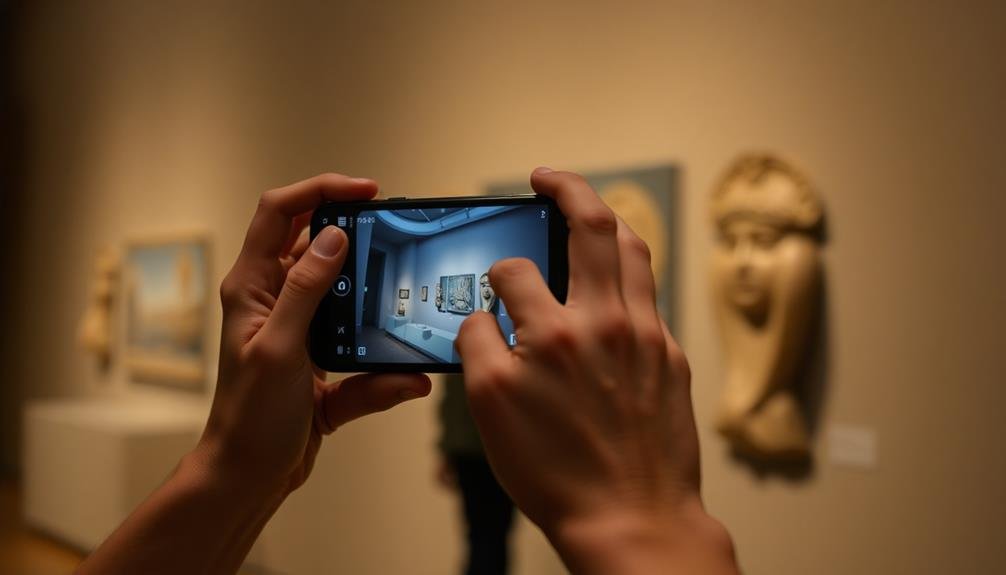
Mobile museums need low-light phone photography skills to overcome unique challenges in documenting and sharing their collections. You'll often encounter dimly lit spaces, reflective objects, and limited lighting options. Mastering techniques like adjusting ISO, using Night Mode, and steadying your smartphone becomes essential for capturing clear, detailed images. These skills help you showcase artifacts accurately, create engaging social media content, and preserve visual records of exhibitions. By understanding how to maximize available light sources and compose shots effectively in dark environments, you'll enhance the overall quality of your museum's digital presence. Exploring advanced techniques can take your mobile museum photography to the next level.
Understanding Low-Light Photography Challenges
Three key challenges confront mobile photographers when shooting in low-light conditions.
First, you'll face increased image noise, which appears as grainy specks throughout your photos. This occurs when your phone's camera sensor struggles to capture enough light, amplifying the signal and introducing unwanted artifacts.
Second, you'll encounter slower shutter speeds, which can lead to motion blur. As your camera tries to compensate for the lack of light, it keeps the shutter open longer, making it difficult to capture sharp images of moving subjects or when holding your phone by hand.
Lastly, you'll struggle with inaccurate color reproduction and loss of detail. In low light, your camera's sensor may not receive enough information to accurately capture colors and fine details, resulting in muted tones and a loss of sharpness.
To overcome these challenges, you'll need to master techniques like using manual controls, stabilizing your phone, and leveraging post-processing tools.
Understanding how your phone's camera behaves in low light will help you adapt your shooting style and capture better images in challenging conditions.
Essential Camera Settings for Darkness
When capturing images in low light, you'll need to adjust your phone's camera settings for ideal results.
Start by increasing your ISO sensitivity, which amplifies the available light but may introduce some graininess to your photos.
If your phone offers a Night Mode feature, you'll want to activate it to leverage advanced software processing that can dramatically improve your dark scene captures.
Adjusting ISO Sensitivity
Mastering ISO sensitivity is crucial when shooting in low-light conditions. It's the key to capturing clear, detailed images in dimly lit museum spaces. When you increase your phone's ISO, you're fundamentally boosting its light sensitivity, allowing you to shoot with faster shutter speeds and avoid blur.
However, higher ISO settings come with a trade-off: increased digital noise. To find the right balance, start with the lowest ISO that allows for a sharp image, then gradually increase it until you achieve the desired exposure. Many modern smartphones offer impressive high-ISO performance, so don't be afraid to push your device's limits.
Remember these emotional aspects of ISO adjustment:
- The thrill of capturing a once-invisible artwork in stunning detail
- The frustration of battling noise in an otherwise perfect shot
- The satisfaction of mastering a technical skill that elevates your photography
Practice adjusting ISO in various lighting conditions to develop your instincts. You'll soon find yourself confidently capturing museum exhibits in even the most challenging lighting situations, preserving cultural treasures for future generations to appreciate.
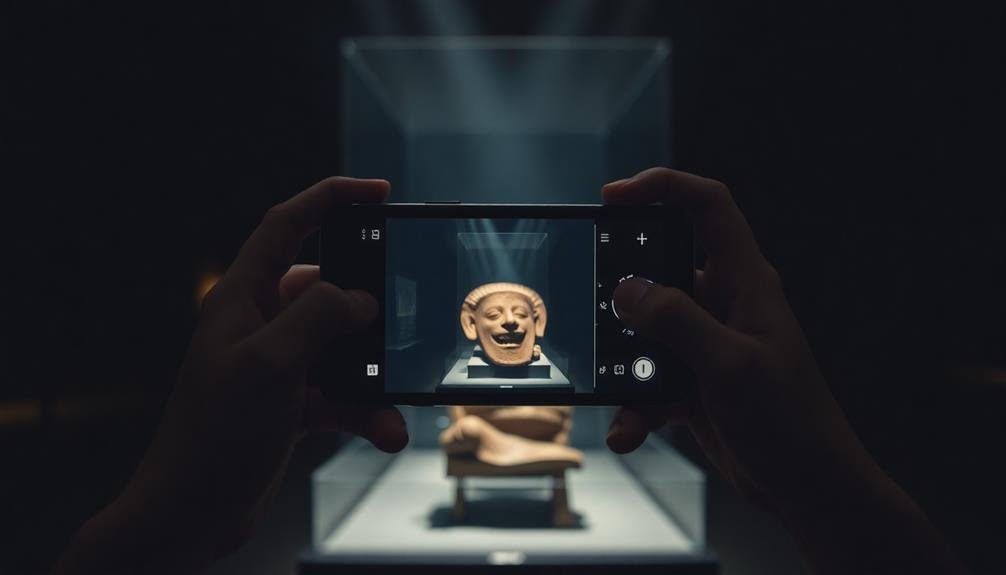
Utilizing Night Mode
Through the darkness of dimly lit museum exhibits, your smartphone's Night Mode can be a game-changer. This feature, available on most modern phones, allows you to capture clear, detailed images in low-light conditions without using flash.
To use Night Mode effectively, start by steadying your phone. Hold it with both hands or use a small tripod for ideal stability.
When you activate Night Mode, your camera will take multiple exposures over several seconds. During this time, it's vital to remain as still as possible to avoid blur. If your subject is stationary, like a museum artifact, you'll achieve the best results. For moving subjects, some phones offer a handheld Night Mode that's faster but may produce slightly less detailed images.
Remember to focus on your subject before shooting. In dark environments, your camera might struggle to find focus, so tap the screen to manually select your focal point.
Experiment with composition, as Night Mode can capture details invisible to the naked eye. Don't be afraid to adjust exposure compensation if needed, typically by sliding your finger up or down on the screen after tapping to focus.
Maximizing Available Light Sources
You'll find that mastering natural light placement can dramatically improve your museum photos, so position yourself strategically near windows or skylights.
Don't hesitate to adjust gallery lighting setups when possible, as even slight changes can enhance your shots.
Consider investing in portable illumination equipment, which can provide you with additional flexibility and control over lighting conditions in various museum environments.
Natural Light Placement Strategies
One of the most essential skills in phone photography is understanding how to harness natural light effectively. When capturing exhibits in mobile museums, position yourself strategically to make the most of available light sources.
If you're near windows, angle your shots to let the light fall gently on the subject, creating depth and highlighting textures. For outdoor displays, early morning or late afternoon sunlight can provide warm, flattering illumination.
Consider the direction of light and its impact on your subject. Side lighting can accentuate contours and create dramatic shadows, while front lighting evenly illuminates the object but may flatten details.
Experiment with backlighting to create silhouettes or add an ethereal glow to translucent items.
To elevate your natural light photography skills and evoke emotion in your audience:
- Capture the interplay of light and shadow to create a sense of mystery
- Use golden hour light to infuse warmth and nostalgia into your images
- Experiment with dappled light through foliage to add texture and depth
Adjusting Gallery Lighting Setups
Many mobile museums face lighting challenges that can affect your phone photography. To maximize available light sources, you'll need to adapt quickly to different gallery setups. Start by identifying the primary light sources, whether they're overhead spotlights, natural light from windows, or accent lighting on specific exhibits.
When adjusting gallery lighting setups, consider these strategies:
| Lighting Type | Adjustment Technique | Effect on Photography |
|---|---|---|
| Spotlights | Tilt or redirect | Reduces harsh shadows |
| Natural Light | Use diffusers | Softens harsh sunlight |
| Accent Lights | Adjust intensity | Highlights key details |
| Ambient Light | Add portable LEDs | Fills in dark areas |
Don't hesitate to communicate with museum staff about adjusting lights if possible. They may be willing to help you achieve better lighting conditions for your photos. If you can't change the lighting, work with what you have. Use reflective surfaces to bounce light onto your subject, or position yourself to take advantage of the best-lit areas. Remember, low-light photography skills are essential in mobile museums, so practice using your phone's manual settings to compensate for challenging lighting conditions.
Portable Illumination Equipment Benefits
Mobile photographers' secret weapon in challenging museum environments is often portable illumination equipment. These compact tools can transform your low-light shots, allowing you to capture artifact details and exhibit nuances that might otherwise be lost.
By mastering portable lighting techniques, you'll enhance your ability to document and share mobile museum experiences effectively.
When selecting portable illumination equipment, consider versatility and ease of use. LED panels, mini ring lights, and clip-on smartphone lights are popular choices. They're lightweight, battery-powered, and can greatly improve your image quality without disturbing other visitors or damaging sensitive artifacts.
To make the most of your portable lighting gear:
- Experiment with different angles to highlight textures and reduce unwanted shadows
- Use diffusers to soften harsh light and create a more natural look
- Combine artificial light with available ambient light for a balanced, professional-looking result
Steadying Your Smartphone
Shaky hands can ruin even the most perfectly composed shot. To capture crisp, clear images in low-light conditions, you'll need to steady your smartphone. Start by adopting a stable stance: feet shoulder-width apart, elbows tucked in, and your phone held close to your body. This posture minimizes body movement and reduces camera shake.
For added stability, use nearby surfaces. Lean against a wall or place your elbows on a table to create a makeshift tripod. If you're in a mobile museum setting, look for sturdy exhibit structures or railings to support your arms.
Many smartphones offer built-in stabilization features. Enable optical image stabilization (OIS) or electronic image stabilization (EIS) in your camera settings. These technologies help counteract minor hand movements.
Consider using the volume buttons on your phone or headphones as a remote shutter release. This method prevents the shake that often occurs when tapping the screen to take a photo.
Lastly, invest in a compact smartphone tripod or gimbal. These portable accessories provide excellent stability for challenging low-light situations, ensuring your mobile museum photos are sharp and professional-looking.
Mastering Manual Focus Techniques
Manual focus techniques can elevate your mobile museum photography.
You'll capture sharper images by mastering zone focusing for speed, utilizing focus peaking for precision, and applying hyperfocal distance for ideal depth of field.
These skills will help you navigate challenging lighting conditions and capture fleeting moments in museum settings.
Zone Focusing for Speed
In today's fast-paced world of mobile photography, mastering zone focusing can give you a significant edge. This technique allows you to pre-focus your camera at a specific distance, ensuring that subjects within that range will be sharp.
It's particularly useful in low-light situations where your phone's autofocus might struggle.
To use zone focusing effectively, you'll need to understand your phone's depth of field at different apertures and focal lengths. Start by estimating the distance to your subject and setting your focus accordingly.
Then, adjust your aperture to achieve the desired depth of field. With practice, you'll be able to quickly capture sharp images without relying on autofocus.
Zone focusing can evoke powerful emotions in your audience:
- Anticipation: Be ready to capture fleeting moments in museums.
- Confidence: Trust your instincts and pre-set focus for decisive shots.
- Excitement: Experience the thrill of perfectly timed, sharp images.
Focus Peaking Utilization
With focus peaking, you can elevate your manual focusing skills to new heights. This feature highlights the sharpest areas of your image in real-time, making it easier to achieve precise focus in low-light conditions.
To use focus peaking effectively, first enable it in your phone's camera settings. You'll then see colored outlines around the areas in focus as you adjust manually.
Start by choosing a contrasting color for the peaking highlight that stands out against your subject. As you move your focus, watch for the areas where the highlight appears most intensely. These are your sharpest points.
In low-light situations, increase your phone's screen brightness to see the peaking more clearly. Practice moving the focus slowly and steadily to find the sweet spot where the subject's key features are highlighted.
Hyperfocal Distance Application
Building on your manual focusing skills, let's explore the concept of hyperfocal distance. This technique allows you to maximize depth of field in your mobile museum photographs, guaranteeing both foreground and background elements are sharp.
To apply hyperfocal distance, first determine the aperture and focal length of your phone's camera. Then, use a hyperfocal distance calculator app to find the ideal focus point.
Once you've calculated the hyperfocal distance, set your focus manually to that point. This guarantees everything from half that distance to infinity will be in acceptable focus. It's particularly useful for capturing expansive museum exhibits or architectural details.
Mastering hyperfocal distance can evoke powerful emotions in your audience:
- Awe – by showcasing the intricate details of artifacts alongside their grand surroundings
- Curiosity – by inviting viewers to explore every element of a perfectly focused scene
- Connection – by creating a sense of depth that immerses the viewer in the museum experience
Noise Reduction in Dark Environments
Taking photos in poorly lit exhibits or during nighttime museum events can lead to noisy, grainy images. To combat this, you'll need to employ effective noise reduction techniques.
Start by using your phone's native camera app, as it often has built-in noise reduction algorithms. If available, activate your phone's night mode or low-light setting to capture clearer images in dark environments.
When shooting, keep your phone as steady as possible to minimize motion blur. Use a tripod or lean against a stable surface if necessary. Lower your ISO settings manually if your camera app allows it, as higher ISO values increase noise. Instead, opt for a slower shutter speed to let in more light.
After capturing your images, use editing apps with noise reduction features. These tools can help smooth out graininess without losing important details. Be cautious not to over-edit, as excessive noise reduction can result in a loss of texture and sharpness.
Long Exposure Shots for Museums
Long exposure photography offers a unique way to capture the energy and movement within museums. You can use this technique to create stunning images that convey the flow of visitors, the passage of time, and the interplay of light and shadow in exhibition spaces.
With modern smartphones, you don't need expensive equipment to achieve these effects.
To take long exposure shots in museums, start by stabilizing your phone using a tripod or steady surface. Enable your camera's long exposure or night mode setting, typically found in the "Pro" or advanced options. Experiment with different exposure times, ranging from 1 to 30 seconds, depending on the scene and desired effect.
Consider these emotional impacts of long exposure museum photography:
- Awe: Capture the ghostly trails of visitors moving through exhibits, evoking a sense of wonder and timelessness.
- Serenity: Create smooth, silky water effects in fountains or water features, instilling a feeling of calm and tranquility.
- Mystery: Blur the boundaries between static objects and moving elements, inviting viewers to question their perceptions of reality and time.
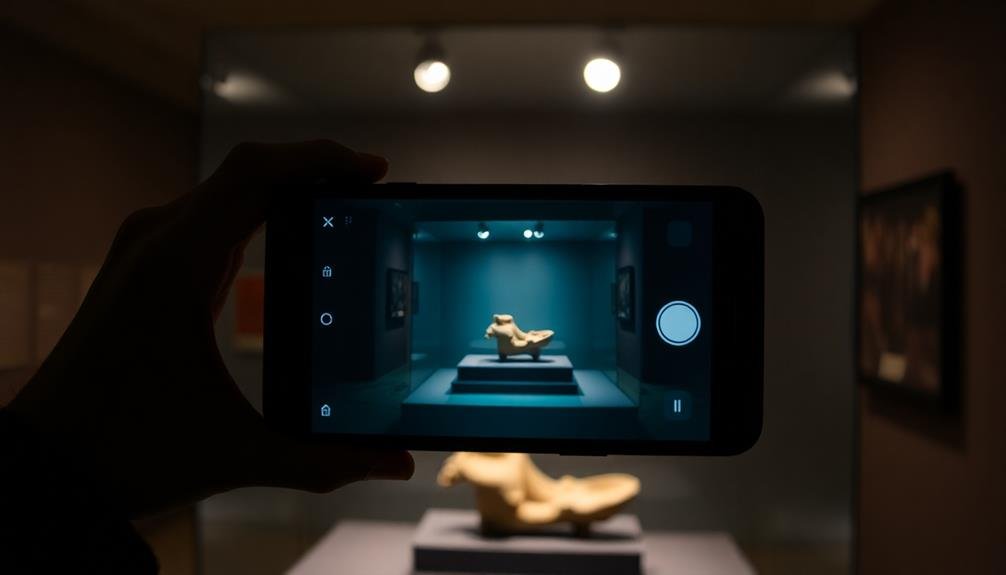
HDR Mode in Low Light

When you're exploring dimly lit museum exhibits, HDR (High Dynamic Range) mode can be your secret weapon for capturing stunning low-light photos. This feature combines multiple exposures to create a single image with improved detail in both shadows and highlights.
To use HDR effectively, start by enabling it in your phone's camera settings. Hold your device steady or use a small tripod to prevent blur. Frame your shot, ensuring you include both dark and bright areas. When you tap the shutter, your phone will take several photos at different exposures and merge them automatically.
HDR excels at capturing intricate details in low-light museum settings, such as ancient artifacts or dimly lit paintings. It can reveal textures and colors that might be lost in a standard photo.
However, be mindful of potential drawbacks. HDR may increase processing time and file size, so use it selectively.
For best results, experiment with HDR in various lighting conditions. Compare HDR shots with regular photos to understand its impact.
Post-Processing Dark Images

Even after capturing images with HDR mode, you might find some photos from dimly lit exhibits still need improvement. Post-processing can greatly enhance these dark images, making them more suitable for sharing or documentation.
Start by adjusting the exposure and brightness to reveal hidden details in the shadows. Be careful not to overexpose, as this can lead to loss of information in highlights.
Next, fine-tune the contrast to add depth and dimension to your image. Increasing the shadows and reducing the highlights can help balance the overall tone.
Don't forget to adjust the white balance to correct any color casts caused by artificial lighting in the museum.
For more advanced editing, consider using selective adjustments to target specific areas of your image. This technique allows you to brighten or darken particular elements without affecting the entire photo.
To evoke emotion in your audience through post-processed museum photos:
- Enhance the rich textures of ancient artifacts
- Bring out the vibrant colors of historical paintings
- Accentuate the dramatic lighting of sculptural exhibits
Choosing the Right Camera App
While post-processing can work wonders, starting with a high-quality image is key. Choosing the right camera app for your mobile museum photography can make a significant difference in low-light conditions. You'll want to look for apps that offer manual controls, allowing you to adjust ISO, shutter speed, and focus independently.
Some popular options include ProCamera, Camera+, and Halide for iOS, or Open Camera and Camera FV-5 for Android. These apps often provide RAW capture capabilities, giving you more flexibility in post-processing. They also tend to have better noise reduction algorithms than standard camera apps.
When selecting an app, consider its user interface and how quickly you can access essential settings. In a museum environment, you'll need to work efficiently. Look for apps with intuitive layouts and customizable shortcuts.
Don't forget to test different apps in various lighting conditions before your museum visit. This will help you become familiar with their features and limitations.
Lens Accessories for Low Light
When photographing museum exhibits in low light, you'll want to contemplate lens accessories to enhance your phone's capabilities.
Wide-angle lens adapters can help you capture more of the exhibit space, especially in cramped galleries.
For close-up details of artifacts or artwork, clip-on macro lenses allow you to focus on intricate features that might otherwise be challenging to capture in dim lighting conditions.
Wide-Angle Lens Adapters
Wide-angle lens adapters are essential tools for mobile photographers looking to capture more expansive scenes in low-light conditions. These accessories attach to your smartphone's camera, expanding its field of view and allowing you to fit more into each frame.
When shooting in dimly lit museums or galleries, a wide-angle adapter can help you capture entire exhibits or rooms without needing to step back, which isn't always possible in confined spaces.
To make the most of your wide-angle lens adapter in low-light settings:
- Steady your device using a tripod or by bracing it against a stable surface to minimize camera shake.
- Experiment with different angles to find the most compelling composition, showcasing the museum's architecture alongside the exhibits.
- Use the adapter in conjunction with your phone's night mode or long exposure settings for even better results in challenging lighting conditions.
Remember that wide-angle lenses can introduce distortion, especially around the edges of the frame. To mitigate this, keep important subjects closer to the center of the composition.
With practice, you'll master the art of using wide-angle adapters to create stunning, immersive images that transport viewers into the heart of the museum experience.
Clip-On Macro Lenses
Clip-on macro lenses offer an exciting way for mobile photographers to explore the intricate details of museum exhibits in low-light conditions. These affordable accessories attach easily to your smartphone's camera, allowing you to capture close-up shots with enhanced clarity and magnification.
When using a clip-on macro lens in a dimly lit museum, you'll need to stabilize your phone to avoid blurry images. Rest your device on a stable surface or use a small tripod for best results.
You'll also want to tap the screen to focus on your subject, ensuring the tiniest details are sharp.
To make the most of your macro lens in low light, experiment with your phone's manual settings. Increase the ISO to boost light sensitivity, but be mindful of noise. Adjust the shutter speed to allow more light in, but remember that slower speeds may require additional stabilization.
Clip-on macro lenses are particularly useful for photographing small artifacts, intricate textures, or delicate brushstrokes in paintings. They'll help you capture details that might otherwise be missed in the subdued lighting of many museum exhibits.
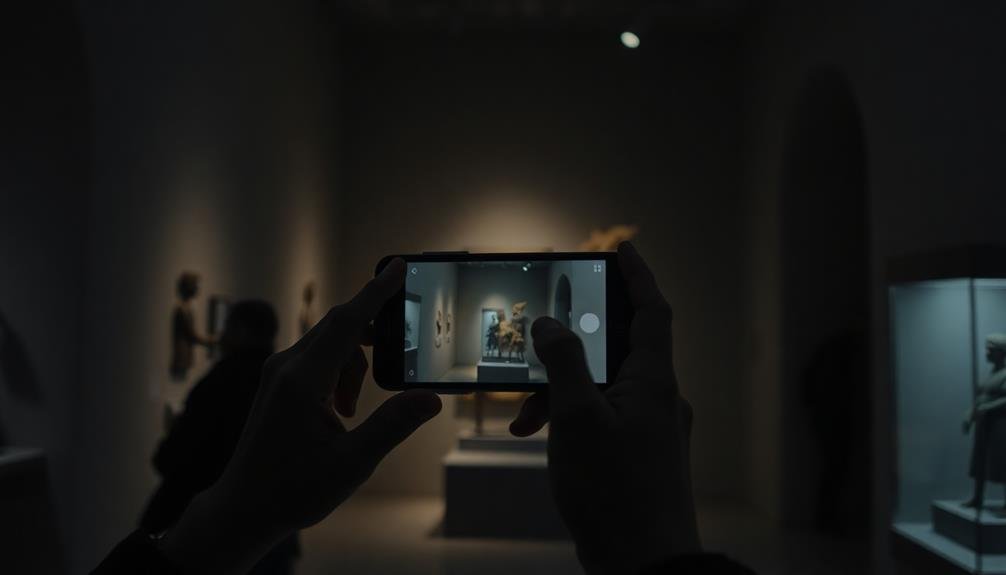
Composition Techniques in Dim Settings
Darkness need not hinder your phone photography skills in mobile museums. When faced with dim settings, you'll need to adapt your composition techniques to capture compelling images.
Start by steadying your phone against a wall or surface to reduce camera shake in low light. Next, look for sources of light within the exhibit, such as spotlights or illuminated displays, and use these to create interesting shadows and highlights in your frame.
Consider using negative space to your advantage, allowing darker areas to frame your subject and draw attention to the illuminated elements. When composing your shot, remember the rule of thirds and place key points of interest at the intersections of imaginary grid lines.
To evoke emotion in your low-light mobile museum photography:
- Capture the mystery and intrigue of shadowy exhibits
- Focus on the intimacy of quiet, dimly lit spaces
- Highlight the contrast between light and dark to create drama
Experiment with different angles and perspectives to find unique compositions.
Don't be afraid to get close to your subject, using the available light to emphasize textures and details. With practice, you'll master the art of composing striking images in even the most challenging lighting conditions.
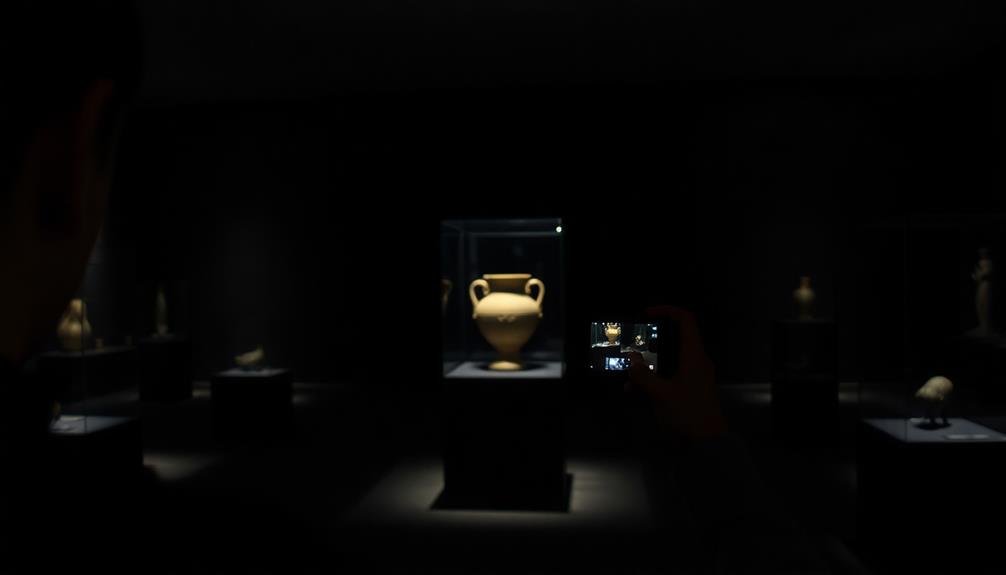
Capturing Reflective Museum Objects
Reflective objects in museums present a unique challenge for phone photographers. When capturing items like glass cases, polished metals, or shiny artworks, you'll often encounter unwanted reflections or glare. To overcome this, try adjusting your angle. Move around the object until you find a position where reflections are minimized.
You can also use your hand or a piece of dark cloth to shield the lens from overhead lights. For particularly tricky reflective surfaces, consider using a polarizing filter attachment for your phone. These filters reduce glare and enhance colors, making it easier to capture the true essence of the object.
If you don't have a filter, you can improvise by holding polarized sunglasses in front of your phone's camera. When photographing through glass cases, place your lens as close to the glass as possible without touching it. This helps eliminate reflections from the surrounding environment.
If you're allowed, use your phone's flash to counteract reflections, but be cautious not to damage sensitive artifacts. Finally, experiment with HDR mode to balance bright reflections and dark shadows, resulting in a more balanced image of reflective museum objects.
Ethical Considerations for Museum Photography
When capturing images in museums, it's crucial to reflect on the ethical implications of your photography. Always respect the institution's rules and guidelines regarding photography. Some exhibits may be off-limits due to copyright issues, cultural sensitivities, or conservation concerns.
Be mindful of other visitors' experiences and avoid disrupting their enjoyment of the exhibits. Consider the impact of your photography on the artworks and artifacts. Flash photography can damage sensitive materials, so always use natural light or adjust your phone's settings for low-light conditions.
Remember that you're not just taking pictures; you're documenting history and culture. Treat the subjects of your photographs with respect and dignity, especially when capturing images of human remains or sacred objects.
To promote ethical museum photography, follow these guidelines:
- Ask for permission before photographing staff or other visitors.
- Be aware of the cultural context and potential sensitivities of the exhibits you're capturing.
- Share your images responsibly, giving proper credit to the museum and artists when posting online.
Frequently Asked Questions
How Does Low-Light Photography Impact Battery Life on Smartphones?
Low-light photography can drain your smartphone's battery faster. You'll use more power for longer exposures, increased ISO settings, and image processing. It's also common to take multiple shots, which further impacts battery life. Consider carrying a portable charger.
Are There Specific Smartphone Models That Excel in Low-Light Museum Photography?
You'll find several smartphones excelling in low-light museum photography. The iPhone 12 Pro Max, Google Pixel 5, and Samsung Galaxy S21 Ultra stand out. They've got advanced night mode features, larger sensors, and AI-powered image processing for stunning low-light shots.
What Clothing Should Photographers Wear to Minimize Reflections in Museum Settings?
You'll want to wear dark, non-reflective clothing when photographing in museums. Opt for matte fabrics in black or navy. Avoid shiny materials, bright colors, and patterns. Don't forget to remove jewelry that might cause glare or reflections.
How Can Photographers Protect Their Equipment From Humidity in Certain Museum Environments?
You'll want to protect your gear from humidity in museums. Use silica gel packets in your camera bag, store equipment in airtight containers, and consider a dehumidifier case. Don't forget to acclimate your gear before use.
Are There Legal Implications for Sharing Low-Light Museum Photos on Social Media?
You should be cautious when sharing low-light museum photos on social media. There can be legal implications, including copyright issues and museum policies. Always check the institution's rules and seek permission before posting to avoid potential problems.
In Summary
You've now got the tools to tackle low-light museum photography with your smartphone. Remember, practice makes perfect. Keep experimenting with settings, techniques, and accessories to improve your skills. Be mindful of museum rules and respect the art and other visitors. With patience and creativity, you'll capture stunning images even in the dimmest galleries. Don't be afraid to push your phone's capabilities – you might surprise yourself with the results!


Leave a Reply