
To achieve stunning photos with mobile RAW sharpening, start by understanding the benefits of RAW files and choosing the right editing app. Assess your image quality before sharpening, focusing on exposure and detail preservation. Master basic techniques like adjusting amount, radius, and detail sliders, while balancing sharpness with noise reduction. For advanced results, try selective sharpening and AI-powered tools. Tailor your approach to different scene types and output sizes, avoiding common oversharpening mistakes. Enhance textures carefully and fine-tune your final results by zooming in to inspect details. With these essential tips, you'll transform your mobile photography and elevate your images to new heights.
Understanding Mobile RAW Files
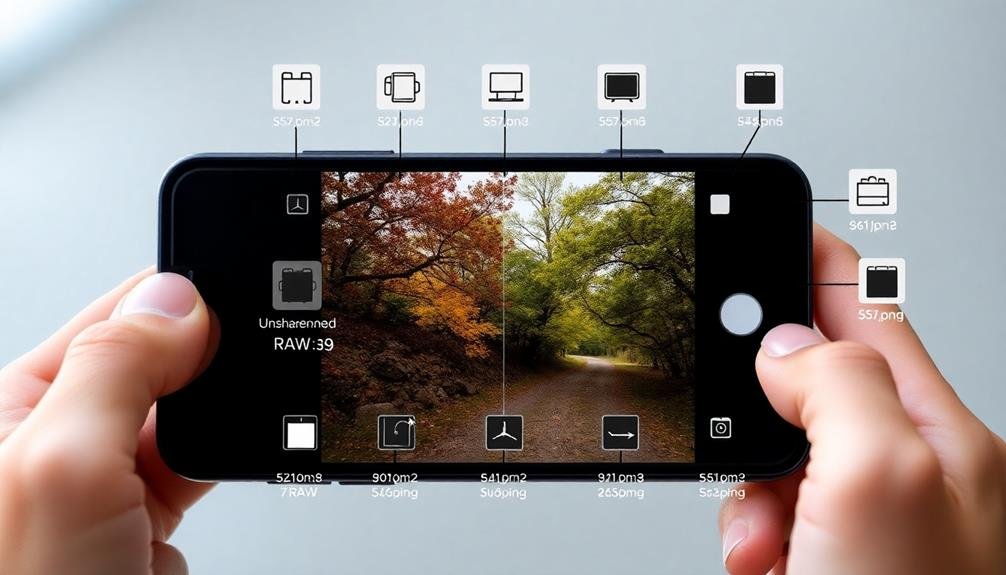
Many smartphone users aren't aware that their devices can capture RAW images. RAW files are uncompressed and unprocessed data directly from your phone's image sensor. Unlike JPEGs, which are compressed and processed in-camera, RAW files contain all the information captured by the sensor, giving you more flexibility in post-processing.
When you shoot in RAW, you'll have greater control over white balance, exposure, and color adjustments. You'll also preserve more detail in highlights and shadows, allowing for better recovery of these areas during editing.
However, RAW files are larger than JPEGs and require processing before they can be shared or printed.
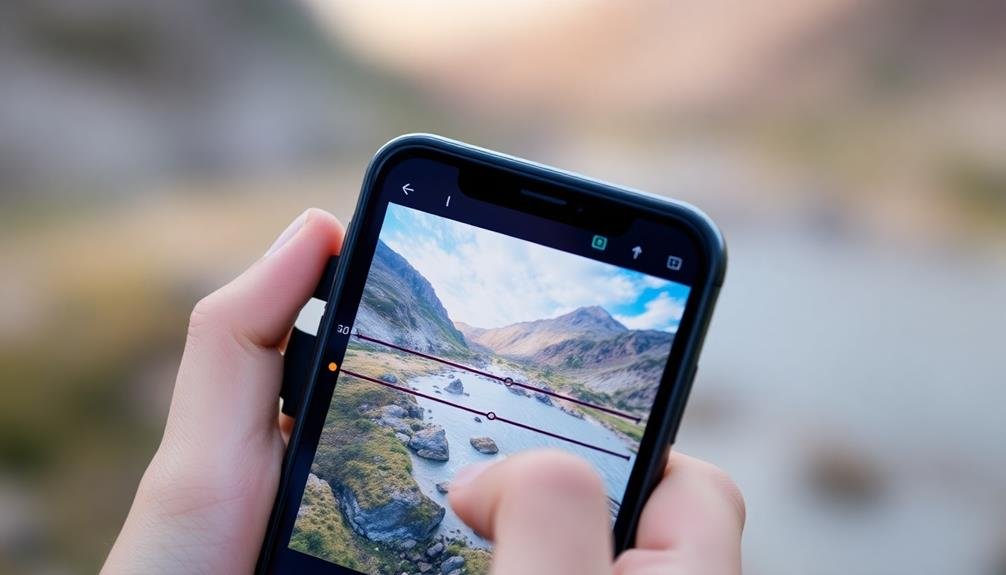
To capture RAW images on your smartphone, you'll need to use a camera app that supports this feature. Many newer phones have built-in RAW capabilities, while others may require third-party apps. Once you've captured a RAW file, you'll need specialized software to view and edit it.
Understanding mobile RAW files is essential for maximizing image quality and achieving professional-looking results. By shooting in RAW, you're giving yourself more creative control and the ability to produce higher-quality images from your smartphone.
Choosing the Right Sharpening App
In light of the numerous mobile editing apps available, choosing the right one for sharpening your RAW images can be overwhelming. To narrow down your options, focus on apps that specifically support RAW file editing and offer advanced sharpening tools.
Popular choices include Snapseed, Lightroom Mobile, and Capture One. Snapseed is free and user-friendly, with a dedicated RAW editing module. Lightroom Mobile offers a thorough suite of tools and seamless integration with its desktop version. Capture One provides professional-grade features but comes with a steeper learning curve.
When selecting an app, consider your skill level and desired outcome. Look for features like selective sharpening, masking, and noise reduction to fine-tune your edits.
Pay attention to the app's interface and workflow – you'll want something intuitive that doesn't hinder your creative process.
Don't forget to check if the app supports your device's specific RAW format. Some apps may have limited compatibility with certain phone models.
Assessing Image Quality Before Sharpening
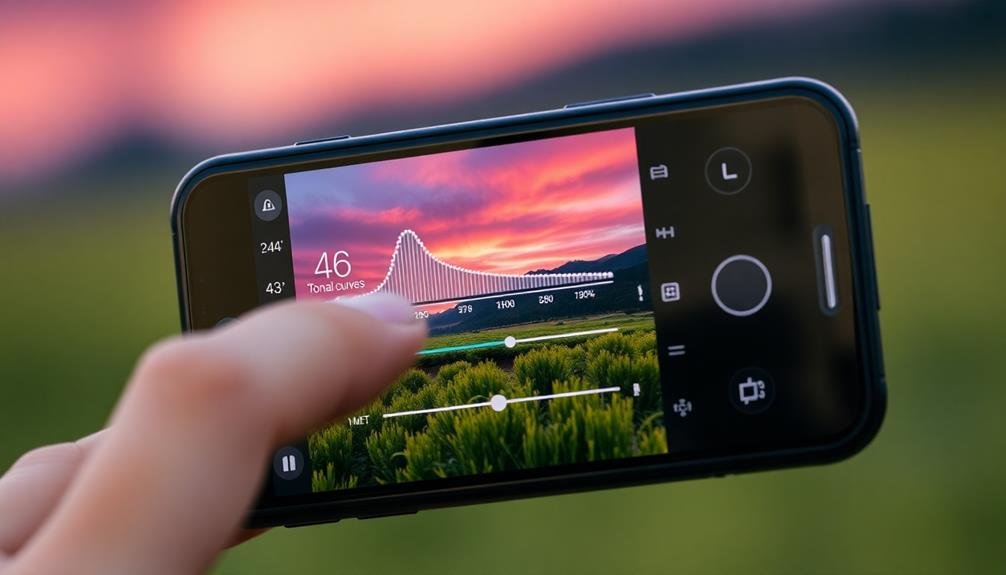
Before diving into sharpening, it's crucial to assess your RAW image's quality. Start by examining the overall exposure and contrast of your photo. Look for areas that might be underexposed or overexposed, as these can affect how sharpening is applied.
Check for any blown-out highlights or crushed shadows, which may need to be addressed before sharpening.
Next, zoom in to 100% and inspect the image's details. Look for any noise, particularly in shadow areas or high ISO shots. Excessive noise can be exaggerated by sharpening, so you'll want to apply noise reduction first if necessary.
Also, check for any motion blur or camera shake, as these issues can't be fixed through sharpening alone.
Assess the image's focus points and depth of field. Identify which areas should be sharp and which should remain softer. This will help you decide where to apply selective sharpening later.
Finally, consider the image's intended use. Photos for social media may require different sharpening techniques than those for large prints.
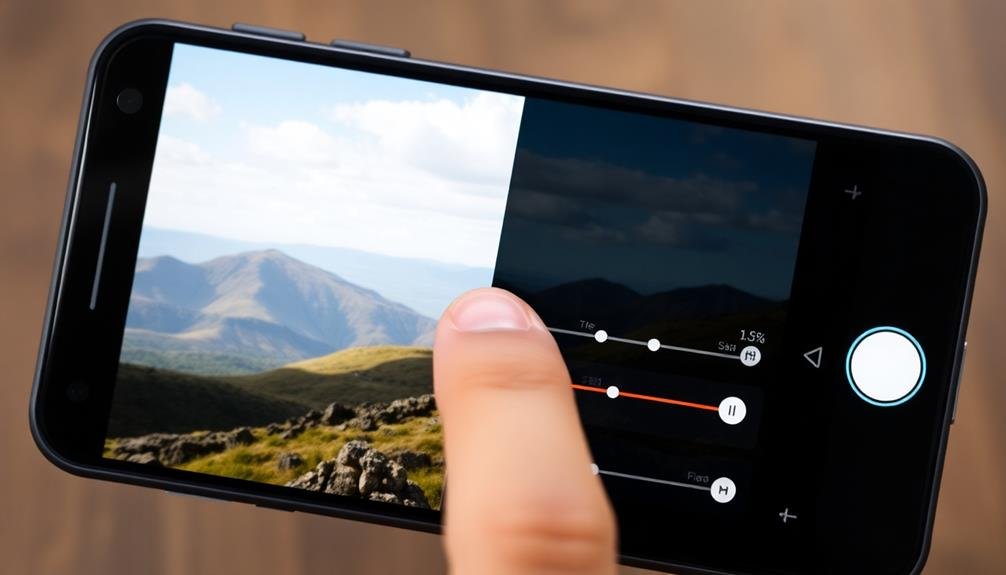
Mastering Basic Sharpening Techniques
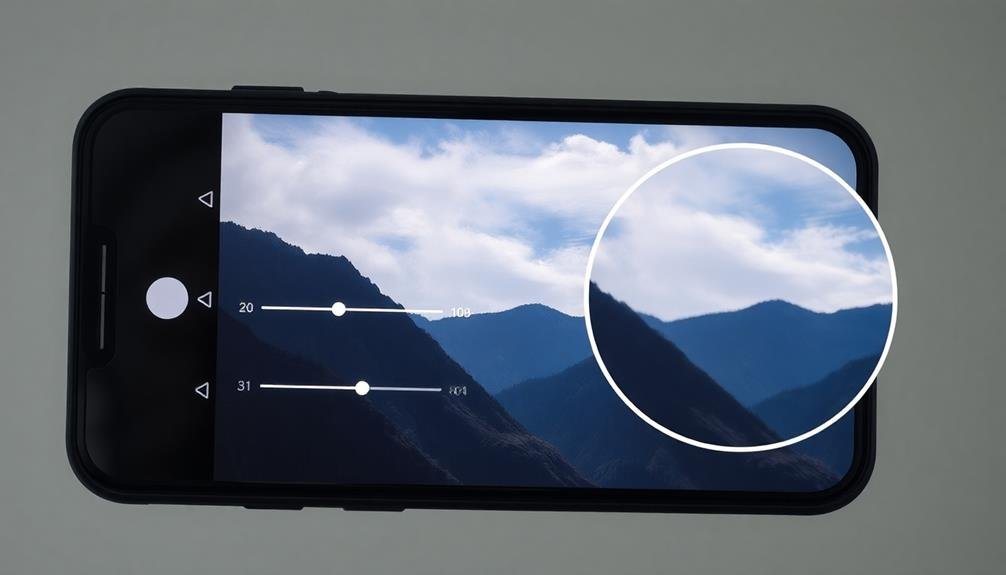
Once you've assessed your image, it's time to plunge into basic sharpening techniques. Start by adjusting the amount slider, which controls the intensity of sharpening. Begin with a low value and gradually increase it until you see a noticeable improvement in detail.
Next, focus on the radius setting, which determines how far from edge pixels the sharpening effect extends. For mobile photos, keep this value low, typically between 0.5 and 1.5 pixels.
Don't overlook the detail slider, which affects how much fine detail is sharpened. Higher values sharpen smaller details but can introduce noise, so find a balance that enhances texture without degrading image quality.
The masking slider is essential for selective sharpening. Increase it to target edges and leave smoother areas untouched, preventing over-sharpening of skin or sky.
Remember to zoom in and out frequently to check your adjustments' impact on both fine details and overall image appearance. Always use a light touch; it's better to under-sharpen slightly than to over-sharpen and create artificial-looking results.
With practice, you'll develop an eye for ideal sharpening that brings out the best in your mobile RAW photos.
Advanced Sharpening Methods for Smartphones
You'll find advanced sharpening methods take your smartphone photography to the next level.
Selective sharpening techniques allow you to precisely enhance specific areas of your image, bringing out essential details.
For even more refined results, you can explore AI-powered sharpening apps that utilize machine learning algorithms to intelligently sharpen your photos.
Selective Sharpening Techniques
Selective sharpening techniques elevate your mobile RAW editing game by allowing you to apply sharpening effects to specific areas of your image. This approach guarantees that you're enhancing details where they matter most while preserving the softness in areas that don't require sharpening.
To apply selective sharpening, use your mobile editing app's masking tools. Start by creating a mask over the areas you want to sharpen, such as a subject's eyes or the texture of a landscape. Then, adjust the sharpening settings for these specific regions. You can fine-tune the mask's opacity to control the intensity of the effect.
Don't forget to zoom in and out frequently to check your work. Pay close attention to edges and shifts between sharpened and unsharpened areas to maintain a natural look. For portraits, focus on sharpening facial features while leaving skin textures softer. In landscapes, sharpen elements like rocks or foliage, but avoid over-sharpening the sky.
Experiment with different brush sizes and hardness levels to achieve precise selections. Remember, subtlety is key – aim for a balanced result that enhances your image without making it look artificially processed.
Ai-Powered Sharpening Apps
Artificial intelligence has revolutionized mobile photo editing, and AI-powered sharpening apps are at the forefront of this transformation. These apps use advanced algorithms to analyze your RAW images and apply intelligent sharpening techniques, often surpassing traditional methods in both speed and quality.
When using AI-powered sharpening apps, you'll find they offer several advantages:
- Adaptive sharpening: The AI analyzes different areas of your image and applies varying levels of sharpening based on content, preserving details in complex areas while avoiding over-sharpening in smooth regions.
- Noise reduction integration: Many AI apps combine sharpening with noise reduction, ensuring a clean, crisp result without amplifying unwanted artifacts.
- Smart edge detection: AI algorithms excel at identifying and enhancing edges without creating halos or other unnatural effects.
To get the most out of these apps, experiment with different settings and compare the results to your manual edits.
You'll often find that AI-powered tools can save you time while producing professional-looking results. However, don't rely solely on AI; use it as a starting point and fine-tune the output to match your creative vision.
Balancing Sharpness and Noise Reduction
Striking the right balance between sharpness and noise reduction is essential for achieving ideal image quality in mobile RAW processing. You'll need to carefully adjust these settings to enhance details without introducing unwanted artifacts or excessive grain.
Start by applying sharpening to your image, focusing on edges and fine details. Use a small radius and moderate amount to avoid over-sharpening.
Next, tackle noise reduction. Begin with luminance noise, which affects the brightness variations in your photo. Apply just enough to smooth out graininess without losing texture.
For color noise, which appears as random color specks, use a light touch to preserve color accuracy. As you adjust these settings, continuously zoom in and out to check the overall effect on your image.
Remember that different parts of your photo may require varying levels of sharpening and noise reduction.
Consider using selective editing tools to apply these adjustments to specific areas. This approach allows you to sharpen important subjects while keeping smoother areas noise-free.
Selective Sharpening for Maximum Impact
To achieve maximum impact with your mobile RAW sharpening, you'll want to focus on selective techniques.
Target key elements of your image, such as eyes in portraits or architectural details in landscapes, for ideal sharpening.
Utilize masking techniques effectively to isolate these areas, ensuring you're enhancing the most important parts of your photo without over-sharpening less essential elements.
Target Key Image Elements
Selective sharpening allows you to enhance essential elements of your image without over-processing the entire photo. By targeting key image elements, you'll draw the viewer's attention to the most important aspects of your composition.
This technique is particularly effective for mobile RAW editing, where you need to balance detail enhancement with file size constraints.
To target key image elements effectively:
- Identify the focal point: Determine the main subject or area of interest in your photo. This could be a person's eyes in a portrait, the texture of a flower in a macro shot, or the sharpest peak in a landscape.
- Use masking tools: Employ your mobile editing app's masking features to isolate the chosen areas. Brush tools or selection tools can help you create precise masks for targeted sharpening.
- Adjust sharpening intensity: Apply stronger sharpening to your focal points and gradually decrease the intensity for less critical areas. This creates a natural-looking depth and hierarchy within your image.
Remember to zoom in and check your work regularly. Subtle adjustments often yield the best results, preserving the authenticity of your original capture while enhancing its visual impact.
Use Masking Techniques Effectively
Mastering masking techniques is essential for achieving maximum impact with selective sharpening in mobile RAW editing. By using masks, you'll be able to apply sharpening to specific areas of your image while leaving others untouched. This targeted approach guarantees that you enhance important details without over-sharpening less critical elements.
Start by identifying the areas that require sharpening, such as eyes in portraits or textures in landscapes. Use your mobile editing app's masking tools to create precise selections around these areas. Many apps offer brush tools, gradient masks, or even AI-powered selection features to make this process easier.
Once you've created your mask, adjust the sharpening settings for the selected areas. Don't be afraid to experiment with different levels of sharpness, as the masked approach allows for more aggressive sharpening without affecting the entire image.
Pay attention to edges and fine details within the masked areas, making sure they remain crisp without introducing artifacts.
Remember to blend the sharpened areas with the rest of the image for a natural look. Feather the edges of your masks and adjust opacity as needed to create seamless shifts between sharpened and unsharpened regions.
Handling Different Scene Types
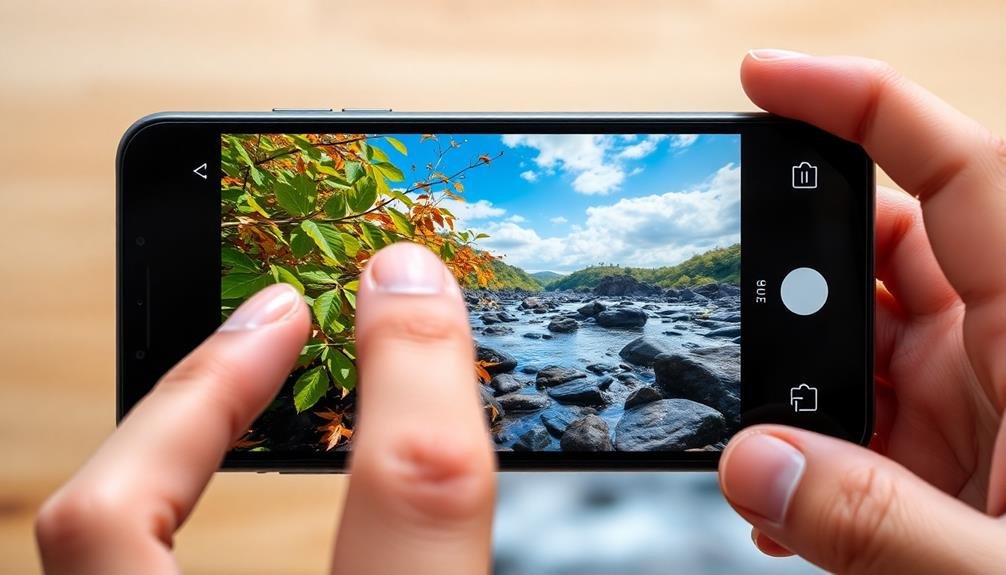
After mastering basic sharpening techniques, it's crucial to adapt your approach for different scene types. Each scene presents unique challenges and opportunities for sharpening your mobile RAW photos.
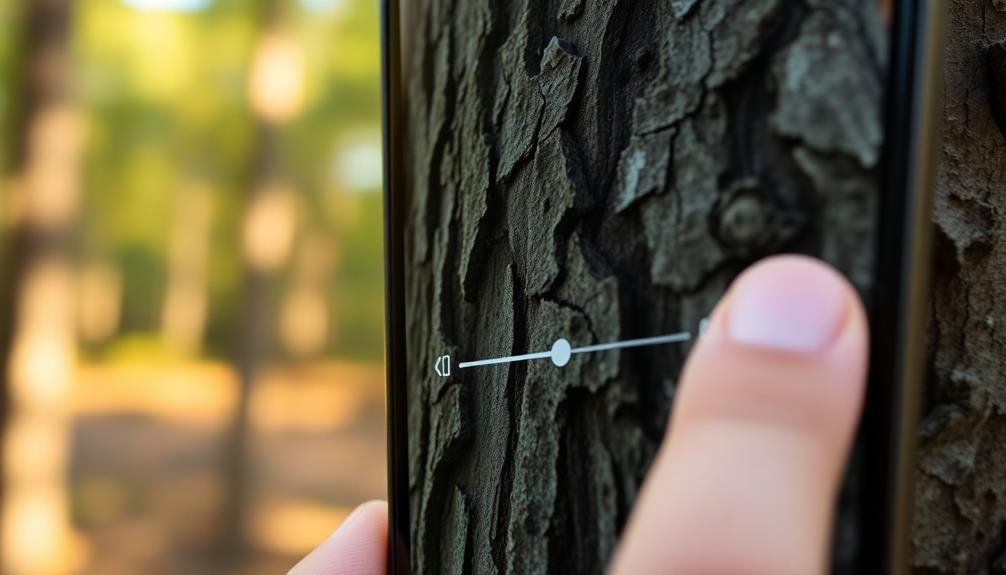
For landscapes, focus on enhancing fine details in textures like rocks, trees, and water while maintaining a natural look. In portraits, prioritize sharpening facial features and hair without over-accentuating skin imperfections.
For urban scenes, emphasize architectural details and crisp lines. When shooting low-light or night scenes, be cautious with sharpening to avoid amplifying noise. Instead, concentrate on defining edges and key elements.
In macro photography, pay close attention to the primary subject, ensuring it stands out from the background.
Consider these scene-specific sharpening tips:
- Landscapes: Use a combination of global and local sharpening, applying masks to protect smooth areas like skies.
- Portraits: Employ frequency separation techniques to sharpen details without affecting skin texture.
- Action shots: Focus on sharpening the main subject while allowing some motion blur in the background for a dynamic effect.
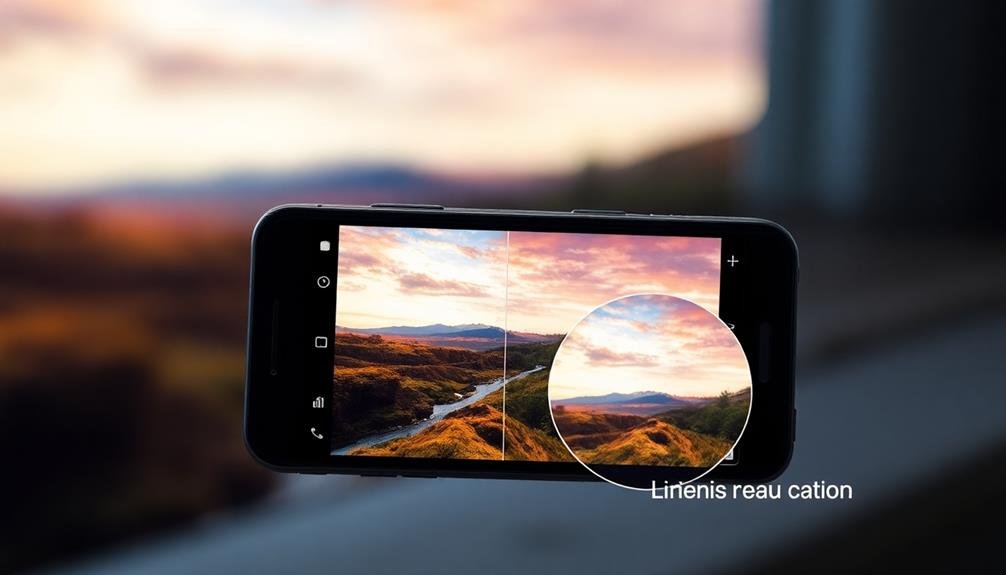
Preserving Details in High-Contrast Areas
When working with high-contrast areas in mobile RAW sharpening, you'll need to employ advanced techniques to preserve details.
Start by using masked sharpening to target specific regions, then apply selective contrast adjustments to balance the overall image.
Masked Sharpening Techniques
For high-contrast areas in mobile RAW photos, masked sharpening techniques can preserve essential details while avoiding unwanted artifacts. By selectively applying sharpening to specific areas, you'll enhance image quality without compromising overall balance.
To implement masked sharpening effectively:
- Create a luminosity mask to target midtones, where most details reside.
- Use edge detection masks to focus sharpening on object boundaries.
- Employ color-based masks to sharpen specific hues without affecting others.
Start by duplicating your image layer and applying a high-pass filter. This isolates edges and textures, making it easier to sharpen precisely.
Next, blend this layer using the "Overlay" mode and adjust its opacity to control sharpening intensity.
For even more control, try using the brush tool with a low flow setting to manually paint sharpening onto areas that need it most. This technique works particularly well for portraits, allowing you to enhance eyes and hair while leaving skin smooth.
Selective Contrast Adjustment
While masked sharpening enhances specific areas, selective contrast adjustment takes your mobile RAW editing to the next level. This technique allows you to preserve details in high-contrast areas, preventing loss of information in shadows and highlights.
To apply selective contrast adjustment, start by identifying areas with extreme tonal differences. Use your mobile editing app's adjustment brush or gradient tool to target these regions. Reduce contrast in overly bright areas to recover blown-out details, and increase contrast in shadowy parts to reveal hidden textures.
Pay close attention to edges where light and dark areas meet. Carefully adjust the contrast along these boundaries to create a more natural shift. Don't overdo it – subtle changes often yield the best results.
Experiment with clarity and texture sliders to further enhance local contrast without affecting the overall image. This can bring out fine details in specific areas without creating an artificial look.
Remember to toggle your adjustments on and off to compare the before and after effects. This will help you maintain a balanced, realistic appearance while maximizing detail retention in high-contrast scenes.
High-Pass Filter Application
Release the power of high-pass filtering to preserve essential details in high-contrast areas of your mobile RAW images. This technique allows you to sharpen your photos while maintaining a natural look, especially in areas where light and dark elements meet.
By isolating and enhancing edge details, you'll bring out textures and fine lines without introducing unwanted artifacts.
To apply a high-pass filter effectively:
- Duplicate your image layer and convert it to a smart object
- Apply the high-pass filter with a radius between 1-5 pixels, depending on your image resolution
- Change the layer blend mode to Overlay or Soft Light for a subtle effect
Experiment with different radius values and blend modes to find the perfect balance for your photo. You'll notice that smaller radius values work well for fine details, while larger values enhance broader edges.
Remember to mask out areas where you don't want sharpening applied, such as smooth skin or blurred backgrounds. By using the high-pass filter selectively, you'll maintain a professional look while bringing out the best in your mobile RAW images.
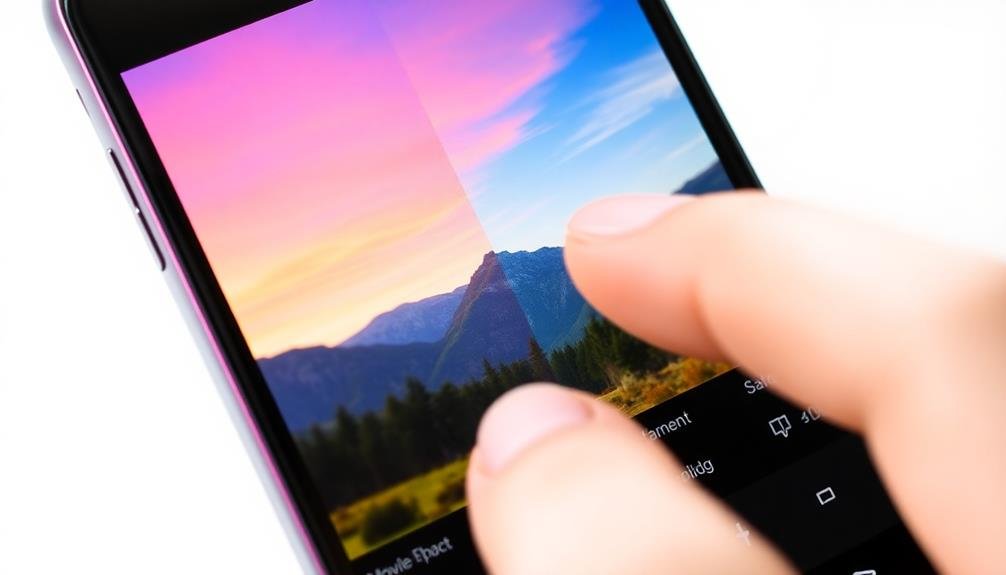
Sharpening for Various Output Sizes
Adaptability is key when sharpening RAW photos for different output sizes on mobile devices. You'll need to adjust your sharpening techniques based on whether you're preparing images for small smartphone screens, large prints, or social media platforms.
For small screen display, focus on enhancing fine details without over-sharpening. Use a lower radius setting and moderate amount to avoid visible halos.
When sharpening for large prints, increase the radius and amount to compensate for the image's expansion. You'll want to sharpen more aggressively, as prints tend to soften details.
For social media, consider the platform's compression algorithms. Slightly over-sharpen your images to counteract the loss of detail during upload. Pay attention to edges and textures, ensuring they remain crisp without appearing artificial.
Always zoom in to check your sharpening effects at pixel level. Use masks or selective sharpening to target specific areas that need enhancement.
Remember, different subjects require varied approaches – portraits need subtle sharpening, while landscapes can handle more intense processing.
Experiment with your mobile editing app's sharpening tools, and create presets for common output sizes to streamline your workflow. This way, you'll consistently produce stunning, appropriately sharpened photos for any display medium.
Avoiding Common Oversharpening Mistakes
Oversharpening is a common pitfall when editing RAW photos on mobile devices. It's easy to get carried away, especially when you're working on a small screen. To avoid this mistake, you'll need to be mindful of the telltale signs of oversharpening and exercise restraint in your editing process.
When you're sharpening your mobile RAW photos, watch out for these indicators of oversharpening:
- Halos around edges: Look for bright or dark outlines surrounding objects in your image.
- Increased noise: Pay attention to grainy textures, especially in smooth areas like skies.
- Unnatural textures: Be wary of skin that looks plasticky or fabrics that appear unnaturally crisp.
To prevent oversharpening, zoom in to 100% while editing and frequently check different areas of your image.
Don't rely solely on sliders; use local adjustments to sharpen specific areas that need it most.
Remember, you can always add more sharpening later, but it's difficult to undo excessive sharpening without compromising image quality.
Aim for a natural look that enhances details without drawing attention to the sharpening itself.
With practice, you'll develop a keen eye for the right balance of sharpness in your mobile RAW edits.
Enhancing Texture Without Artifacts
Skillfully enhancing texture in mobile RAW photos without introducing artifacts is a delicate balancing act. You'll want to bring out the details without creating unnatural-looking edges or noise. To achieve this, focus on using a combination of sharpening techniques and masking.
Start by applying a high-pass filter to your image, then set the blend mode to overlay or soft light. This method enhances fine details without affecting smoother areas. Next, use selective sharpening by creating a mask that targets only the textured areas you want to enhance.
Here's a quick guide to texture enhancement techniques:
| Technique | Pros | Cons |
|---|---|---|
| High-pass filter | Preserves colors | Can be subtle |
| Unsharp mask | Versatile | Risk of halos |
| Frequency separation | Precise control | Time-consuming |
Remember to zoom in and check your work at 100% magnification. Look for any unwanted artifacts like halos or noise, especially in areas with high contrast. If you notice these issues, reduce the sharpening intensity or refine your mask.
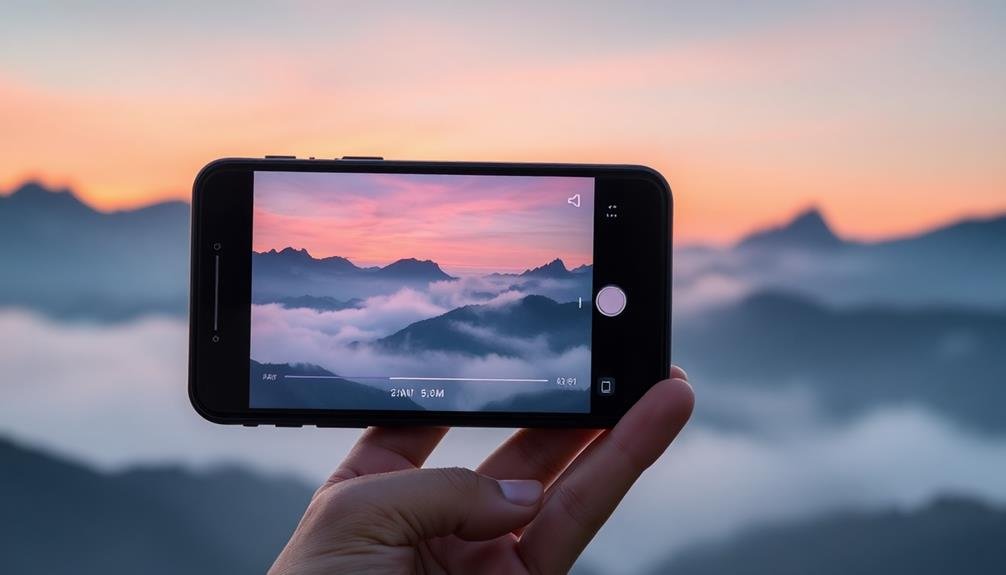
Fine-Tuning Final Results
The final stage of mobile RAW sharpening involves meticulous fine-tuning to achieve ideal results. After you've applied initial sharpening and enhanced textures, it's time to refine your work.
Zoom in on different areas of your image to inspect the details closely. Pay attention to edges, ensuring they're crisp without appearing artificial or over-processed.
Adjust your sharpening settings in small increments, as subtle changes can make a significant difference. If you notice any halos or artifacts, reduce the sharpening intensity or adjust the radius.
Don't forget to check how your image looks at various sizes, as sharpening effects can appear differently when scaled.
To elevate your fine-tuning process, consider these advanced techniques:
- Use selective sharpening to target specific areas while leaving others untouched
- Experiment with high-pass sharpening for a more natural look
- Apply a subtle noise reduction to combat any grain introduced by sharpening
Frequently Asked Questions
How Does Mobile RAW Sharpening Compare to DSLR RAW Sharpening?
You'll find mobile RAW sharpening is similar to DSLR RAW sharpening in principle. However, mobile devices often have less processing power and smaller sensors, so you'll need to be more careful with your adjustments to avoid noise and artifacts.
Can I Sharpen RAW Files Directly on Social Media Platforms?
You can't sharpen RAW files directly on social media platforms. They don't support RAW processing. You'll need to edit your RAW files in a dedicated photo editing app before uploading them to social media as JPEGs.
What's the Ideal Sharpening Workflow for Mobile Photography Competitions?
For mobile photography competitions, you'll want to start with gentle sharpening in your RAW editor. Then, apply selective sharpening to key areas. Finally, use output sharpening tailored to the competition's display requirements. Don't overdo it; subtlety is key.
How Does Lens Quality Affect the Sharpening Process for Smartphone Photos?
Lens quality greatly impacts your smartphone's sharpening process. Better lenses produce sharper images, requiring less sharpening. With lower-quality lenses, you'll need more aggressive sharpening to compensate for softness, but be careful not to introduce artifacts.
Are There Specific Sharpening Techniques for Night Mode or Low-Light RAW Images?
For night mode or low-light RAW images, you'll want to be more conservative with sharpening. Focus on reducing noise first, then apply subtle sharpening. Use masking to target specific areas and avoid over-sharpening the darker parts of the image.
In Summary
You've now got the tools to transform your mobile RAW photos into stunning, sharp images. Remember, it's all about balance – sharpen enough to bring out details, but don't overdo it. Experiment with different apps and techniques, and always consider your final output. With practice, you'll develop an eye for perfect sharpening. Keep shooting, keep editing, and watch your mobile photography skills soar. Your gallery's about to get a whole lot sharper!
Leave a Reply