
Elevate your mobile street photography with these seven lighting tricks. Master natural light angles to create depth and drama. Harness the golden hour's warm glow for stunning shots. Embrace shadows to add contrast and mystery to your compositions. Utilize reflective surfaces to bounce light and enhance your subjects. Overcome low-light challenges with specialized techniques and camera settings. Capture the drama of artificial light sources for unique nighttime scenes. Learn to balance mixed lighting for harmonious images. These tricks will transform your street photography, turning everyday moments into enchanting visual stories. Dive deeper to reveal the full potential of light in your urban captures.
Mastering Natural Light Angles

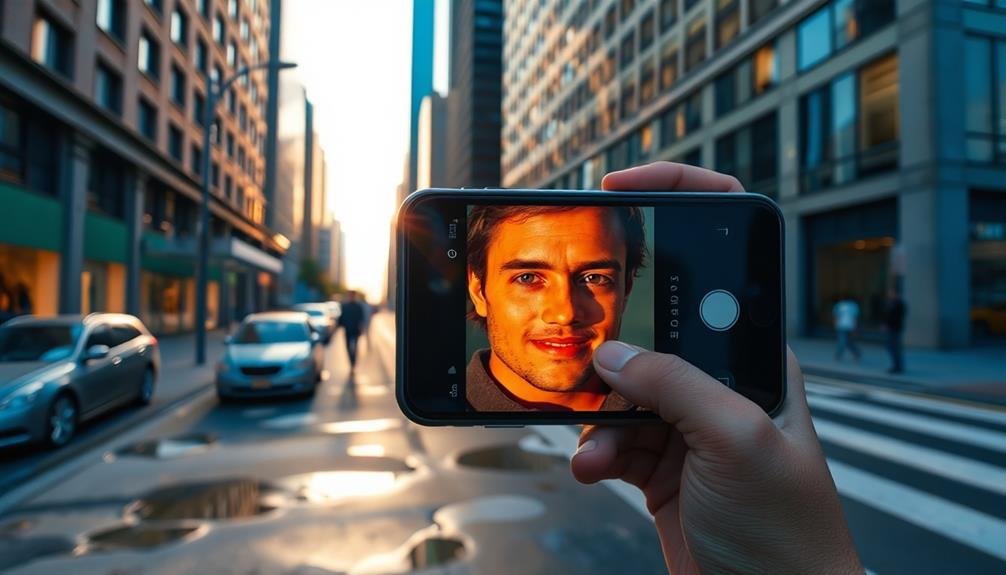
When shooting street photography with your mobile device, mastering natural light angles is essential for creating striking images. Pay attention to the position of the sun and how it interacts with your subjects. Early morning and late afternoon offer golden hour lighting, casting warm hues and long shadows that add depth to your shots.
During midday, look for interesting shadow patterns created by buildings or objects. Use these to frame your subjects or create abstract compositions. When facing harsh sunlight, try backlighting your subject for a dramatic silhouette effect. Alternatively, seek out pockets of shade to soften the light and reduce contrast.
Don't forget about reflected light from buildings or light-colored surfaces. This can act as a natural fill light, illuminating shadowy areas and adding dimension to your photos. Experiment with different angles by crouching low or finding elevated vantage points to change how light falls on your scene.
For overcast days, take advantage of the soft, diffused light to capture even exposures and subtle details. Remember, cloudy conditions can make colors appear more saturated, perfect for vibrant street scenes.
Harnessing Golden Hour Glow

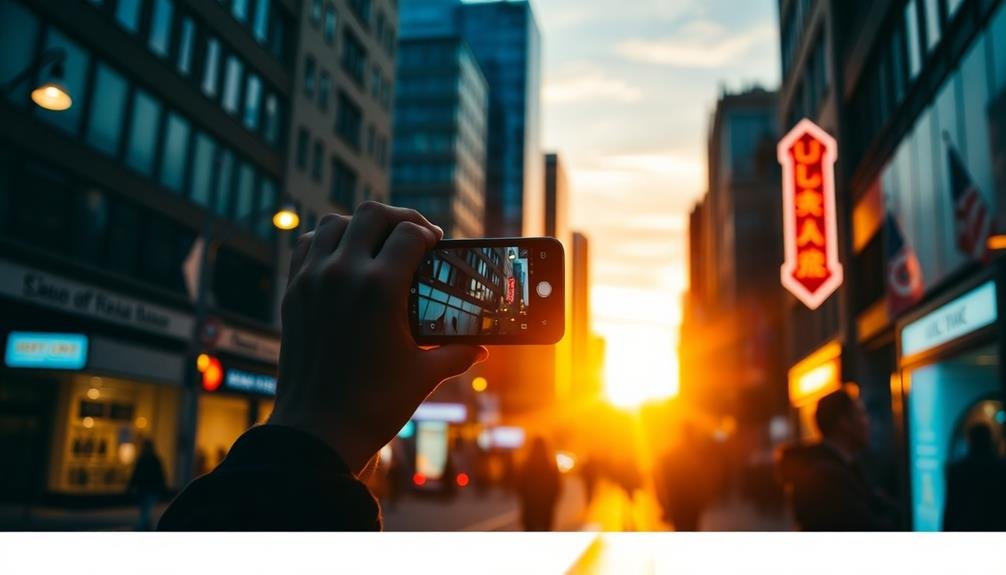
Golden hour offers a magical lighting opportunity for your street photography.
You'll want to time your shots carefully, capturing the warm, glowing light just after sunrise or before sunset.
During this period, experiment with creating dramatic silhouettes against the colorful sky and pay attention to how the soft, golden light enhances warm tones in shadowy areas.
Timing Golden Hour Shots
During the magical golden hour, street photographers have a unique opportunity to capture stunning images bathed in warm, soft light. To make the most of this fleeting moment, you'll need to time your shots carefully.
First, determine when golden hour occurs in your location. Use apps like PhotoPills or GoldenHour.One to pinpoint the exact times. Arrive at your chosen spot at least 30 minutes early to set up and scout for potential compositions. As the light changes rapidly, you'll want to be ready to shoot.
Here's a breakdown of golden hour timing and shot suggestions:
| Time | Light Quality | Subject Ideas | Camera Settings | Composition Tips |
|---|---|---|---|---|
| -30 minutes | Warm, bright | Street scenes | f/8, ISO 100 | Wide-angle shots |
| -15 minutes | Golden, soft | Silhouettes | f/5.6, ISO 200 | Backlit subjects |
| Golden hour | Rich, glowing | Portraits | f/4, ISO 400 | Side lighting |
| +15 minutes | Fading gold | Long shadows | f/2.8, ISO 800 | Low angles |
| +30 minutes | Blue hour | City lights | f/2, ISO 1600 | Reflections |
Silhouettes Against Sunset
As the sun dips towards the horizon, silhouettes become a powerful tool in your street photography arsenal. Golden hour's warm glow provides the perfect backdrop for creating striking contrasts between your subjects and the vibrant sky.
To capture intriguing silhouettes, position yourself with the sun behind your subject, exposing for the bright background. Look for interesting shapes and outlines that'll stand out against the sunset. Human figures, architectural elements, and street signs often make for engaging silhouettes.
Don't be afraid to experiment with different angles and compositions to find the most visually appealing arrangement.
To guarantee you're getting the best silhouette shots, follow these tips:
- Underexpose your image slightly to enhance the contrast
- Use burst mode to capture multiple frames of moving subjects
- Focus on the edge of your subject for crisp outlines
- Experiment with partial silhouettes for added depth
Warm Tones in Shadows
Countless photographers chase the elusive golden hour, but few realize its potential for transforming shadows. During this magical time, you'll find warm, golden light infusing even the darkest corners of your street scenes.
To capture this effect, position yourself so that the low-angled sun is behind your subject, creating long shadows that stretch across the frame.
Look for areas where sunlight bounces off nearby buildings or reflective surfaces, filling shadows with a soft, warm glow. This technique works wonders for adding depth and dimension to your images. You'll notice how the interplay of light and shadow creates a fascinating narrative within your composition.
Don't shy away from exposing for the highlights. This approach will deepen the shadows while preserving the warm tones that make golden hour so special.
Experiment with your phone's HDR mode to balance the exposure and retain detail in both bright and dark areas.
Try incorporating architectural elements or street furniture to create interesting shadow patterns. The warm tones will add a dreamy quality to these geometric shapes, turning ordinary scenes into enchanting visual stories.
Embracing Shadows for Contrast

Many street photographers shy away from shadows, but embracing them can dramatically enhance your images. Shadows create depth, add mystery, and increase visual interest in your compositions. By incorporating deep shadows into your street photography, you'll create striking contrasts that draw viewers' eyes to the brightest parts of your image.
To effectively use shadows in your mobile street photography:
- Look for areas with strong directional light, such as alleyways or streets with tall buildings.
- Position your subject at the edge of a shadow for a dramatic half-lit effect.
- Use shadows as leading lines to guide the viewer's eye through the frame.
- Experiment with silhouettes by placing your subject against a bright background.
When shooting, expose for the highlights to preserve detail in the brightest areas. This will naturally deepen the shadows, creating more contrast.
Don't be afraid to underexpose slightly to emphasize the shadow areas. In post-processing, increase the contrast and adjust the blacks to further enhance the shadow effect.
Utilizing Reflective Surfaces
You'll find countless opportunities to enhance your street photography by harnessing reflective surfaces.
Look for natural light bouncing off windows, puddles, or shiny objects to add dimension and intrigue to your shots.
You can also experiment with portable reflective props like small mirrors or metallic surfaces to direct light where you need it most.
Natural Light Bouncing
Natural light bouncing is a powerful technique that can transform your mobile street photography. It involves using the environment to redirect existing light onto your subject, creating a soft, flattering illumination.
You'll find that this method can add depth and dimension to your images without the need for artificial lighting equipment.
To effectively use natural light bouncing, keep an eye out for reflective surfaces in your urban surroundings. Buildings with light-colored walls, glass windows, or metallic surfaces can all serve as impromptu light reflectors.
Position your subject near these surfaces and observe how the light changes their appearance.
When incorporating natural light bouncing into your shots, consider the following tips:
- Experiment with different angles to find the most flattering light
- Use white or light-colored clothing as a portable reflector
- Look for water puddles or fountains for unique reflections
- Pay attention to the time of day and how it affects the quality of bounced light
Reflective Props Usage
While natural light bouncing relies on existing surfaces, you can take control of your lighting by incorporating reflective props into your mobile street photography. Small, portable reflectors are ideal for this purpose. Collapsible silver or gold reflectors can easily fit in your bag and be deployed quickly to fill shadows or add warmth to your subjects.
When using reflective props, position them opposite your light source to bounce light onto your subject. Experiment with different angles to achieve the desired effect. You can also use everyday objects as makeshift reflectors. A white napkin, a metallic food wrapper, or even a small mirror can serve as impromptu light modifiers.
For a more dramatic look, try using black reflectors or objects to absorb light and create deeper shadows. This technique can add contrast and mood to your street scenes.
Remember to be discreet when using reflective props in public spaces. Quick setup and breakdown are key to capturing candid moments without drawing too much attention.
With practice, you'll learn to seamlessly integrate these tools into your street photography workflow, enhancing your images with controlled, flattering light.
Overcoming Low-Light Challenges

In low-light situations, street photographers often face significant challenges when trying to capture sharp, well-exposed images. Don't let dimly lit streets or nighttime scenes deter you from creating stunning photographs. With the right techniques, you can overcome these obstacles and produce engaging low-light street photos.
First, embrace higher ISO settings on your mobile device. Modern smartphones can handle ISO 800 or even 1600 without significant noise. Next, use your phone's night mode or long exposure feature to gather more light. These modes combine multiple shots to create a cleaner, brighter image.
Steady your device to avoid camera shake. Use a small tripod or lean against a wall for stability. If you're shooting handheld, practice proper breath control and hold your phone close to your body.
To further enhance your low-light street photography, consider these additional tips:
- Look for artificial light sources like street lamps or shop windows
- Experiment with intentional motion blur for artistic effect
- Use negative space to create moody compositions
- Focus on high-contrast scenes to add drama
With these techniques, you'll be well-equipped to tackle low-light street photography challenges and create compelling images in any lighting condition.
Capturing Artificial Light Drama

Neon signs, streetlights, and illuminated storefronts offer a wealth of opportunities for dramatic street photography. To capture artificial light drama, you'll need to embrace the contrast between light and shadow.
Start by exposing for the highlights to preserve the vibrant colors and details of illuminated subjects. This technique will create moody, atmospheric shots with deep blacks in the surrounding areas.
Experiment with reflections on wet surfaces or glass to add depth and intrigue to your compositions. Puddles, car windows, and shop fronts can all serve as mirrors for artificial light sources.
Don't shy away from lens flare; strategically position yourself to incorporate light streaks or starbursts for added visual interest.
Try using slow shutter speeds to capture light trails from passing vehicles or create a sense of motion around stationary light sources. A small tripod or stabilizing your phone against a solid surface will help you achieve sharp results.
Balancing Mixed Lighting Sources
Street scenes often present a complex mix of lighting sources, from warm streetlights to cool moonlight and colorful neon signs. Balancing these diverse elements can be challenging, but it's essential for creating engaging street photography.
You'll need to master your camera's white balance settings and exposure compensation to achieve harmony between different light sources.
Start by identifying the dominant light source in your scene. This will serve as your baseline for adjusting white balance. Next, use your phone's manual mode to fine-tune exposure and color temperature. Don't be afraid to experiment with unconventional settings to capture the scene's unique atmosphere.
To effectively balance mixed lighting sources:
- Use HDR mode to capture a wider range of tones
- Employ selective editing to adjust specific areas of the image
- Experiment with silhouettes to emphasize dramatic lighting
- Consider using lens filters to modify light intensity or color
Frequently Asked Questions
What Smartphone Camera Settings Are Best for Street Photography?
You'll want to use your smartphone's manual mode. Set a fast shutter speed to freeze motion, adjust ISO for light conditions, and focus manually. Enable HDR for high-contrast scenes and experiment with black-and-white filters for artistic shots.
How Can I Make Subjects Comfortable When Photographing Strangers?
You'll put strangers at ease by smiling, introducing yourself, and explaining your project. Be respectful, ask permission, and show them the photos. Keep interactions brief and friendly. Don't be pushy if they decline.
Are There Legal Considerations for Street Photography in Different Countries?
You'll find legal considerations vary widely between countries. Always research local laws before shooting. In some places, you'll need consent for portraits. Be aware of privacy rights, restricted areas, and commercial use regulations to avoid legal issues.
What Editing Apps Are Recommended for Enhancing Street Photos?
You'll find several great apps for enhancing street photos. Try Snapseed for versatile editing, VSCO for filters, Lightroom Mobile for advanced adjustments, and TouchRetouch for object removal. Experiment with these to develop your unique editing style.
How Do I Protect My Smartphone From Theft While Shooting in Crowded Areas?
You'll want to stay vigilant and keep your phone close. Use a wrist strap or neck lanyard, keep it in a secure pocket when not shooting, and be aware of your surroundings. Don't leave it unattended.
In Summary
You've now got the tools to take your street photography to the next level. Remember, lighting is your secret weapon. Experiment with different angles, embrace the golden hour, play with shadows, and don't shy away from artificial light. You'll be amazed at how these techniques transform your shots. Keep practicing, and soon you'll be capturing stunning, dynamic street scenes that tell powerful stories. Your smartphone's your canvas – go out and create some magic!


Leave a Reply