
To create stunning panoramic time-lapses on your mobile device, follow these five steps: First, choose the perfect location with wide, unobstructed views and interesting elements. Next, set up your smartphone by ensuring ample storage, cleaning the lens, and using a reliable time-lapse app. Then, plan your shooting schedule considering time of day, weather, and location. Fourth, capture the panoramic sequence by securely mounting your device and adjusting app settings. Finally, edit and compile your time-lapse using mobile editing apps to adjust frame rate, color, and stabilization. With these steps, you'll be well on your way to mastering the art of mobile time-lapse photography.
Choose the Perfect Location

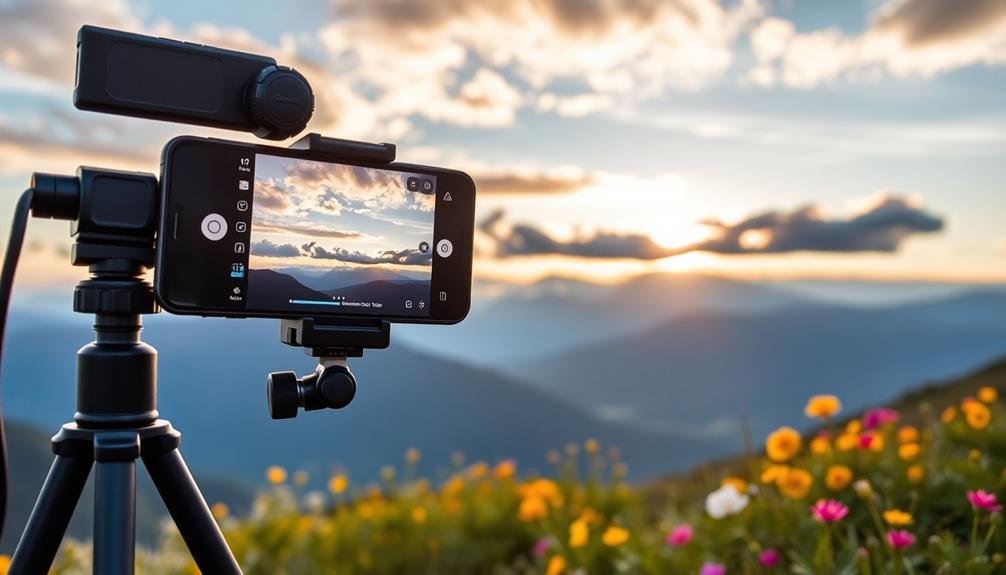
Selecting the right location is vital for creating enchanting panoramic time-lapses on your mobile device. Look for spots that offer a wide, unobstructed view with interesting elements in both the foreground and background. Elevated positions, like hilltops or rooftops, often provide excellent vantage points for capturing expansive scenes.
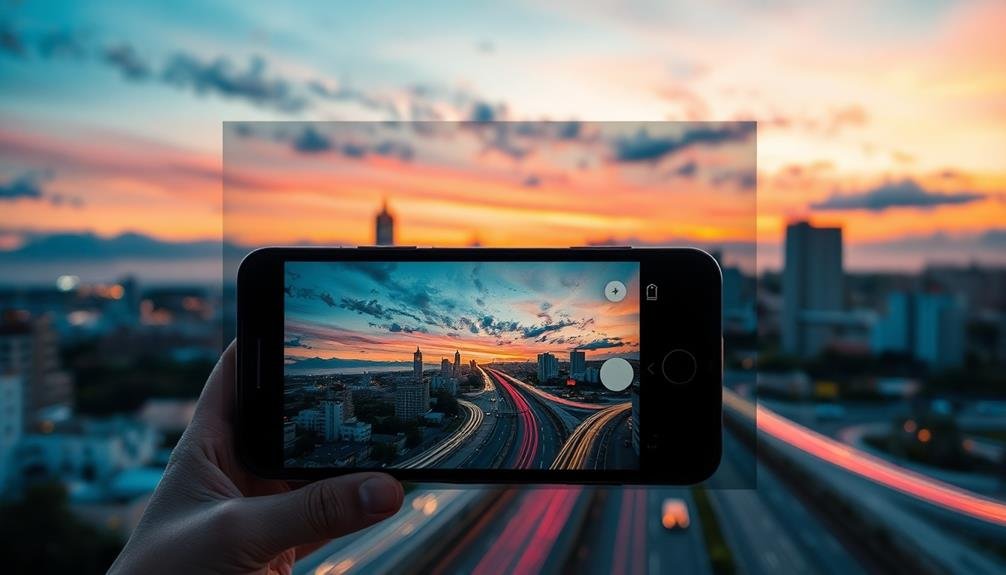
Consider the movement within your chosen location. Busy cityscapes with flowing traffic, bustling pedestrians, or changing billboards can create dynamic time-lapses. Natural settings with moving clouds, flowing water, or swaying vegetation also work well.
Think about the time of day and how light changes will affect your scene. Sunset and sunrise offer dramatic lighting shifts that can enhance your time-lapse.
Weather conditions play a significant role too. Clear skies are great for star trails, while partly cloudy days can add interesting patterns to your composition. Don't shy away from inclement weather; storms or fog can create moody, atmospheric time-lapses.
Set Up Your Smartphone
With your perfect location identified, it's time to prepare your smartphone for capturing stunning panoramic time-lapses. First, confirm your device has ample storage space and battery life. Clean your camera lens thoroughly to avoid smudges or debris affecting image quality.
Next, download a reliable time-lapse app that supports panoramic capture. Popular options include Hyperlapse, Lapse It, and Time Lapse Camera. Familiarize yourself with the app's features and settings before you begin shooting.
Position your smartphone securely using a tripod or stable surface. This is vital for maintaining consistency throughout the time-lapse. Enable your device's grid feature to help align your shots and maintain level horizons.
Consider these essential settings for ideal results:
| Setting | Recommendation |
|---|---|
| Interval | 1-5 seconds |
| Duration | 30-60 minutes |
| Resolution | Highest available |
| Exposure | Manual |
| Focus | Manual |
Adjust your camera's exposure and focus manually to prevent unwanted fluctuations in brightness or sharpness. If possible, use a neutral density filter to control light intake, especially in bright conditions. Finally, activate your device's airplane mode to prevent interruptions during capture.
Plan Your Shooting Schedule
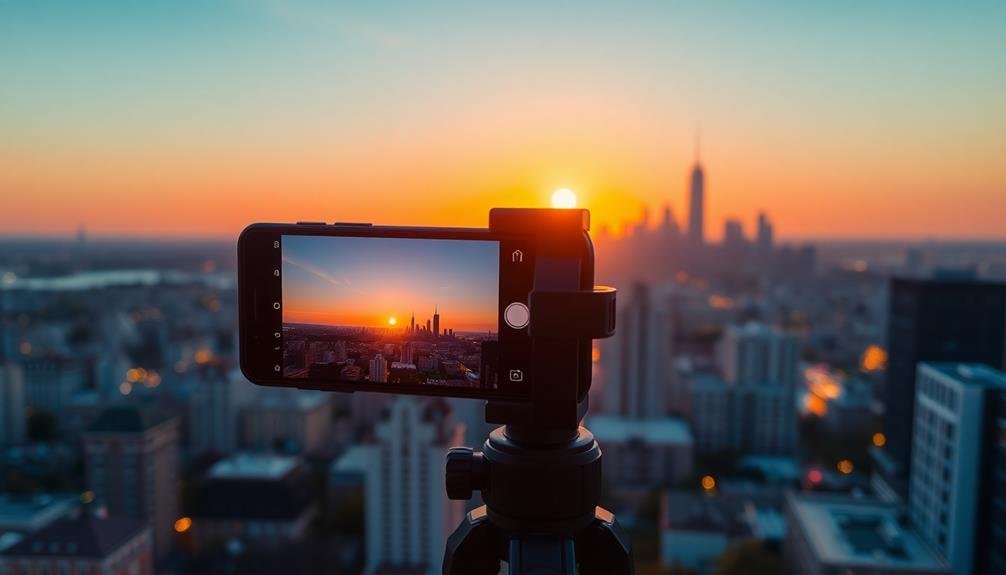
Carefully planning your shooting schedule is essential for capturing stunning panoramic time-lapses. Consider the time of day, weather conditions, and location when deciding when to shoot. Golden hour, just after sunrise or before sunset, often provides the most dramatic lighting for landscapes.
If you're shooting cityscapes, blue hour can create a fascinating blend of natural and artificial light. Check the weather forecast to avoid unexpected rain or overcast skies that might ruin your shoot. Factor in the movement of the sun, moon, and stars if you're planning a day-to-night shift or astrophotography time-lapse.
Research your location beforehand to identify the best vantage points and any potential obstacles. Determine the duration of your time-lapse and set your interval accordingly. For slow-moving subjects like clouds or sunsets, an interval of 10-30 seconds might suffice.
For faster-moving subjects like people or traffic, you'll need shorter intervals of 1-5 seconds. Remember to account for battery life and storage capacity when planning longer shoots. Always bring extra batteries and memory cards to guarantee you don't miss any vital moments during your panoramic time-lapse creation.
Capture the Panoramic Sequence

Now that you've planned your shoot, it's time to execute your panoramic time-lapse. Begin by setting up your mobile device on a sturdy tripod or stable surface. Confirm your phone is level and secure to maintain consistency throughout the sequence.
Launch your chosen time-lapse app and adjust the settings according to your plan. Set the interval between shots and the total duration of the sequence. Remember, shorter intervals capture more subtle changes, while longer intervals work well for slower-moving scenes.
Start the capture process and let your device work its magic. Avoid touching or moving the phone during the shoot to prevent jarring shifts in the final video.
| Scene Type | Recommended Interval | Total Duration |
|---|---|---|
| Cityscape | 5-10 seconds | 2-4 hours |
| Clouds | 1-3 seconds | 30-60 minutes |
| Sunset | 3-5 seconds | 1-2 hours |
Once the capture is complete, review the sequence to confirm all frames are properly exposed and aligned. If necessary, reshoot problematic sections or individual frames. With your raw footage secured, you're now ready to proceed to the post-processing stage, where you'll stitch together your panoramic time-lapse and add any final touches.
Edit and Compile Time-Lapse
After capturing your panoramic time-lapse sequence, it's time to edit and compile the footage into a stunning final product.
Begin by importing your images into a mobile editing app that supports time-lapse creation, such as LapseIt or Hyperlapse. These apps allow you to adjust the frame rate, add filters, and fine-tune your sequence.
Once you've imported your images, follow these steps to create your panoramic time-lapse:
- Adjust the frame rate to determine the speed of your time-lapse. Experiment with different rates to find the right balance between smooth motion and overall duration.
- Apply color correction and filters to enhance the visual appeal of your sequence. Be consistent with your edits across all frames to maintain a cohesive look.
- Add stabilization if necessary to smooth out any camera shake or inconsistencies between frames. Many apps offer built-in stabilization features.
- Export your final time-lapse video in high quality, choosing a resolution that matches your intended viewing platform.
Remember to save your project frequently as you edit.
Once you're satisfied with the result, share your stunning panoramic time-lapse on social media or with friends and family.
Frequently Asked Questions
How Long Should a Panoramic Time-Lapse Video Typically Be?
You'll typically want your panoramic time-lapse video to be between 15 to 60 seconds long. It's short enough to maintain viewer interest but long enough to capture the essence of the scene's progression over time.
Can I Use Filters or Lenses With My Smartphone for Time-Lapse Photography?
Yes, you can use filters and lenses with your smartphone for time-lapse photography. They'll enhance your shots, adding creative effects or improving image quality. Clip-on lenses and filter apps are popular options for mobile photographers.
What's the Best Way to Stabilize a Smartphone for Long-Duration Time-Lapses?
You'll want to use a sturdy tripod with a smartphone mount for long-duration time-lapses. Don't forget a power bank to keep your device charged. Consider a remote shutter to avoid camera shake when starting and stopping.
How Much Storage Space Do I Need for a Panoramic Time-Lapse Project?
You'll need ample storage for panoramic time-lapses. It depends on your project's duration, resolution, and frame rate. Generally, aim for at least 32GB free space. Consider using external storage or cloud backups for longer projects.
Are There Any Legal Considerations When Creating Time-Lapses in Public Spaces?
When creating time-lapses in public spaces, you'll need to take into account privacy laws. Don't capture identifiable individuals without consent. Be aware of property rights and avoid trespassing. Some locations may require permits for commercial filming.
In Summary
You've now learned the essential steps to create breathtaking panoramic time-lapses using your smartphone. By choosing the right location, setting up your device properly, planning your shoot, capturing the sequence, and editing the final product, you'll be able to produce stunning visual stories. Don't be afraid to experiment with different settings and techniques. With practice, you'll master this art form and create enchanting time-lapses that showcase the beauty of our ever-changing world.


Leave a Reply