
To capture stunning portrait mode photos on your mobile, start by choosing a clean, uncluttered background. Apply the rule of thirds for balanced composition and focus on the subject's eyes for impact. Experiment with different angles, from low to high, to create unique perspectives. Utilize natural light, especially during golden hours, for flattering illumination. Capture genuine expressions by engaging your subject in conversation. Play with negative space to add depth and interest. Adjust blur intensity to suit your style, and don't forget to enhance your shots with post-processing apps. These tips are just the beginning of your journey to mastering mobile portrait photography.
Find the Perfect Background
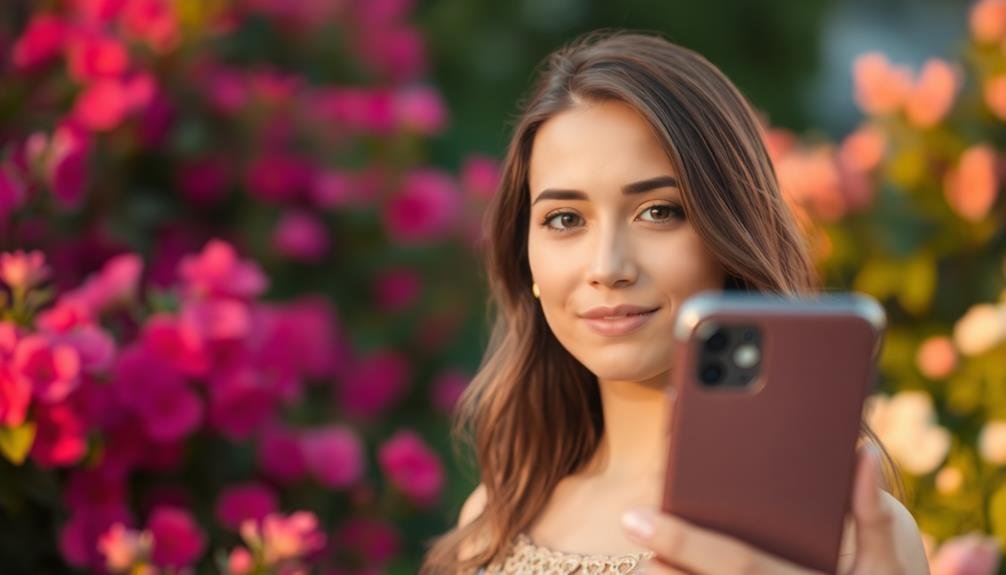
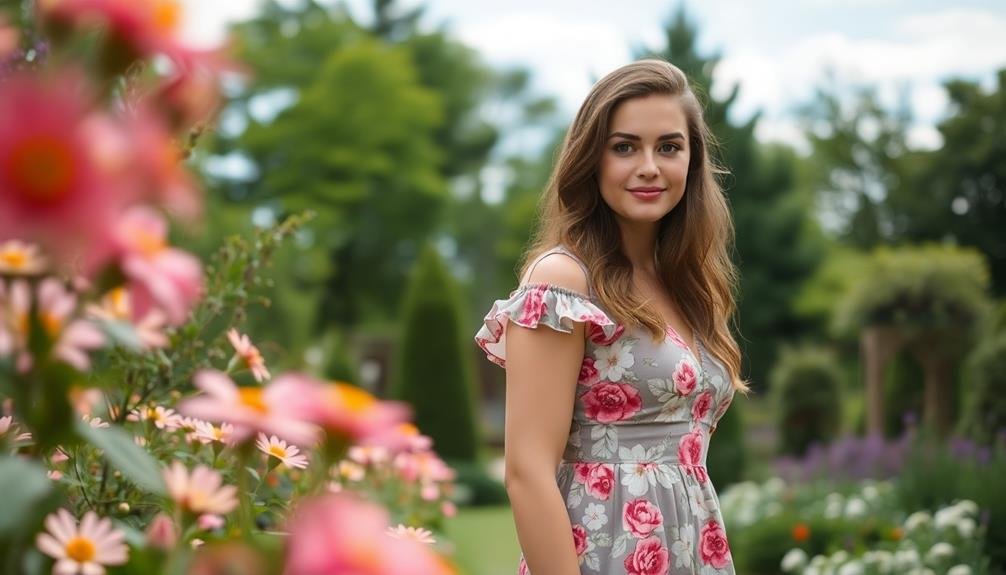
The background you choose can make or break your portrait mode photo. When selecting a backdrop, opt for clean, uncluttered spaces that won't distract from your subject. Look for solid colors or simple patterns that complement your subject's attire and skin tone. Avoid busy backgrounds with too many elements, as they can compete for attention and reduce the impact of the portrait effect.
Consider the depth of the background as well. Portrait mode works best when there's a clear separation between the subject and the backdrop. Aim for at least a few feet of distance to create that coveted bokeh effect. Natural settings like parks or beaches can offer great opportunities for soft, blurred backgrounds.
Pay attention to lighting conditions. Bright, even light works best for portrait mode shots. If you're outdoors, seek out shaded areas to avoid harsh shadows. Indoors, position your subject near a window for flattering natural light.
Master the Rule of Thirds
Why is the rule of thirds so essential for portrait mode photography? This simple yet powerful composition technique can elevate your portraits from average to stunning. By dividing your frame into a 3×3 grid, you'll create more balanced and visually appealing images.
To apply the rule of thirds, position your subject along the vertical lines or at the intersection points of the grid. This off-center placement creates a more dynamic composition than centering your subject. Most smartphones offer a grid overlay in the camera app, so enable this feature to guide your framing.
When shooting portraits, align your subject's eyes with the upper horizontal line. This placement draws the viewer's attention to the most expressive part of the face. For full-body shots, position the person along one of the vertical lines.
Don't forget about the background elements. Place interesting features at the intersections or along the lines to add depth and context to your portrait.
Experiment with different placements to find what works best for each scene. Remember, the rule of thirds is a guideline, not a strict rule. Once you've mastered it, feel free to break it intentionally for creative effect.
Experiment With Different Angles
Don't limit yourself to eye-level shots when using portrait mode.
Try crouching down for dramatic low-angle photos that make your subject appear powerful, or shoot from above to create flattering, slimming perspectives.
You can also capture unique side-view compositions to highlight interesting profiles or showcase your subject's surroundings in a fresh way.
Low-Angle Dramatic Shots
One exciting way to add drama to your portrait mode photos is by experimenting with low-angle shots. This technique involves positioning your camera below eye level, often near the ground, and angling it upwards towards your subject. Low-angle shots create a sense of power, dominance, and grandeur, making your subject appear taller and more imposing.
To capture stunning low-angle portraits, get down on one knee or even lie on the ground. This perspective can make ordinary scenes look extraordinary. Try framing your subject against the sky or interesting architectural elements for added impact.
Be mindful of distortion, especially when shooting close-up facial portraits, as low angles can exaggerate features. Experiment with different distances between you and your subject. A close-up low-angle shot can create an intimate, intense look, while stepping back allows you to incorporate more of the environment.
Don't forget to adjust your camera settings to compensate for the change in lighting when shooting from below. Use the portrait mode's depth-of-field effect to blur distracting background elements and keep the focus on your subject. With practice, you'll master the art of dramatic low-angle portrait shots.
High-Angle Flattering Perspectives
High-angle shots offer a fresh perspective that can be incredibly flattering for portrait subjects. By positioning your camera above eye level and angling it downward, you'll create a slimming effect and emphasize your subject's eyes. This technique works particularly well for headshots and full-body portraits, as it elongates the neck and body.
To achieve the best high-angle shots, try these tips:
- Stand on a sturdy object or use a selfie stick to gain height
- Ask your subject to tilt their chin slightly upward
- Experiment with different heights to find the most flattering angle
When shooting from above, pay attention to the background. You'll capture more of the ground or floor, so choose an interesting surface or location that complements your subject.
Don't go too extreme with the angle, as it can distort facial features if overdone. Instead, aim for a subtle elevation that enhances your subject's best qualities.
Remember to maintain eye contact with the camera, even from a higher angle. This connection will help create engaging portraits that draw viewers in.
With practice, you'll master the art of high-angle shots and add a powerful tool to your mobile photography arsenal.
Unique Side-View Compositions
Side-view compositions can shake up your portrait game and add a fresh perspective to your mobile photography. To capture compelling side-view shots, position your subject at a 90-degree angle to the camera. This angle highlights their profile, creating a dramatic silhouette effect that emphasizes facial features and contours.
Experiment with your subject's gaze direction. Have them look straight ahead for a contemplative mood, or towards the camera for a more engaging shot. You can also play with the background by placing interesting elements on one side of the frame, creating depth and context.
Don't forget to adjust your portrait mode settings. Some phones allow you to control the depth of field, so try different levels of background blur to find the perfect balance. Pay attention to lighting as well; side lighting can create striking shadows that accentuate facial features.
For added creativity, try capturing side-view shots from slightly above or below eye level. This subtle change in perspective can dramatically alter the mood and impact of your portrait.
Remember to keep the focus on your subject's nearest eye to maintain sharpness in the most critical area of the image.
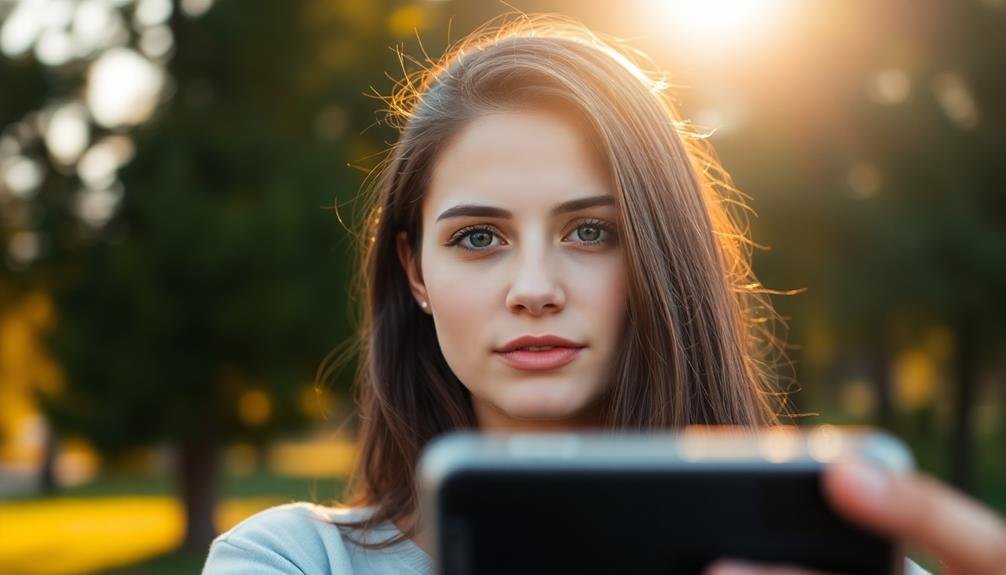
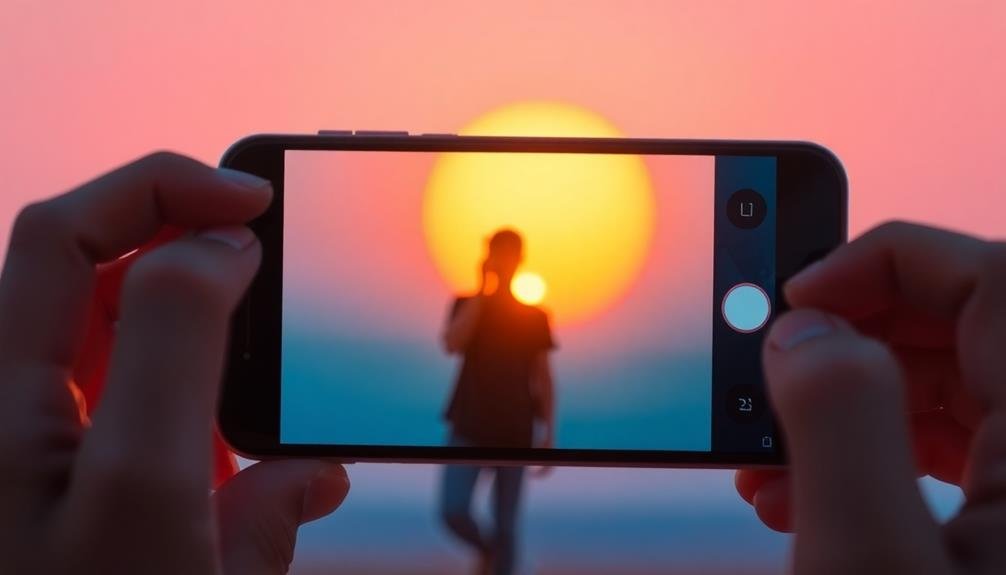
Use Natural Light Effectively
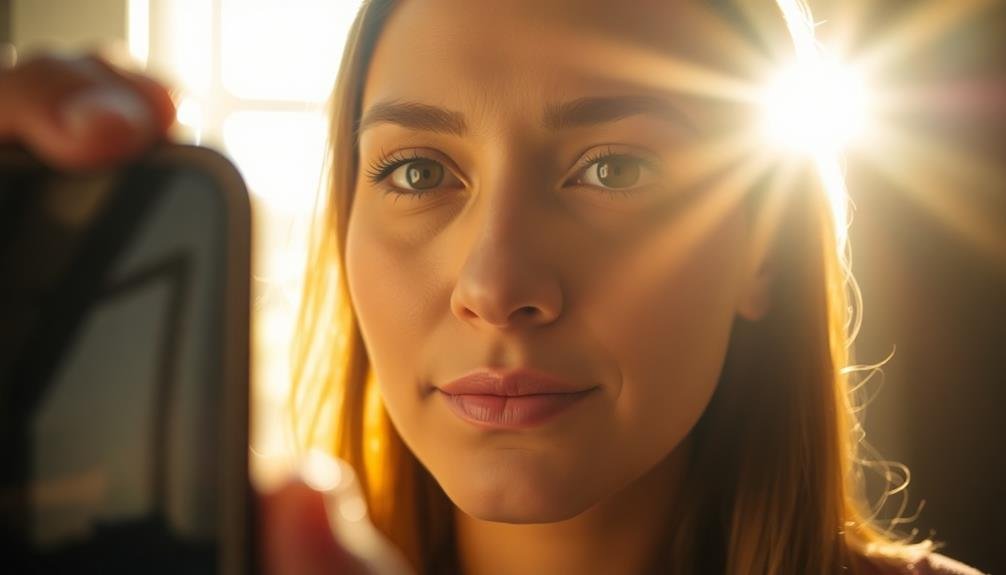
Natural light mastery is essential for stunning portrait mode photos. When using your smartphone's portrait mode, prioritize soft, diffused light to create flattering images. Avoid harsh midday sun, which casts unflattering shadows and causes subjects to squint. Instead, opt for the golden hours just after sunrise or before sunset, when the light is warm and gentle.
Cloudy days can also provide excellent lighting conditions, acting as a natural diffuser for even illumination.
Position your subject near a large window or in open shade for beautiful, soft light that enhances facial features. If you're outdoors, use the sun as a backlight to create a subtle glow around your subject, then use a reflector or white surface to bounce light back onto their face.
Don't be afraid to experiment with different angles and lighting directions to find the most flattering look for your subject.
Here are three key lighting scenarios to try:
- Window light: Place your subject at a 45-degree angle to a large window
- Golden hour backlight: Position the sun behind your subject for a warm glow
- Open shade: Find a spot in the shade of a building or tree for even lighting
Focus on the Eyes
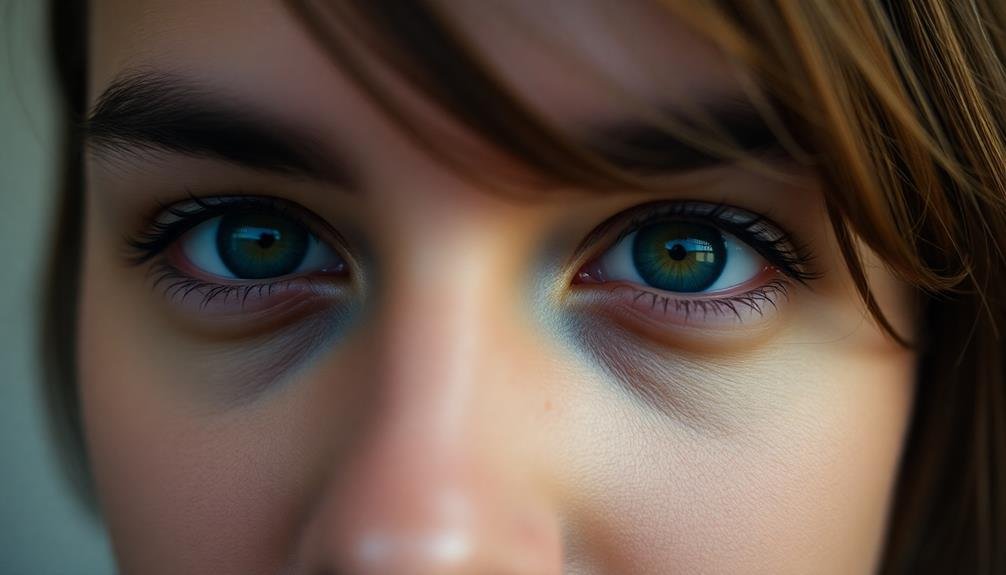
When capturing portrait mode photos, focusing on the eyes is vital for creating engaging and impactful images. The eyes are often considered the windows to the soul, and they're significant in conveying emotion and connecting with the viewer.
To guarantee sharp, crisp eyes in your portraits, tap on the subject's eyes on your phone's screen before taking the shot. This will set the focus point and help maintain clarity in this critical area.
Position your subject so that their eyes are in the top third of the frame, following the rule of thirds. This placement creates a more visually appealing composition.
If you're shooting in low light, ask your subject to look towards a light source to create catchlights in their eyes, adding depth and sparkle to the image.
For group portraits, try to get everyone's eyes on the same focal plane. If that's not possible, focus on the person closest to the camera.
When photographing people with glasses, adjust the angle slightly to avoid reflections that might obscure the eyes.
Create Depth With Layers
Creating depth with layers is a powerful technique to elevate your portrait mode photos. By strategically positioning elements in the foreground, midground, and background, you'll add dimension and visual interest to your images.
Start by identifying potential layers in your environment, such as foliage, architecture, or natural landscapes.
To create depth with layers in your portrait mode photos:
- Position your subject in the midground, with an interesting foreground element partially obscuring the frame.
- Use leading lines or patterns in the background to draw the viewer's eye towards your subject.
- Experiment with different angles to maximize the separation between layers.
When composing your shot, consider the rule of thirds and place your subject slightly off-center. This will allow you to incorporate more of the layered elements into your frame.
Pay attention to the distance between each layer, as this will affect the level of bokeh in your portrait mode photos.
Don't be afraid to move around and try various compositions. Sometimes, a slight shift in your position can dramatically change the relationship between layers, resulting in a more dynamic and visually appealing portrait.
Play With Negative Space

How can negative space transform your portrait mode photos? It's a powerful tool that can turn ordinary shots into stunning compositions. Negative space is the area around your subject that's left empty or uncluttered. By strategically using this space, you'll create more impactful and visually appealing portraits.
To effectively use negative space, position your subject off-center. This creates a sense of balance and draws the viewer's eye to your main focus. Experiment with different ratios of subject to negative space. You might be surprised how a small subject surrounded by ample empty space can create a striking image.
Consider the following emotional impacts of negative space:
| Emotion | Subject Size | Background |
|---|---|---|
| Isolation | Small | Vast |
| Power | Large | Minimal |
| Serenity | Balanced | Natural |
| Mystery | Partial | Dark |
Use negative space to convey mood and tell a story. A lone figure in a expansive landscape can evoke feelings of solitude or adventure. In urban settings, clean walls or sky can provide perfect backdrops. Remember, negative space doesn't have to be completely empty; subtle textures or out-of-focus elements can add depth without distracting from your subject.
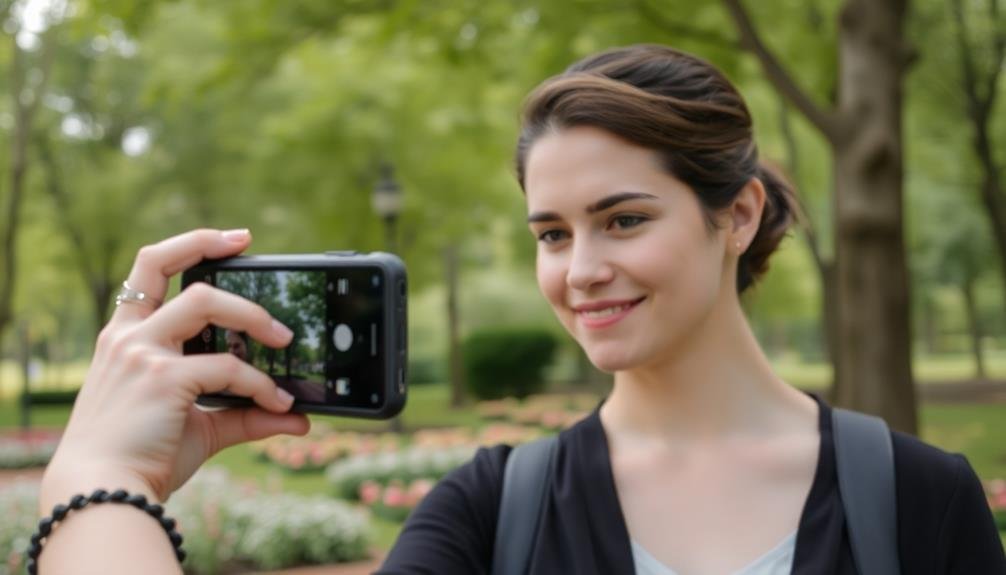
Capture Genuine Expressions

For truly enchanting portrait mode photos, you'll need to capture genuine expressions. The key is to make your subject feel comfortable and relaxed in front of the camera. Engage in casual conversation, tell jokes, or share funny stories to help them loosen up. Remember, a forced smile often looks unnatural, so aim for authentic reactions.
To evoke real emotions, try these techniques:
- Ask your subject to think about a happy memory or loved one.
- Tell them to close their eyes and open them on the count of three.
- Use props or activities to distract them from the camera.
Timing is essential when capturing genuine expressions. Keep your finger ready on the shutter button and take multiple shots in quick succession. This burst mode approach increases your chances of catching that perfect, fleeting moment of authenticity.
Don't be afraid to experiment with different angles and compositions. Sometimes, the most engaging expressions are captured when the subject isn't looking directly at the camera.
Encourage natural movements and interactions with their surroundings for more dynamic and enthralling portrait mode photos.
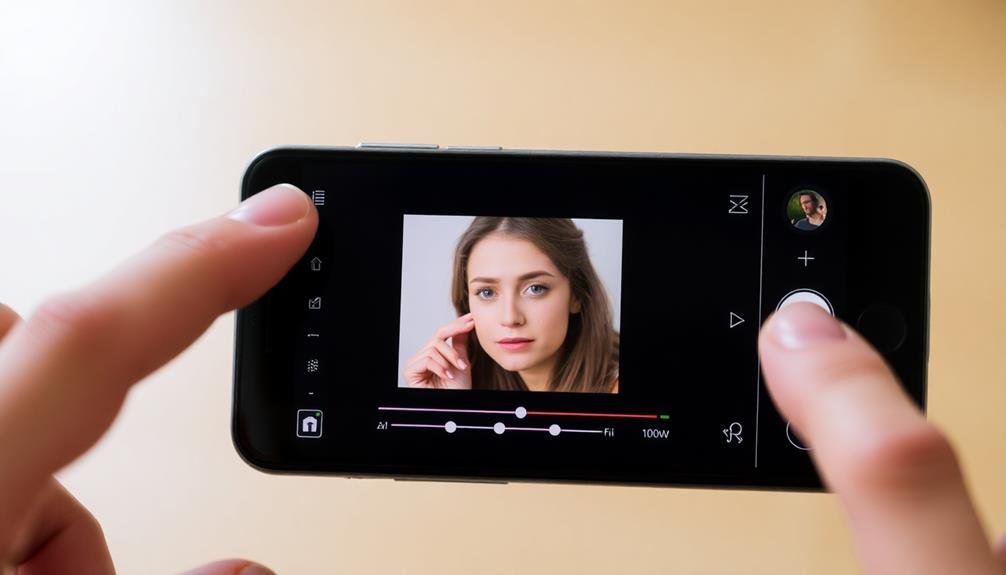
Adjust Blur Intensity
The magic of portrait mode lies in its ability to blur the background, making your subject pop. Most smartphones allow you to adjust the blur intensity, giving you control over the final look of your portrait. To find this setting, open your camera app, switch to portrait mode, and look for an adjustable slider or f-stop number.
Experiment with different blur levels to achieve the desired effect. A subtle blur can add depth without overwhelming the image, while a stronger blur creates a more dramatic separation between subject and background.
Pay attention to how the blur affects different elements in your shot, such as trees, buildings, or distant objects. Be cautious not to overdo the blur, as it can look artificial or distracting. Aim for a natural-looking bokeh that complements your subject rather than overpowering it.
Consider the overall composition and mood you're trying to convey when adjusting the blur intensity. For environmental portraits, you might want to reduce the blur to show more context, while for intimate close-ups, a stronger blur can create a dreamy atmosphere.
Enhance With Post-Processing Apps
After capturing your portrait, you can take it to the next level with post-processing apps. These tools offer a wide range of enhancements that can transform your photos from good to stunning. Popular apps like Snapseed, VSCO, and Lightroom Mobile provide powerful editing features specifically designed for portrait photography.
When enhancing your portrait mode photos, focus on refining the following aspects:
- Skin tones: Adjust warmth and tint to achieve natural-looking skin tones.
- Contrast and highlights: Fine-tune these elements to add depth and dimension to your subject.
- Selective adjustments: Use brush tools to enhance specific areas like eyes or hair.
Don't be afraid to experiment with creative effects, but remember to maintain a balance between enhancement and authenticity. Pay attention to details like sharpening around the eyes and softening skin texture.
Many apps offer portrait-specific presets that can serve as a starting point for your edits. As you become more comfortable with post-processing, you'll develop your own unique editing style.
Remember that subtle adjustments often yield the most professional-looking results. With practice, you'll be able to quickly enhance your portrait mode photos, creating polished images that truly stand out.
Frequently Asked Questions
Can Portrait Mode Be Used for Non-Human Subjects?
Yes, you can use portrait mode for non-human subjects. It's great for pets, flowers, and still-life objects. You'll get that beautiful background blur, highlighting your subject. Experiment with different objects to create stunning, professional-looking photos.
How Do You Achieve Portrait Mode on Older Smartphone Models?
You can simulate portrait mode on older smartphones by manually focusing on your subject, getting close, and using a simple background. Try third-party apps that offer bokeh effects or use editing tools to blur the background post-capture.
What's the Ideal Distance Between Subject and Camera for Portrait Mode?
You'll want to keep your subject 2-8 feet away from your camera for the best portrait mode results. It's essential to maintain this range, as getting too close or far can blur the wrong areas or lose the effect.
Are There Any Accessories That Enhance Portrait Mode Photography?
You'll find several accessories to boost your portrait mode shots. Try clip-on lenses for different focal lengths, portable LED lights for better illumination, and mini tripods for stability. Don't forget reflectors to control shadows and enhance lighting.
How Can You Fix Common Portrait Mode Errors in Post-Processing?
You can fix common portrait mode errors by adjusting blur intensity, refining edge detection, and tweaking exposure. Use editing apps to smooth skin, enhance colors, and remove unwanted objects. Don't forget to fine-tune lighting and contrast for better results.
In Summary
You've now got the tools to take your portrait mode photography to the next level. Don't be afraid to experiment and push the boundaries of your creativity. Remember, practice makes perfect, so keep snapping away. With these tips in your arsenal, you'll be capturing stunning, professional-looking portraits in no time. So grab your phone, find your subject, and start creating beautiful memories that'll last a lifetime.


Leave a Reply