Access your smartphone's camera potential with these five pro tips. First, master pro mode settings for manual control over ISO, shutter speed, and white balance. Next, optimize exposure and focus by tapping strategically on your screen. Harness HDR for dynamic scenes to capture details in both highlights and shadows. Leverage manual white balance to enhance color accuracy and mood. Finally, perfect your composition using the rule of thirds and experimenting with perspectives. These techniques will dramatically improve your mobile photography, transforming ordinary shots into stunning images. Dive deeper into each tip to truly elevate your skills and capture breathtaking photos with your smartphone.
Master Pro Mode Settings
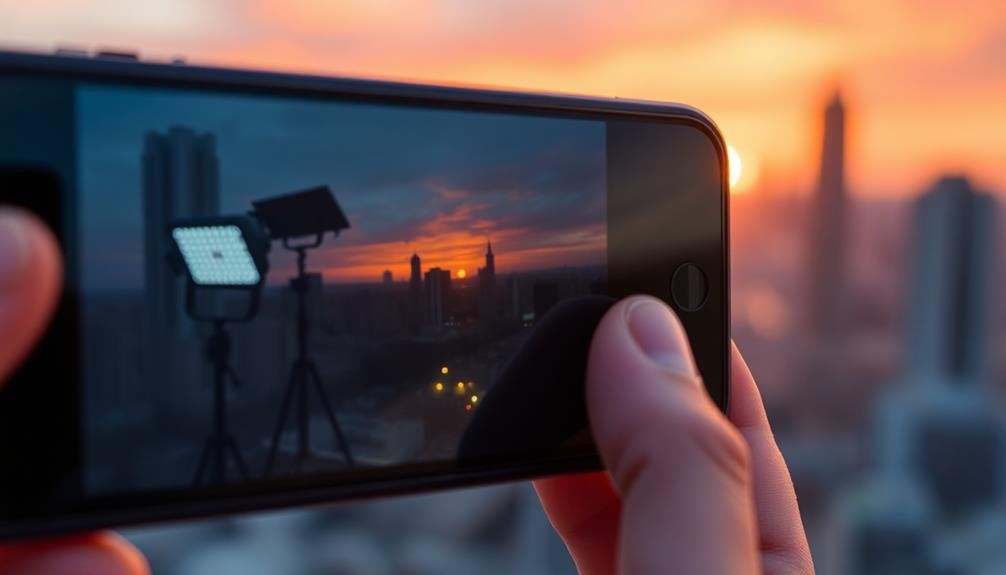
While many smartphone users rely on automatic settings, mastering your camera's Pro Mode can considerably elevate your mobile photography. Pro Mode gives you manual control over essential settings like ISO, shutter speed, and white balance.
Start by adjusting the ISO, which controls your camera's light sensitivity. Lower ISO values (100-400) are ideal for bright conditions, while higher values (800-3200) work better in low light.
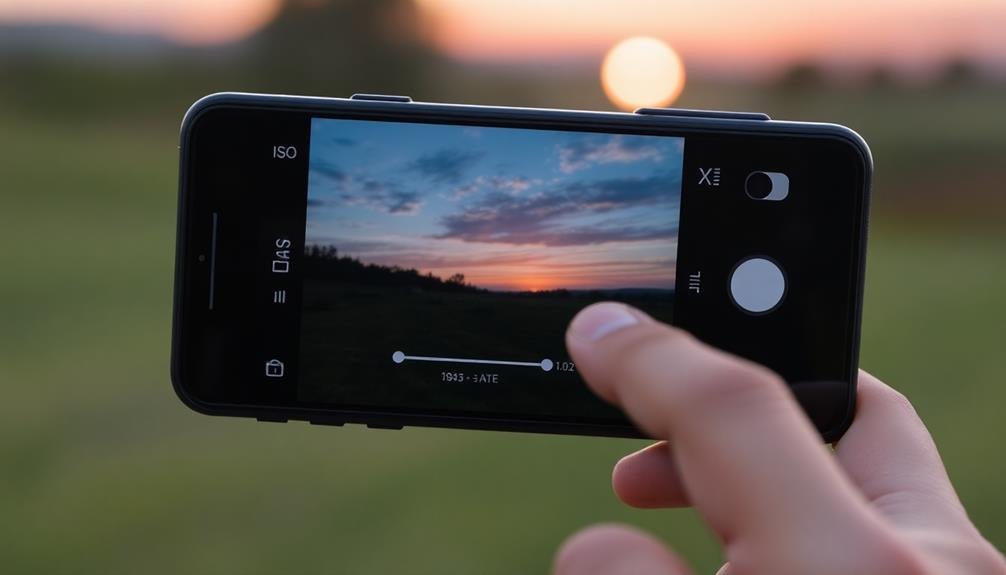
Next, experiment with shutter speed. Faster speeds (1/500s or higher) freeze motion, while slower speeds (1/30s or lower) create motion blur or light trails. For sharp handheld shots, aim for at least 1/60s.
White balance affects color temperature; adjust it to match your lighting conditions for accurate colors.
Don't forget about focus and exposure. Tap to focus on your subject, then use the exposure slider to fine-tune brightness. For more control, enable manual focus and exposure compensation.
Finally, shoot in RAW format when available. This preserves more image data, giving you greater flexibility when editing your photos later.
With practice, you'll master these Pro Mode settings and capture stunning mobile photos in any situation.
Optimize Exposure and Focus
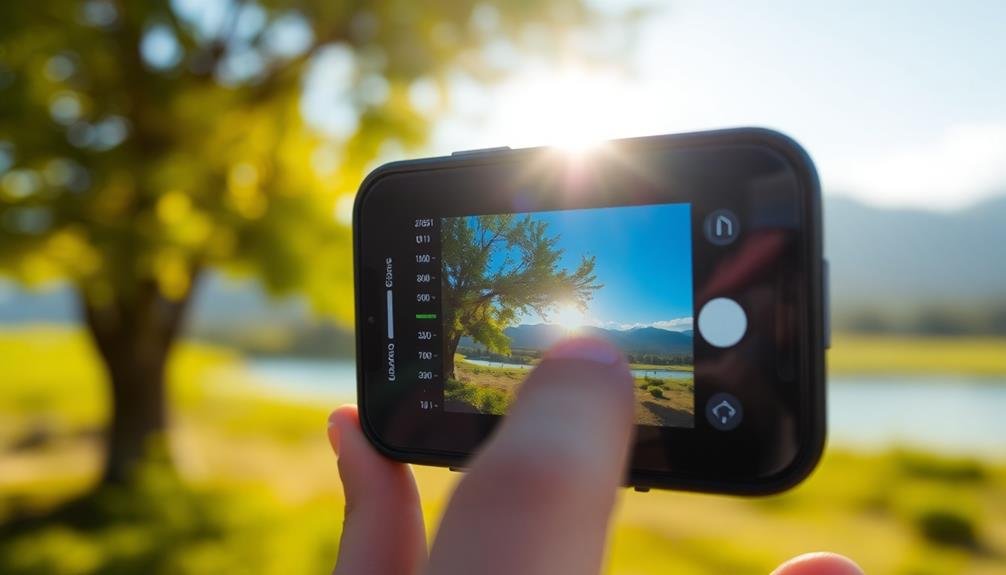
Getting the right exposure and focus is essential for capturing stunning mobile photos. To optimize exposure, tap on the brightest part of your scene to prevent overexposure. If you're shooting in low light, tap on a darker area to increase overall brightness. Many camera apps allow you to adjust exposure manually by sliding your finger up or down after tapping.
For perfect focus, tap on your main subject before taking the shot. If you're photographing a moving subject, use your camera's tracking autofocus feature. For close-up shots, switch to macro mode if available. When capturing landscapes, tap on an object in the foreground to guarantee sharpness throughout the image.
Don't forget about depth of field. Create a blurred background effect by getting close to your subject and tapping to focus on it. For group shots, step back and tap on a person in the middle to keep everyone in focus. If your phone has a portrait mode, use it to automatically blur the background while keeping your subject sharp.
Remember to check your results and retake if necessary, as proper exposure and focus can make or break your mobile photos.
Harness HDR for Dynamic Scenes
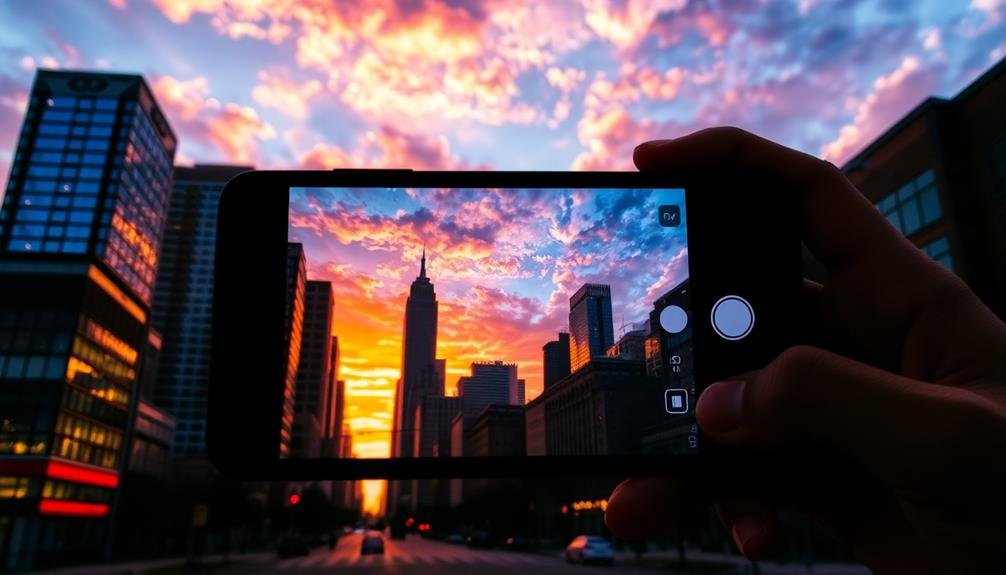
HDR, or High Dynamic Range, is a powerful tool for capturing scenes with extreme contrasts in lighting. When you're faced with a bright sky and shadowy foreground, HDR can help you balance the exposure across the entire image. Most modern smartphones have an HDR mode built into their camera apps, making it easy to use.
To harness HDR effectively, start by identifying scenes with high contrast. Landscapes with bright skies and dark foregrounds, backlit subjects, or interiors with bright windows are perfect candidates. When you enable HDR, your phone will take multiple exposures and combine them into a single image, preserving details in both highlights and shadows.
Be mindful of movement when using HDR. Since it takes multiple shots, any motion can result in ghosting or blurring. For best results, use a tripod or stabilize your phone against a solid surface.
Experiment with HDR in various lighting conditions to understand its impact. While it can dramatically improve many photos, it may not always be necessary or desirable. In some cases, the natural contrast of a scene might be more impactful.
Trust your artistic judgment and use HDR as a tool, not a crutch.
Leverage Manual White Balance
The camera's white balance setting plays an important role in capturing accurate colors in your mobile photos. While auto white balance often does a decent job, learning to adjust it manually can greatly improve your images' quality and mood.
To leverage manual white balance, start by understanding common presets like daylight, cloudy, tungsten, and fluorescent. These options help you quickly adapt to different lighting conditions.
For more precise control, use the Kelvin temperature scale, which ranges from warm (lower numbers) to cool (higher numbers).
Experiment with different white balance settings to achieve desired effects. Warmer tones can create a cozy atmosphere, while cooler tones might convey a more clinical or futuristic feel. Don't be afraid to intentionally "misuse" white balance for creative results.
When shooting in mixed lighting conditions, manual white balance becomes vital. It allows you to prioritize the most important light source and maintain color consistency across your photos.
Remember to reset your white balance when moving between different environments to guarantee accurate colors in each new scene.
Perfect Your Composition
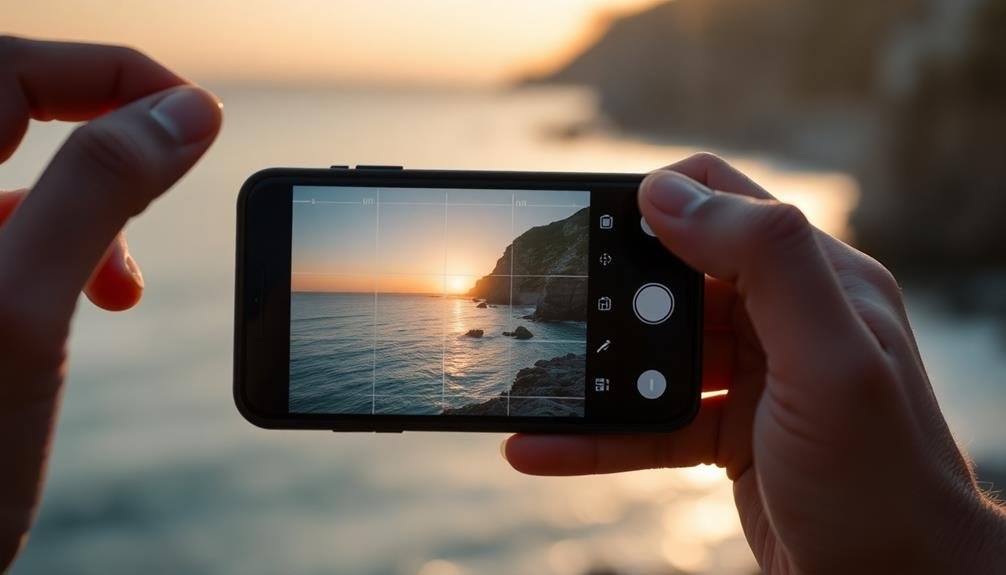
Composition is the foundation of compelling mobile photography. To elevate your shots, start by mastering the rule of thirds. Imagine your screen divided into a 3×3 grid, and place key elements along these lines or at their intersections. This creates a balanced and visually pleasing image.
Don't be afraid to experiment with different perspectives. Get low, climb high, or try unusual angles to add interest to your photos. Leading lines are another powerful tool; use roads, fences, or architectural features to guide the viewer's eye through your image.
Pay attention to symmetry and patterns in your surroundings. They can create striking, eye-catching compositions. Conversely, breaking symmetry can add tension and intrigue to your shots.
Frame your subject using natural elements like doorways, windows, or tree branches. This technique adds depth and context to your photos.
Remember to leave negative space around your subject; it can enhance the overall impact of your image.
Frequently Asked Questions
How Can I Keep My Phone Steady for Sharper Images?
You can keep your phone steady by using both hands, tucking your elbows in, and holding your breath while shooting. Try leaning against a wall or using a tripod for extra stability. Don't forget to tap the screen to focus.
What Are the Best Photo Editing Apps for Mobile Devices?
You'll find great options in Snapseed, VSCO, and Lightroom Mobile. They're versatile and user-friendly. For more advanced editing, try Affinity Photo or Pixlr. Don't forget Instagram's built-in tools for quick edits and filters.
How Do I Capture Motion Blur Intentionally in Smartphone Photography?
To capture motion blur on your smartphone, you'll need to use a slower shutter speed. Try a dedicated camera app that allows manual controls. Experiment with shutter speeds between 1/15 and 1 second for different blur effects.
Are External Lenses Worth Investing in for Mobile Photography?
External lenses can be worth it if you're serious about mobile photography. They'll expand your creative possibilities, allowing for wider angles, macro shots, or enhanced zoom. However, consider your needs and budget before investing in them.
How Can I Protect My Phone's Camera Lens From Scratches and Damage?
You can protect your phone's camera lens by using a protective case with a raised edge around the lens. Apply a tempered glass screen protector, keep your phone in a separate pocket, and clean the lens regularly with a microfiber cloth.
In Summary
You've now got the tools to take your mobile photography to the next level. By mastering Pro Mode, nailing exposure and focus, using HDR wisely, adjusting white balance manually, and refining your composition, you'll capture stunning images that rival those from dedicated cameras. Don't be afraid to experiment and push your phone's capabilities. With practice, you'll develop an instinct for these techniques, and soon you'll be creating professional-quality photos right from your pocket.


Leave a Reply