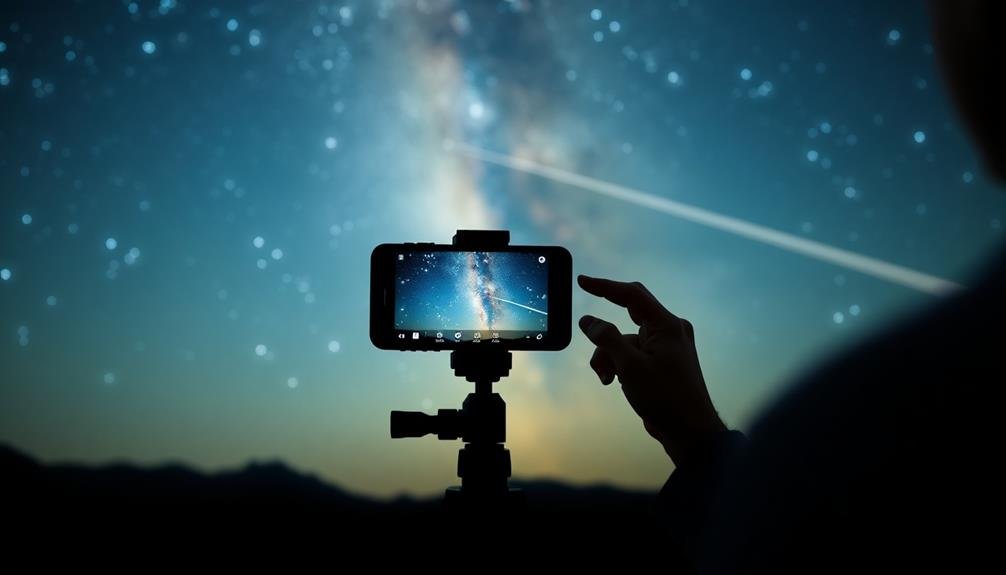
To access mobile astrophotography's potential with RAW settings, you'll want to focus on key factors. Start by setting your ISO between 800 and 3200, balancing light sensitivity with noise. Use longer exposure times, typically 15-30 seconds, to capture more starlight. Adjust your white balance to 3200-4800K for accurate star colors. Manual focus is essential; zoom in on a bright star to guarantee sharpness. Experiment with HDR and bracketing techniques to expand your dynamic range. In post-processing, fine-tune your images by adjusting shadows, highlights, and applying selective noise reduction. These settings form the foundation, but there's much more to explore in the vast night sky.
Understanding RAW in Mobile Photography

What exactly is RAW in mobile photography? RAW is an uncompressed image format that captures all the data your phone's camera sensor records.
Unlike JPEG, which compresses and processes the image, RAW preserves the original information, giving you more control over post-processing.
When you shoot in RAW, you're capturing a wider dynamic range and more color information. This means you'll have greater flexibility to adjust exposure, white balance, and other settings without losing image quality.
For astrophotography, this is essential as it allows you to bring out faint stars and nebulae that might be lost in a compressed JPEG.
RAW files are larger and require processing before sharing, but the benefits outweigh these minor inconveniences.
You'll be able to recover details in highlights and shadows, reduce noise more effectively, and make precise color adjustments.
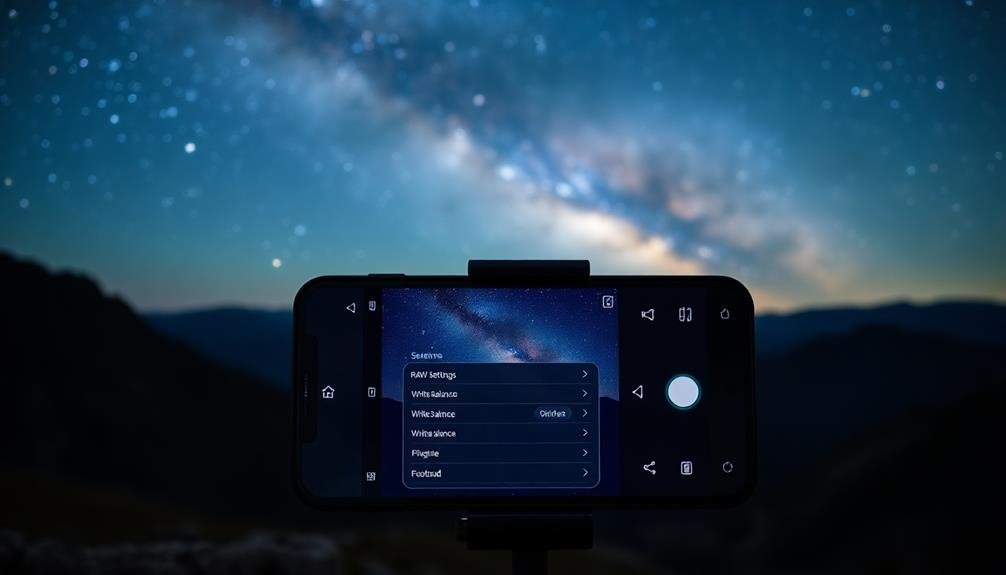
Many modern smartphones now offer RAW capture capabilities, often through their native camera apps or third-party applications.
Essential Camera Apps for Astrophotography

Several essential camera apps can greatly enhance your mobile astrophotography experience. For Android users, Camera FV-5 and ProShot offer manual controls vital for astrophotography, including long exposure settings and ISO adjustments.
iOS users should consider NightCap Camera, which specializes in low-light and night sky photography, offering features like star trails and meteor capture modes.
Across both platforms, you'll find Slow Shutter Cam useful for capturing long exposures, while PhotoPills helps with planning your shoot by providing detailed information on celestial events and ideal shooting times.
For post-processing, Snapseed and Lightroom Mobile are invaluable tools to fine-tune your images, offering RAW editing capabilities and advanced adjustment options.
Don't overlook astronomy-specific apps like Star Walk 2 or Sky Map, which can help you identify celestial objects and plan your compositions.
These apps use your device's GPS and gyroscope to provide real-time sky maps, making it easier to locate and frame your subjects.
ISO Sensitivity for Night Skies

When it comes to capturing the night sky with your mobile device, ISO sensitivity plays an essential role. It determines how much light your camera sensor captures, which is critical for astrophotography. Higher ISO settings allow you to capture more light in dark conditions, but they also introduce noise to your images.
For most mobile astrophotography, you'll want to start with an ISO setting between 800 and 3200. Experiment with different values to find the sweet spot for your device. Remember, the goal is to balance light sensitivity with image quality.
Here are some tips for enhancing your ISO settings:
- Start low and gradually increase: Begin with ISO 800 and adjust upwards if needed.
- Monitor noise levels: Higher ISOs introduce more grain, so find a balance.
- Use longer exposure times: This can help compensate for lower ISO settings.
Keep in mind that your phone's capabilities will impact the ideal ISO range. Newer devices with larger sensors and improved noise reduction can often handle higher ISO values without significant quality loss.
Don't be afraid to push your phone's limits, but always check your results and adjust accordingly.
Shutter Speed and Exposure Time

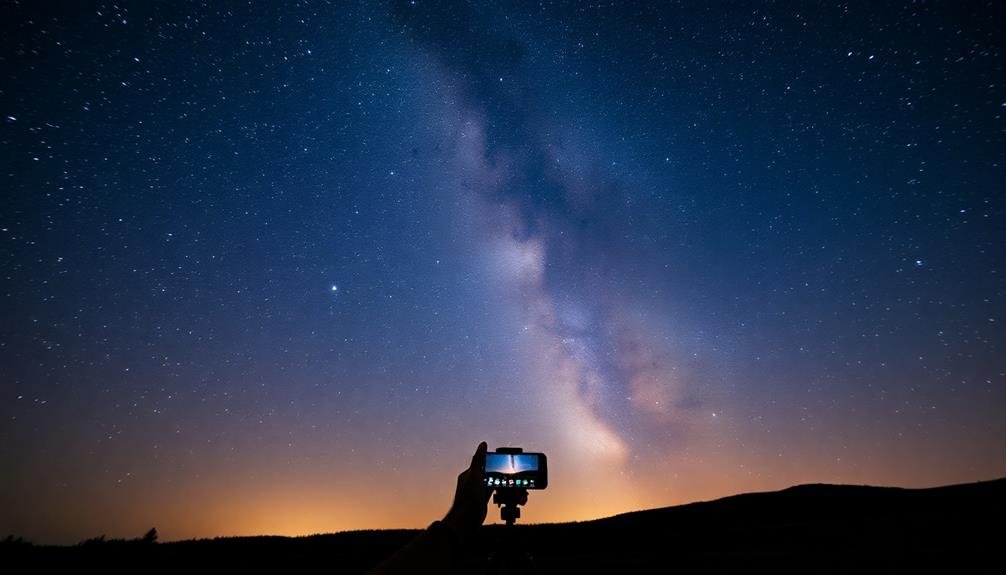
For mobile astrophotography, shutter speed and exposure time are critical factors in capturing stunning night sky images. You'll need to balance these settings to achieve the right amount of light while avoiding star trails.
Start with longer exposure times, typically between 15 to 30 seconds, depending on your phone's capabilities and the darkness of your location.
Use the "500 rule" as a guide: divide 500 by your lens's focal length to determine the maximum exposure time before stars start to trail. For most smartphone cameras, this translates to about 15-20 seconds.
If your phone allows manual control, set the shutter speed accordingly. For phones without manual controls, use night mode or pro mode to access longer exposures.
Experiment with different exposure times to find the sweet spot for your specific scene. Longer exposures gather more light but may introduce noise or blur.
Shorter exposures preserve star sharpness but may result in darker images. Consider using image stacking techniques to combine multiple exposures, allowing you to maintain star sharpness while increasing overall brightness and reducing noise in your final image.
White Balance in Starry Scenes
When capturing starry scenes, you'll want to set your white balance to a Kelvin temperature range between 3200K and 4800K for ideal results.
Be cautious of color casts that can occur with improper white balance settings, as they can distort the natural beauty of the night sky.
Remember to preserve the true colors of stars by avoiding extreme white balance adjustments, which can lead to unnatural-looking images.
Optimal Kelvin Temperature Range
Setting the right white balance is essential for capturing the true colors of the night sky. When it comes to astrophotography, you'll want to aim for a Kelvin temperature range between 3200K and 4800K. This range helps maintain the natural hues of stars and nebulae while preventing unwanted color casts.
At the lower end of this range, around 3200K to 3800K, you'll often achieve a cooler, more bluish tone that can enhance the ethereal quality of starry scenes.
As you move towards 4000K to 4800K, you'll notice warmer tones that can bring out the golden and reddish hues in celestial objects.
To find your ideal Kelvin temperature:
- Start at 3800K and adjust in small increments
- Pay attention to how different temperatures affect star colors
- Consider the specific celestial objects you're photographing
Avoiding Color Casts
Color casts can be the bane of starry night photography, turning your celestial masterpiece into an unnatural-looking image. To avoid this issue, you'll need to pay close attention to your white balance settings.
Start by setting your camera to RAW format, which gives you more flexibility in post-processing. While shooting, aim for a neutral white balance around 3900K to 4100K as a starting point.
Don't rely solely on your camera's auto white balance, as it can struggle in low-light conditions. Instead, use the manual white balance option and experiment with different Kelvin temperatures. Take test shots and review them on your screen, looking for any unwanted color tints.
If you notice a blue cast, increase the Kelvin temperature slightly. For orange casts, lower it.
Remember that the night sky isn't purely black; it has subtle color variations. Your goal is to capture these natural hues without introducing artificial tints.
If you're shooting in light-polluted areas, consider using a light pollution filter to reduce unwanted color casts. In post-processing, fine-tune your white balance using the temperature and tint sliders to achieve a balanced, natural-looking night sky.
Preserving Star Colors
While avoiding color casts is important, preserving the natural colors of stars presents its own challenge. When shooting in RAW, you'll have more control over the white balance in post-processing, allowing you to fine-tune the colors of your starry scenes.
To capture accurate star colors, start by setting your camera's white balance to daylight or around 5500K. This neutral setting will help you maintain the true hues of different stars, from cool blue to warm red.
In post-processing, you can further refine the white balance to enhance star colors:
- Use the temperature slider to adjust the overall warmth or coolness of the image
- Fine-tune the tint to balance magenta and green tones
- Apply selective color adjustments to bring out specific star colors
Remember that different stars emit various colors based on their temperature and composition. By preserving these natural hues, you'll create more realistic and visually stunning astrophotography images.
Pay attention to prominent stars like Betelgeuse (reddish) or Rigel (bluish) in Orion to gauge your color accuracy. With practice, you'll develop an eye for balancing the overall scene while maintaining the intricate color palette of the night sky.
Focusing Techniques for Celestial Objects

Achieving sharp focus on celestial objects can be challenging, especially with a mobile device. To overcome this, you'll need to employ specific techniques tailored for astrophotography. First, switch your camera app to manual focus mode. This gives you full control over the focus point, which is essential for capturing distant stars and planets.
Use your phone's screen to zoom in on a bright star or planet. Adjust the focus slider until the star appears as a sharp, pinpoint light. If available, enable focus peaking, which highlights in-focus areas, making it easier to achieve precision.
For moon shots, focus on the lunar terminator – the line between light and dark areas. Consider using a focusing mask or Bahtinov mask, which creates diffraction spikes around stars, helping you determine ideal focus. Alternatively, use apps like Star Walk or Stellarium to identify bright stars for focusing.
Once focused, avoid touching the phone to prevent shifting. Use a remote shutter or timer to minimize camera shake. Remember, patience is key – take multiple shots and check your results, refining your technique with each attempt.
Noise Reduction in RAW Files

Once you've mastered focusing on celestial objects, you'll want to address image noise in your RAW files. Noise reduction is essential for capturing clear, detailed astrophotographs with your mobile device. Start by setting your camera app's ISO to the lowest possible value that still allows for proper exposure. This will minimize digital noise at the source.
When processing your RAW files, use noise reduction tools judiciously. Over-application can result in loss of fine details and a plastic-like appearance. Instead, focus on:
- Luminance noise reduction to tackle graininess
- Color noise reduction to eliminate color speckling
- Selective noise reduction for specific areas of the image
Balance noise reduction with sharpening to maintain image clarity. Experiment with different noise reduction algorithms and settings to find the best balance for your specific mobile device and shooting conditions.
Remember, some noise is acceptable and can even add character to your astrophotographs.
Consider stacking multiple exposures to further reduce noise. This technique involves combining several images of the same subject, effectively averaging out random noise patterns while preserving desired details.
With practice, you'll develop a workflow that consistently produces clean, striking astrophotographs from your mobile RAW files.
HDR and Bracketing for Astrophotography
When capturing the night sky, you'll need to decide between HDR (High Dynamic Range) and single exposure techniques.
If you opt for HDR, you can use bracketing to capture multiple exposures at different settings, allowing you to balance the bright stars with darker foreground elements.
Once you've taken your bracketed shots, you'll need to process your HDR astro images carefully to blend the exposures and create a balanced final image.
HDR vs. Single Exposure
For many astrophotographers, the choice between HDR (High Dynamic Range) and single exposure techniques can greatly impact the final image quality.
When shooting the night sky with your mobile device, you'll need to reflect on which method best suits your needs.
Single exposures are simpler and faster, allowing you to capture a moment quickly. They're ideal for fleeting events like meteor showers or when you're working with limited time.
However, they may struggle to capture the full range of light in high-contrast scenes.
HDR, on the other hand, combines multiple exposures to create a more balanced image with greater detail in both highlights and shadows.
This technique can be particularly useful for:
- Capturing the Milky Way alongside foreground elements
- Preserving star colors while maintaining detail in darker areas
- Reducing noise in long exposures
While HDR can produce stunning results, it requires more processing time and may introduce artifacts if not done carefully.
You'll need to take into account your subject, available time, and post-processing skills when choosing between HDR and single exposures for your mobile astrophotography.
Experiment with both techniques to determine which works best for your specific shooting conditions and desired outcomes.
Bracketing Techniques for Stars
As you explore deeper into mobile astrophotography, bracketing techniques for stars can greatly enhance your results. By capturing multiple exposures of the same scene at different settings, you'll increase your chances of capturing the perfect shot and expand your post-processing options.
To bracket effectively for stars, you'll want to vary your exposure time and ISO. Here's a simple bracketing technique you can try:
| Exposure | ISO | Purpose |
|---|---|---|
| Short | High | Capture star details |
| Medium | Medium | Balance foreground and stars |
| Long | Low | Reveal landscape details |
Start with your camera's base settings for night sky photography, then take three shots: one at your base settings, one underexposed, and one overexposed. Adjust your exposure time and ISO accordingly for each shot.
Processing HDR Astro Images
Release the full potential of your bracketed astro images through High Dynamic Range (HDR) processing. This technique combines multiple exposures to capture a wider range of light and detail in your astrophotography. By merging bracketed images, you'll reveal intricate star details, nebulae, and faint celestial objects that might be lost in a single exposure.
To process HDR astro images effectively:
- Align your bracketed images precisely to guarantee stars and other elements match up perfectly.
- Use dedicated astrophotography software that can handle noise reduction and star alignment simultaneously.
- Experiment with different HDR algorithms to find the best balance between detail and natural-looking results.
When blending your exposures, pay close attention to the shift between bright stars and dark sky regions. Adjust your HDR settings to minimize halos and artifacts around stars while maintaining a realistic representation of the night sky.
Don't be afraid to selectively mask certain areas of your image to preserve the natural look of specific elements. Remember, the goal is to create a final image that showcases the beauty of the night sky without appearing overly processed or artificial.
Post-Processing RAW Astrophotography Images

Capturing stunning night sky images is only half the battle in mobile astrophotography. The real magic happens during post-processing, where you'll transform your RAW files into breathtaking final images.
Start by importing your RAW files into a capable editing software like Adobe Lightroom Mobile or Snapseed. Adjust the white balance to neutralize any color casts, typically cooling down the image for a natural night sky appearance.
Next, fine-tune your exposure. Increase the shadows to reveal hidden details in darker areas while carefully adjusting highlights to prevent star burnout. Boost contrast to make celestial objects pop, but be cautious not to introduce noise.
Apply noise reduction selectively to maintain sharpness in stars and other key elements. Enhance colors by tweaking vibrance and saturation, paying special attention to nebulae and star clusters. Use the dehaze tool sparingly to cut through atmospheric haze.
Sharpen your image, focusing on stars and celestial objects, but avoid over-sharpening which can create artifacts. Finally, consider local adjustments like radial or graduated filters to emphasize specific areas of interest in your astrophotography masterpiece.
Frequently Asked Questions
How Does Smartphone Sensor Size Affect Astrophotography Quality?
Your smartphone's sensor size greatly impacts astrophotography quality. Larger sensors capture more light, reducing noise and improving detail in night sky shots. They'll also provide better dynamic range, allowing you to capture faint stars and brighter objects simultaneously.
Can Mobile Astrophotography Capture Deep-Sky Objects Like Nebulae or Galaxies?
You can capture deep-sky objects with mobile astrophotography, but it's challenging. You'll need a smartphone with manual controls, a tripod, and long exposure capabilities. Stacking multiple images and using image processing software can enhance results.
What External Lenses Work Best for Mobile Astrophotography?
You'll want to contemplate clip-on telephoto lenses for mobile astrophotography. Look for options with 10x to 20x magnification. Wide-angle lenses can also capture stunning night sky landscapes. Verify the lens is compatible with your phone model.
How Do Different Smartphone Brands Compare for Astrophotography Capabilities?
You'll find iPhones and high-end Android phones like Google Pixel, Samsung Galaxy, and Huawei P series excel at astrophotography. They offer advanced night modes, manual controls, and RAW capture, giving you the tools to capture stunning night sky shots.
Are There Any Weather Apps Specifically Designed for Astrophotography Conditions?
Yes, there are apps tailored for astrophotography conditions. You'll find options like Clear Outside, Scope Nights, and Dark Sky that provide detailed forecasts for cloud cover, visibility, and moon phases to help plan your stargazing sessions.
In Summary
You've now got the tools to access your phone's astrophotography potential. Remember, RAW settings are your best friend for capturing the night sky. Experiment with ISO, shutter speed, and white balance to find what works best. Don't forget to focus carefully and use noise reduction techniques. With practice and post-processing, you'll be amazed at the celestial images you can create. So grab your phone, head outside on a clear night, and start shooting the stars!


Leave a Reply