
Processing mobile HDR RAW photos gives you unparalleled control over your images. You'll access a wider dynamic range, preserving details in both shadows and highlights. You can fine-tune color depth and accuracy, achieving more vibrant and true-to-life results. White balance adjustments become more flexible, allowing you to correct color temperatures with precision. You'll gain better control over noise reduction, maintaining image quality even in challenging conditions. Sharpening and detail recovery tools help you enhance textures without introducing artifacts. Plus, you'll open up a world of creative editing possibilities, from dramatic black and white conversions to unique color grading effects. Dive deeper to master these powerful techniques.
Understanding Mobile HDR RAW Files
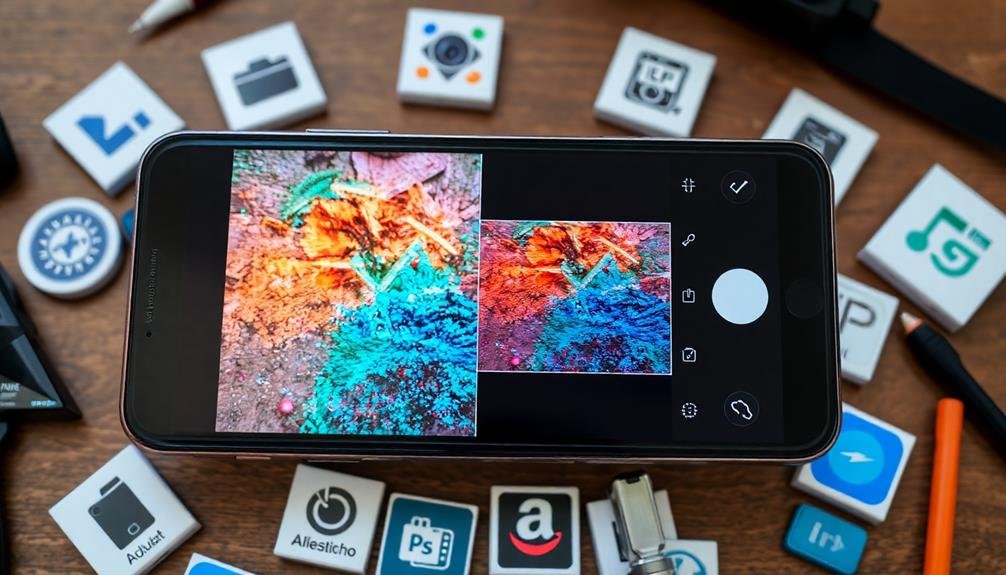
When you capture HDR RAW photos on your mobile device, you're working with a powerful format that offers tremendous flexibility in post-processing. HDR RAW files contain all the data captured by your camera's sensor, preserving a wide range of tones and colors.
Unlike standard JPEG files, which are compressed and processed in-camera, RAW files retain all the original information, allowing you to make extensive adjustments without losing quality.
Mobile HDR RAW files combine multiple exposures to capture a broader dynamic range, ensuring details in both highlights and shadows. These files typically use formats like DNG (Digital Negative) or device-specific RAW formats. They contain metadata about the image, including camera settings, white balance, and color information.
Understanding the structure of these files is essential for effective processing. You'll have access to enhanced editing capabilities, including fine-tuning exposure, recovering blown-out highlights, lifting shadow details, and adjusting color temperature.
With mobile HDR RAW files, you can push your edits further than with JPEGs, resulting in higher-quality images with more natural-looking results. This format gives you the power to create stunning photos that truly reflect your creative vision.
Increased Dynamic Range Capabilities

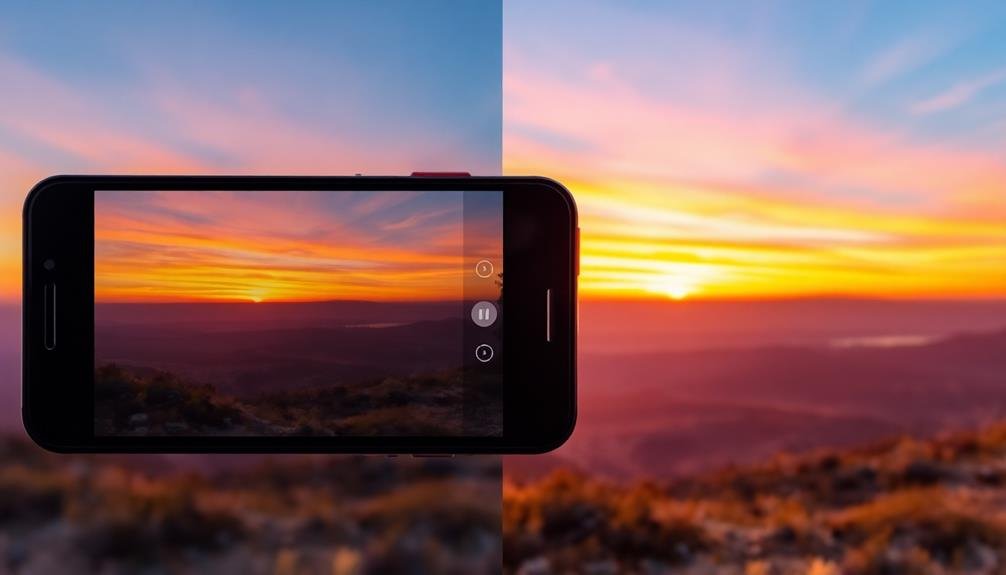
One of the most significant advantages of mobile HDR RAW photos is their increased dynamic range capabilities. When you shoot in HDR RAW, you're capturing a wider range of tones from the darkest shadows to the brightest highlights. This means you'll have more flexibility in post-processing to recover details that might be lost in standard JPEG images.
With HDR RAW, you can:
| Benefit | Description | Impact |
|---|---|---|
| Highlight Recovery | Pull back overexposed areas | Reveal sky details |
| Shadow Lifting | Brighten dark regions | Uncover hidden textures |
| Contrast Control | Fine-tune overall tonal range | Create balanced images |
Enhanced Color Depth and Accuracy
When processing HDR RAW photos from your mobile device, you'll notice a significant improvement in color depth and accuracy.
You'll have access to a wider color gamut, allowing you to capture and reproduce a broader range of hues and shades.
This expanded palette enables you to achieve true-to-life tonal representation, resulting in images that closely match what your eyes perceive in real-world scenes.
Wider Color Gamut
RAW photos captured in HDR release a wider color gamut, offering enhanced color depth and accuracy. When you process these files, you'll access a broader range of colors that your mobile device's sensor can capture. This wider gamut allows you to reproduce more vibrant and true-to-life colors in your final images.
By working with RAW files, you're not limited to the standard sRGB color space typically used in JPEG images. Instead, you can access wider color spaces like Adobe RGB or ProPhoto RGB, which encompass a larger portion of visible colors. This expanded palette gives you more flexibility in post-processing, enabling you to make precise adjustments to hues, saturation, and luminosity without degrading image quality.
You'll notice improved color shifts and smoother gradients in your photos, particularly in areas with subtle color variations. This wider gamut also helps preserve details in highly saturated subjects, preventing color clipping that often occurs in compressed formats.
When editing, you can push colors further without introducing banding or artifacts, resulting in more impactful and visually appealing images that closely match what you saw through your device's viewfinder.
True-To-Life Tonal Representation
Building on the advantages of a wider color gamut, HDR RAW photos also excel in delivering true-to-life tonal representation.
When you process these files, you'll notice a significant improvement in color depth and accuracy compared to standard JPEG images. HDR RAW captures a broader range of tones, allowing you to preserve more details in both highlights and shadows.
This enhanced tonal representation means you can:
- Recover seemingly lost details in overexposed areas
- Bring out subtle nuances in dark regions
- Achieve smoother gradients across color shifts
- Reproduce colors more faithfully to what your eyes saw
Flexible White Balance Adjustments

When processing mobile HDR RAW photos, you'll find that flexible white balance adjustments are essential for achieving accurate colors.
You can easily correct color temperature to match the original scene or create a desired mood. This flexibility allows you to adapt to various lighting conditions, whether you're working with photos taken in daylight, under artificial lights, or in mixed lighting situations.
Correct Color Temperature
After capturing your HDR RAW photos, you'll want to focus on correcting the color temperature. This vital step guarantees your images accurately represent the scene's true colors and mood.
Color temperature adjustments can dramatically alter the overall look and feel of your photos, transforming them from cold and clinical to warm and inviting, or vice versa.
When working with mobile HDR RAW files, you'll have greater flexibility in adjusting color temperature compared to standard JPEG images. This allows you to fine-tune the white balance and create the perfect atmosphere for your shots.
You can easily correct any unwanted color casts caused by different lighting conditions, such as fluorescent lights or golden hour sunsets.
To achieve ideal results when correcting color temperature, consider these key points:
- Use the white balance dropper tool to select a neutral gray area in your image
- Experiment with the temperature slider to shift between cool and warm tones
- Adjust the tint slider to balance green and magenta hues
- Pay attention to skin tones and other familiar objects as reference points
Adapt to Lighting Changes
Color temperature adjustments lay the foundation for accurate white balance, but lighting conditions can change rapidly when shooting with your mobile device.
With HDR RAW photos, you have the flexibility to adapt to these changes during post-processing. Unlike JPEGs, which lock in white balance settings, RAW files allow you to fine-tune white balance without degrading image quality.
When you're processing your mobile HDR RAW photos, you can easily adjust the white balance to match the actual lighting conditions of your scene. This is particularly useful for mixed lighting situations, such as indoor environments with both artificial and natural light sources.
You'll be able to correct color casts and achieve more natural-looking skin tones.
Moreover, you can experiment with creative white balance adjustments to evoke different moods or emphasize certain colors in your image. For example, you might cool down a sunset scene to enhance blue tones or warm up a portrait for a more inviting feel.
The ability to adapt to lighting changes in post-processing gives you greater control over your final image, ensuring that your mobile photos accurately reflect the scene as you remember it or as you envision it artistically.
Improved Noise Reduction Control
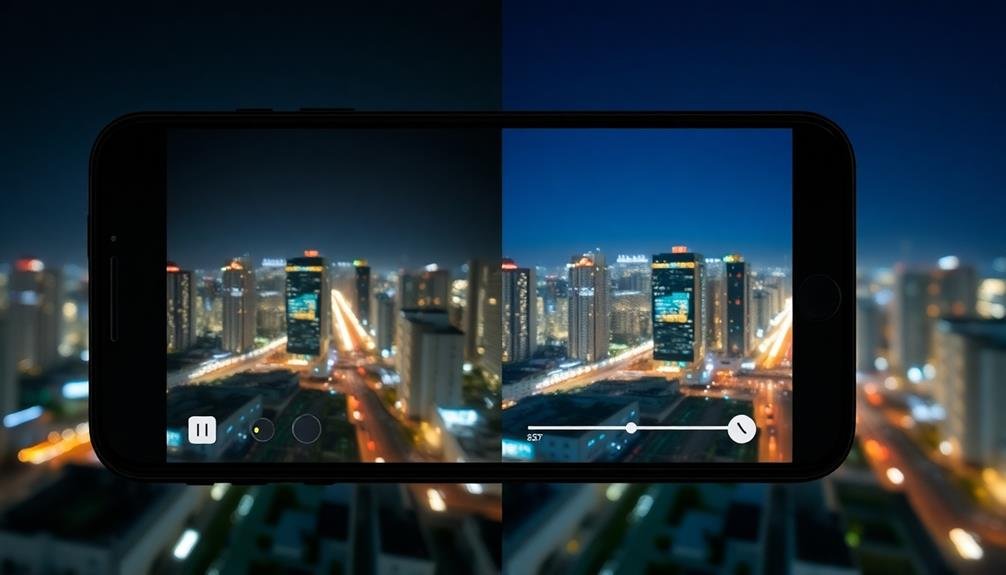
Noise reduction algorithms in mobile HDR RAW processing have taken a significant leap forward. You'll find that today's mobile editing apps offer far more sophisticated control over noise reduction than ever before. These advanced tools allow you to selectively apply noise reduction to different areas of your image, preserving important details while smoothing out unwanted grain.
When processing your mobile HDR RAW photos, you can now:
- Adjust luminance and color noise independently
- Target specific frequency ranges for noise reduction
- Use AI-powered algorithms to intelligently reduce noise
- Apply masks to protect high-detail areas from over-smoothing
You'll appreciate the ability to fine-tune noise reduction settings, striking the perfect balance between noise suppression and detail retention. This level of control was once exclusive to desktop software, but it's now at your fingertips on your mobile device.
By leveraging these improved noise reduction tools, you can rescue photos taken in challenging low-light conditions or at high ISO settings. The result is cleaner, more professional-looking images that retain their natural texture and sharpness.
Don't be afraid to experiment with different noise reduction techniques to find the approach that best suits your artistic vision and the specific characteristics of each photo.
Sharpening and Detail Recovery
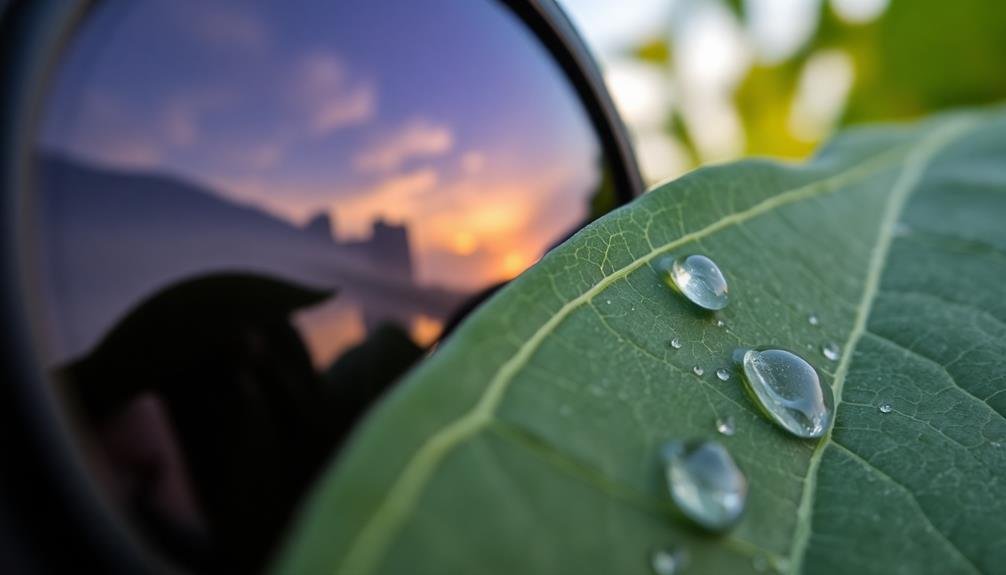
Sharpening and detail recovery play essential roles in bringing out the best in your mobile HDR RAW photos. When processing these images, you'll have more control over enhancing fine details and textures that might be lost in standard JPEG files.
Start by applying gentle sharpening to the entire image, focusing on edges and areas with high contrast. Be careful not to overdo it, as excessive sharpening can introduce artifacts and noise.
For detail recovery, use tools like clarity, texture, and dehaze to bring out subtle nuances in your photo. These adjustments can reveal hidden details in shadows and highlights, adding depth and dimensionality to your image.
Pay special attention to areas like foliage, architectural elements, or textured surfaces where fine details matter most.
Don't forget to use masking techniques to target specific areas of your photo. This allows you to apply sharpening and detail recovery selectively, preserving smooth areas while enhancing textures where needed.
Creative Editing Possibilities
Processing mobile HDR RAW photos opens up a world of creative editing possibilities. With these files, you're not limited by the camera's default processing. You can experiment with different styles, create unique looks, and push your creativity to new heights.
RAW files give you unparalleled control over color grading. You can adjust white balance, tint, and individual color channels to achieve your desired mood. Want a warm, vintage look? Or perhaps a cool, futuristic feel? It's all possible with RAW.
Experiment with exposure blending techniques. By combining multiple exposures from your HDR RAW file, you can create stunning images with incredible dynamic range. This is particularly useful for landscape and architectural photography.
Here are four creative editing possibilities with mobile HDR RAW photos:
- Create dramatic black and white conversions
- Apply split-toning effects for unique color palettes
- Experiment with selective coloring techniques
- Blend multiple exposures for surreal composite images
Don't be afraid to push the boundaries. Try extreme adjustments, unconventional color combinations, or abstract effects.
With RAW files, you can always revert to the original if you're not satisfied. The key is to explore, experiment, and develop your unique style through creative editing.
Frequently Asked Questions
What Software Is Best for Processing Mobile HDR RAW Photos?
You'll find several great options for processing mobile HDR RAW photos. Adobe Lightroom Mobile, Snapseed, and Capture One are popular choices. They offer powerful editing tools and user-friendly interfaces to help you get the most from your images.
Can I Process Mobile HDR RAW Photos on My Smartphone?
Yes, you can process mobile HDR RAW photos on your smartphone. Many apps like Lightroom Mobile, Snapseed, and VSCO offer RAW editing capabilities. They'll let you adjust exposure, color, and other settings directly on your device.
How Much Storage Space Do Mobile HDR RAW Files Typically Require?
You'll find that mobile HDR RAW files are quite large. They typically require 20-30MB per image, which is considerably more than standard JPEGs. If you're shooting frequently, you'll need ample storage on your device.
Are There Any Downsides to Shooting in Mobile HDR RAW Format?
You'll face increased storage demands and longer processing times with mobile HDR RAW. It's also not ideal for quick sharing, as files need post-processing. Battery life may drain faster, and some camera features might be limited.
Do All Smartphone Cameras Support HDR RAW Capture?
No, not all smartphone cameras support HDR RAW capture. You'll find this feature mainly on high-end devices. It's becoming more common, but many mid-range and budget phones still don't offer it. Check your phone's specifications to be sure.
In Summary
Processing mobile HDR RAW photos gives you unparalleled control over your images. You'll access a world of creative possibilities, from fine-tuning dynamic range to perfecting color accuracy. You're no longer limited by in-camera processing; instead, you can make precise adjustments to white balance, noise reduction, and sharpening. By embracing HDR RAW, you'll elevate your mobile photography, producing stunning images that stand out in today's visually saturated world. Don't settle for less—harness the power of HDR RAW processing.


Leave a Reply