To make your food photos pop, start with a wide aperture (f/2.8 to f/4) for a dreamy bokeh effect. Keep your ISO low (100-400) to minimize noise, and adjust your shutter speed to freeze motion or capture ambiance. Experiment with white balance settings to enhance food colors, and use single-point autofocus for precise sharpness. Don't forget to activate your camera's grid lines for better composition. For close-ups, switch to macro mode to highlight textures. Burst mode can help you capture fleeting moments in food preparation. These settings are just the appetizer; there's a whole menu of techniques to explore.
Optimal Aperture for Food Shots
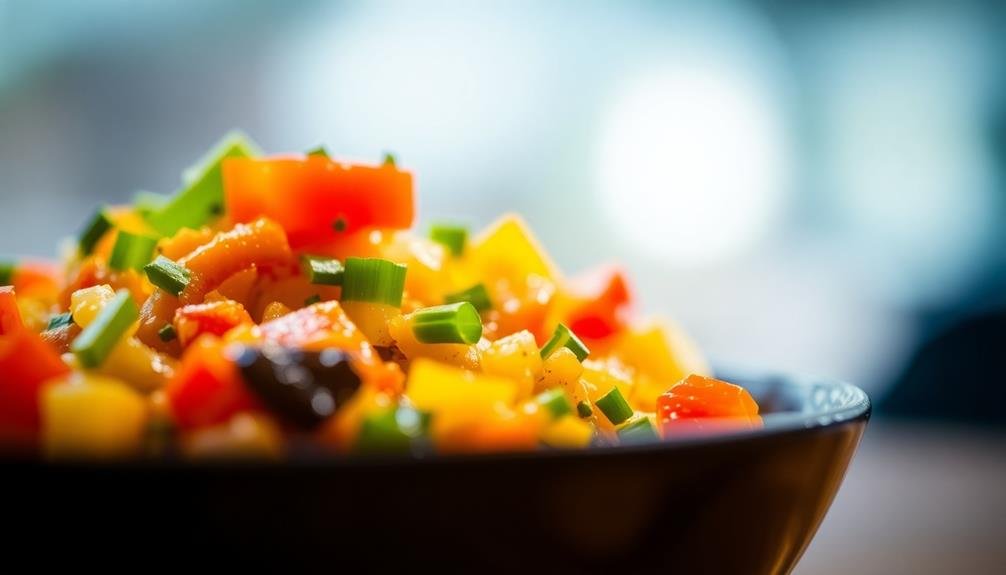
When it comes to aperture for food photography, you'll want to strike a balance between depth of field and overall sharpness. A wide aperture (low f-number) like f/2.8 or f/4 can create a beautiful bokeh effect, blurring the background and drawing attention to your main subject. This works well for close-up shots of individual dishes or ingredients.
However, if you're shooting an entire table setting or multiple dishes, you'll need a smaller aperture (higher f-number) to keep more elements in focus. Try f/8 to f/11 for these wider shots. Remember, the smaller the aperture, the more light you'll need, so adjust your ISO or shutter speed accordingly.
For overhead shots, a mid-range aperture like f/5.6 or f/6.3 often works best. It provides enough depth of field to keep most of the dish sharp while still allowing for some background blur.
Experiment with different apertures to find what works best for your specific shot. Don't be afraid to take multiple photos at various settings to guarantee you capture the perfect image.
Always check your focus point, especially when using wider apertures, to make certain your main subject is tack-sharp.
Mastering ISO in Low Light

When shooting food in low light conditions, you'll need to understand ISO sensitivity to achieve well-exposed images.
You can employ noise reduction techniques to maintain image quality while increasing ISO.
Understanding ISO Sensitivity
Three key factors influence your camera's ability to capture light: aperture, shutter speed, and ISO sensitivity.
ISO sensitivity refers to your camera sensor's responsiveness to light. A higher ISO allows you to capture images in darker environments without using a flash, but it can introduce digital noise or grain to your photos.
When shooting food in low-light conditions, you'll need to balance ISO with other settings. Start with the lowest ISO possible (usually 100 or 200) and adjust upward as needed. Modern cameras often perform well at higher ISOs, but it's essential to test your equipment's limits.
Understanding ISO sensitivity helps you:
- Adapt to various lighting conditions
- Maintain image quality in challenging environments
- Control the balance between exposure and noise
- Achieve your desired aesthetic in food photography
Remember that increasing ISO is a trade-off between light sensitivity and image quality. In food photography, you'll often want to keep ISO as low as possible to maintain sharp details and vibrant colors.
However, don't be afraid to push it higher if it means capturing the perfect shot in a dimly lit restaurant or creating a moody atmosphere for your food images.
Noise Reduction Techniques
Digital noise, the grainy artifacts that appear in low-light photos, can be a food photographer's nemesis. To combat this issue, you'll need to employ effective noise reduction techniques.
Start by shooting in RAW format, which gives you more control over noise reduction during post-processing. When editing, use your software's noise reduction tools judiciously, as overdoing it can result in a loss of detail.
In-camera noise reduction can be helpful, but it may slow down your shooting speed. Instead, focus on proper exposure and use the lowest ISO possible for your lighting conditions.
If you're still struggling with noise, consider using a tripod and longer exposure times to allow more light into the sensor without raising ISO.
Another technique is to slightly overexpose your images, as noise is more prevalent in darker areas. You can then adjust the exposure in post-processing.
Experiment with multiple exposure blending, where you combine several shots of the same scene to reduce noise.
Balancing ISO With Aperture
Mastering the delicate balance between ISO and aperture is essential for creating stunning food photos in low-light conditions. When you're shooting in dimly lit restaurants or cozy home kitchens, you'll need to increase your ISO to capture enough light.
However, higher ISO values can introduce unwanted noise to your images. To counteract this, open up your aperture wider to let in more light, allowing you to keep your ISO as low as possible while maintaining a sharp focus on your subject.
Start by setting your aperture to its widest opening (lowest f-number) and adjust your ISO accordingly. If you're still not getting enough light, gradually increase your ISO until you achieve the desired exposure.
Remember, it's better to have a slightly noisy image than a blurry one caused by too slow a shutter speed.
Key considerations when balancing ISO and aperture:
- Depth of field: Wider apertures create a shallower depth of field, which can be great for highlighting specific elements of your dish
- Noise tolerance: Determine the highest ISO you're comfortable using before image quality suffers
- Available light: Assess the ambient light and consider using additional light sources if necessary
- Camera capabilities: Familiarize yourself with your camera's ISO performance to make informed decisions
Shutter Speed for Food Photography

When shooting food photography, your shutter speed plays an essential role in freezing motion, controlling ambient light exposure, and balancing flash with natural light.
You'll want to use faster shutter speeds to capture crisp images of falling ingredients or splashing liquids, while slower speeds can help you maintain proper exposure in low-light settings.
Freezing Motion in Action
Capturing the perfect splash or pour in food photography requires mastering the art of freezing motion. To achieve this, you'll need to use a fast shutter speed, typically 1/1000th of a second or faster. This quick exposure time allows you to freeze even the tiniest droplets mid-air, creating dynamic and eye-catching images.
When shooting action shots in food photography, consider the following tips:
- Use a tripod to keep your camera steady and avoid any unwanted blur.
- Increase your ISO if necessary to maintain proper exposure with fast shutter speeds.
- Employ continuous shooting mode to capture multiple frames and increase your chances of getting the perfect shot.
- Experiment with different angles and lighting setups to enhance the visual impact of the frozen motion.
Remember that timing is essential when freezing motion. Practice your coordination and anticipate the peak moment of action.
You may need to take several shots to get the perfect image. Don't be afraid to experiment with different liquids, foods, and pouring techniques to create unique and visually striking compositions.
With patience and practice, you'll soon be capturing stunning frozen-motion food photographs that will make your viewers' mouths water.
Controlling Ambient Light Exposure
After mastering motion-freezing techniques, it's time to explore controlling ambient light exposure for food photography. Shutter speed plays an essential role in managing ambient light, affecting the overall brightness and mood of your food images. You'll need to balance it with aperture and ISO to achieve the desired exposure.
In low-light situations, you may need to slow down your shutter speed to let in more light. However, be cautious not to go too slow, as this can lead to camera shake and blurry images. Use a tripod for stability when shooting at slower speeds.
For brighter environments, faster shutter speeds help prevent overexposure. This is especially useful when working with natural light near windows or outdoors. Here's a quick guide to shutter speeds for different lighting conditions:
| Lighting Condition | Shutter Speed Range | Notes |
|---|---|---|
| Bright Sunlight | 1/250 – 1/1000 sec | Use faster speeds to avoid overexposure |
| Cloudy/Overcast | 1/60 – 1/250 sec | Adjust based on cloud density |
| Indoor/Low Light | 1/15 – 1/60 sec | Use a tripod for slower speeds |
Balancing Flash With Shutter
Now that we've covered ambient light exposure, let's focus on balancing flash with shutter speed in food photography. When using flash, your shutter speed plays a fundamental role in controlling the ambient light while the flash illuminates your food subject.
You'll want to find the sweet spot where your flash and shutter work together to create a well-exposed, appetizing image.
Start by setting your camera to manual mode. This gives you full control over both shutter speed and flash output. Typically, you'll want to use a relatively slow shutter speed (1/60 to 1/200) to allow some ambient light in, while relying on the flash to freeze any motion and provide the main light source for your food.
Here are key points to remember when balancing flash with shutter:
- Slower shutter speeds let in more ambient light, creating a natural feel
- Faster shutter speeds minimize ambient light, emphasizing flash-lit areas
- Adjust flash power to complement your chosen shutter speed
- Use a diffuser or bounce flash to soften harsh shadows
Experiment with different combinations of shutter speeds and flash settings to find the perfect balance for your food photos.
White Balance for Appetizing Colors

Color accuracy is essential when photographing food, and white balance plays a pivotal role in achieving appetizing results. You'll want to make sure your images accurately represent the food's true colors, making it look as delicious as it does in person. Start by setting your camera's white balance to match the lighting conditions. For most indoor situations, the "tungsten" or "incandescent" setting works well, while "daylight" is ideal for natural light scenarios.
If you're unsure, use a custom white balance setting by photographing a white card or plate in the same lighting conditions as your food. This will give you the most accurate color representation. Remember, different light sources can dramatically affect how colors appear in your photos.
Here's a quick guide to common white balance settings and their effects on food photography:
| Setting | Color Temperature | Effect on Food | Best Used For |
|---|---|---|---|
| Auto | Varies | Inconsistent results | Quick shots, mixed light |
| Daylight | 5200K | Natural, warm tones | Outdoor, natural light |
| Tungsten | 3200K | Removes yellow cast from indoor | Indoor, artificial light |
| Fluorescent | 4000K | Corrects green tint | Office, kitchen lighting |
Focus Modes for Sharp Details
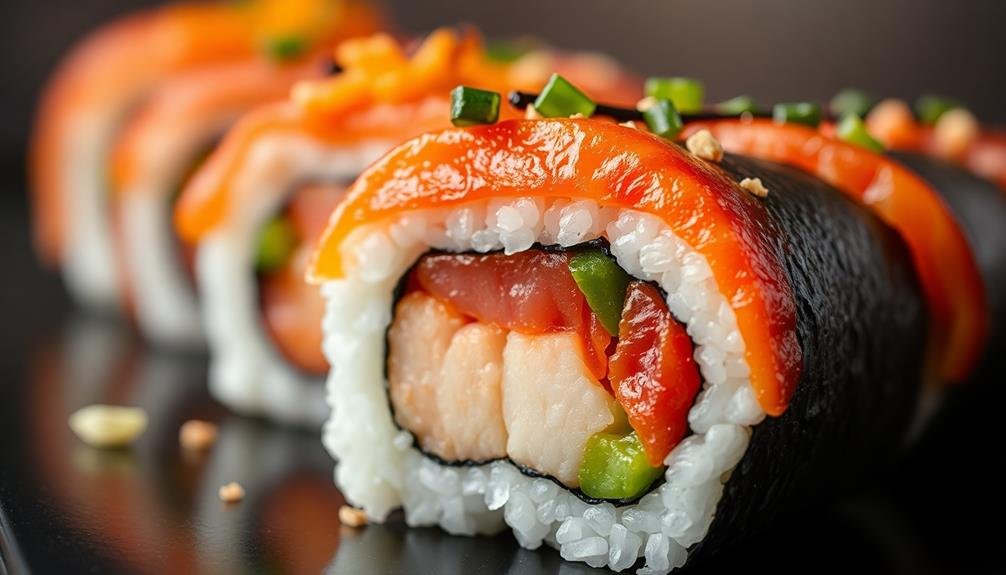
Achieving tack-sharp focus is essential for mouthwatering food photos. To capture every delectable detail, you'll want to master your camera's focus modes. Single-point autofocus is ideal for most food shots, allowing you to precisely select the focal point. This works well when you're highlighting a specific element, like the gooey center of a chocolate lava cake.
For scenes with multiple subjects, such as a table spread, consider using zone or dynamic area autofocus. These modes cover a broader area, ensuring more elements remain sharp. If you're shooting in low light or want ultimate control, switch to manual focus. Use your camera's live view and zoom in to fine-tune the focus precisely where you want it.
Here are key focus tips to elevate your food photography:
- Use a tripod to eliminate camera shake and maintain focus
- Set a narrow aperture (higher f-number) for greater depth of field
- Focus on the closest edge of the dish for maximum sharpness
- Employ focus stacking for ultra-detailed shots of intricate dishes
Exposure Compensation in Tricky Lighting

Food photography often presents challenging lighting situations that can trick your camera's metering system. This is where exposure compensation becomes your secret weapon. It allows you to override your camera's automatic exposure settings, ensuring your food photos are perfectly lit.
When shooting dark or light-colored foods, you'll need to adjust your exposure accordingly. For dark dishes, like chocolate cake or coffee, increase exposure compensation by +1 or +2 stops. This prevents your camera from underexposing the image and losing detail in the shadows.
Conversely, for light-colored foods like whipped cream or white plates, decrease exposure by -1 or -2 stops to avoid overexposure and loss of highlights.
In backlit scenarios, such as when shooting near a window, you'll often need to increase exposure compensation to properly illuminate your subject. Start with +1 stop and adjust as needed.
For high-contrast scenes, consider using bracketing to capture multiple exposures, then blend them in post-processing for ideal results.
HDR for High-Contrast Food Scenes

While exposure compensation helps in many scenarios, some food scenes present extreme contrast that's challenging to capture in a single shot. This is where High Dynamic Range (HDR) photography can be a game-changer. HDR combines multiple exposures to create a single image that captures both the brightest highlights and darkest shadows.
To use HDR for food photography, you'll need to set up your camera to take bracketed exposures. Most modern cameras have an auto-bracketing feature. Typically, you'll want to capture at least three shots: one at the correct exposure, one underexposed, and one overexposed.
After taking these shots, you can merge them in post-processing software to create a balanced HDR image.
HDR can be particularly useful when photographing:
- Dishes with reflective sauces or glazes
- Foods with both light and dark elements
- Scenes with bright backlighting
- Meals with intricate textures and details
Remember to use HDR judiciously. While it can help capture difficult lighting situations, overuse can lead to unnatural-looking images. Aim for a subtle HDR effect that enhances the food's natural appearance without appearing overly processed.
Macro Mode for Close-Up Delights
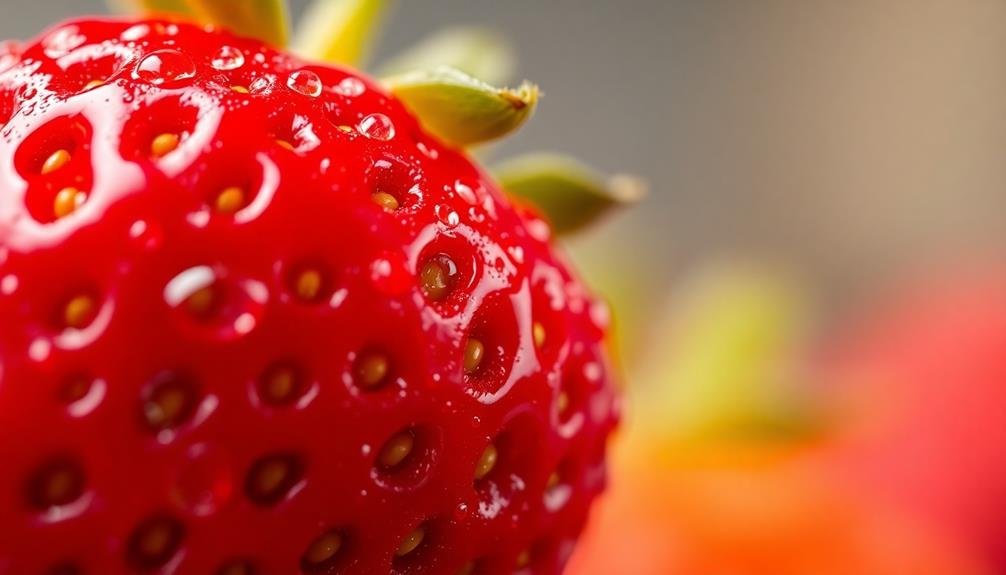
When shooting close-up food photos, macro mode is your secret weapon for capturing intricate textures and highlighting ingredient details.
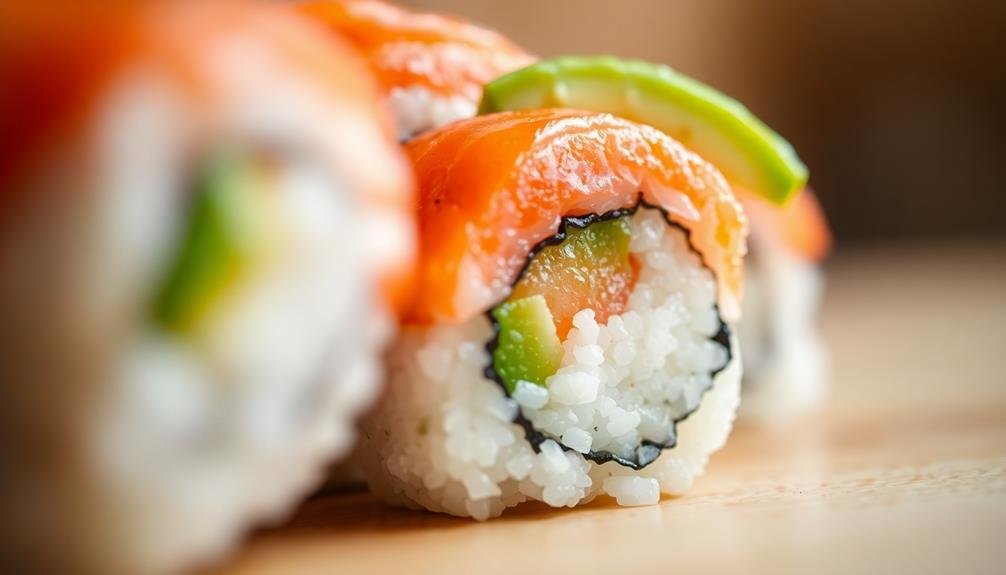
You'll be able to showcase the delicate layers of a pastry or the individual grains of sea salt on a steak.
Capturing Intricate Food Textures
Three key elements make macro mode essential for capturing intricate food textures: detail, depth, and dimension. When you're shooting close-ups of food, you'll want to highlight the textures that make each dish unique. Macro mode allows you to get incredibly close to your subject, revealing details that might otherwise go unnoticed.
To capture intricate food textures effectively, you'll need to pay attention to focus, lighting, and composition. Use a shallow depth of field to isolate specific textures while blurring the background. Experiment with different angles to find the most appealing way to showcase the food's texture. Side lighting can help accentuate the texture by creating shadows and highlights.
Here are some tips for capturing intricate food textures:
- Use a tripod to guarantee sharpness, especially in low light conditions
- Experiment with different aperture settings to control depth of field
- Try focus stacking for ultra-sharp images from front to back
- Use a diffuser to soften harsh light and reduce glare on shiny surfaces
Highlighting Ingredient Details
Macro mode isn't just for capturing textures; it's also perfect for highlighting individual ingredient details. When you want to showcase the vibrant colors of fresh berries or the intricate patterns of herb leaves, switch to macro mode on your camera or smartphone.
To make the most of macro photography for food, use a shallow depth of field by setting a wide aperture (low f-number). This will blur the background and make your subject pop. Aim for an f-stop between f/2.8 and f/5.6 for best results. Keep your ISO low to minimize noise, ideally between 100 and 400.
For sharp focus, use a tripod or stabilize your camera against a steady surface. Enable your camera's image stabilization feature if available.
When composing your shot, position your focal point on the most interesting part of the ingredient. Use manual focus for precise control, or tap-to-focus on smartphones.
Experiment with different angles to find the most appealing perspective. Side angles can reveal interesting textures, while top-down shots work well for flat ingredients.
Creating Appetizing Focal Points
Creating appetizing focal points in food photography is essential for capturing your audience's attention. To achieve this, you'll want to use macro mode on your camera for close-up shots that highlight the most enticing aspects of your dish. This setting allows you to get incredibly close to your subject, revealing intricate textures and details that might otherwise go unnoticed.
When using macro mode, keep your aperture wide open (low f-number) to create a shallow depth of field. This technique will blur the background, making your focal point stand out even more. Experiment with different angles and compositions to find the most appealing view of your dish. Remember to focus on the most interesting or appetizing part of the food, whether it's a perfectly seared edge, a glistening sauce, or a vibrant garnish.
Here are some tips for creating appetizing focal points:
- Use a tripod to guarantee sharpness in your close-up shots
- Adjust your camera's white balance to enhance food colors
- Experiment with side lighting to create depth and texture
- Incorporate props or ingredients to tell a story about the dish
Grid Lines for Perfect Composition
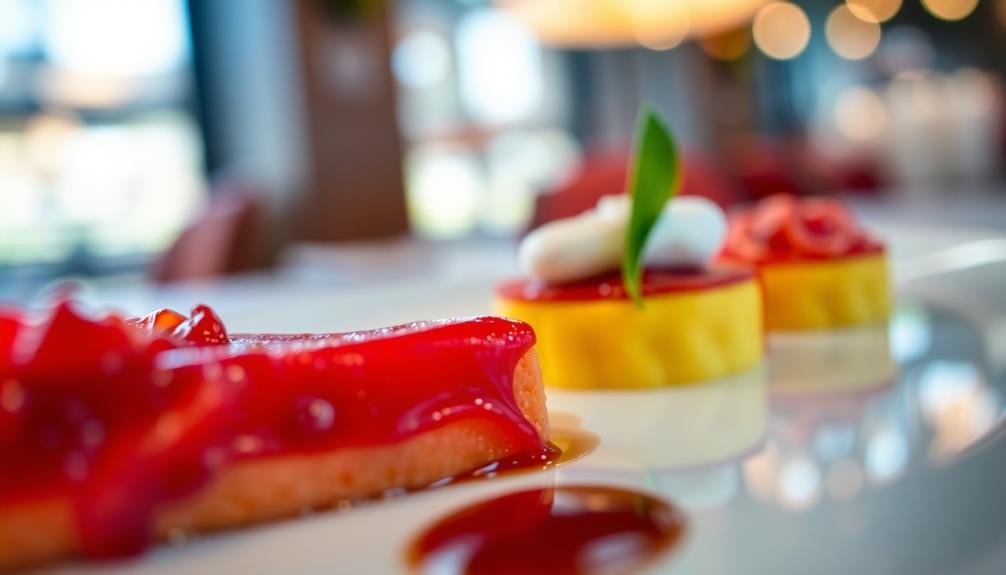
When you're aiming for stunning food photography, grid lines can be your secret weapon for perfect composition. Most cameras and smartphones offer a grid overlay feature that divides your frame into thirds both vertically and horizontally. This tool helps you apply the rule of thirds, a fundamental principle in photography composition.
To use grid lines effectively, place key elements of your food along these lines or at their intersections. For instance, position the main dish at one of the grid's crosspoints to create visual interest. You'll find that off-center compositions often yield more dynamic and engaging photos than centered ones.
Grid lines also help you maintain straight horizons and align elements within your frame. Use them to guarantee your plate edges are parallel to the frame's borders or to create intentional diagonals for a more energetic composition.
When shooting overhead, grid lines are invaluable for achieving symmetry or deliberate asymmetry in your layout.
Burst Mode for Action Shots
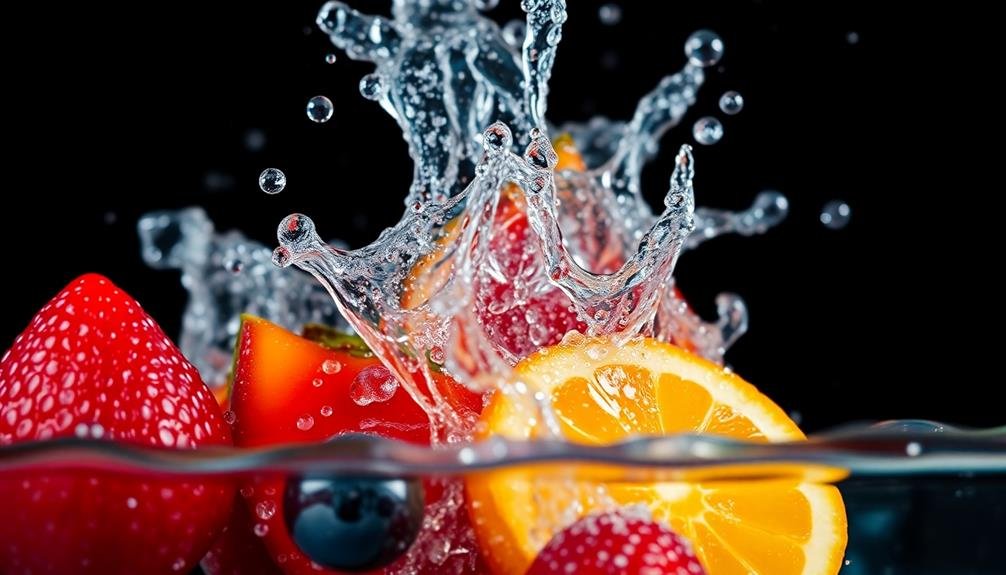
While grid lines help with static composition, food photography often involves capturing dynamic moments. That's where burst mode comes in handy. By enabling burst mode on your camera, you'll shoot a rapid sequence of photos with a single press of the shutter button. This technique is perfect for capturing action shots like pouring syrup, sprinkling garnishes, or tossing salads.
To use burst mode effectively, set your camera to continuous shooting mode and hold down the shutter button as the action unfolds. You'll end up with multiple frames to choose from, increasing your chances of capturing that perfect moment. Remember to have adequate lighting and a fast shutter speed to freeze the motion.
Burst mode isn't just for action shots. It's also useful for:
- Capturing steam rising from hot dishes
- Photographing melting ice cream or chocolate
- Catching the exact moment a bread slice pops out of a toaster
- Documenting the process of assembling a complex dish
When using burst mode, be prepared to sort through numerous images afterward. It's a small price to pay for capturing that split-second moment that makes your food photos truly pop.
With practice, you'll develop a keen sense of timing and create more dynamic, engaging food imagery.
Frequently Asked Questions
How Do I Choose the Right Lens for Food Photography?
You'll want to choose a lens that captures detail and allows for close-ups. Consider a macro lens for intricate textures, or a 50mm prime for versatility. Don't forget about aperture; a wide aperture creates appealing background blur.
What Are the Best Angles for Shooting Different Types of Food?
For flat foods, shoot overhead. Taller dishes shine from a 45-degree angle. Capture drinks straight on. Don't forget close-ups for texture. Experiment with side angles for layered foods. Always consider the dish's unique features when choosing your angle.
How Can I Create a Natural-Looking Steam Effect in Food Photos?
You can create natural-looking steam by heating water in a microwave and placing it behind your dish. Use a dark background for contrast. Shoot quickly, as steam dissipates fast. Adjust your camera settings for ideal capture.
What Props and Backgrounds Work Well for Food Styling?
You'll want simple, matte backgrounds like wooden boards or neutral linens. Use props sparingly – think rustic utensils, fresh herbs, or raw ingredients. Keep it minimal and let the food shine. Don't forget textured surfaces for added interest.
How Do I Handle Reflections on Shiny or Glossy Food Surfaces?
You'll want to control reflections on shiny foods. Use diffused lighting to soften glare, adjust your angle, and try polarizing filters. Experiment with white or black cards to shape reflections. Don't be afraid to embrace some shine.
In Summary
You've now got the tools to make your food photos truly appetizing. Remember, it's all about experimenting with these settings to find what works best for each dish. Don't be afraid to play around with aperture, ISO, and shutter speed. Keep your white balance in check, focus on the details, and use composition tools to your advantage. With practice, you'll soon be capturing mouthwatering images that'll make everyone's stomach growl!



Leave a Reply