Elevate your mobile food photography with these three lighting hacks. First, harness natural window light by positioning your dish 2-3 feet away, using sheer curtains to diffuse harsh rays. Next, create a DIY reflector using white foam board or aluminum foil-covered cardboard to fill shadows and add dimension. Finally, invest in portable LED light accessories for versatile illumination on the go. These clip-on lights offer adjustable color temperatures and dimmable settings for precise control. By mastering these techniques, you'll capture mouthwatering images that rival professional shots. Hungry for more? There's a feast of tips waiting to be explored.
Natural Window Light Technique

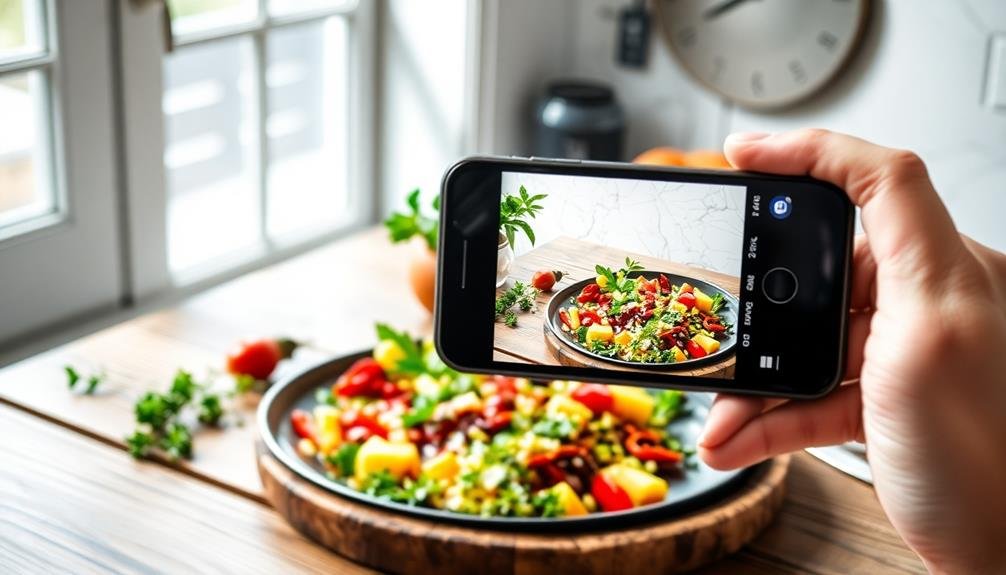
When it comes to food photography, natural window light reigns supreme. It's soft, diffused, and flattering to most dishes, making it the go-to choice for both amateur and professional food photographers.
To harness this light effectively, position your food near a window, but not in direct sunlight. The ideal setup is about 2-3 feet away from the window, where the light is gentle and even.
If the light's too harsh, use a sheer curtain or white paper to diffuse it further. Experiment with different angles: side-lighting can create appealing shadows and depth, while backlighting can make translucent foods glow.
For darker scenes, use a white foam board or reflector opposite the window to bounce light back onto the food.
Time your shoots wisely. Early morning or late afternoon light tends to be softer and more golden, perfect for warm, inviting food shots. Cloudy days offer naturally diffused light, ideal for most food subjects.
If you're struggling with inconsistent light, try using a tripod and longer exposure times to capture more detail in low-light situations. Remember, natural light changes quickly, so work efficiently to maintain consistent lighting throughout your shoot.
DIY Reflector for Shadows

While natural window light is ideal, you'll often encounter situations where shadows are too harsh or deep. That's where a DIY reflector comes in handy. You can easily create one using common household items to bounce light back onto your subject, softening shadows and adding a pleasing glow to your food photos.
To make your own reflector, simply use a piece of white foam board, cardboard covered in aluminum foil, or even a large white napkin. Position it opposite your main light source to fill in shadows and create more balanced lighting. Experiment with different angles and distances to achieve the desired effect.
You can also use a black surface to deepen shadows for a more dramatic look.
Here are some DIY reflector ideas:
- White foam board
- Cardboard covered in aluminum foil
- Large white napkin or tablecloth
- White poster board
- Silver car sun shade
Remember to adjust your reflector's position as you move your food or change your shooting angle. With practice, you'll master this technique and greatly improve your food photography lighting, even in challenging conditions.
Portable LED Light Accessories

Versatility is key when it comes to food photography lighting, and portable LED light accessories offer just that. These compact, battery-powered devices can transform your mobile food shots in various settings.
Look for clip-on LED lights that attach directly to your smartphone or small, adjustable LED panels you can position around your dish.
When choosing a portable LED light, consider color temperature options. Some models offer adjustable warmth, allowing you to match ambient lighting or create a specific mood.
Diffusers are essential accessories; they soften harsh light and minimize unwanted shadows. Many LED lights come with built-in diffusers, but you can also use translucent materials like parchment paper for a DIY solution.
Don't overlook the importance of brightness control. Dimmable LEDs let you fine-tune the light intensity, preventing overexposure in close-up shots.
For more creative control, try LED light wands or light painting tools. These allow you to add targeted highlights or create unique light patterns in your food photos.
Frequently Asked Questions
How Does Camera Aperture Affect Food Photography Lighting?
Aperture greatly impacts your food photography lighting. You'll notice wider apertures (lower f-numbers) let in more light, creating brighter images with shallow depth of field. Narrower apertures (higher f-numbers) reduce light but increase depth of field.
Can I Use Filters to Enhance Lighting in Food Photos?
Yes, you can use filters to enhance lighting in food photos. They'll help adjust brightness, contrast, and color temperature. However, it's best to use them subtly to maintain a natural look and not overpower the food's authentic appearance.
What's the Ideal Color Temperature for Food Photography Lighting?
You'll want to aim for a color temperature around 5000K to 5500K for food photography. It's close to natural daylight, making your food look appetizing and true-to-life. Adjust as needed for warmer or cooler tones.
How Do I Balance Artificial and Natural Light in Restaurant Settings?
To balance artificial and natural light in restaurants, you'll want to position yourself near windows. Use your phone's screen or a small reflector to fill shadows. If needed, adjust your camera's white balance to match the dominant light source.
Are There Specific Lighting Techniques for Capturing Drinks and Beverages?
For drinks, you'll want to backlight them to highlight transparency. Use a diffuser to soften harsh light. Position a reflector opposite the light source to fill shadows. Experiment with side lighting for creative effects on glassware.
In Summary
You've now got three powerful lighting hacks to elevate your mobile food photography. With natural window light, you'll capture soft, appetizing images. DIY reflectors will help you banish harsh shadows and balance your shots. And portable LED accessories will guarantee you're prepared for any lighting situation. Don't be afraid to experiment with these techniques. The more you practice, the better your food photos will become. So grab your phone and start snapping those mouthwatering meals!


Leave a Reply