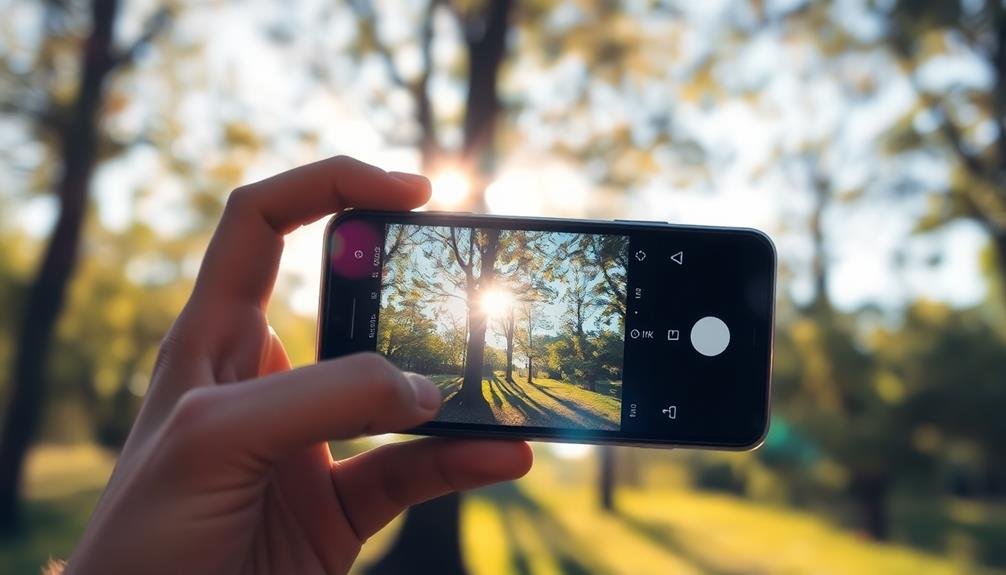
To capture stunning backlit photos on your mobile device, try these three HDR tips. First, adjust the exposure for the foreground by tapping on the darkest area of your subject and increasing exposure compensation if available. Next, utilize the shadow slider to enhance details in darker areas without affecting brighter parts, starting with small adjustments. Finally, enable auto-HDR mode in your camera settings to automatically capture and blend multiple exposures, balancing bright and shadowy areas. Keep your device steady for the best results. These techniques will help you transform challenging backlit scenes into beautifully balanced images.
Adjust Exposure for Foreground

When dealing with backlit photos, adjusting the exposure for the foreground is essential. Your mobile device's camera often struggles to balance the bright background with a darker subject, resulting in underexposed foregrounds. To combat this, tap on the darkest area of your subject to set the focus and exposure.
You'll notice the foreground brightening up, but be careful not to overexpose the background completely.
If your phone has manual controls, increase the exposure compensation slightly. This will help bring out more details in the shadowed areas of your subject. Don't go overboard, though, as you still want to maintain some contrast between the subject and the background.
For more control, use your device's HDR mode. It'll take multiple exposures and combine them, balancing the bright and dark areas.
If your phone allows it, adjust the HDR strength to find the right balance between a well-exposed foreground and a properly detailed background.
Utilize Shadow Slider

The shadow slider is your secret weapon for enhancing backlit photos. It allows you to bring out details in darker areas without affecting the brighter parts of your image. When you're dealing with a backlit subject, the foreground often appears too dark. This is where the shadow slider comes in handy.
To use the shadow slider effectively, start by making small adjustments. Gradually increase the slider until you achieve the desired balance between the foreground and background. Be careful not to overdo it, as excessive shadow lifting can introduce noise and reduce image quality.
Pay attention to these areas when adjusting shadows:
- The subject's face, especially the eyes and facial features
- Clothing details and textures
- Foreground elements like grass, flowers, or objects
- Architectural details in shaded areas
Remember, the goal is to create a natural-looking image. You don't want the shadows to appear artificially brightened. Instead, aim for a subtle enhancement that reveals hidden details without compromising the overall mood of your backlit photo.
Experiment with different shadow levels and combine this technique with other HDR adjustments to achieve the perfect balance in your backlit shots.
With practice, you'll master the art of using the shadow slider to transform your photos.
Enable Auto-HDR Mode

Auto-HDR mode is a powerful feature available on many modern cameras and smartphones. It simplifies the HDR process by automatically capturing and blending multiple exposures into a single image. To enable this mode, you'll typically find it in your camera app's settings or as a toggle option in the shooting interface.
When you're facing a backlit scene, auto-HDR can be a game-changer. It'll help you capture details in both the bright background and shadowy foreground without manual adjustments. However, it's important to understand that results may vary depending on your device's capabilities.
To get the most out of auto-HDR:
- Keep your camera steady to avoid ghosting artifacts.
- Be aware that it might slow down your shooting speed.
- Check if your device allows you to adjust HDR intensity.
- Use it in conjunction with other techniques, like proper framing.
Frequently Asked Questions
How Does HDR Affect Battery Life When Taking Backlit Photos?
HDR can drain your battery faster when taking backlit photos. It's processing multiple exposures and combining them, which requires more power. If you're using HDR frequently, you'll notice your battery life decreasing more quickly.
Can HDR Be Used Effectively for Moving Subjects in Backlit Scenes?
You'll find HDR less effective for moving subjects in backlit scenes. It's designed for still images, as it combines multiple exposures. Fast-moving objects may appear blurry or ghosted. Consider using alternative techniques for better results.
What's the Difference Between HDR and HDR+ on Mobile Devices?
You'll find HDR+ is an advanced version of HDR. It takes multiple shots and intelligently combines them, reducing noise and improving details. HDR+ often performs better in low light and with moving subjects than standard HDR.
Are There Specific Weather Conditions That Work Best for HDR Backlit Photos?
You'll get the best HDR backlit photos in partly cloudy conditions. The sun peeking through clouds creates dramatic lighting. Avoid harsh midday sun or heavily overcast skies. Early morning or late afternoon light works well too.
How Can I Reduce Noise in HDR Backlit Photos Taken in Low Light?
To reduce noise in low-light HDR backlit photos, you'll want to steady your device, use a lower ISO setting, and try longer exposures. Don't forget to clean your lens and experiment with noise reduction apps for better results.
In Summary
You've now got the tools to master backlit photos on your mobile device. By adjusting exposure for the foreground, using the shadow slider, and enabling auto-HDR mode, you'll capture stunning images in challenging lighting conditions. Don't be afraid to experiment with these techniques. With practice, you'll develop an intuitive feel for when and how to apply each tip. So go ahead, embrace those tricky backlit situations, and watch your mobile photography skills soar.


Leave a Reply