Street photos pop when you master key framing techniques on your phone. Start by applying the rule of thirds, using your device's grid feature to position subjects along intersecting lines. Leverage urban architecture for leading lines and natural frames, guiding the viewer's eye through your composition. Capture candid moments by anticipating action and blending into your surroundings. Play with reflections, shadows, and color contrasts to add depth and visual impact. Experiment with different perspectives, from low angles to bird's-eye views, for unique takes on familiar scenes. By honing these skills, you'll transform ordinary street scenes into compelling visual narratives that demand attention.
Rule of Thirds Mastery
How can you elevate your phone photography with a simple compositional technique? Enter the Rule of Thirds, a powerful framing tool that can transform your street shots from ordinary to extraordinary. This principle divides your frame into a 3×3 grid, creating nine equal sections. By placing your main subject along these lines or at their intersections, you'll create more dynamic and visually appealing images.
To apply this rule, activate your phone's grid feature in the camera settings. As you compose your shot, position key elements along these gridlines. For street photography, try aligning a person's eyes or a building's edge with a vertical line. Place the horizon on the upper or lower horizontal line to add interest to landscapes.
Don't feel constrained by strict adherence; use the rule as a guide. Experiment with off-center compositions, placing your subject slightly away from the intersections for a more subtle effect.
Leading Lines in Urban Landscapes
When capturing urban landscapes with your phone, you'll find leading lines everywhere.
Look for architectural features like building edges, staircases, or bridges to guide the viewer's eye through your composition.
Don't overlook the obvious paths created by roads and sidewalks, or the repeating patterns in urban infrastructure like power lines and railway tracks.
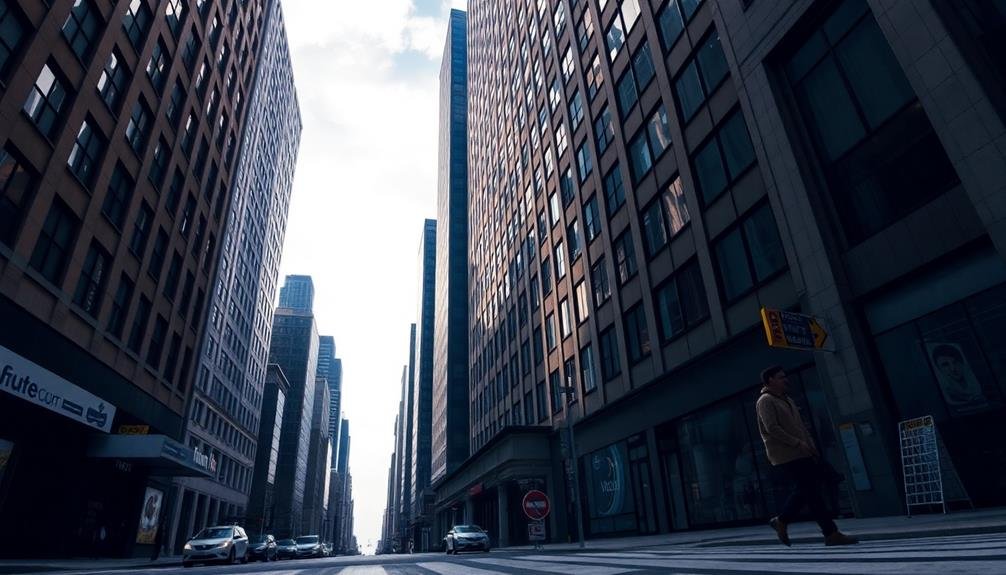
Architectural Features as Guides
Urban landscapes offer a treasure trove of leading lines for phone photographers. Architectural features serve as powerful guides, directing the viewer's eye through your composition.
Look for buildings with strong vertical lines, like skyscrapers or columns, to create a sense of height and grandeur. Horizontal elements, such as bridges or balconies, can add depth and draw attention across the frame.
You'll find that staircases, railings, and walkways make excellent diagonal lines, adding dynamism to your shots. Curved structures like arches or domed roofs offer a softer, more organic flow.
Don't overlook repeating patterns in windows, bricks, or tiles – they can create a mesmerizing rhythm in your images.
When framing your shot, position these architectural elements strategically. Use them to lead towards your main subject or to create a path for the viewer's gaze.
Experiment with different angles; sometimes, tilting your phone can emphasize these lines more dramatically. Remember, the goal is to use these features subtly – they should enhance your composition, not overpower it.
With practice, you'll develop an eye for spotting and utilizing these architectural guides in your urban photography.
Roads and Sidewalks
Roads and sidewalks are among the most ubiquitous leading lines in urban landscapes, offering endless opportunities for compelling smartphone photography. They naturally guide the viewer's eye through the frame, creating depth and drawing attention to your subject. When composing your shot, position yourself to capture these linear elements running diagonally or straight into the distance.
Experiment with different angles to maximize the impact of roads and sidewalks in your photos:
| Angle | Effect | Best For |
|---|---|---|
| Low | Emphasizes texture | Dramatic cityscapes |
| Eye-level | Creates natural perspective | Street scenes |
| High | Showcases patterns | Aerial-style shots |
Don't forget to use the rule of thirds when framing your shot. Place the road or sidewalk along one of the vertical lines, and position your subject at an intersection point. This creates a balanced and visually appealing composition. You can also use these lines to lead to a vanishing point, creating a sense of infinity that adds intrigue to your image. Remember, the key is to use roads and sidewalks as compositional tools to enhance your urban photography and guide your viewer's gaze.
Urban Infrastructure Patterns
Beyond roads and sidewalks, cities offer a wealth of urban infrastructure patterns that can serve as leading lines in your smartphone photography. Look for repetitive elements like rows of streetlights, power lines, or bridges. These structures create strong visual paths that draw the viewer's eye through your composition.
Architectural features also provide excellent leading lines. Scan buildings for patterns in windows, balconies, or staircases. Modern skyscrapers often have striking geometric designs that can form compelling diagonals or converging lines in your frame.
Don't overlook urban textures. Brick walls, tile patterns, and even graffiti can create subtle directional cues. Experiment with different angles to emphasize these lines.
Public transportation infrastructure is another rich source. Train tracks, subway entrances, and bus lanes offer strong linear elements. Capture these during rush hour for added dynamism.
When framing your shot, position these urban patterns to guide the viewer's gaze towards your main subject. Use the rule of thirds to place your focal point at the intersection of these lines for maximum impact.
Framing With Architectural Elements

When framing your phone shots with architectural elements, you'll find that doorways and windows offer natural frames for your subjects.
Look for lines and symmetry in buildings to create powerful compositions that draw the viewer's eye. You can use arches, columns, or even staircases to add depth and structure to your urban photography.
Doorways and Windows
Architectural elements like doorways and windows can serve as natural frames for your smartphone photography.
They're not just background elements; they're powerful tools to create depth and focus in your images. When you're out shooting street scenes, look for opportunities to use these structures to your advantage.
Doorways can create a sense of mystery and intrigue, drawing the viewer's eye into the frame.
They're perfect for framing subjects in silhouette or highlighting interesting textures and colors within the doorway itself.
Windows, on the other hand, offer reflections and glimpses into other worlds, adding layers to your composition.
To make the most of doorways and windows in your smartphone photography:
- Use the rule of thirds to position your subject within the frame
- Experiment with different angles to create unique perspectives
- Play with light and shadow to add drama to your shots
- Consider the symmetry or asymmetry of the architectural elements
Lines and Symmetry
Lines and symmetry are powerful compositional tools in smartphone photography, especially when framing with architectural elements.
You'll find that buildings, bridges, and other structures offer a wealth of linear and symmetrical opportunities to enhance your shots.
Look for strong vertical lines in skyscrapers or columns to create a sense of height and grandeur. Horizontal lines, like those found in boardwalks or fences, can convey a feeling of stability and calmness. Diagonal lines add dynamism and lead the viewer's eye through the image.
When it comes to symmetry, you'll want to position your camera dead center to capture perfect reflections in still water or mirrored surfaces. Architectural features like arches, domes, and staircases often provide natural symmetry that can be highlighted in your composition.
Don't forget about patterns and repetition. A row of windows or a series of archways can create a mesmerizing visual rhythm.
Use your phone's grid feature to align elements precisely and achieve balance in your shots.
Capturing Candid Moments Effectively
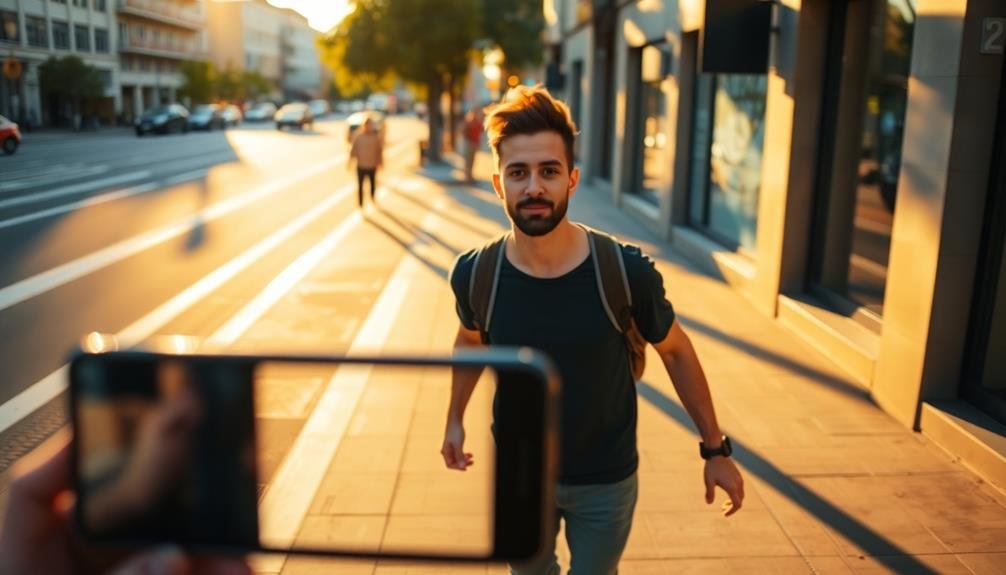
To capture candid moments effectively, you'll need to master the art of anticipation and discretion. Observe your surroundings carefully, looking for potential scenes or interactions that might unfold. Be ready to raise your phone and snap a photo at a moment's notice. Remember, the key is to blend in and not draw attention to yourself.
Practice using your phone's camera quickly and silently. Familiarize yourself with its features, such as burst mode or voice-activated shutter, which can help you capture fleeting moments without fumbling. When you spot an interesting subject or situation, don't hesitate – take multiple shots to increase your chances of getting the perfect frame.
Here are four tips to enhance your candid photography skills:
- Use a wide-angle lens to capture more context
- Experiment with different angles and perspectives
- Focus on genuine emotions and expressions
- Learn to predict and anticipate human behavior
Timing is essential in candid photography. Pay attention to the ebb and flow of activity around you, and be prepared to seize opportunities as they arise.
With practice, you'll develop an intuition for when to press the shutter button, allowing you to capture those authentic, unposed moments that make street photography so compelling.
Utilizing Reflections and Shadows
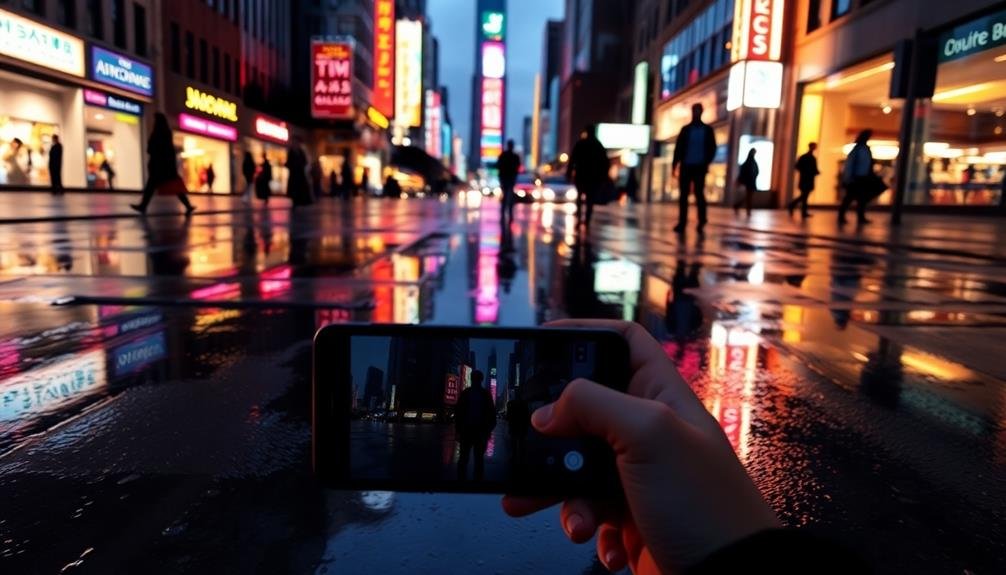
When framing your phone shots, don't overlook the creative potential of reflections and shadows.
You can use mirror-like surfaces to add depth and intrigue to your compositions, while dramatic silhouettes and shapes can create striking visual impact.
Mirror-Like Surfaces for Depth
Reflections and shadows can transform your phone photography, adding depth and intrigue to otherwise flat images. When you're out shooting street scenes, keep an eye out for mirror-like surfaces that can create fascinating visual effects. Puddles, glass windows, polished metal, and even car hoods can serve as reflective canvases for your compositions.
To make the most of mirror-like surfaces:
- Look for clean, smooth surfaces that offer clear reflections.
- Experiment with different angles to capture unique perspectives.
- Use reflections to create symmetry or juxtaposition in your shots.
- Incorporate both the reflection and the real subject in your frame.
These reflective elements can add a sense of depth to your images, making them more visually appealing and engaging. They can also help tell a story by revealing hidden aspects of a scene or creating optical illusions.
Don't be afraid to get low or change your position to find the perfect reflection. Remember, the key is to use these mirror-like surfaces creatively to enhance your composition and draw viewers into your photo's narrative.
Dramatic Silhouettes and Shapes
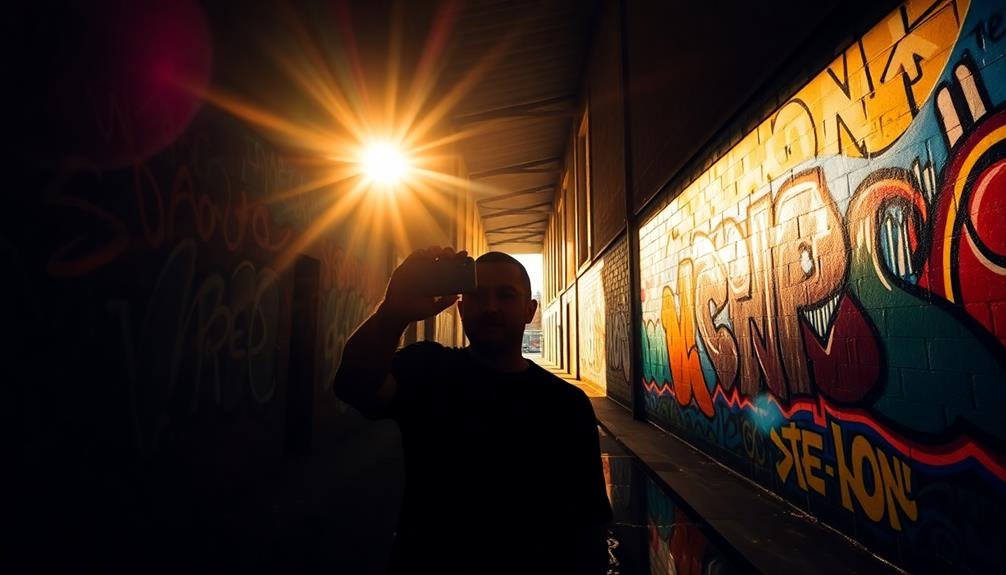
Beyond reflections, shadows and silhouettes offer powerful tools for creating dramatic compositions with your phone camera.
Look for strong light sources that cast well-defined shadows or backlight subjects to create striking silhouettes. Experiment with different angles to capture unique shapes and forms.
When shooting silhouettes, expose for the bright background to render your subject as a dark outline. This technique works well during golden hour or against colorful sunsets. Focus on recognizable shapes like people, trees, or architectural elements for maximum impact.
For shadow play, seek out textured surfaces or interesting patterns cast by objects like fences, railings, or foliage. Use high contrast scenes to emphasize the interplay between light and dark areas.
Don't shy away from harsh midday sun – it can create bold, graphic shadows perfect for abstract compositions.
Combine silhouettes and shadows for added depth and intrigue. Frame a silhouetted subject against a backdrop of long shadows, or capture the shadow of an unseen object alongside a visible silhouette.
Playing With Light Contrasts
Building on the previous techniques, mastering light contrasts can elevate your phone photography to new heights. By playing with light and shadows, you'll create images with depth, drama, and visual interest. Look for scenes where bright light meets deep shadows, or where reflections create unexpected patterns.
To effectively use light contrasts in your street photography:
- Seek out high-contrast scenes, like sunlit streets with dark alleyways or backlit subjects against bright backgrounds.
- Use your phone's exposure controls to emphasize either highlights or shadows, creating a more dramatic effect.
- Experiment with side-lighting to create long, interesting shadows that add texture to your images.
- Incorporate reflective surfaces like puddles, windows, or polished metal to capture unique light patterns.
Don't be afraid to underexpose your shots to preserve highlight details or overexpose to bring out shadow details.
Remember, contrast isn't just about black and white – it can involve color contrasts too. Look for complementary colors in light and shadow areas to add visual impact.
With practice, you'll develop an eye for striking light contrasts that'll make your street photos truly pop.
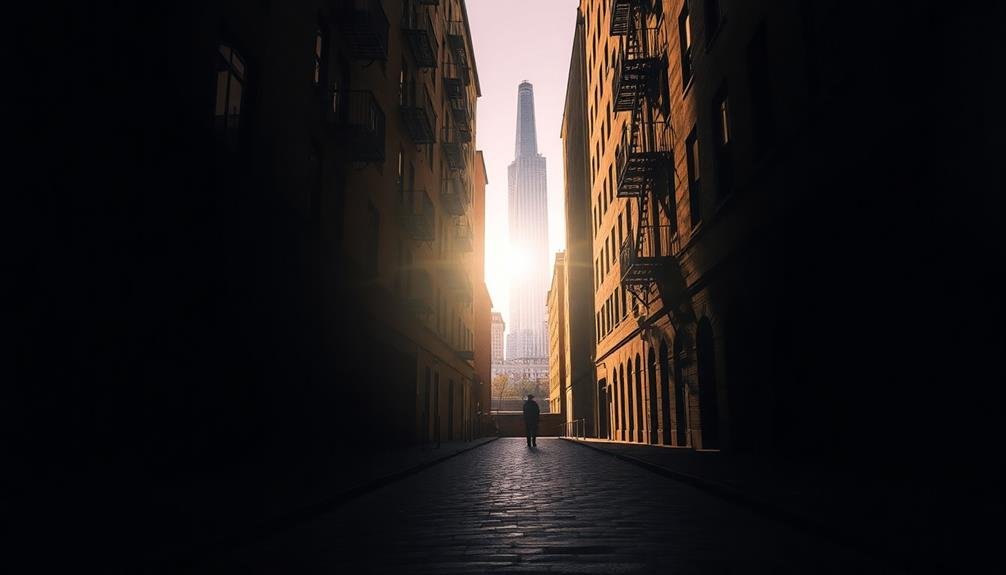
Negative Space in Street Scenes
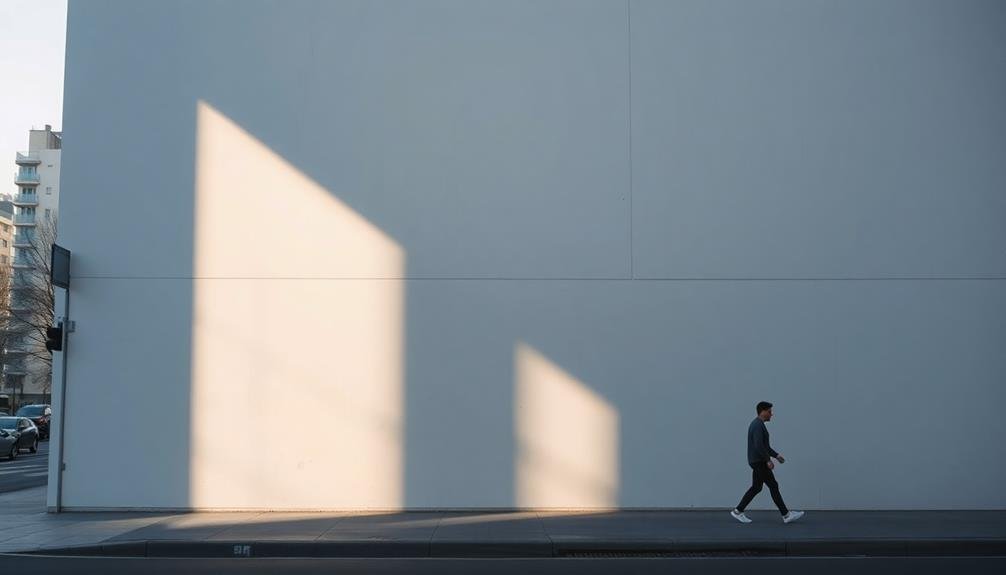
Street photography thrives on the interplay between subjects and their surroundings. When framing your shots, don't overlook the power of negative space in urban scenes. This empty area around your main subject can dramatically enhance your composition and draw attention to your focal point.
Look for expansive walls, clear skies, or empty streets to create a sense of isolation or solitude. You'll find that negative space can evoke emotions and tell a story just as effectively as your primary subject. It's not just about filling the frame; it's about strategic emptiness.
To use negative space effectively, try positioning your subject off-center. This creates a visual balance that guides the viewer's eye. Experiment with different ratios of subject to negative space to see what works best for each scene.
Don't be afraid to zoom out or step back to capture more empty space. Sometimes, a tiny figure in a vast landscape can be more impactful than a close-up shot.
Color Contrast for Visual Impact
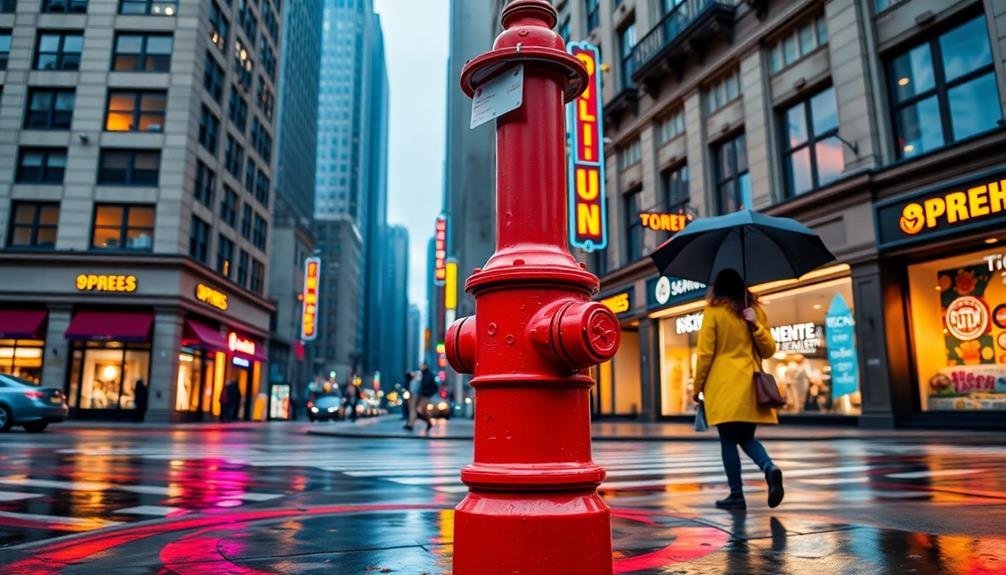
Color contrast can transform an ordinary street scene into a visually striking image. When framing your shot, look for bold color combinations that create visual tension and draw the eye. Seek out vibrant hues against muted backgrounds or complementary colors that pop when placed side by side.
You'll find these contrasts in unexpected places: a red umbrella against a gray cityscape, a yellow taxi against blue shadows, or a brightly dressed pedestrian against a monochrome wall.
To maximize color contrast in your street photography:
- Use the "golden hour" light just after sunrise or before sunset for warm, rich tones.
- Experiment with your phone's HDR mode to capture a wider range of colors.
- Look for scenes with naturally occurring color blocks, like painted buildings or street art.
- Frame your shot to isolate contrasting colors, eliminating distracting elements.
Don't be afraid to adjust your position or wait for the right subject to enter your frame. Sometimes, the perfect color contrast is just a matter of patience.
Symmetry in Urban Environments
Three key elements make urban environments a goldmine for symmetrical compositions: architecture, infrastructure, and repetition. Buildings often feature symmetrical designs, with evenly spaced windows, doors, and structural elements. Look for facades that mirror themselves vertically or horizontally.
Infrastructure like bridges, tunnels, and walkways can create perfect symmetry when framed correctly. Repetitive elements such as street lamps, benches, or traffic signals offer opportunities for balanced compositions.
To capture symmetry effectively, position yourself dead center of your subject. Use your phone's grid feature to align key elements precisely. Experiment with different perspectives: try looking straight up at a skyscraper or down a long corridor. Reflections in glass buildings or puddles can double the symmetry in your frame.
Don't limit yourself to perfect symmetry. Near-symmetrical compositions can be just as striking. Look for subtle variations that add interest while maintaining overall balance.
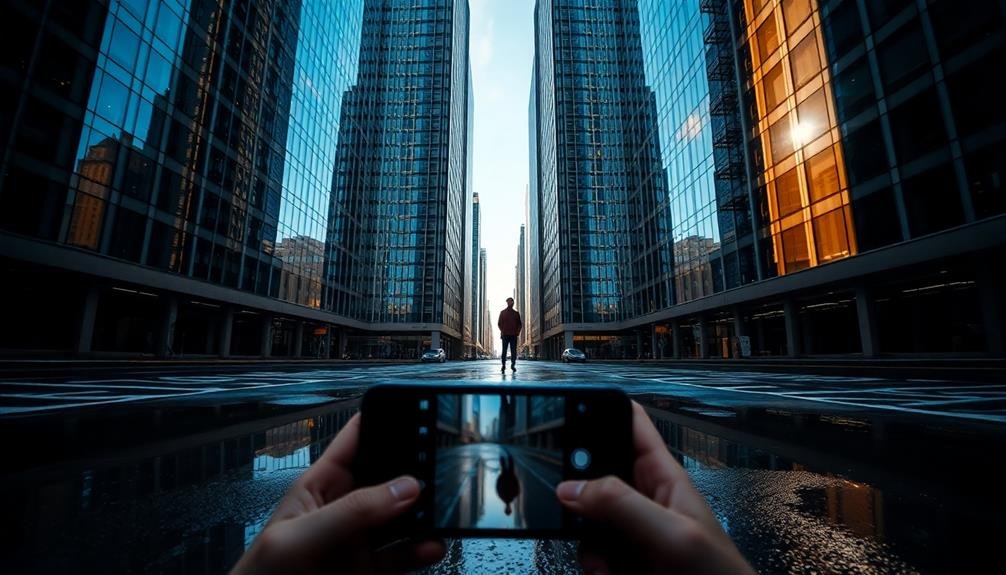
Perspective Play With Phone Angles
Perspective manipulation is a powerful tool in your smartphone photography arsenal. By adjusting your phone's angle, you can create striking images that draw viewers in and add depth to your street scenes.
Experiment with different viewpoints to dramatically alter the mood and impact of your photos.
Try these techniques to play with perspective:
- Low angle: Crouch down and shoot upwards to make subjects appear larger and more imposing.
- High angle: Elevate your phone above eye level to capture a bird's-eye view and reveal interesting patterns.
- Dutch angle: Tilt your phone diagonally to create a sense of unease or dynamism in your composition.
- Forced perspective: Use optical illusions by positioning objects closer or farther from the camera to manipulate their perceived size.
Don't be afraid to get creative with your phone's position. Lay it on the ground for a unique worm's-eye view, or hold it high above your head for a fresh perspective on crowded streets.
Storytelling Through Street Details
Every street tells a story, and it's your job as a photographer to uncover it. Look beyond the obvious and focus on the small details that bring a scene to life. These elements can transform an ordinary street shot into a compelling narrative.
Pay attention to:
| Element | Purpose | Example |
|---|---|---|
| Textures | Add depth | Weathered brick walls |
| Colors | Set mood | Vibrant street art |
| Patterns | Create rhythm | Repeating windows |
Don't just capture what you see; capture what you feel. Is the street bustling with energy or eerily quiet? Let your framing choices reflect this atmosphere. Include elements that hint at human presence, even if no people are visible. A discarded coffee cup, an open window, or a parked bicycle can speak volumes about the street's inhabitants.
Use leading lines to draw the viewer's eye through the frame, guiding them to discover the story you're telling. Experiment with negative space to isolate important details. Remember, sometimes what you leave out of the frame is just as important as what you include. By focusing on these storytelling elements, you'll create street photos that truly pop.
Frequently Asked Questions
What's the Best Time of Day for Street Photography?
You'll find the best street photography opportunities during the "golden hours" – just after sunrise or before sunset. However, don't limit yourself; each time of day offers unique lighting and atmosphere. Experiment to discover your preferred style.
How Do You Approach and Photograph Strangers Legally and Ethically?
You'll want to be respectful and discreet when photographing strangers. Ask for permission when possible, or capture candid moments from a distance. Be aware of local laws, and if someone objects, delete the photo or move on.
Which Phone Camera Settings Are Ideal for Street Photography?
You'll want to use burst mode for quick shots, HDR for high-contrast scenes, and manual focus for precision. Set a fast shutter speed to freeze motion. Don't forget to enable grid lines for better composition.
How Can I Make My Street Photos Stand Out on Social Media?
To make your street photos stand out on social media, you'll want to capture unique moments, use interesting angles, and play with light and shadows. Don't forget to edit creatively and use relevant hashtags to increase visibility.
What Post-Processing Techniques Enhance Street Photography Without Looking Overdone?
You'll enhance your street photos without overdoing it by using subtle adjustments. Boost contrast slightly, tweak shadows and highlights, and apply gentle color grading. Don't overdo saturation or sharpening. Aim for a natural look that preserves the scene's authenticity.
In Summary
You've now got the tools to transform your street photography. Remember, it's not just about pointing and shooting. Apply these framing secrets to elevate your urban shots. Experiment with composition, light, and perspective. Don't be afraid to get creative with your phone's capabilities. Practice these techniques regularly, and you'll soon find yourself capturing eye-catching, story-rich street photos that truly pop. Now go out there and start snapping!


Leave a Reply