To enhance your mobile videos, start by adjusting white balance for natural colors. Next, experiment with color grading presets to set the mood, but don't hesitate to fine-tune them. Master exposure and contrast to guarantee proper brightness and depth in your footage. Fine-tune saturation and vibrance to bring out colors without overdoing it, especially for skin tones. Finally, apply selective color adjustments for precise control over individual hues. These pro tips will help you transform amateur-looking footage into polished, professional-quality videos. Dive deeper into each technique to release the full potential of your mobile video editing skills.
Adjust White Balance
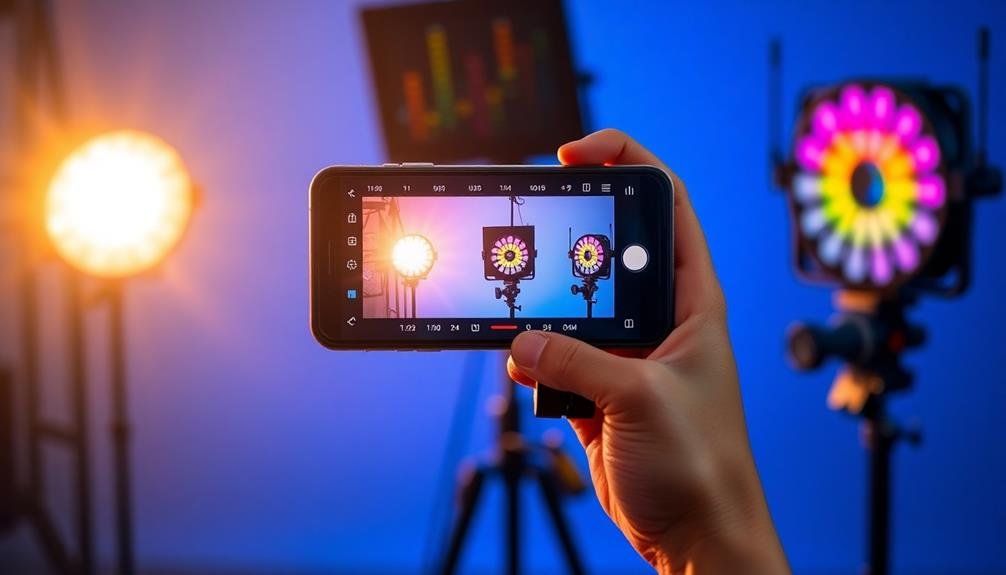
The camera lens sees white differently than the human eye. That's why adjusting white balance is essential for achieving natural-looking colors in your mobile videos.
Start by identifying the light source in your scene. Is it daylight, fluorescent, or incandescent? Each type of light has a different color temperature that affects how colors appear on camera.
Most mobile devices offer automatic white balance, but it's not always accurate. To take control, look for manual white balance settings in your camera app. You'll often find presets like "sunny," "cloudy," or "tungsten." Select the one that matches your lighting conditions.
For more precise results, use a white balance card or a neutral gray object. Point your camera at it and set a custom white balance.
If you're shooting in mixed lighting, prioritize the main light source or your subject's skin tone. Remember, you can't fix severe white balance issues in post-production without compromising image quality. It's best to get it right in-camera.
As you adjust, pay attention to skin tones, whites, and neutral colors. They should look natural and free from color casts.
Utilize Color Grading Presets
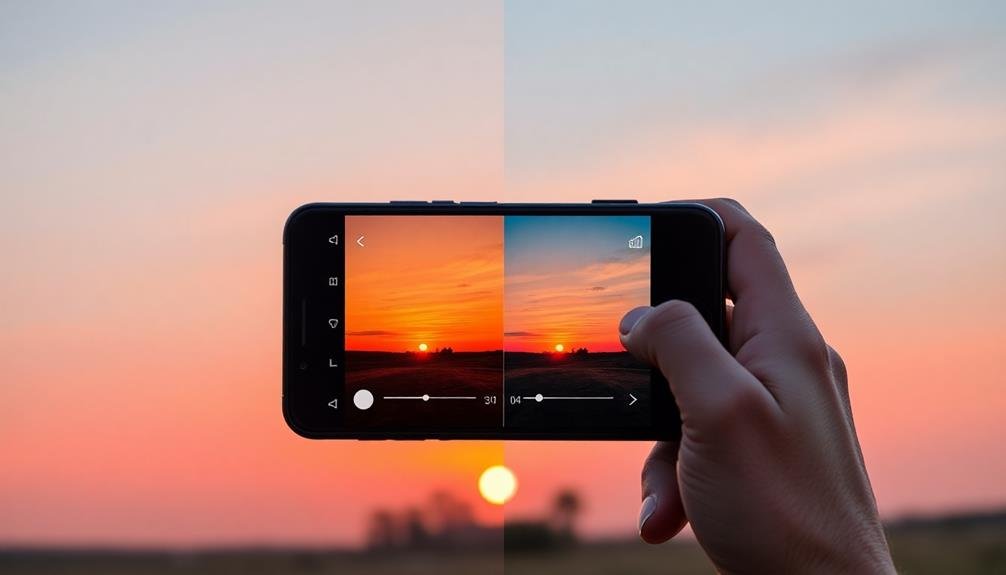
Once you've nailed your white balance, color grading presets can take your mobile videos to the next level. These ready-made color profiles offer a quick way to enhance your footage's overall look and mood. Many mobile video editing apps come with built-in presets, ranging from cinematic filters to vintage looks.
To use presets effectively, start by browsing through the available options and selecting one that complements your video's content and intended atmosphere. Don't be afraid to experiment with different presets to find the perfect match. Remember, you can always adjust the intensity of the preset to achieve a more subtle effect.
While presets are convenient, they shouldn't be a one-size-fits-all solution. Use them as a starting point and fine-tune the settings to suit your specific footage. Pay attention to how the preset affects skin tones, highlights, and shadows. If necessary, make manual adjustments to guarantee a balanced and natural look.
Consider creating your own custom presets for consistency across your videos. This approach helps establish a signature style and streamlines your editing process for future projects.
With practice, you'll develop an eye for which presets work best for different types of scenes and lighting conditions.
Master Exposure and Contrast

After establishing your color grading foundation, mastering exposure and contrast becomes essential for creating visually stunning mobile videos.
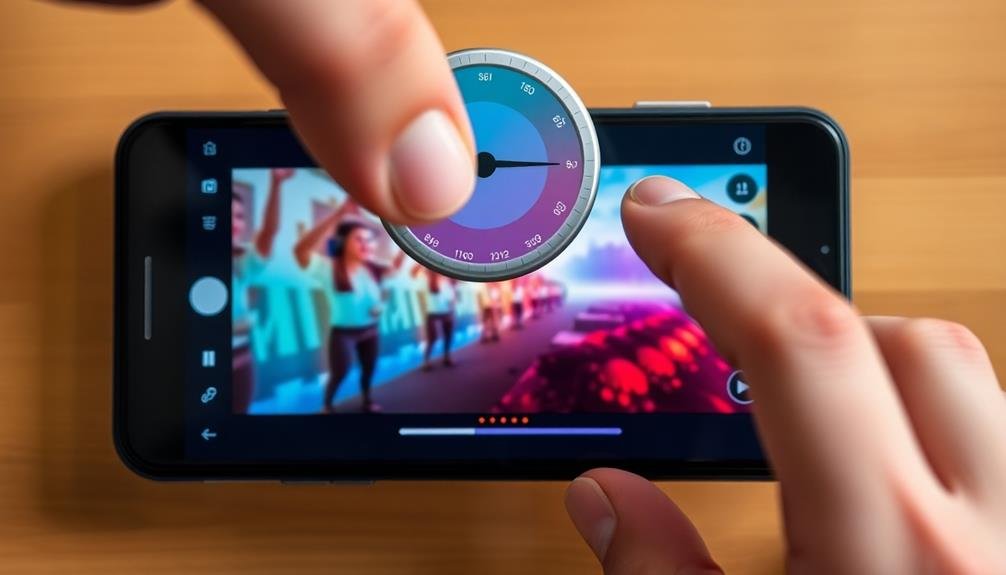
Start by adjusting your footage's overall brightness using the exposure settings. Aim for a balanced image where details are visible in both highlights and shadows. Don't be afraid to slightly overexpose your shots, as it's easier to recover details from bright areas than from underexposed shadows.
Next, focus on contrast to add depth and dimension to your video. Increase the difference between the darkest and lightest parts of your image, but be careful not to crush the blacks or blow out the highlights. Use the histogram as a guide to guarantee you're maintaining a good tonal range.
For more precise control, adjust the shadows, midtones, and highlights independently. This allows you to fine-tune specific areas of your image without affecting others.
Pay special attention to skin tones, ensuring they look natural and well-balanced.
Fine-Tune Saturation and Vibrance
While exposure and contrast lay the foundation, fine-tuning saturation and vibrance is essential for achieving the perfect color balance in your mobile videos. Saturation affects the intensity of all colors, while vibrance targets less saturated colors, preserving skin tones.
Use these tools judiciously to enhance your footage without making it look unnatural. Start by adjusting the overall saturation slightly. If your video looks dull, increase it; if it's too vivid, decrease it.
Then, fine-tune with vibrance to add depth without oversaturating already vibrant colors. Pay attention to skin tones, as they're often the first to look unnatural with excessive adjustments.
For more advanced control, consider using selective color correction:
- Isolate specific hues (e.g., blues for skies, greens for foliage)
- Adjust their saturation and luminance independently
- Create custom looks by shifting hues slightly
Apply Selective Color Adjustments

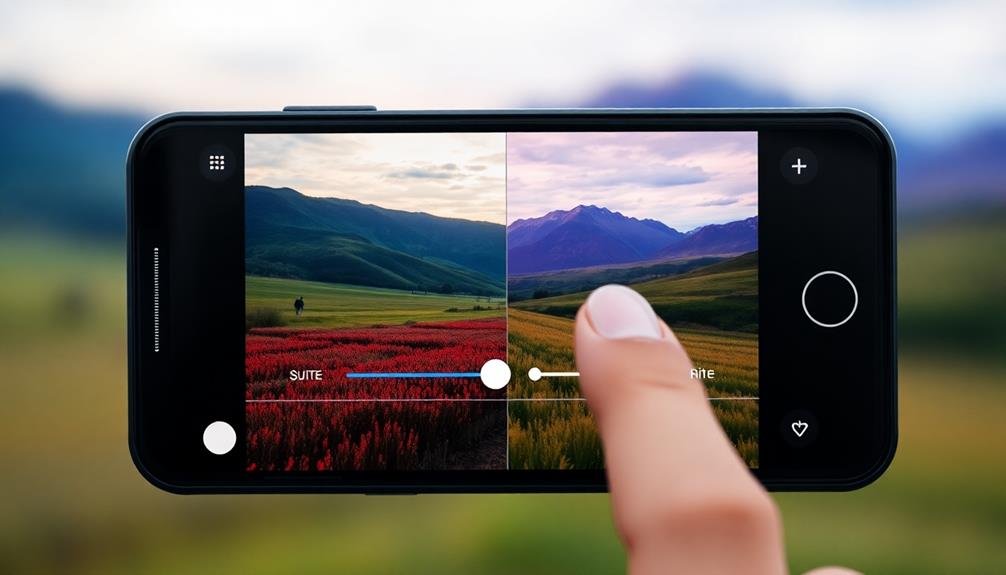
Selective color adjustments take your mobile video color correction to the next level. This technique allows you to target specific color ranges in your footage, giving you precise control over individual hues.
Start by identifying the colors you want to enhance or subdue. Most mobile editing apps offer tools to adjust hue, saturation, and luminance for each color channel.
To apply selective color adjustments, use the eyedropper tool to select the exact color you want to modify. Then, adjust the hue to shift the color's tone, saturation to intensify or mute its vibrancy, and luminance to alter its brightness.
You can also fine-tune the range of colors affected by your adjustments using sliders or curves.
Remember to use selective color adjustments sparingly to maintain a natural look. Focus on enhancing skin tones, making skies pop, or correcting off-color elements in your footage.
Pay attention to how your adjustments affect other colors in the frame, and make subtle changes to avoid creating an artificial appearance.
Frequently Asked Questions
How Can I Maintain Consistent Color Across Multiple Mobile Video Clips?
To maintain consistent color across multiple mobile video clips, you'll want to use the same camera settings, lighting conditions, and filters for each clip. You can also use color correction tools in post-production to match colors between clips.
What Hardware Accessories Improve Color Accuracy for Mobile Video Recording?
You'll enhance color accuracy with external lenses, color calibration cards, and LED lights. Don't forget a good microphone for crisp audio. A smartphone gimbal stabilizer can also help you capture smoother, more professional-looking footage.
How Do I Color Correct for Different Lighting Conditions in Outdoor Scenes?
You'll need to adjust white balance for different lighting conditions. Use the eyedropper tool on a neutral gray area or custom presets. Tweak saturation and temperature sliders to balance warm and cool tones in your outdoor scenes.
Can I Achieve Professional-Looking Color Grading Using Only Smartphone Apps?
You can achieve professional-looking color grading using smartphone apps. They offer powerful tools like LUTs, curves, and color wheels. With practice, you'll master adjusting contrast, saturation, and white balance to create stunning visuals on your mobile device.
What's the Best Way to Color Match Footage From Different Mobile Devices?
To color match mobile footage, you'll want to use a color reference chart when filming. Then, in editing, adjust each clip's white balance, exposure, and color tones to match. Finally, apply a consistent LUT for cohesion.
In Summary
You're now equipped with powerful color correction techniques for your mobile videos. Remember to balance whites, leverage presets, perfect exposure and contrast, adjust saturation and vibrance, and use selective color tweaks. These pro tips will elevate your footage from amateur to professional-looking. Don't be afraid to experiment and develop your unique style. With practice, you'll master these skills and create stunning, polished videos right from your smartphone. Keep refining your craft and watch your mobile videography soar.


Leave a Reply