Proper lighting can transform your mobile videos from amateur to professional-looking content. It enhances visual quality, creates mood, and draws attention to your subject. By understanding natural light and using techniques like positioning, reflectors, and portable LEDs, you'll avoid harsh shadows and create depth. Good lighting helps your smartphone camera perform better, especially in low-light situations. It can make your subjects look more flattering, add drama, or create a specific atmosphere. Whether you're using sunlight, artificial sources, or DIY solutions, mastering lighting techniques will greatly elevate your mobile video content. Discover how simple adjustments can make a world of difference in your videos.
Natural Light Basics

Natural light is your best friend when shooting mobile video. It's free, readily available, and can create stunning visuals when used correctly. To harness its power, you'll need to understand a few key principles.
First, pay attention to the direction of light. Side lighting can add depth and texture to your subjects, while front lighting provides even illumination. Backlighting creates dramatic silhouettes but may require fill light for balance. The time of day also matters; golden hour (just after sunrise or before sunset) offers warm, soft light that's flattering for most subjects.
Be aware of harsh midday sun, which can cast unflattering shadows and create high-contrast scenes. In these situations, seek shade or use diffusers to soften the light. Overcast days provide excellent diffused lighting, perfect for even, shadow-free shots.
Windows are your indoor natural light source. Position your subject near one for a soft, directional light. Avoid mixed lighting situations, where natural and artificial light compete, as this can create uneven color temperatures.
If you must shoot in challenging light, use your phone's exposure compensation to adjust brightness and preserve details in highlights and shadows.
Positioning Your Subject

When positioning your subject for mobile video, consider how angles and shadows affect their appearance.
Experiment with different angles to find the most flattering light for your subject's features.
Remember to adjust the distance between your subject and the light source to control the intensity and softness of the illumination.
Angles and Shadows
Positioning your subject correctly is essential for managing angles and shadows in mobile video lighting. You'll want to take into account the direction of your light source and how it interacts with your subject's features. Aim to create depth and dimension by strategically placing lights to highlight key areas while allowing some shadows to add contrast.
For flattering results, position your main light source at a 45-degree angle to your subject, slightly above eye level. This setup minimizes unflattering shadows under the eyes and nose. If you're using natural light from a window, have your subject face the light or stand at a slight angle to it.
Be mindful of harsh shadows that can occur when light comes from directly above or below. These angles can create unflattering results, aging your subject or distorting their features. Instead, experiment with side lighting to add drama and depth to your shots.
Don't forget about backlighting. While it can create beautiful silhouettes, it may also wash out your subject if not balanced properly. Use reflectors or a secondary light source to fill in shadows and maintain detail in your subject's face.
Distance From Light
The distance between your subject and the light source plays an essential role in the quality of your mobile video lighting. When positioning your subject, consider the inverse square law: light intensity decreases rapidly as the distance from the source increases. This means that moving your subject closer to the light can dramatically increase brightness and contrast.
For a soft, flattering look, place your subject closer to a larger light source. This creates a wrap-around effect, reducing harsh shadows and providing even illumination. Conversely, moving your subject farther from the light source can create more dramatic shadows and contrast, which may be desirable for certain moods or styles.
Experiment with different distances to achieve the desired effect. If you're using natural light from a window, try moving your subject closer or farther away to adjust the intensity and quality of light.
For artificial lighting, start with your subject about 3-5 feet from the light source and adjust as needed. Remember, the closer your subject is to the light, the more control you'll have over the lighting quality. However, be cautious of overexposure when positioning too close to intense light sources.
Avoiding Harsh Shadows

Harsh shadows can ruin an otherwise well-composed mobile video. To avoid this issue, you'll need to take into account the position and intensity of your light sources. Start by identifying the main light source, whether it's natural sunlight or artificial lighting.
If you're outdoors, try to shoot during the golden hour or on an overcast day to minimize harsh shadows. For indoor shoots, use diffusers or soft boxes to spread the light evenly across your subject. You can also bounce light off walls or ceilings to create a softer, more flattering effect.
If you're working with limited equipment, improvise by using white sheets or reflectors to fill in shadows. Pay attention to the angle of your light source. Avoid placing it directly above or to the side of your subject, as this can create unflattering shadows.
Instead, position the light at a 45-degree angle to your subject for a more balanced look. If you're dealing with multiple light sources, make sure they're working together to create depth without casting conflicting shadows.
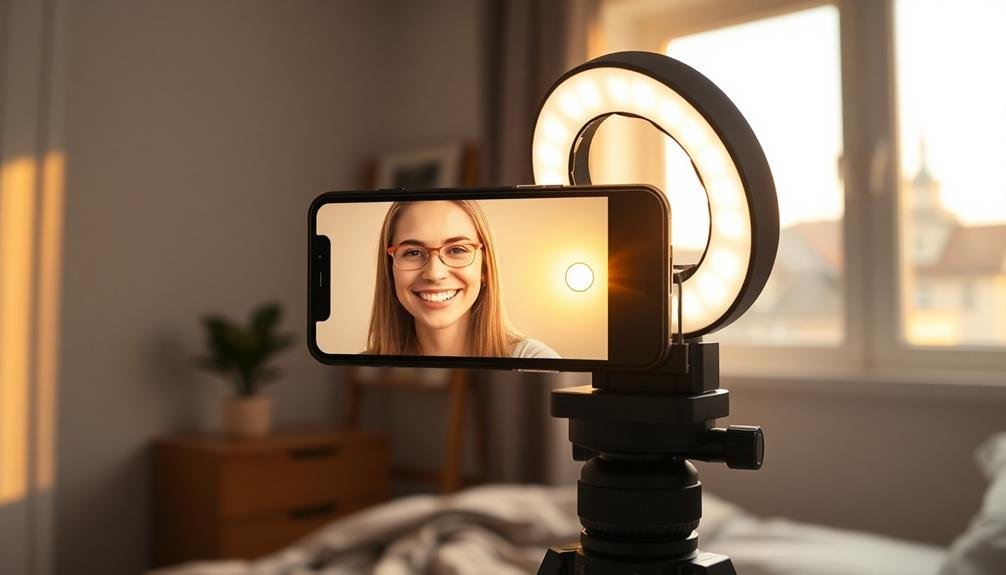
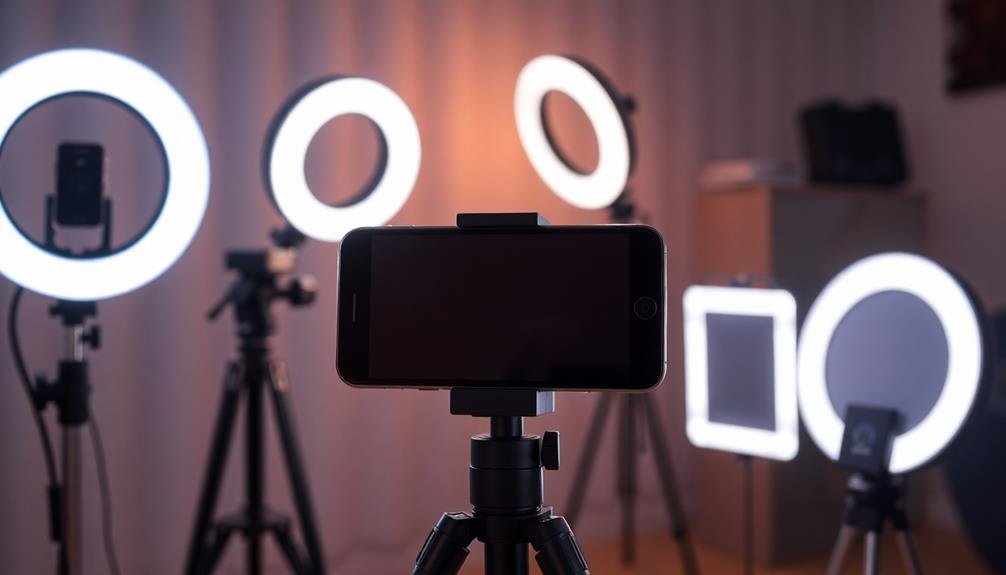
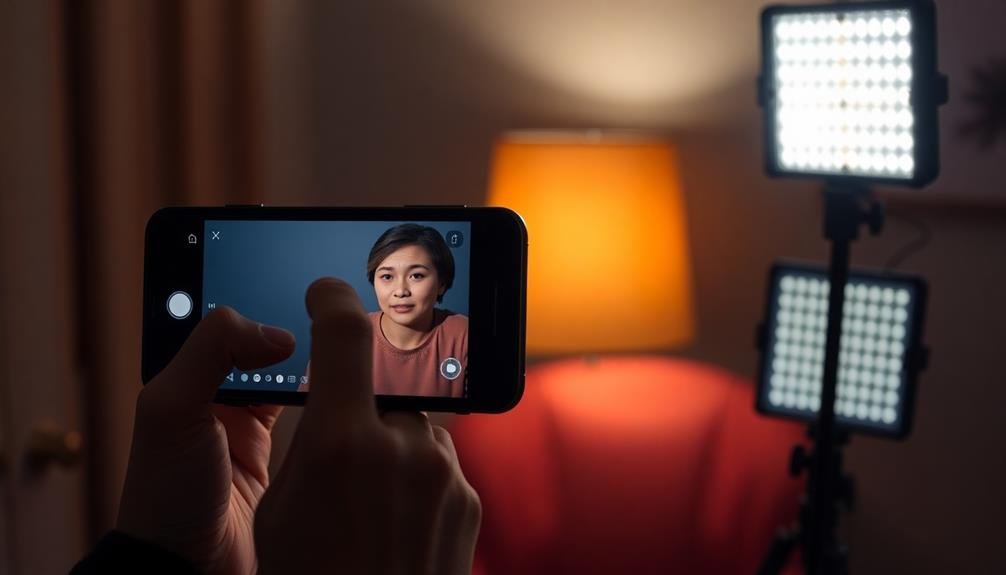
Portable LED Light Options
Lighting enthusiasts have embraced portable LED lights as game-changers for mobile video production. These compact, battery-powered devices offer you flexibility and control over your lighting setup, no matter where you're shooting.
When choosing a portable LED light, consider options like clip-on lights, small panel lights, and ring lights. Clip-on lights attach directly to your smartphone, providing a convenient, all-in-one solution. Small panel lights offer more power and versatility, allowing you to adjust the direction and intensity of light.
Ring lights, popular among vloggers and beauty content creators, provide even, flattering illumination for close-up shots.
Look for LED lights with adjustable color temperature, which lets you match the ambient lighting or create specific moods. Many models offer built-in diffusers to soften harsh light and reduce unflattering shadows. Some advanced options include smartphone app control, allowing you to adjust settings remotely.
Don't forget about portability. Opt for lightweight, compact designs that won't weigh you down during long shoots. Consider battery life and charging options to guarantee your lights won't die mid-shoot.
With the right portable LED light, you'll dramatically improve your mobile video quality, giving your content a professional edge.
DIY Lighting Solutions
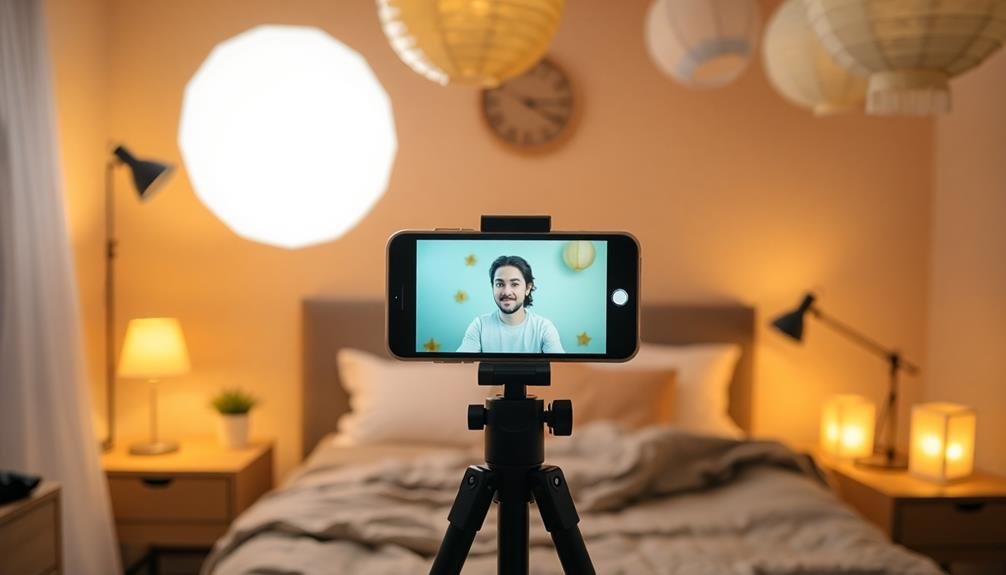
Occasionally, budget constraints or limited access to professional equipment necessitate creative solutions for mobile video lighting. You can craft effective DIY lighting setups using everyday items and a bit of ingenuity. One popular technique is the bounce card method, where you reflect light onto your subject using white cardboard or foam board. This creates a softer, more flattering light.
Another DIY option is repurposing household lamps. By removing lampshades and positioning desk or floor lamps strategically, you can achieve a professional-looking three-point lighting setup. Don't forget about natural light – positioning your subject near a window can provide beautiful, soft illumination.
Here's a quick reference guide for common DIY lighting solutions:
| DIY Method | Materials Needed | Pros | Cons |
|---|---|---|---|
| Bounce Card | White cardboard/foam | Soft, diffused light | Limited control |
| Repurposed Lamps | Desk/floor lamps | Versatile positioning | May require adapters |
| Window Light | Large window | Natural, flattering | Time/weather dependent |
| Tin Foil Reflector | Cardboard, tin foil | Inexpensive, portable | Can create harsh light |
Color Temperature Considerations

While DIY solutions can be effective, understanding color temperature is key to achieving professional-looking mobile video lighting. Color temperature, measured in Kelvin (K), affects the mood and realism of your video. Warmer temperatures (2000-3000K) create a cozy, intimate atmosphere, while cooler temperatures (5000-6500K) mimic daylight and appear more energetic.
When choosing lighting for your mobile video, consider the following:
- Match your light source to the ambient lighting
- Use warmer tones for indoor scenes and cooler tones for outdoor daytime shots
- Experiment with mixed temperatures for creative effects
- Invest in adjustable LED lights for versatility
You'll want to avoid mixing different color temperatures unintentionally, as this can create an unnatural look. If you're shooting indoors with warm lighting, use a similar temperature for your fill light to maintain consistency.
For outdoor shoots, aim for cooler temperatures that complement natural daylight.
Many modern smartphones allow you to adjust white balance settings, which can help compensate for different color temperatures. However, getting your lighting right from the start will always produce better results than relying on post-production fixes.
Reflectors for Fill Light

Reflectors are essential tools for adding fill light to your mobile video setups, and you'll find various types available, including white, silver, and gold surfaces.
You can position these reflectors strategically to bounce existing light onto your subject, softening shadows and creating a more balanced look.
If you're on a budget, you can easily create DIY reflectors using household items like white foam board or aluminum foil-covered cardboard.
Types of Reflectors
Fill light's best friend, the reflector, comes in various types to suit different lighting needs. You'll find these versatile tools invaluable for enhancing your mobile video lighting setup. The most common types of reflectors include white, silver, gold, and translucent options, each serving a specific purpose in manipulating light.
White reflectors provide a soft, natural-looking fill light that's perfect for portraits and close-ups. They're gentle on your subject and create a flattering, even illumination. Silver reflectors, on the other hand, offer a more intense, cooler light that's ideal for adding contrast and definition to your shots. Gold reflectors warm up your scene, giving it a sunlit glow that's great for outdoor or golden hour effects.
When choosing a reflector, consider these factors:
- Size: Larger reflectors provide more coverage but are less portable.
- Foldability: Collapsible options are great for on-the-go filming.
- Material: Fabric reflectors are lightweight, while rigid ones offer more durability.
- Multi-surface: Some reflectors feature different colors on each side for versatility.
Don't forget about translucent reflectors, which can soften harsh light sources when placed between the light and your subject. They're especially useful for diffusing sunlight in outdoor settings.
Positioning Reflectors Effectively
Mastering the art of reflector positioning can dramatically enhance your mobile video lighting. When using reflectors for fill light, place them opposite your main light source to soften shadows and create a more balanced look.
Angle the reflector slightly upward to mimic natural light and avoid harsh reflections. For a subtle effect, position the reflector farther from your subject. Move it closer for stronger fill light, but be careful not to overpower your main light source.
Experiment with different angles to find the sweet spot that complements your subject's features. When shooting outdoors, use reflectors to bounce sunlight onto your subject's face, eliminating unflattering shadows.
In indoor settings, position reflectors near windows to maximize natural light and create a soft, even glow. Don't forget about using reflectors for backlighting. Place one behind your subject to create a subtle rim light, adding depth and separation from the background.
You can also use multiple reflectors to achieve more complex lighting setups, giving you greater control over the final look of your mobile video content.
DIY Reflector Options
Often, you don't need expensive equipment to achieve great lighting for your mobile videos. DIY reflectors can be just as effective as professional ones, and they're much more budget-friendly. You can create your own reflectors using everyday materials found around your home or local craft store.
One of the simplest DIY reflector options is a white foam board. It's lightweight, affordable, and reflects light well. For a more versatile option, try covering a large piece of cardboard with aluminum foil. The shiny surface will bounce light effectively, and you can crumple the foil slightly for a softer reflection.
Here are four creative DIY reflector ideas:
- A car sun shade – foldable and portable
- A white sheet stretched over a frame
- A mirror tilted at the right angle
- A piece of white poster board
When using DIY reflectors, experiment with different materials and angles to find what works best for your specific lighting situation.
Adjusting Exposure in Apps

Smartphone cameras have come a long way, but they still need your help to capture the best possible video. One of the most vital aspects of video quality is proper exposure, and fortunately, most camera apps offer manual exposure controls. You'll want to familiarize yourself with these settings to guarantee your footage isn't too dark or overexposed.
Start by tapping on the subject of your video to set focus. Many apps will display an exposure slider, allowing you to fine-tune brightness. If you're shooting in challenging lighting conditions, consider using exposure compensation to adjust for extreme brightness or darkness. Remember, it's often better to slightly underexpose your video, as you can brighten it in post-production without losing detail.
| App | Exposure Control | Additional Features |
|---|---|---|
| Camera+ | Slider and EV | Separate focus/exposure |
| FiLMiC Pro | ISO and shutter speed | Zebra stripes |
| ProCam | Manual mode | Histogram |
Experiment with these settings to find the perfect balance for your scene. Don't be afraid to adjust exposure mid-shot if lighting conditions change. With practice, you'll develop an eye for proper exposure, elevating your mobile video content to a professional level.
Overcoming Low-Light Challenges
When you're faced with low-light conditions, your smartphone's Night Mode can be a game-changer for capturing clearer video.
You'll want to explore your device's specific night shooting features, which often use advanced algorithms to brighten and reduce noise in dark scenes.
If your phone lacks robust low-light capabilities, consider investing in portable LED lights or a small ring light to illuminate your subjects effectively.
Night Mode Capabilities
Conquering the darkness, modern smartphones have revolutionized night-time videography with advanced night mode capabilities. These features use sophisticated algorithms and hardware to capture stunning low-light footage that was once impossible with mobile devices. Night mode automatically adjusts your camera's settings, increasing exposure time and sensitivity to light, while reducing noise and preserving detail.
To make the most of your smartphone's night mode capabilities:
- Keep your device steady, using a tripod or stable surface when possible
- Avoid sudden movements to prevent motion blur
- Frame your shot carefully, as night mode may take longer to process
- Experiment with different lighting conditions to find the sweet spot
Night mode isn't just for still photography; it's equally effective for video. You'll notice improved clarity, color accuracy, and overall image quality in your night-time footage.
Some smartphones even offer specialized night video modes, further enhancing your ability to capture memorable moments in low-light environments. By leveraging these advanced features, you can create professional-looking content that stands out, even in challenging lighting conditions.
Don't let darkness limit your creativity – embrace night mode and discover new possibilities for your mobile video content.
Portable Lighting Solutions
Despite advancements in night mode technology, sometimes you'll need additional lighting to achieve the best results for your mobile videos. Portable lighting solutions offer a practical way to overcome low-light challenges and enhance your footage quality.
Compact LED panels are a popular choice for mobile videographers. They're lightweight, battery-powered, and provide adjustable brightness and color temperature. You can easily attach them to your smartphone or mount them on a small tripod for versatile positioning.
Ring lights are another excellent option, especially for vlogging or close-up shots. They create even, flattering illumination and produce attractive catchlights in subjects' eyes. Many ring lights come with smartphone holders, making them a convenient all-in-one solution.
For more subtle lighting, consider clip-on mini LEDs. These tiny lights attach directly to your phone and provide a boost of illumination without adding bulk to your setup.
Don't overlook the power of reflectors. Collapsible, pocket-sized reflectors can redirect available light to fill in shadows and create a more balanced exposure.
They're particularly useful in outdoor settings where natural light is present but unevenly distributed.
Backlighting Techniques for Smartphones

Three key backlighting techniques can dramatically improve your smartphone video quality.
First, use the sun as a natural backlight by positioning your subject between the camera and the light source. This creates a beautiful halo effect and adds depth to your shots.
Second, employ artificial backlighting using portable LED panels or ring lights placed behind your subject. This technique adds dimension and separates your subject from the background.
Third, experiment with silhouette effects by exposing for the bright background, leaving your subject in shadow. This creates a striking visual contrast and adds mystery to your videos.
When implementing these techniques, remember to:
- Adjust your camera's exposure settings to compensate for the bright backlight
- Use reflectors or fill lights to balance the lighting on your subject's face
- Experiment with different angles to find the most flattering backlit position
- Be mindful of lens flare and use it creatively or avoid it with a lens hood
Frequently Asked Questions
How Does Lighting Affect the Mood of My Video Content?
Lighting dramatically shapes your video's mood. It can create warmth, mystery, or drama. Bright lighting often conveys happiness and energy, while dim lighting can evoke intimacy or tension. You'll set the emotional tone with your lighting choices.
What Are the Best Lighting Setups for Different Social Media Platforms?
You'll want to tailor your lighting setup to each platform. For Instagram, try soft, natural light. TikTok thrives on bold, colorful lighting. YouTube benefits from professional three-point lighting. Facebook Live works well with diffused, even illumination.
Can I Use Household Items as Makeshift Lighting Equipment?
Yes, you can use household items as makeshift lighting equipment. Try using desk lamps, floor lamps, or even flashlights. You'll also find that white sheets or foam boards work well as reflectors to soften and bounce light.
How Do I Create Dramatic Lighting Effects With Minimal Gear?
You can create dramatic lighting effects with minimal gear by using contrast. Place your subject near a window, use a single lamp, or experiment with flashlights. Play with shadows and angles to add depth and mood to your shots.
What Are Common Lighting Mistakes to Avoid in Mobile Video Production?
You'll want to avoid harsh shadows, overexposure, and uneven lighting. Don't neglect background lighting or rely solely on your phone's flash. Also, steer clear of mixed color temperatures and forgetting to adjust for different times of day.
In Summary
You've now got the tools to dramatically improve your mobile video lighting. Remember, it's not about expensive gear, but understanding light and using what's available. Experiment with natural light, positioning, and simple tools like reflectors. Don't be afraid to try DIY solutions or portable LEDs. With practice, you'll develop an eye for great lighting that'll make your content stand out. Keep refining your skills, and you'll see the difference in your videos.


Leave a Reply