To make your underwater phone videos look professional, you'll need proper underwater housing to protect your device and guarantee clear shots. Use compact video lights to enhance visibility and correct colors at depth. Employ stabilization techniques like tucking your elbows and using both hands for steady footage. Frame your shots using the rule of thirds and include both wide and close-up angles for visual interest. In post-processing, adjust color balance, apply stabilization effects, and trim clips for smooth flow. By mastering these elements, you'll elevate your underwater footage from amateur to pro-level. Dive deeper to release the full potential of your aquatic filmmaking skills.
Proper Underwater Housing
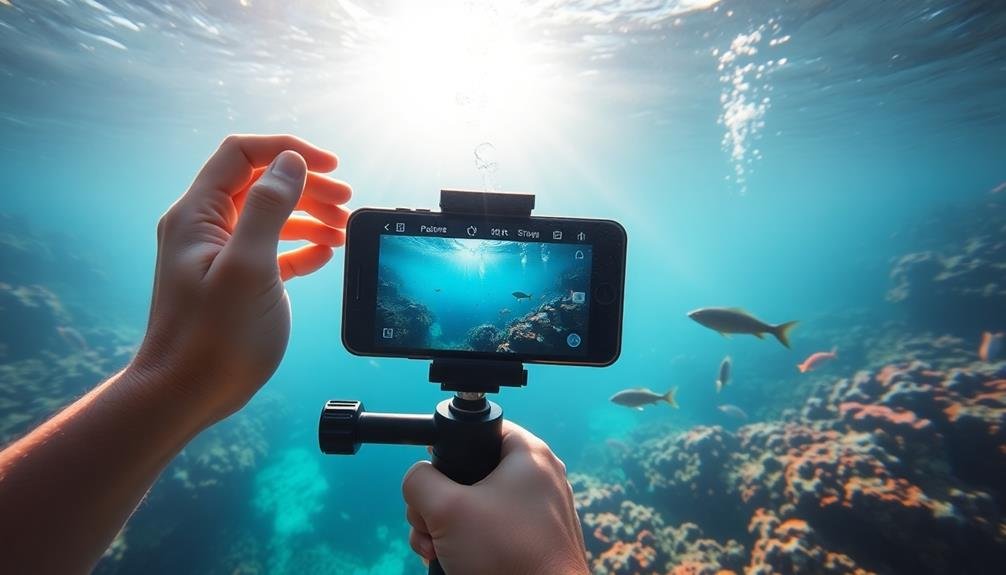
Protection is paramount when it comes to capturing underwater phone videos. You'll need a reliable underwater housing to safeguard your smartphone from water damage while allowing full functionality.
Look for a housing that's specifically designed for your phone model, guaranteeing a snug fit and easy access to all buttons and touchscreen controls. Choose a housing rated for the depth you plan to dive, typically ranging from 33 to 130 feet.
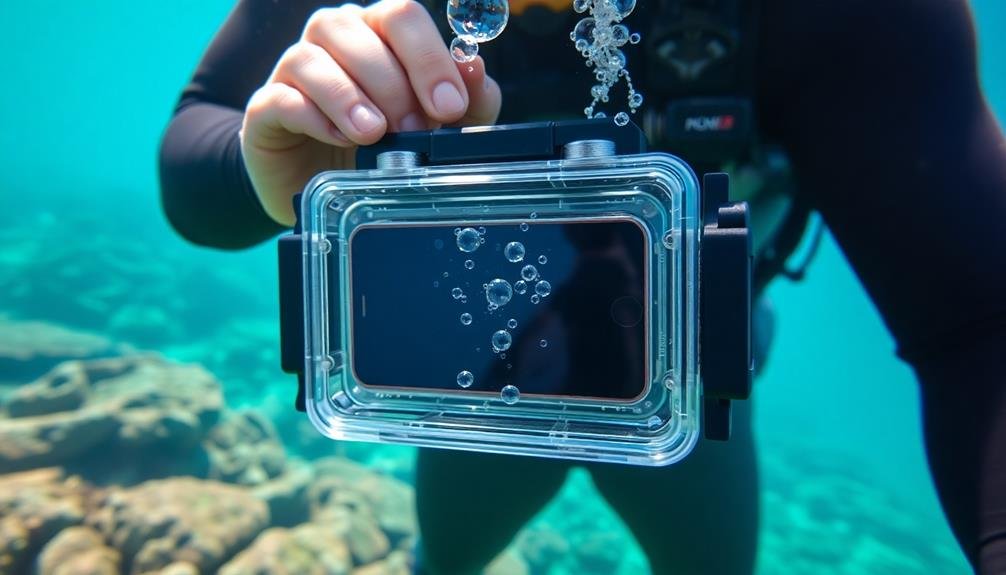
Opt for models with anti-fog inserts to prevent condensation inside the case, which can ruin your shots. Some housings come with built-in color correction filters, enhancing the natural colors lost at depth.
Consider housings with dedicated camera buttons or lens adapters for improved control and image quality.
Don't forget to test your housing before each dive, checking the seals and O-rings for any signs of wear or damage. Clean and maintain your housing regularly to guarantee its longevity and effectiveness.
Lighting and Color Correction
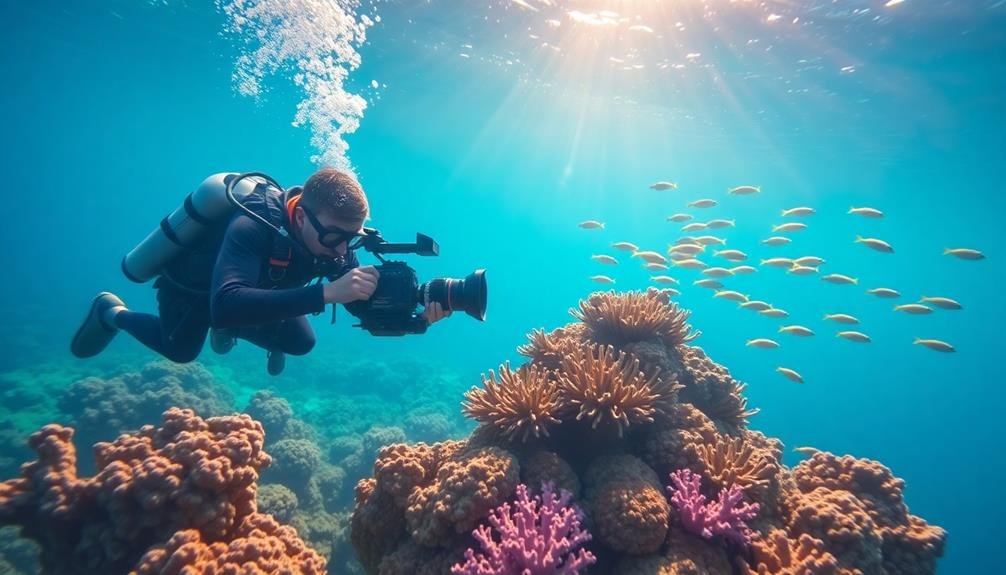
Illumination is key to capturing vibrant underwater phone videos. As you dive deeper, natural light diminishes, and colors start to fade. To combat this, you'll need to bring your own light source. Invest in a compact underwater video light that attaches to your phone housing. These lights come in various intensities and color temperatures, allowing you to adjust for different depths and water conditions.
When filming, position your light slightly off-center to create depth and avoid flat, washed-out images. Experiment with different angles to highlight textures and bring out the true colors of marine life. Remember, water absorbs red light first, so your footage may appear overly blue or green without proper lighting.
In post-production, color correction becomes essential. Use editing software to adjust white balance, contrast, and saturation. Don't overdo it – aim for a natural look that accurately represents the underwater environment.
Consider using color grading presets designed specifically for underwater footage to streamline your workflow. With practice, you'll develop an eye for balancing colors and creating stunning underwater videos that rival professional productions.
Stabilization Techniques
While proper lighting is essential, capturing steady footage underwater presents its own set of challenges. The water's movement and your own buoyancy can lead to shaky, disorienting videos. To combat this, you'll need to employ various stabilization techniques.
First, focus on your body positioning. Keep your elbows tucked close to your body and use both hands to hold your phone. This creates a more stable base for shooting. When possible, brace yourself against a stable object like a rock or coral (without touching living organisms).
For smoother panning shots, move your entire body rather than just your arms. This reduces micro-movements that can make footage look jittery. Consider using a waterproof gimbal or handheld stabilizer designed for underwater use. These devices counteract unwanted motion, resulting in silky-smooth footage.
In post-production, you can further enhance stability with:
- Built-in stabilization features in editing software
- Warp stabilizer effects for more advanced corrections
- Slight cropping to remove edge shake
Composition and Framing
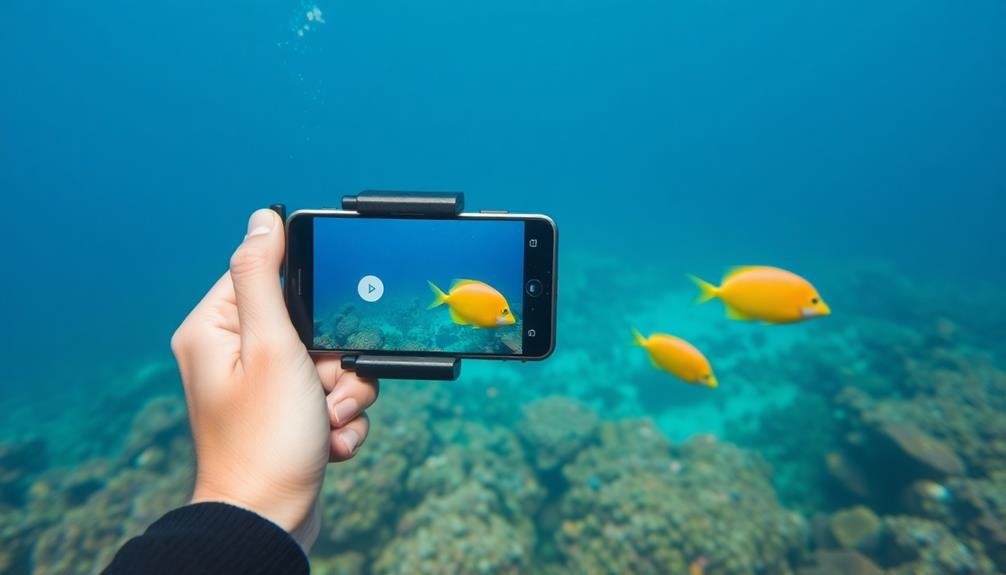
Mastering composition and framing underwater can elevate your phone videos from amateur to professional-looking. Start by using the rule of thirds, dividing your screen into a 3×3 grid and placing key subjects along these lines or at their intersections. This creates a more balanced and visually appealing shot.
Consider the background and foreground elements in your frame. Use natural features like coral or rock formations to add depth and context to your shots. When filming marine life, leave space in front of the subject's movement direction to create a sense of motion and anticipation.
Vary your angles to add interest. Try shooting upwards towards the surface for dramatic silhouettes, or get low to capture creatures from their perspective.
Don't forget to include wide shots to establish the underwater environment, then move in for close-ups of details.
Pay attention to color and contrast. The deeper you go, the more colors are filtered out. Position your subjects near the surface or use artificial lighting to bring out vibrant hues.
Post-Processing and Editing

Once you've captured your underwater footage, post-processing and editing can transform your raw videos into polished masterpieces. Start by adjusting the color balance to counteract the blue-green tint often present in underwater shots. Use color correction tools to enhance the natural hues of marine life and coral reefs.
Next, apply stabilization effects to smooth out any shaky footage caused by water currents or your movements.
Consider these key editing techniques to elevate your underwater videos:
- Trim and splice clips to create a dynamic flow
- Add slow-motion effects to highlight graceful underwater movements
- Incorporate subtle changes between scenes for a professional touch
Don't forget to adjust the contrast and brightness to compensate for the loss of light underwater. This will help bring out details and textures in your footage.
If you've captured any audio, use noise reduction tools to minimize unwanted background sounds like bubbles or equipment noise.
Frequently Asked Questions
Can I Use My Regular Phone Case for Underwater Filming?
You shouldn't use your regular phone case for underwater filming. It's not designed to be waterproof. Instead, invest in a specialized waterproof case or housing for your phone to protect it and guarantee clear, high-quality underwater footage.
What's the Maximum Depth for Filming With a Smartphone Underwater?
You shouldn't take your smartphone deeper than 10-15 feet underwater without specialized housing. Even waterproof phones have limits. For deeper dives, you'll need a dedicated underwater camera or professional housing for your phone.
How Do I Prevent Fogging Inside the Underwater Housing?
To prevent fogging inside your underwater housing, you'll want to use anti-fog strips or spray. Keep your gear cool before diving, and don't expose it to sudden temperature changes. Silica gel packets can also help absorb moisture.
Are There Specific Apps for Editing Underwater Phone Videos?
Yes, there are apps designed for underwater video editing. You'll find options like GoPro Quik, LumaFusion, and Dive+ that offer specialized features for color correction, stabilization, and enhancing underwater footage. They'll help you create stunning aquatic videos easily.
Can I Use External Microphones for Better Audio in Underwater Recordings?
You can't use external microphones underwater. They're not designed for submerged use and will likely be damaged. Instead, focus on capturing clear visuals and add audio in post-production. Consider using waterproof housings with built-in microphones for your phone.
In Summary
You've learned the key elements to make your underwater phone videos look professional. By using proper housing, mastering lighting and color correction, employing stabilization techniques, focusing on composition, and refining your post-processing skills, you'll elevate your underwater footage. Remember, practice makes perfect. Don't be afraid to experiment and push your creative boundaries. With these tools and techniques, you're well on your way to capturing stunning underwater scenes that rival professional productions.


Leave a Reply