
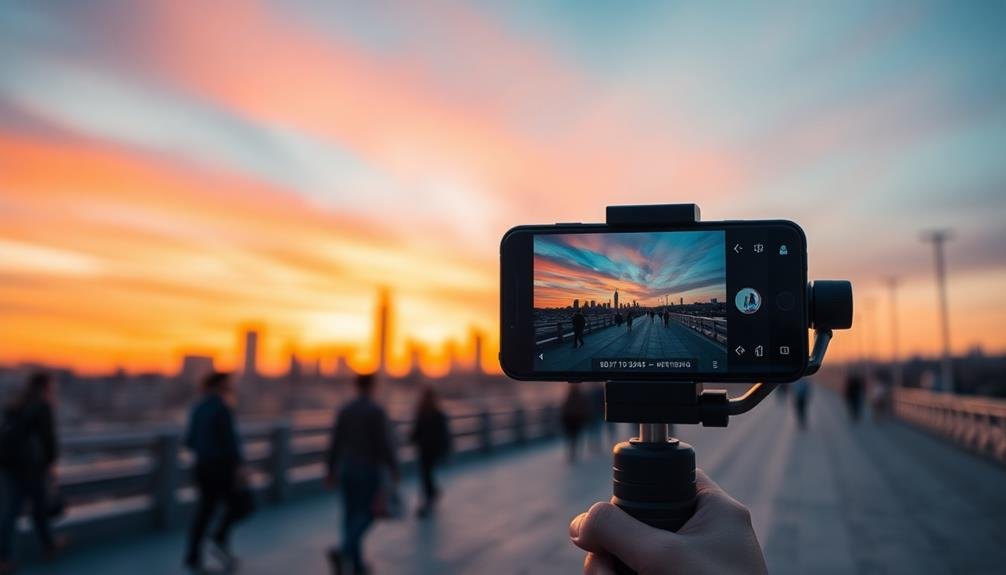
To create cinematic mobile video stories, start by stabilizing your shots using both hands or a gimbal. Master manual focus to control what's sharp in your frame. Apply the rule of thirds for balanced compositions, and experiment with unique angles to add visual interest. Leverage natural lighting, especially during golden hour, for a professional look. Don't neglect audio quality; use external microphones when possible. Finally, edit your footage carefully, trimming clips and adding transitions sparingly. By combining these techniques, you'll elevate your mobile videos from amateur to cinematic. Dive deeper into each tip to truly transform your smartphone filmmaking skills.
Stabilize Your Shots
A steady hand is essential for capturing cinematic mobile video. Even slight movements can result in shaky footage that distracts viewers from your story. To stabilize your shots, start by holding your phone with both hands and keeping your elbows close to your body. This creates a more stable base for your camera.
When possible, lean against a wall or other solid surface to further reduce unwanted movement. If you're walking while filming, bend your knees slightly and take slow, deliberate steps to minimize camera shake.
For even smoother results, consider investing in a smartphone gimbal or handheld stabilizer. These devices use motors to counteract hand movements, producing professional-looking footage.
Don't overlook built-in stabilization features on your phone. Many modern smartphones offer optical image stabilization (OIS) or electronic image stabilization (EIS). Enable these options in your camera settings for improved stability.
Additionally, try using a tripod or monopod for static shots. These tools are especially useful for time-lapses, long exposures, or interviews.
With practice and the right techniques, you'll be able to capture smooth, cinematic footage that engages your audience.
Master Manual Focus

To elevate your mobile videos, you'll want to master manual focus techniques.
Start by locking your focus to maintain stability and prevent unwanted shifts during recording.
Take advantage of your phone's focus peaking features to highlight in-focus areas, and practice smooth focus pulls to create professional-looking changes between subjects.
Lock Focus for Stability
Mastering manual focus is a game-changer for creating stable, cinematic mobile videos. Once you've set your focus manually, locking it guarantees your subject remains sharp throughout the shot. This technique prevents your camera from accidentally refocusing on the wrong elements, especially during movement.
To lock focus on most smartphones, tap and hold the screen where you want to focus until you see a lock icon appear. This feature is particularly useful when filming moving subjects or panning across a scene. It allows you to maintain a consistent focal point, even as the composition changes.
Here's a quick reference guide for focus locking techniques:
| Scenario | Technique | Benefit | Challenge |
|---|---|---|---|
| Static Subject | Tap and hold | Consistent focus | Limited depth |
| Moving Subject | Pre-focus and track | Smooth follow shots | Requires practice |
| Panning Shots | Lock on foreground | Maintains depth | Background blur |
| Close-ups | Manual focus ring | Precise control | Slower setup |
Use Focus Peaking Features
In addition to locking focus, many modern smartphones offer focus peaking features that can elevate your manual focus game. Focus peaking highlights the areas of your frame that are in sharp focus, typically with colored outlines or highlights. This tool is incredibly useful when you're shooting in manual focus mode, allowing you to achieve precise focus without guesswork.
To use focus peaking, first enable it in your camera app's settings. As you adjust focus, you'll see colored highlights appear on the edges of objects that are in focus. Experiment with different colors and sensitivity levels to find what works best for your eyes and shooting conditions.
When pulling focus between subjects, focus peaking helps you nail smooth, professional-looking shifts. Remember that focus peaking is most effective when combined with other manual controls. Use it alongside exposure and white balance adjustments to craft truly cinematic shots.
With practice, you'll be able to quickly identify and adjust focus points, even in challenging lighting conditions. This technique is particularly valuable for close-up shots, interviews, and scenes with multiple focal planes, where precise focus is essential for storytelling.
Practice Smooth Focus Pulls
While focus peaking helps you identify sharp areas, mastering smooth focus pulls takes your mobile cinematography to the next level.
Focus pulls involve shifting focus from one subject to another within a shot, creating a dynamic visual effect that guides the viewer's attention.
To practice smooth focus pulls, start with a static scene containing two subjects at different distances. Set your phone on a tripod and switch to manual focus mode.
Begin with the foreground subject in focus, then slowly and steadily adjust the focus to the background subject. Aim for a smooth, gradual shift without jerky movements.
Experiment with different speeds and directions. Try pulling focus from background to foreground, or between subjects at similar distances.
Pay attention to timing, ensuring the focus shift aligns with your story's pacing and emotional beats.
As you improve, incorporate focus pulls into moving shots. Use a gimbal or stabilizer to maintain steady framing while adjusting focus.
Utilize the Rule of Thirds
Embracing the rule of thirds can dramatically improve your mobile video compositions. This classic photography principle divides your frame into a 3×3 grid, creating intersecting points that naturally draw the viewer's eye. When filming, place key subjects or elements along these lines or at their intersections for more visually appealing and balanced shots.
To effectively use the rule of thirds in your mobile videos:
- Enable the grid overlay in your camera app settings.
- Position important elements along the grid lines or at intersection points.
- Frame your subject slightly off-center for a more dynamic composition.
- Use negative space to create visual interest and depth.
Here's a quick reference guide for applying the rule of thirds to common shot types:
| Shot Type | Subject Placement | Background | Framing Tip |
|---|---|---|---|
| Close-up | Eyes on top line | Blurred | Leave space in front |
| Medium | Body on side line | In focus | Use lead room |
| Wide | On intersection | Detailed | Balance with foreground |
| Landscape | Horizon on line | Expansive | Emphasize sky or ground |
| Portrait | Face on side line | Minimal | Use negative space |
Experiment With Unique Angles
Experimenting with unique angles can instantly elevate your mobile videos.
Try capturing low-angle shots to make subjects appear larger or more imposing, creating a sense of drama or power.
You can also employ the Dutch tilt technique, where you slightly tilt the camera, to add tension or disorientation to your scenes.
Low-Angle Shots
Low-angle shots frequently add drama and impact to your mobile videos. They make subjects appear larger, more powerful, and more imposing. To capture these shots, position your smartphone below eye level, pointing upwards at your subject. This technique works particularly well for architectural shots, portraits of authority figures, or when you want to convey a sense of awe or intimidation.
When shooting low-angle videos, pay attention to the background. You'll often capture more sky or ceiling, which can either enhance or detract from your shot. Use this to your advantage by incorporating interesting elements above your subject. Remember to stabilize your phone, as low-angle shots can be more susceptible to camera shake.
Here's a quick guide to low-angle shot effects:
| Subject Type | Low-Angle Effect | Best Used For |
|---|---|---|
| People | Powerful, dominant | Leaders, heroes |
| Buildings | Majestic, towering | Architecture, cityscapes |
| Objects | Significant, looming | Product showcases |
| Nature | Grand, overwhelming | Landscapes, trees |
Experiment with different heights and angles to find the perfect low-angle shot for your story. Don't be afraid to get creative – sometimes the most impactful shots come from unexpected perspectives.
Dutch Tilt Technique
While low-angle shots add drama, the Dutch tilt technique brings a whole new dimension of creativity to your mobile videos. This unique angle, also known as a canted angle or oblique angle, involves tilting your camera diagonally to create a sense of unease, tension, or disorientation.
To execute a Dutch tilt, hold your phone at an angle, typically between 15 to 45 degrees off-level. This technique works best when you're trying to convey a character's confusion, emphasize a dramatic moment, or suggest that something's not quite right in the scene.
It's particularly effective in thriller, horror, or action sequences. Experiment with different degrees of tilt to find the right balance for your shot. A subtle tilt can add intrigue, while a more extreme angle can create a disorienting effect.
Use the grid lines on your phone's camera app to gauge the tilt and maintain consistency across shots.
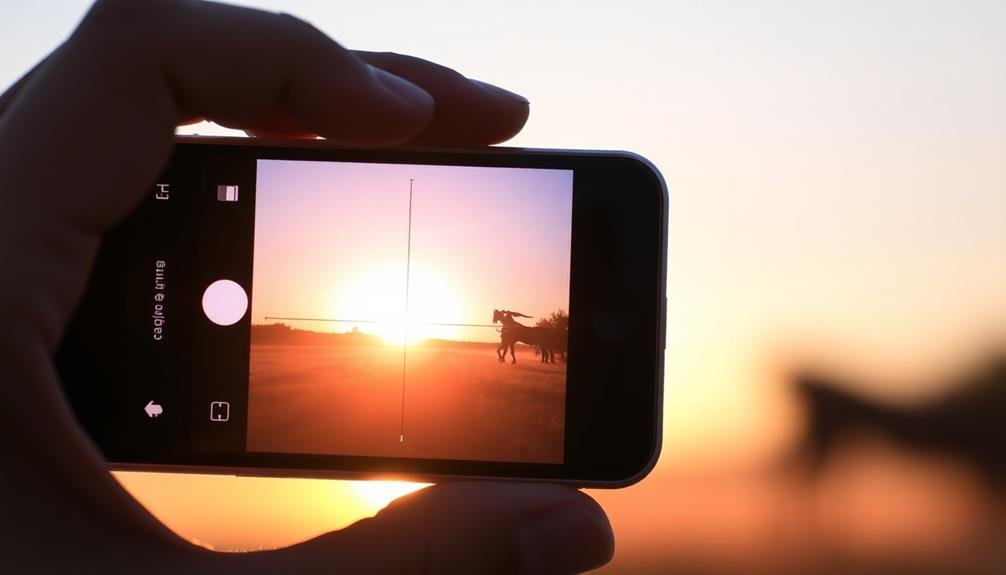
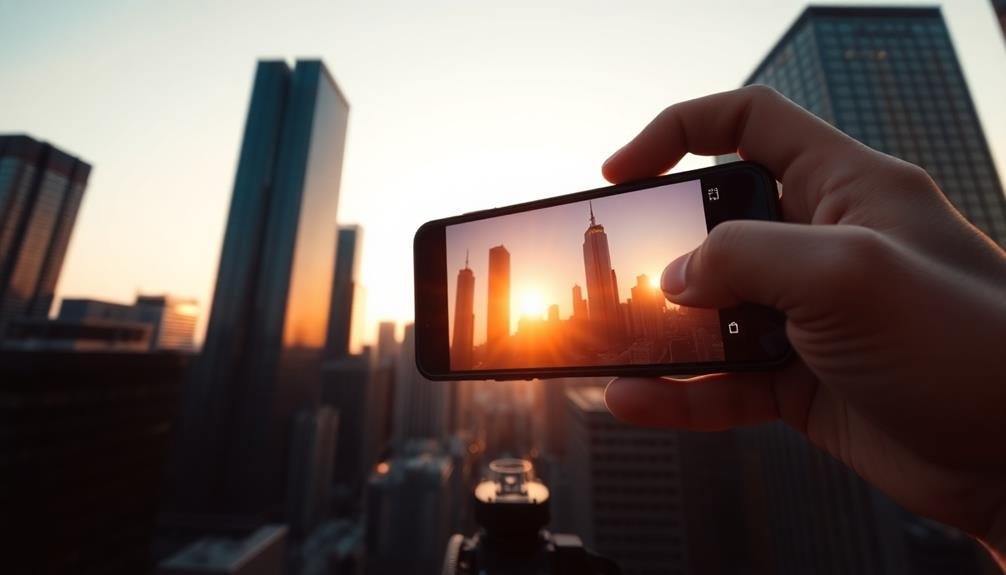
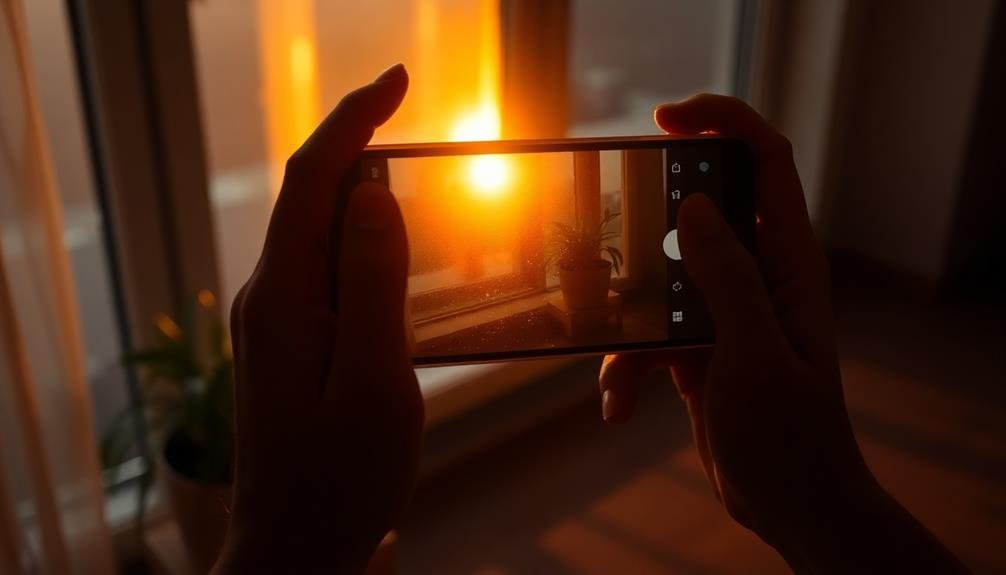
Leverage Natural Lighting
Natural lighting is your best friend when shooting cinematic mobile videos. It's free, abundant, and can create stunning effects when used correctly. To make the most of natural light, you'll need to understand its characteristics and how to work with them.
Start by observing how light changes throughout the day. Golden hour, just after sunrise or before sunset, offers warm, soft light that's ideal for portraits and landscapes. Midday sun can be harsh, creating strong shadows, but it's perfect for high-contrast shots or silhouettes. Overcast days provide diffused light, great for even exposures and reducing harsh shadows.
Position your subjects strategically. Use windows or doorways to frame them with light. When outdoors, place subjects in open shade to avoid squinting and unflattering shadows. For dramatic effects, try backlighting your subject and adjusting exposure for a silhouette.
Don't forget to use reflectors or white surfaces to bounce light and fill in shadows. You can improvise with white cardboard or even a light-colored wall.
Capture Compelling Audio

Why does audio matter so much in cinematic mobile videos? Simply put, poor sound can ruin even the most visually stunning footage. To capture compelling audio, start by investing in an external microphone. A lavalier mic for interviews or a shotgun mic for ambient sound will dramatically improve your audio quality.
When recording, position yourself or your subject away from noisy environments. If you're outdoors, use a windscreen to reduce wind noise. For indoor shoots, choose quiet locations with minimal echo.
Always monitor your audio levels using headphones to catch any issues in real-time.
Don't forget about ambient sound. Capture a few minutes of room tone or environmental noise to use during editing. This background audio can help smooth changes and create a more immersive experience.
In post-production, clean up your audio by removing unwanted noise and adjusting levels. Consider adding subtle background music or sound effects to enhance the mood of your video.
Edit for Maximum Impact

Editing is where your cinematic mobile video truly comes to life. It's the stage where you'll shape your raw footage into a compelling story. Start by selecting your best shots and arranging them in a logical sequence.
Don't be afraid to trim clips ruthlessly; shorter is often better for maintaining viewer interest. Pay attention to pacing. Vary your shot lengths to create rhythm and keep your audience engaged. Use transitions sparingly; simple cuts often work best.
When you do use transitions, make sure they serve a purpose and don't distract from your narrative. Color grading can dramatically enhance your video's mood and visual appeal. Experiment with different looks, but maintain consistency throughout your piece.
Add music or sound effects to elevate the emotional impact, but be careful not to overpower your primary audio. Consider adding text overlays or lower thirds to provide context or identify subjects. Keep these elements clean and legible.
Frequently Asked Questions
What Equipment Do I Need to Start Shooting Cinematic Mobile Videos?
You'll need a smartphone with a good camera, a tripod or stabilizer for steady shots, and a clip-on lens kit. Don't forget a microphone for clear audio. Editing apps and lighting gear can enhance your videos too.
How Can I Improve the Color Grading of My Mobile Video Footage?
To improve color grading, you'll want to use editing apps like LumaFusion or Filmic Pro. Adjust contrast, saturation, and white balance. Apply LUTs for instant cinematic looks. Don't overdo it; aim for natural, consistent colors throughout your footage.
What Frame Rate Should I Use for Cinematic Mobile Videos?
For cinematic mobile videos, you'll want to shoot at 24fps. It's the standard for films and gives that classic cinematic look. If you're aiming for slow motion, try 60fps or higher, then slow it down in editing.
Are There Specific Mobile Apps Recommended for Advanced Video Editing?
You'll find several powerful apps for advanced mobile video editing. LumaFusion, KineMaster, and Adobe Premiere Rush are top choices. They offer professional-grade features like multi-track editing, color grading, and special effects right on your smartphone.
How Do I Create Smooth Transitions Between Scenes in Mobile Video Stories?
You can create smooth shifts by using fade effects, swipe shifts, or match cuts. Try overlapping audio between scenes, utilizing slow motion, or employing zoom shifts. Practice these techniques to seamlessly connect your video story segments.
In Summary
You've now got the tools to create stunning mobile video stories. Don't be afraid to experiment and push your creative boundaries. Remember, practice makes perfect. As you apply these tips, you'll see your videos transform into cinematic masterpieces. Keep exploring new techniques, stay curious, and most importantly, have fun with the process. Your unique perspective is what will make your stories truly enchanting. So go out there and start filming!


Leave a Reply