
Twilight's unique lighting conditions create stunning photo opportunities for your phone. To make your twilight shots pop, master exposure compensation to balance sky and foreground details. Utilize HDR mode for high-contrast scenes and night mode for low-light clarity. Capture silhouettes against colorful skies, and enhance colors in post-processing. Minimize camera shake with stabilization techniques, and choose focal points that engage viewers. Create depth by layering compositions and experimenting with foreground elements. Don't forget to play with wide-angle and telephoto shots to vary your perspective. With these techniques, you'll reveal the secret to breathtaking twilight photography on your phone.
Understanding Twilight's Unique Lighting

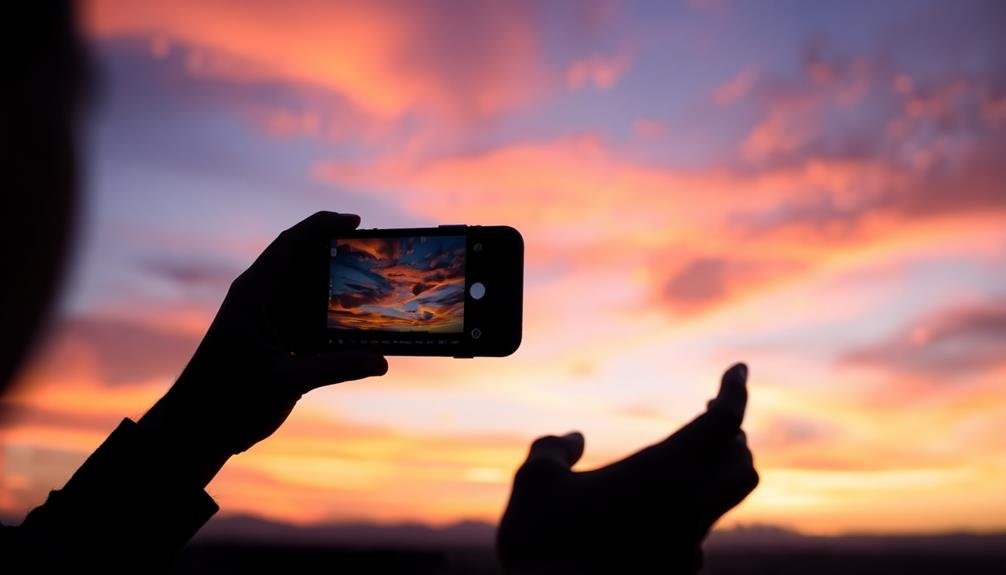
During twilight, the sky transforms into a canvas of soft, ethereal light. This unique lighting condition occurs during the brief period after sunset or before sunrise when the sun is below the horizon but still illuminating the atmosphere.
You'll notice that the light during twilight is diffused and indirect, creating a gentle, even illumination that's perfect for photography.
Twilight is divided into three phases: civil, nautical, and astronomical. Civil twilight offers the most vibrant colors, with the sky often displaying stunning hues of pink, orange, and purple.
As you move into nautical twilight, the sky darkens, and blue tones become more prominent. Astronomical twilight is the darkest phase, ideal for capturing silhouettes and star-filled skies.
The quality of light during twilight is markedly different from daytime or nighttime lighting. Shadows are softer, and contrast is reduced, allowing for more balanced exposures.
This lighting condition can make landscapes appear more dramatic and cityscapes more atmospheric. To capture twilight's magic on your phone, you'll need to understand how to work with low light and adjust your camera settings accordingly.
Mastering Exposure Compensation
Although twilight offers beautiful lighting conditions, it can be challenging for your phone's camera to capture accurately. This is where exposure compensation becomes your secret weapon. It allows you to override your camera's automatic settings, ensuring you get the shot you want.
To use exposure compensation, look for the +/- icon in your camera app. Sliding it towards + will brighten your image, while – will darken it. For twilight photos, you'll often need to increase exposure slightly to bring out details in shadowy areas.
Start by taking a test shot with no compensation. If it's too dark, try +0.3 or +0.7. If it's too bright, go for -0.3 or -0.7. Keep adjusting until you achieve the desired result. Remember, small adjustments can make a big difference.
Pay attention to highlights in the sky. If they're blown out, reduce exposure. Conversely, if the foreground is too dark, increase it. You're aiming for a balance between preserving sky details and revealing landscape features.
With practice, you'll develop an intuition for the right exposure compensation in various twilight scenarios, dramatically improving your phone photography.
Harnessing HDR Mode

How can HDR mode elevate your twilight photography? HDR, or High Dynamic Range, is a powerful tool that can capture a wider range of light and dark tones in your twilight scenes. When you activate HDR mode, your phone takes multiple exposures and combines them into a single image, preserving details in both shadows and highlights.
To harness HDR effectively, start by enabling it in your camera settings. When framing your twilight shot, look for scenes with high contrast, such as a bright sky against dark silhouettes. Hold your phone steady or use a tripod, as HDR requires multiple exposures.
Be mindful of moving subjects, as they can appear ghostly in HDR images. Experiment with HDR in various twilight conditions. It's particularly useful when capturing sunsets, cityscapes, or landscapes with dramatic cloud formations.
However, don't rely on it blindly; in some cases, a single exposure might yield better results. Pay attention to color saturation and overall image balance. If HDR produces an unnatural look, consider adjusting your phone's HDR settings or opting for manual control instead.
Utilizing Night Mode Features
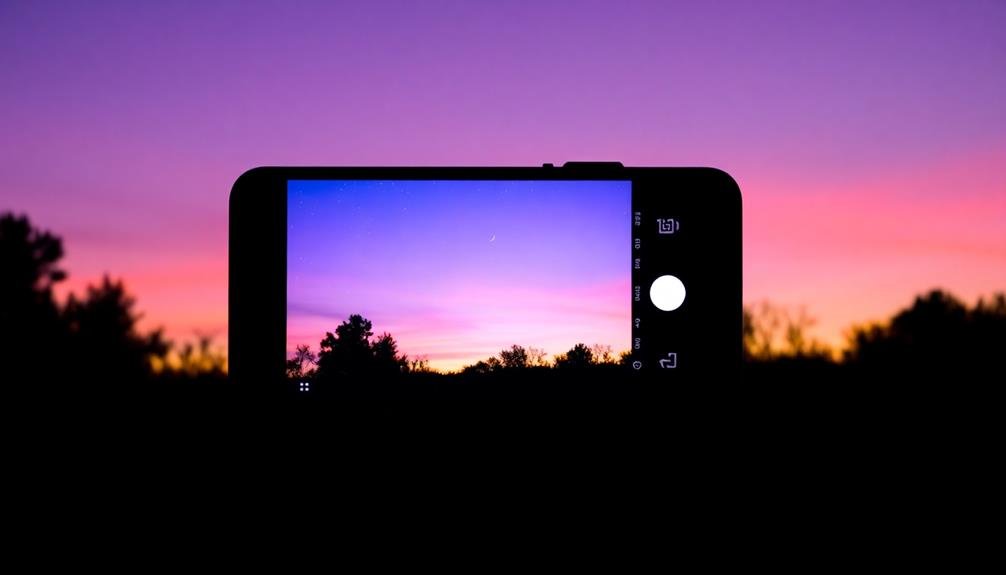
As twilight fades into darkness, your phone's night mode features become invaluable tools for capturing stunning low-light images. These advanced algorithms and software enhancements work together to produce clearer, brighter photos in challenging lighting conditions.
By activating night mode, you're allowing your phone to use longer exposure times and intelligent noise reduction techniques, resulting in images that are sharp and vibrant despite the lack of natural light.
To make the most of night mode, keep your phone steady or use a tripod for even better results. Many night modes also employ multi-frame capture, taking several photos in quick succession and combining them to create a single, well-exposed image. This technique helps reduce noise and enhance detail in shadows and highlights.
When using night mode, experiment with different compositions to create enchanting twilight scenes:
- Silhouette urban skylines against colorful, fading skies
- Capture the warm glow of street lamps reflecting off wet surfaces
- Frame illuminated windows or neon signs against the darkening night
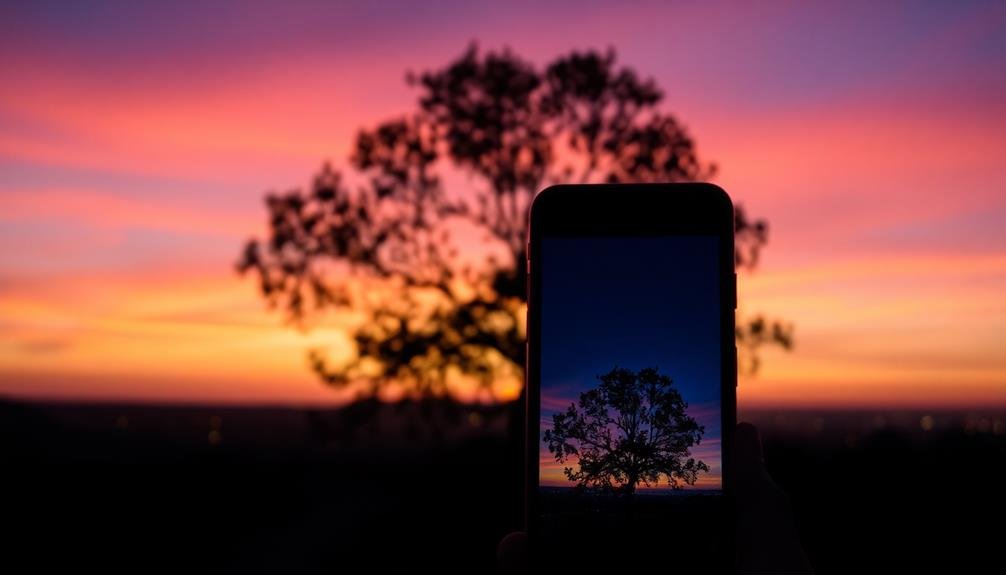
Capturing Silhouettes Against Colorful Skies
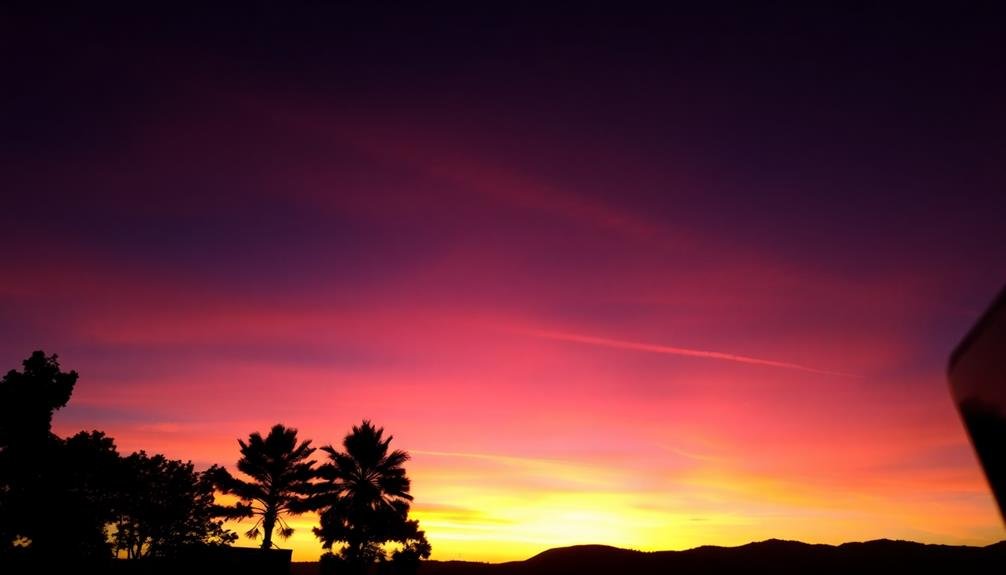
Silhouettes offer a dramatic way to capture the essence of twilight photography. To create striking silhouettes against colorful skies, position your subject between your phone and the light source. Aim for clean, recognizable shapes with defined edges. Trees, buildings, people, and animals make excellent silhouette subjects.
Expose for the sky by tapping on the brightest area of your screen. This will darken your subject, creating a crisp silhouette. Don't be afraid to adjust the exposure manually if needed. Experiment with different angles to find the most interesting composition.
Here's a quick guide to inspire your twilight silhouette photography:
| Subject | Sky Color | Mood | Time | Composition |
|---|---|---|---|---|
| Tree | Orange | Serene | Just after sunset | Off-center |
| Couple | Pink | Romantic | 20 min after sunset | Centered |
| Cityscape | Deep blue | Mysterious | 30 min after sunset | Rule of thirds |
| Mountain | Purple | Majestic | 40 min after sunset | Panoramic |
| Lighthouse | Red | Dramatic | 50 min after sunset | Vertical |
Remember to hold your phone steady or use a tripod for sharp images. With practice, you'll master the art of capturing stunning silhouettes against twilight skies.
Balancing Foreground and Background Elements

Balancing foreground and background elements is essential for creating depth and interest in your twilight photos. To achieve this balance, you'll need to contemplate the composition of your shot carefully. Look for objects in the foreground that can frame or complement the twilight sky in the background. Trees, buildings, or even people can serve as compelling foreground subjects.
When framing your shot, use the rule of thirds to place your main subjects off-center. This technique adds visual interest and draws the viewer's eye through the image. Experiment with different angles and perspectives to find the most striking composition. You might try crouching low to emphasize foreground elements or shooting from an elevated position to capture more of the background sky.
Contemplate using leading lines to guide the viewer's eye from the foreground to the background. Here are some examples of leading lines you can use:
- A winding path or road
- The edge of a building or fence
- Natural elements like tree branches or shorelines
Remember to adjust your camera settings to guarantee both foreground and background elements are properly exposed. Use HDR mode or exposure bracketing if needed to capture the full range of light in your twilight scene.
Leveraging Leading Lines

When capturing twilight scenes, you'll want to use leading lines to enhance your compositions.
Look for natural pathways like roads, fences, or shorelines that can create a sense of depth and draw the viewer's eye into the image.
Finding Natural Pathways
During twilight, natural pathways can transform into powerful compositional elements known as leading lines. These pathways guide the viewer's eye through your image, creating depth and interest. Look for roads, trails, or even streams that wind their way through your scene. They'll often appear more pronounced during the soft light of twilight, making them perfect for your phone photography.
When you're composing your shot, position yourself to maximize the impact of these natural pathways. Try to align them diagonally across your frame for a dynamic effect, or use them to lead directly to your main subject. Remember, the goal is to create a visual journey for the viewer's eye to follow.
Here are some examples of natural pathways to look for:
- A winding dirt road disappearing into a misty forest
- A wooden boardwalk stretching across a twilight beach
- A meandering river reflecting the colorful sky above
Experiment with different angles and perspectives to find the most compelling composition. Don't be afraid to get low or climb to a higher vantage point to capture the best view of your chosen pathway.
Creating Depth Perception
Leading lines are a powerful tool for creating depth perception in your twilight photos. These visual pathways guide the viewer's eye through the image, adding a sense of three-dimensionality to your two-dimensional phone screen.
To utilize leading lines effectively, look for naturally occurring linear elements in your surroundings. Roads, fences, shorelines, and even rows of streetlights can serve as excellent leading lines during twilight hours.
When composing your shot, position these lines so they converge towards a focal point or vanishing point in the distance. This technique creates a sense of perspective and draws the viewer's gaze into the image.
Experiment with different angles to find the most intriguing composition. Try getting low to the ground to emphasize foreground elements, or shoot from an elevated position to capture sweeping lines across the landscape.
Don't forget to reflect on the direction of light during twilight. Side-lighting can enhance the visibility of leading lines, creating shadows that further emphasize depth.
Guiding Viewer's Gaze
To effectively guide the viewer's gaze in your twilight photos, you'll need to master the art of leveraging leading lines. These lines can be natural or man-made elements that draw the eye through the image, creating a sense of depth and directing attention to your main subject.
Look for roads, paths, fences, or even rows of lights that lead towards your focal point. When composing your shot, position these lines strategically. They should start from the foreground and guide the viewer's eye towards the background or your main subject.
Remember, leading lines don't always have to be straight; curved or diagonal lines can add dynamism to your twilight photos.
To make the most of leading lines in twilight photography:
- Use the glow of streetlights to create a path of illumination
- Capture the reflection of lights on wet surfaces for a double line effect
- Incorporate architectural elements like bridges or buildings as natural leading lines
Embracing Negative Space

Negative space is a powerful compositional tool in twilight photography. It's the empty or unoccupied areas surrounding your main subject. When you're shooting twilight scenes with your phone, don't be afraid to leave large portions of your frame seemingly empty. This technique can dramatically enhance the impact of your subject.
To effectively use negative space, look for areas of the sky or foreground that are relatively uniform in color or texture. These areas can provide a perfect backdrop for silhouettes or isolated subjects. You'll find that negative space naturally draws the viewer's eye to your main subject, creating a sense of balance and tranquility in your image.
Experiment with different ratios of negative space to subject. Try placing your subject off-center, allowing the empty space to dominate the frame. This can create a sense of scale or isolation, perfect for capturing the mood of twilight.
Experimenting With Long Exposure Apps
While negative space can create stunning twilight photos, long exposure techniques can take your smartphone photography to the next level. With the right apps, you can capture light trails, smooth water surfaces, and create dreamy, ethereal images. Many apps offer manual controls for shutter speed, allowing you to experiment with exposure times ranging from a few seconds to several minutes.
To get started, download a reputable long exposure app like Slow Shutter Cam or ProCam. These apps give you control over ISO, aperture, and shutter speed. When shooting twilight scenes, use a tripod or stable surface to keep your phone steady during long exposures.
Experiment with different shutter speeds to achieve various effects:
- 1-2 seconds: Slightly blur moving water or capture subtle light trails
- 5-10 seconds: Create silky smooth water surfaces and longer light trails
- 30+ seconds: Produce dramatic cloud movements and star trails
Don't be afraid to push your creativity. Try light painting with flashlights or capturing car headlights on busy streets.
Remember to adjust your ISO and aperture to compensate for the longer exposure times, ensuring your images remain properly exposed and sharp.
Enhancing Colors in Post-Processing

The magic of twilight photos often lies in their vibrant, ethereal colors. While your phone's camera can capture stunning twilight scenes, post-processing can take your images to the next level. You'll want to focus on enhancing the natural hues and creating a balanced, eye-catching composition.
Start by adjusting the white balance to accurately represent the twilight's cool tones. Then, boost the saturation slightly to make colors pop without appearing unnatural. Experiment with the highlights and shadows to bring out details in both bright and dark areas. Don't forget to fine-tune the contrast for added depth.
Here's a quick guide to enhancing your twilight photos:
| Adjustment | Purpose | Recommended Range |
|---|---|---|
| White Balance | Set mood | 3000K – 4500K |
| Saturation | Boost colors | +10% to +30% |
| Highlights | Recover details | -20% to -40% |
| Shadows | Reveal dark areas | +20% to +40% |
| Contrast | Add depth | +10% to +25% |
Minimizing Camera Shake

Moving from enhancing colors to capturing sharp images, camera shake can ruin even the most beautifully composed twilight shot. To minimize this issue, you'll need to stabilize your phone. First, try bracing your elbows against your body or leaning against a solid object. If possible, use a tripod or phone mount to keep your device completely still.
When you're ready to take the photo, avoid tapping the screen to release the shutter. Instead, use your phone's volume buttons or a remote shutter release. This reduces the risk of accidentally moving your device. If your phone has a night mode or long exposure feature, enable it. These modes often use image stacking techniques to reduce blur.
Here's what a sharp twilight photo can capture:
- Crisp silhouettes of trees or buildings against a colorful sky
- Twinkling stars becoming visible as darkness falls
- Reflections in still water, mirroring the twilight hues above
Remember to set your focus manually by tapping on the screen. This guarantees your camera doesn't hunt for focus in low light, potentially causing blur.
With these techniques, you'll be well-equipped to capture stunning, shake-free twilight photos on your phone.
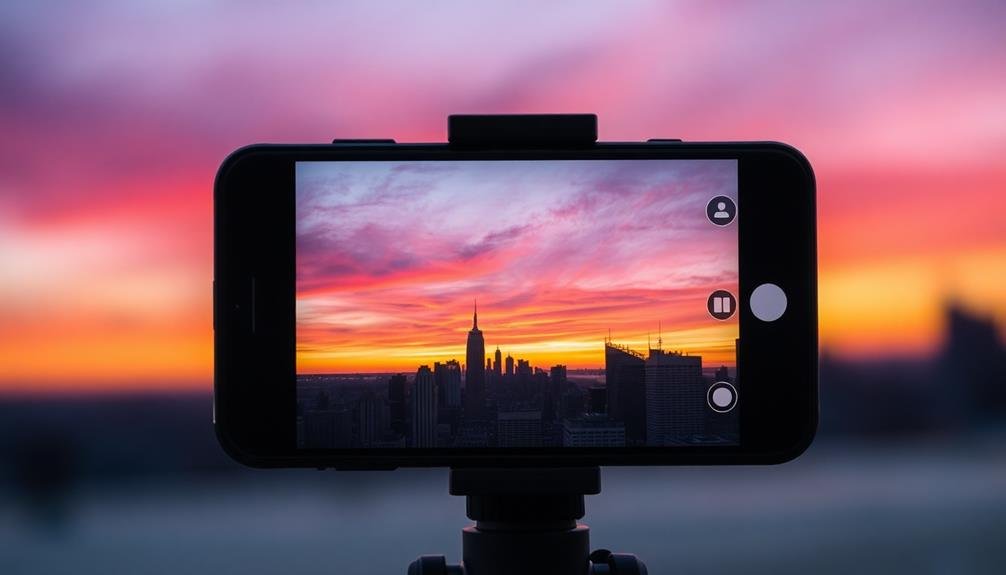
Choosing the Right Focal Point
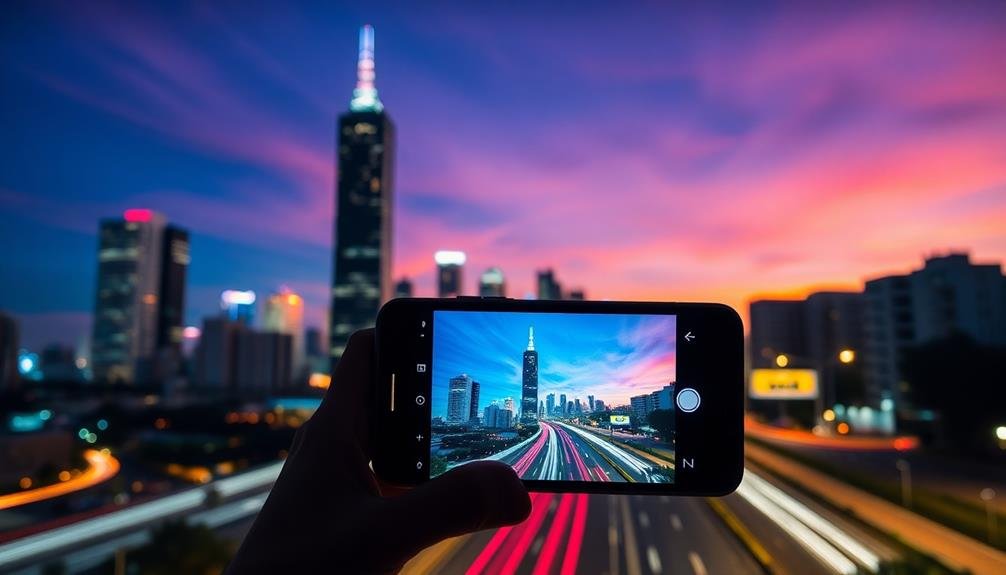
Selecting the right focal point can make or break your twilight photo. During twilight, you'll often have a mix of natural and artificial light sources, creating a unique atmosphere. To capture this effectively, choose a focal point that draws the viewer's eye and enhances the mood.
Consider using the rule of thirds to position your main subject. This technique divides your frame into a 3×3 grid, placing key elements along these lines or at their intersections. For cityscape shots, focus on illuminated buildings or landmarks. In natural settings, silhouettes of trees or mountains against the colorful sky can be striking focal points.
Don't forget about foreground elements. A reflective surface like water or wet pavement can add depth and interest to your twilight photos. If you're including people, make sure they're positioned where the light highlights their features.
Experiment with different focal lengths. Wide-angle shots can capture expansive twilight skies, while telephoto lenses allow you to isolate specific elements. Use your phone's tap-to-focus feature to fine-tune your focal point, and consider using the AE/AF lock to maintain focus on your chosen subject throughout the shot.
Creating Depth With Layered Compositions

While choosing the right focal point is important, creating depth in your twilight photos can elevate them to the next level. Layered compositions help achieve this depth, drawing viewers into your image and making it more visually interesting. To create layers, look for elements in the foreground, middle ground, and background that you can incorporate into your shot.
Start by identifying potential layers in your scene:
- A silhouetted tree branch in the foreground
- Illuminated buildings or structures in the middle ground
- A colorful sky or distant mountains in the background
Once you've identified these layers, position yourself to capture them all in your frame. Use leading lines or the rule of thirds to guide the viewer's eye through the image.
Experiment with different angles and perspectives to find the most engaging composition. Consider using objects in the foreground to frame your main subject, adding depth and context to your twilight shot.
Pay attention to the balance between light and dark areas, using shadows and highlights to create separation between layers. Don't be afraid to move around or adjust your position to fine-tune your composition.
With practice, you'll develop an eye for creating fascinating layered twilight photos that truly pop on your phone screen.
Frequently Asked Questions
How Does Weather Affect Twilight Photography on Smartphones?
Weather greatly impacts your twilight smartphone photos. Cloudy skies can soften light, while clear skies enhance colors. Rain adds reflections, and fog creates atmosphere. Wind might blur elements. You'll need to adjust settings based on conditions for best results.
Can I Use External Lenses for Better Twilight Shots on My Phone?
Yes, you can use external lenses for better twilight shots on your phone. They'll enhance your camera's capabilities, allowing you to capture more light and detail. Wide-angle lenses work well for landscapes, while macro lenses are great for close-ups.
What Are the Best Photo-Sharing Apps for Twilight Pictures?
You'll find Instagram, VSCO, and Snapseed great for sharing twilight shots. They offer filters and editing tools to enhance your photos. For a more professional touch, try 500px or Flickr. Don't forget to use relevant hashtags!
How Do Different Phone Brands Compare for Twilight Photography Capabilities?
You'll find that iPhone, Samsung, and Google Pixel excel in twilight photography. They offer advanced night modes, larger sensors, and AI-enhanced processing. However, specific models within each brand can vary in performance, so it's worth comparing individual phones.
Are There Specific Apps Designed for Planning Twilight Photo Shoots?
Yes, you'll find several apps designed for twilight photography planning. Try PhotoPills, The Photographer's Ephemeris, or Sun Surveyor. They'll help you track sunset times, golden hour, and ideal lighting conditions for your twilight shoots.
In Summary
You've now got the tools to make your twilight photos truly pop on your phone. Remember, it's all about balancing light, embracing unique features, and composing with intention. Don't be afraid to experiment with exposure, HDR, and night modes. Capture silhouettes, play with colors, and create depth in your shots. With practice, you'll master the art of twilight photography, turning those magical moments into stunning images right from your pocket.

Leave a Reply