Low light photos can shine through indoor mobile lighting magic, transforming everyday scenes into enthralling visual stories. You'll face challenges like camera shake and noise, but don't let that deter you. Harness available indoor light sources, from windows to lamps, to create mood and depth. Adjust your smartphone's settings, experimenting with ISO, shutter speed, and aperture to capture more light. Compose your shots creatively, using light sources as focal points and negative space for drama. Post-processing techniques can further enhance your images, balancing exposure and reducing noise. With these tips, you're on your way to mastering the art of low light mobile photography.
Understanding Low Light Photography Challenges
Low light photography comes with a host of challenges that can frustrate even seasoned photographers. When you're shooting indoors with limited lighting, you'll often face issues like camera shake, noise, and loss of detail.
Your camera's sensor struggles to gather enough light, resulting in underexposed images or forced high ISO settings that introduce unwanted graininess.
You'll also encounter slower shutter speeds, which can lead to motion blur if you're not using a tripod or have unsteady hands. Autofocus systems may hunt for focus points in dimly lit scenes, causing missed shots or out-of-focus subjects.
Color accuracy suffers too, as artificial light sources can cast unnatural hues on your subjects.
To combat these issues, you'll need to master manual settings, understand your camera's limitations, and learn to work with available light.
Balancing aperture, shutter speed, and ISO becomes essential. You'll often find yourself pushing your gear to its limits, making every photographic decision count.
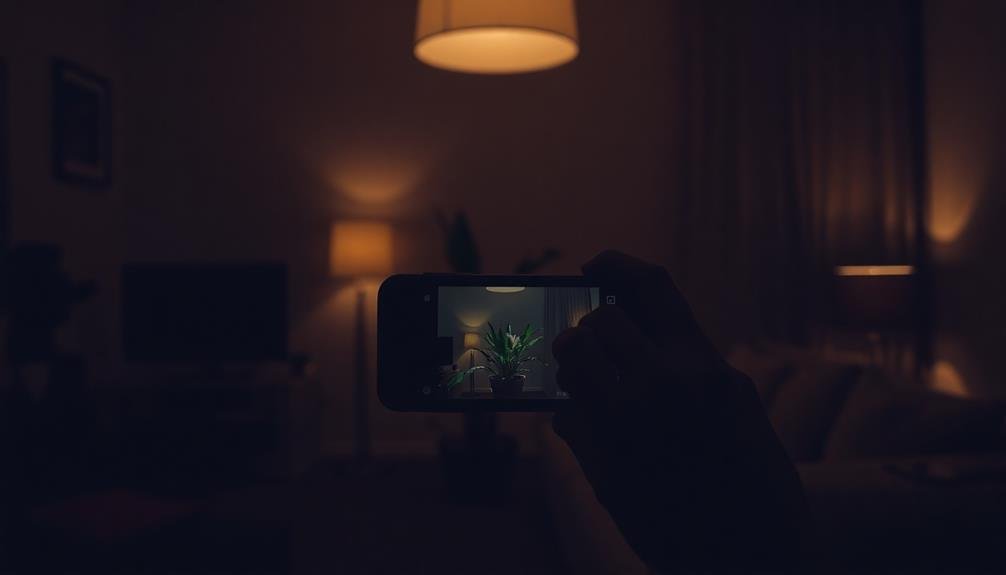
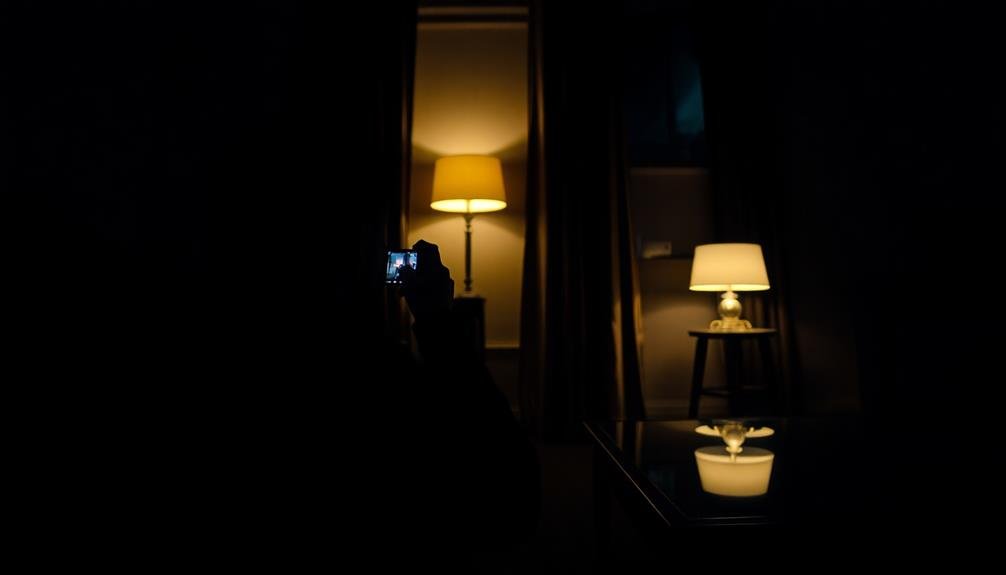
Harnessing Available Indoor Light Sources
When faced with indoor lighting challenges, your first step should be to identify and make the most of available light sources.
Look around for windows, lamps, overhead lights, and even electronic screens. Natural light from windows is often the most flattering, so position your subject near one if possible. If it's too bright, use sheer curtains to diffuse the light.
Don't overlook artificial sources. Table lamps can create a warm, intimate atmosphere, while overhead lights provide broader coverage.
You can use floor lamps to add depth and dimension to your shots. Even the glow from a TV or computer screen can serve as an interesting light source for creative effects.
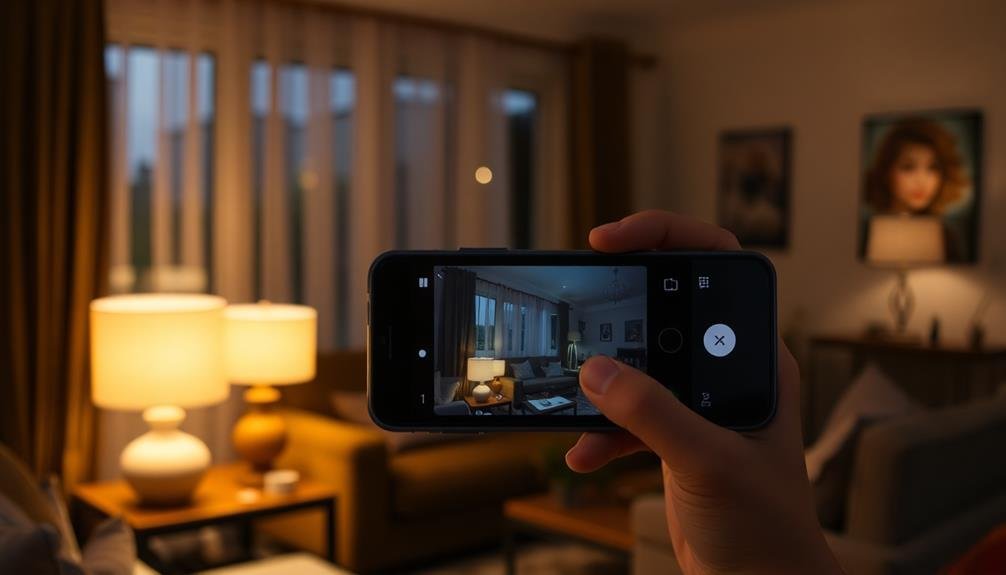
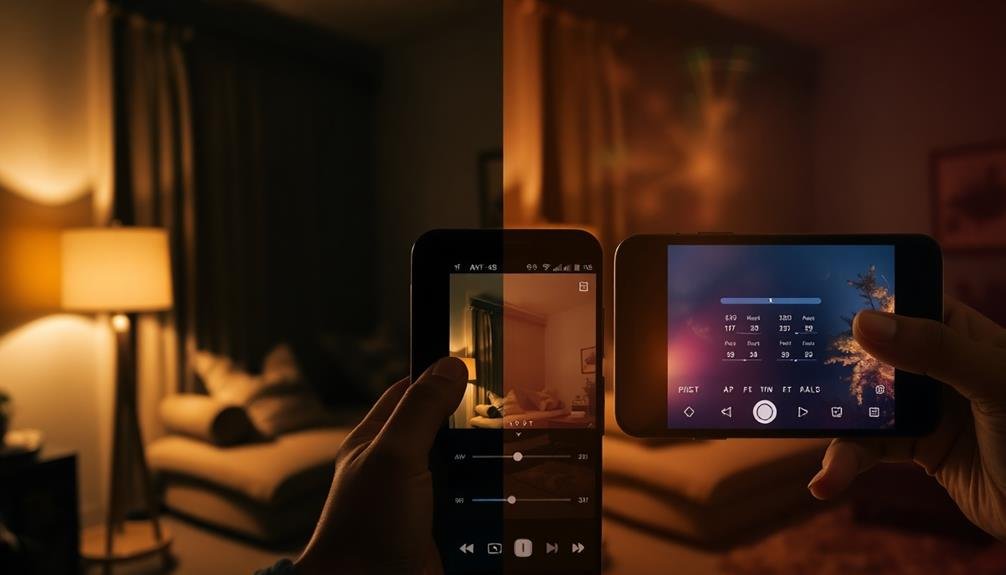
Smartphone Camera Settings for Dimness
Three key smartphone camera settings can dramatically improve your low-light indoor photos. First, adjust your ISO settings. Higher ISO values increase your camera's sensitivity to light, but be cautious as this can introduce noise. Next, slow down your shutter speed to allow more light into the sensor. Finally, widen your aperture (lower f-stop number) to let in more light.
Here's a quick reference table for these settings:
| Setting | Low Light | Bright Light | Effect |
|---|---|---|---|
| ISO | Higher | Lower | Light sensitivity |
| Shutter Speed | Slower | Faster | Light exposure duration |
| Aperture | Wider | Narrower | Amount of light entering |
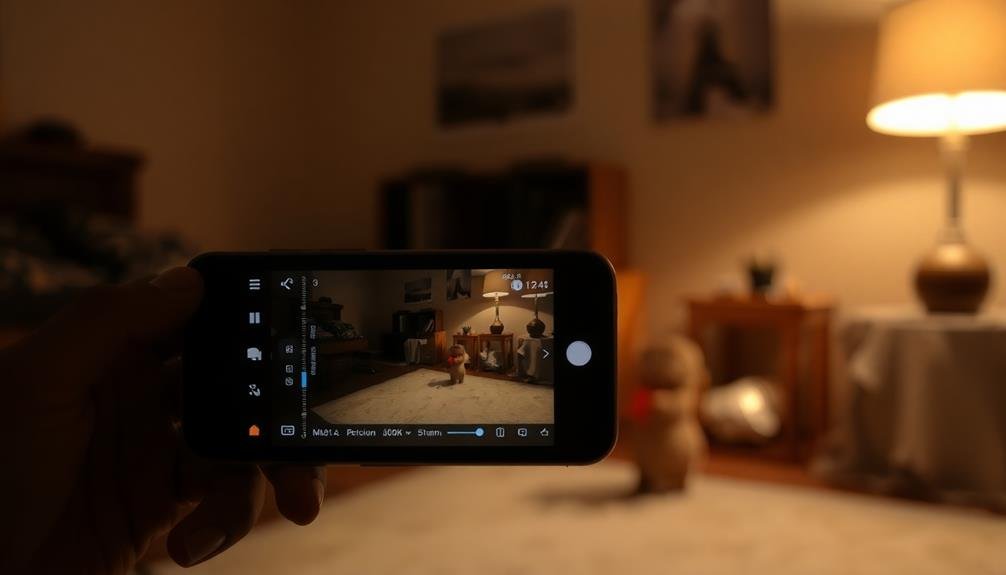
You'll need to experiment with these settings to find the right balance for your specific environment. Don't forget to stabilize your phone to avoid blur from camera shake when using slower shutter speeds. Many smartphones now offer a dedicated night mode, which automatically optimizes these settings for you. If available, try this mode for hassle-free low-light shooting. Remember, post-processing can also help enhance your dimly lit photos, so don't be afraid to edit after capturing.
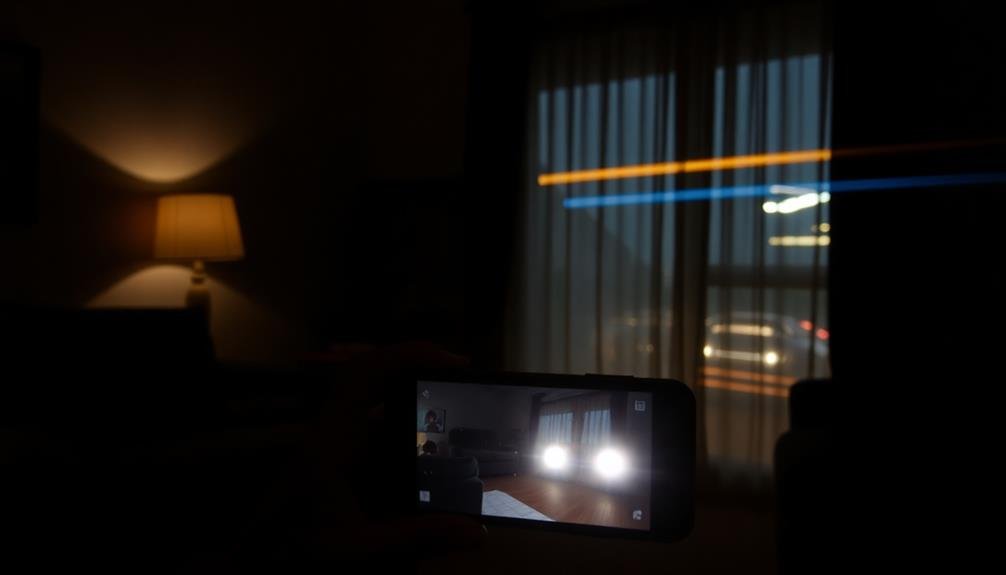
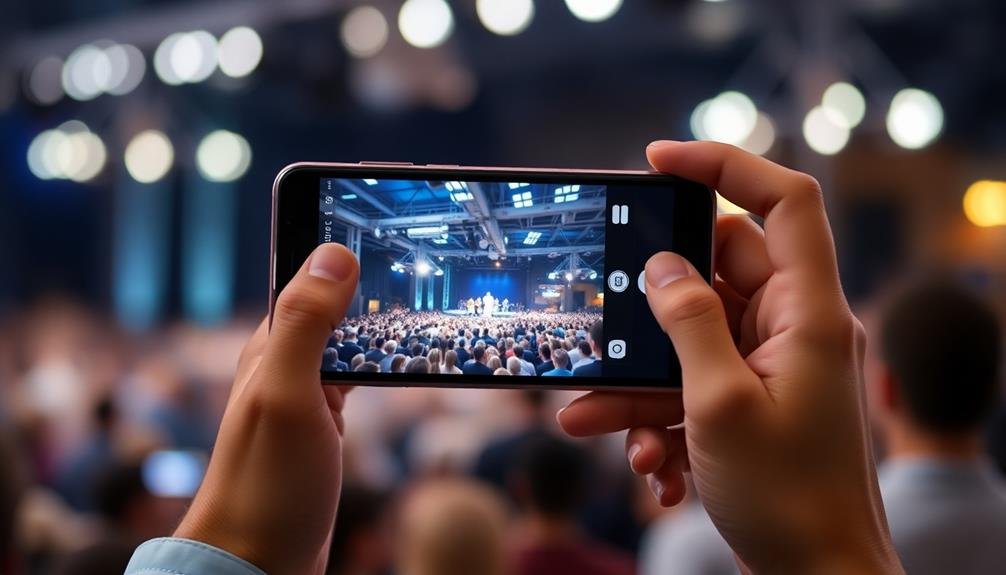
Composition Techniques for Dark Environments
With your camera settings optimized for low light, it's time to focus on composition. In dark environments, you'll need to be creative to capture compelling images. Look for sources of light and use them to your advantage. Windows, lamps, and even electronic screens can become focal points or create interesting silhouettes.
Consider using negative space to emphasize your subject. The darkness around your subject can create a sense of mystery or drama. Don't be afraid to experiment with unconventional angles or perspectives. Getting low or shooting from above can add intrigue to your shots.
When composing your low-light photos, keep these elements in mind:
- Leading lines: Use light streams or architectural features to guide the viewer's eye
- Framing: Doorways, arches, or other structures can frame your subject
- Reflections: Look for mirrors, glass, or water surfaces to add depth
- Contrast: Play with the interplay between light and shadow
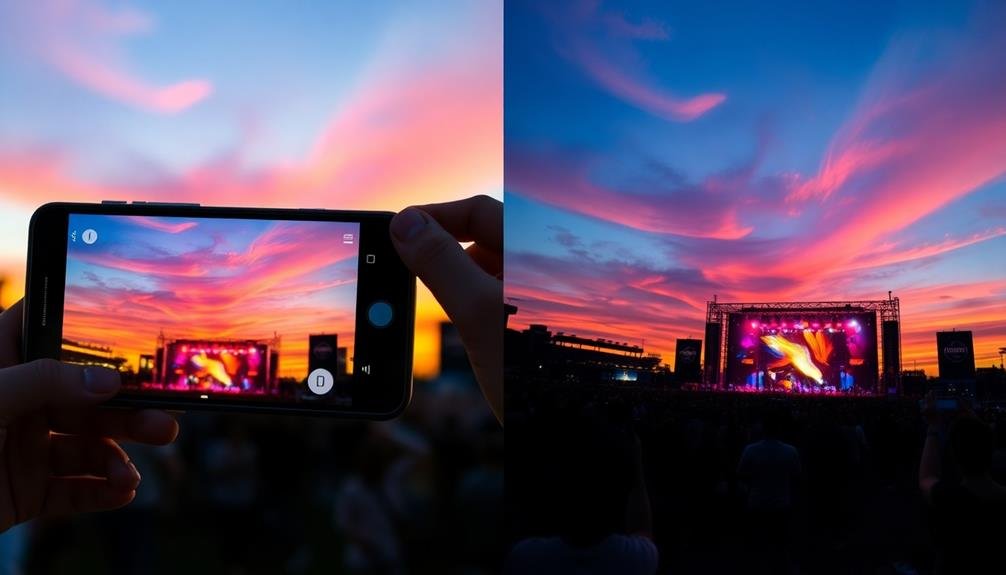
Post-Processing Magic for Low Light
Post-processing is your secret weapon for transforming low-light photos from dull to dazzling. You'll find that even the most challenging indoor shots can be rescued with the right editing techniques.
Start by adjusting the exposure, carefully brightening the image without introducing excessive noise. Next, focus on balancing the shadows and highlights to reveal hidden details in both dark and bright areas.
Color correction is vital in low-light situations. You'll often need to adjust the white balance to counteract artificial lighting's warm or cool tints. Don't shy away from boosting the vibrance and saturation, but be careful not to overdo it.
Noise reduction is another important step; use it judiciously to smooth out graininess without losing texture. For a polished look, experiment with selective sharpening to enhance key features while leaving smoother areas untouched.
Consider using local adjustments to brighten specific areas or create a subtle vignette for added drama. Finally, try applying a subtle film grain effect to give your image a timeless quality.
With these post-processing tricks, you'll turn your indoor low-light photos into enchanting works of art.
Frequently Asked Questions
Can Low Light Photography Capture Motion Without Blur?
You can capture motion without blur in low light photography, but it's challenging. You'll need to use a fast shutter speed, wide aperture, and higher ISO. Alternatively, you can embrace the blur for artistic effect.
What Are the Best Smartphone Accessories for Low Light Photography?
You'll enhance your low light smartphone photography with these accessories: a tripod for stability, clip-on lenses for versatility, an external LED light for additional illumination, and a remote shutter to minimize camera shake when shooting.
How Does ISO Affect Image Quality in Low Light Conditions?
When you increase ISO in low light, you'll get brighter images but risk adding noise. Higher ISO settings amplify your camera's light sensitivity, allowing faster shutter speeds. However, this can reduce image quality, causing graininess and loss of detail.
Are There Specific Color Temperatures That Work Better in Low Light?
You'll find warmer color temperatures (2700-3000K) often work best in low light. They create a cozy ambiance and flatter skin tones. However, don't disregard cooler temps (4000-5000K) for a crisp, modern look in certain settings.
Can Ai-Powered Night Mode Replace Traditional Low Light Photography Techniques?
AI-powered night mode can't fully replace traditional techniques, but it's revolutionizing low-light photography. You'll find it enhances your shots, reducing noise and improving exposure. However, it's best used alongside your existing skills for ideal results.
In Summary
You've now revealed the secrets of stunning low light mobile photography. By mastering available light sources, tweaking your camera settings, and perfecting your composition, you'll capture magical indoor shots. Don't forget the power of post-processing to enhance your images further. With these techniques in your arsenal, you'll never shy away from dimly lit scenes again. Embrace the challenge, and watch your low light photos truly shine. Keep experimenting and pushing your creativity in every shadowy corner.
Leave a Reply