
Master low-light smartphone portraits with these expert tricks. Utilize Night Mode for enhanced capabilities and adjust ISO and shutter speed for ideal exposure. Capture RAW images for maximum editing flexibility and fine-tune white balance for accurate colors. Stabilize your device to avoid blur and experiment with artificial lighting for creative effects. Find and leverage ambient light sources to add depth. Use manual focus for precise sharpness and create dramatic silhouettes by positioning subjects against brighter backgrounds. Finally, apply targeted editing techniques to balance shadows, highlights, and reduce noise. These powerful techniques will elevate your low-light photography to new heights.
Utilize Night Mode

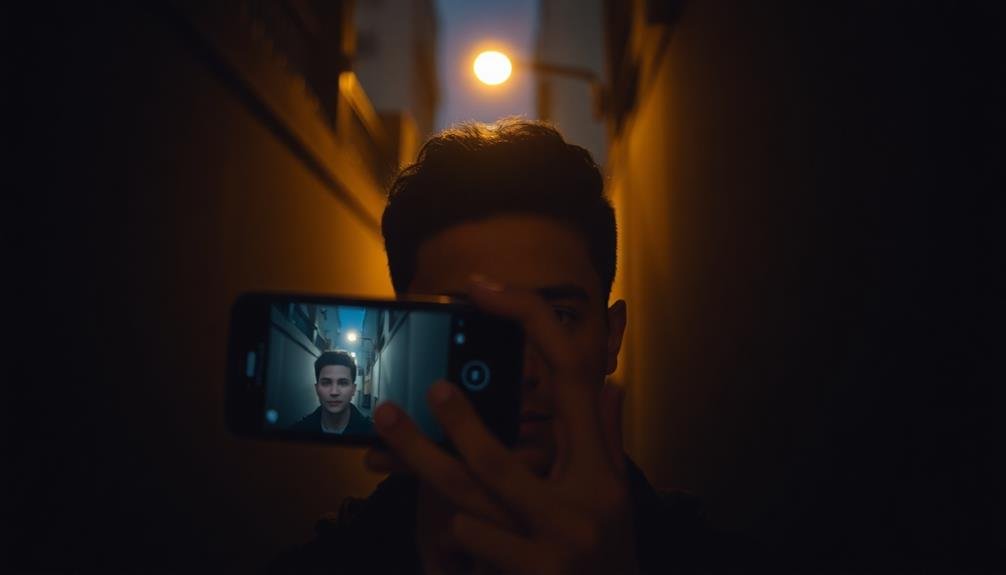
Most modern smartphones come with a built-in Night Mode, which you can leverage for stunning low-light portraits. This feature uses advanced computational photography to capture multiple exposures and combine them, resulting in brighter, clearer images in low-light conditions.
To make the most of Night Mode, start by ensuring it's activated in your camera settings. When shooting, keep your phone as steady as possible or use a tripod for ideal results. Night Mode typically requires a longer exposure time, so any movement can lead to blurry images.
Position your subject in an area with some available light, even if it's minimal. This helps the camera focus and capture more detail. Experiment with different light sources, such as street lamps or illuminated windows, to create interesting shadows and highlights.
Don't be afraid to adjust the exposure compensation if your image appears too bright or dark. Many Night Modes allow you to fine-tune settings for the perfect shot.
Remember that Night Mode works best for relatively static subjects, so ask your model to hold still during capture.
Find Ambient Light Sources
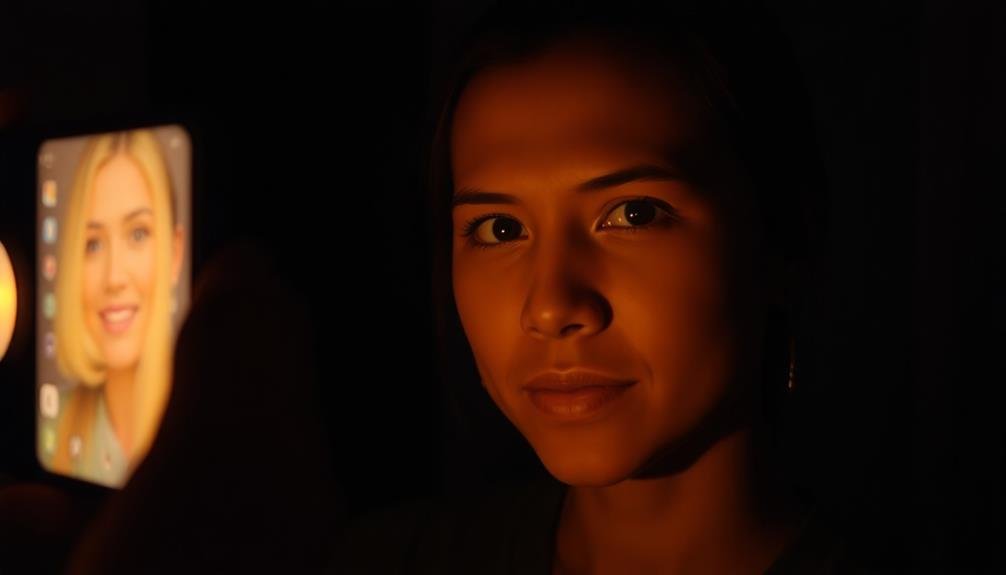
Ambient light sources are the unsung heroes of low-light portrait photography. When you're shooting in dim conditions, look for existing light sources to illuminate your subject. Street lamps, shop windows, and neon signs can all provide interesting and dramatic lighting effects. Don't overlook indoor sources like lamps, candles, or even the glow from a smartphone screen.
Position your subject near these light sources to create depth and dimension in your portraits. Experiment with different angles to achieve the desired effect. You can use these ambient lights as your main light source or combine them with your phone's flash for more creative results.
Here's a quick guide to common ambient light sources and their effects:
| Light Source | Characteristics | Best For |
|---|---|---|
| Street Lamps | Warm, overhead | Moody shots |
| Neon Signs | Colorful, bright | Vibrant portraits |
| Shop Windows | Soft, diffused | Flattering light |
Adjust ISO and Shutter Speed

While ambient light sources can greatly enhance your low-light portraits, mastering your smartphone's camera settings is equally important. Focus on adjusting the ISO and shutter speed to capture stunning low-light images. ISO controls your camera's sensitivity to light, while shutter speed determines how long the sensor is exposed to light.
Start by increasing your ISO to brighten the image, but be cautious of introducing noise. Many smartphones now offer manual ISO control, allowing you to find the sweet spot between brightness and image quality.
Next, slow down your shutter speed to let in more light. However, be aware that slower shutter speeds can lead to motion blur, so steady your hand or use a tripod.
Experiment with different combinations of ISO and shutter speed to achieve the desired effect. Remember, there's no one-size-fits-all solution; each scene may require unique settings. As you practice, you'll develop an intuition for balancing these parameters.
- Feel the excitement of capturing a perfectly exposed low-light portrait
- Experience the satisfaction of mastering your smartphone's advanced features
- Embrace the creative freedom that manual controls provide
- Enjoy the thrill of producing professional-looking images in challenging conditions
Use Manual Focus
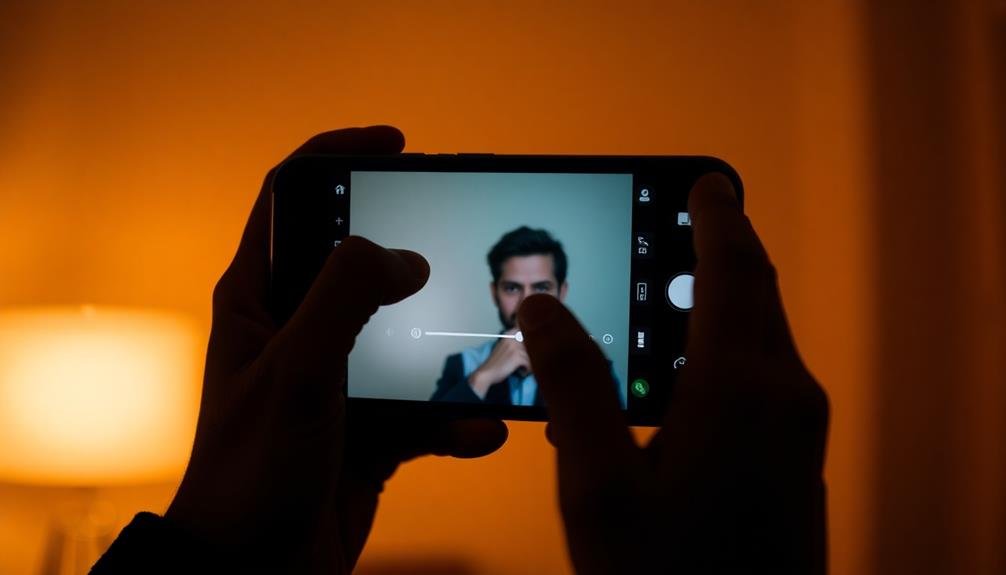
Mastering manual focus is a game-changer for low-light portrait photography on smartphones. While autofocus can struggle in dimly lit environments, manual focus gives you precise control over your subject's sharpness. To use manual focus effectively, tap on your phone's screen to bring up the focus slider. Adjust it carefully until your subject's eyes are crisp and clear.
In low light, it's essential to keep your phone steady while focusing. Consider using a tripod or resting your elbows on a stable surface to minimize camera shake. If your subject is moving, anticipate their position and pre-focus on that spot.
Some smartphones offer focus peaking, which highlights sharp edges in the frame. This feature can help you confirm accurate focus, especially when working with shallow depth of field.
Remember that manual focus isn't just about sharpness; it's also a creative tool. You can intentionally blur certain elements to draw attention to your subject or create a dreamy atmosphere. Experiment with focusing on different parts of your subject, like hands or accessories, to add visual interest to your low-light portraits.
Stabilize Your Smartphone
When it comes to low-light portrait photography, stabilizing your smartphone is essential for sharp, blur-free images. In dimly lit environments, your camera's shutter speed slows down, making it more susceptible to motion blur. To combat this, you'll need to keep your device as steady as possible.
One effective method is to brace your elbows against your body, creating a natural tripod. You can also lean against a wall or sturdy object for added support. If you're shooting outdoors, try resting your phone on a flat surface like a table or ledge.
For even better results, consider investing in a smartphone tripod or grip. These accessories provide excellent stability and allow for hands-free operation. Some models even come with remote shutter controls, eliminating the need to touch your device during capture.
Here are four reasons why stabilizing your smartphone will elevate your low-light portraits:
- Crisp, professional-looking images that stand out
- Increased confidence in your photography skills
- The ability to capture fleeting moments without blur
- Freedom to experiment with longer exposures and creative techniques
Embrace Shadows for Mood
Don't shy away from shadows in low-light portraits; instead, use them to create dramatic contrast. You can emphasize the interplay of light and dark by positioning your subject near a single light source, allowing one side of their face to fall into shadow.
For a bold artistic statement, try capturing a silhouette portrait by placing your subject in front of a brighter background and exposing for the highlights.
Dramatic Contrast Techniques
In spite of the challenges low-light conditions present, they offer unique opportunities to create dramatic portraits with striking contrast. You can leverage the interplay between light and shadow to add depth and intrigue to your smartphone portraits.
Experiment with single light sources, such as a street lamp or a friend's phone flashlight, to create bold highlights and deep shadows on your subject's face. Position your subject near a window or doorway to take advantage of natural light spilling in from one direction. This creates a chiaroscuro effect, emphasizing the contours of their features.
Don't be afraid to increase contrast in post-processing to further enhance the dramatic look. To evoke emotion in your low-light portraits, try these techniques:
- Use backlighting to create a mysterious silhouette
- Capture a sliver of light across the eyes for intensity
- Frame your subject with shadows to convey isolation
- Employ high contrast to heighten tension or drama
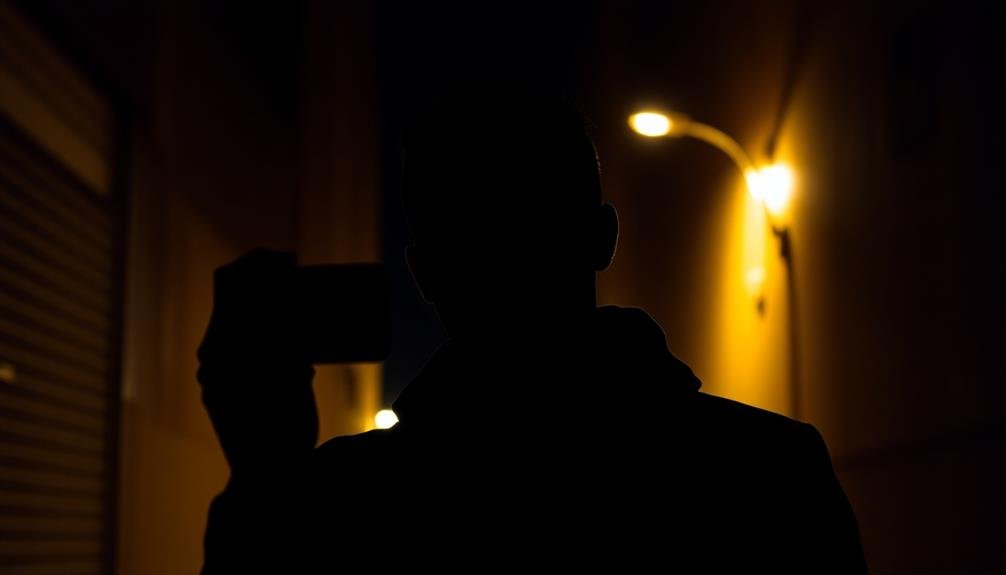
Silhouette Portrait Creation
Through the art of silhouette portraits, you can transform challenging low-light conditions into enchanting images that speak volumes. To create striking silhouettes, position your subject in front of a brighter background, such as a sunset or city lights. Ascertain the light source is behind your subject, creating a stark contrast between their outline and the illuminated backdrop.
Adjust your smartphone camera's exposure by tapping on the brightest part of the screen, typically the background. This will darken your subject, creating the silhouette effect. For added drama, try using the HDR mode to capture more detail in the bright areas without losing the silhouette's depth.
Experiment with your subject's pose and profile to create interesting shapes and tell a story through their outline. Simple, recognizable poses often work best. Don't be afraid to include props or multiple subjects for more complex compositions.
Post-processing can enhance your silhouettes further. Use editing apps to increase contrast, deepen blacks, and fine-tune highlights. Consider adding a subtle color gradient to the background for a more atmospheric effect.
Experiment With Artificial Lighting
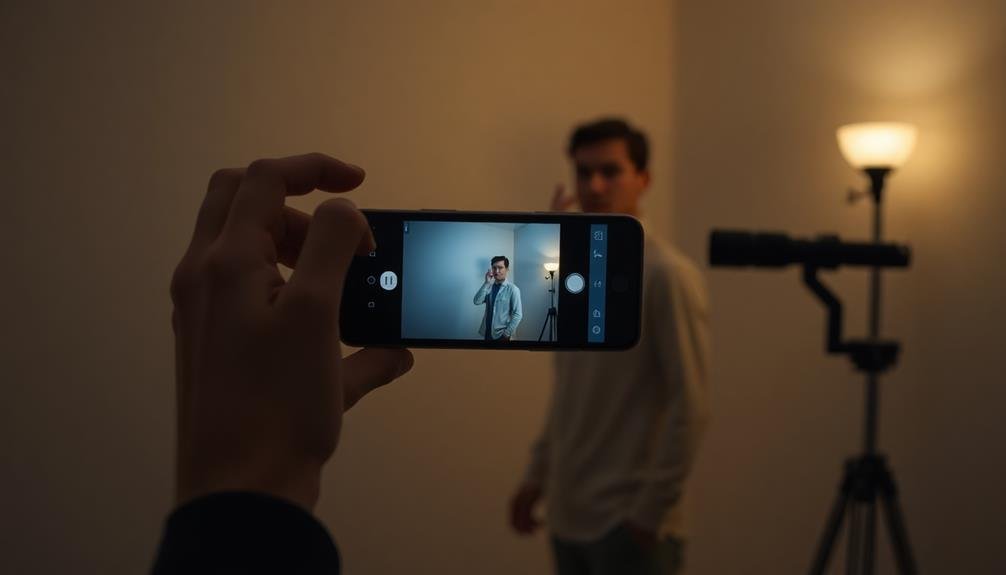
Experimenting with artificial lighting opens up a world of creative possibilities for smartphone photographers shooting in low-light conditions.
You can use various light sources like LED panels, flashlights, or even glow sticks to add depth, drama, and intrigue to your portraits. Don't be afraid to play with different angles and distances to achieve the desired effect. Remember, the key is to control the light rather than letting it overpower your subject.
Try using colored gels or filters to add a unique atmosphere to your shots. You can create a moody blue tone for a night scene or a warm orange glow for a cozy indoor portrait.
Experiment with light painting techniques by moving your light source during a long exposure to create striking patterns or illuminate specific areas of your subject.
Here are four ways artificial lighting can evoke emotion in your low-light portraits:
- Mysterious shadows for a sense of intrigue
- Soft, diffused light for a dreamy, romantic feel
- Harsh, direct light for dramatic contrast and intensity
- Colorful lighting to set a specific mood or atmosphere
Capture RAW Images

When shooting low-light portraits with your smartphone, you'll want to capture RAW images to preserve maximum image data.
RAW files retain all the information from your camera's sensor, giving you enhanced flexibility during post-processing.
You'll be able to adjust exposure, recover highlights and shadows, and fine-tune colors with greater precision than with standard JPEG files.
Preserve Maximum Image Data
A photographer's secret weapon in low-light situations is capturing RAW images. When you shoot in RAW format, you're preserving the maximum amount of data your smartphone's camera sensor can capture. This gives you incredible flexibility in post-processing, allowing you to recover details in shadows and highlights that would be lost in compressed formats like JPEG.
To make the most of RAW capture:
- Enable RAW shooting in your camera app settings
- Use manual controls to set exposure and focus
- Slightly underexpose your shots to avoid blown-out highlights
- Install a powerful RAW editing app on your phone or computer
RAW files contain unprocessed data directly from the sensor, giving you control over white balance, exposure, and color adjustments without degrading image quality. This is especially vital in low-light portraits, where you'll often need to boost shadows or reduce noise.
Remember that RAW files are larger than JPEGs and may slow down your camera's processing. They also require post-processing to look their best.
However, the payoff in image quality and editing flexibility makes RAW capture an essential tool for serious smartphone photographers shooting in challenging lighting conditions.
Enhanced Post-Processing Flexibility
Once you've captured your RAW images, you'll reveal a world of post-processing possibilities. RAW files contain considerably more data than JPEGs, allowing you to make substantial adjustments without compromising image quality.
You'll have greater control over white balance, exposure, and color temperature, which is essential for low-light portraits where these elements can be challenging to perfect in-camera.
With RAW files, you can recover details in shadows and highlights that might be lost in compressed formats. This flexibility is particularly valuable when dealing with high-contrast scenes common in low-light situations.
You'll be able to fine-tune noise reduction, sharpening, and color grading to achieve the desired look for your portraits.
Many smartphone editing apps now support RAW processing, giving you professional-level editing capabilities right on your device. You can experiment with different looks, create presets, and even blend multiple exposures for a more dynamic range.
Master White Balance Settings
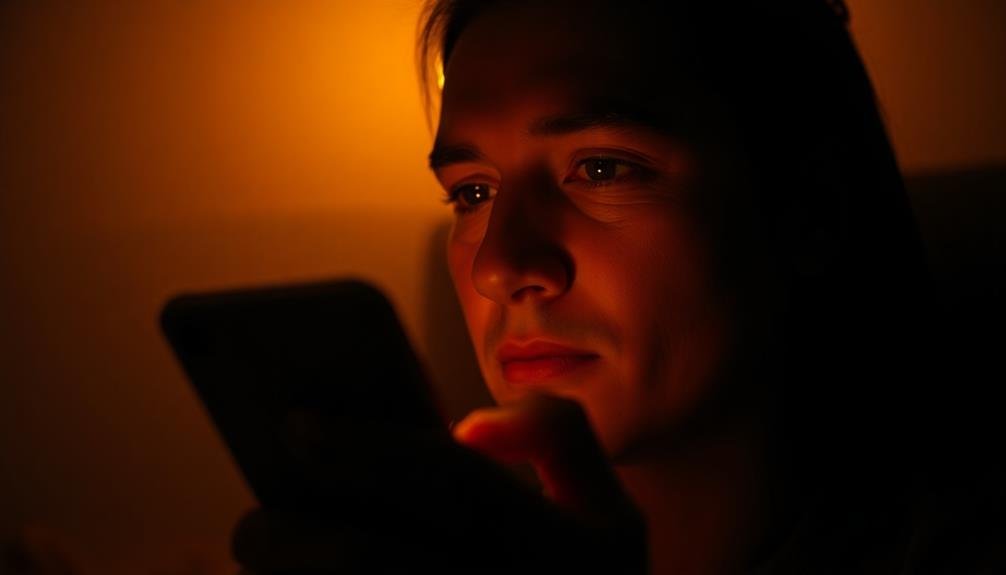
Mastering white balance settings is essential for capturing stunning low-light portraits on your smartphone. In low-light conditions, artificial light sources can cast unnatural color tints on your subject's skin, affecting the overall mood and quality of your portrait.
By adjusting your white balance, you'll guarantee that colors appear accurate and natural, regardless of the lighting situation.
Most smartphone cameras offer preset white balance options like "tungsten," "fluorescent," or "daylight." Experiment with these settings to find the one that best matches your lighting environment.
For more precise control, use the manual white balance feature if your camera app supports it. This allows you to set a custom white balance by photographing a white or gray card in the same lighting as your subject.
To evoke emotion in your low-light portraits, consider these white balance techniques:
- Use a warm white balance to create a cozy, intimate atmosphere
- Opt for a cool white balance to convey a mysterious or dramatic mood
- Experiment with mixed lighting sources for a creative, edgy look
- Match the white balance to your subject's skin tone for a flattering, natural appearance
Edit for Low-Light Enhancement

After capturing your low-light portrait, you'll need to enhance it through editing.
Start by adjusting the exposure and brightness to bring out the subject, then fine-tune the shadows and highlights to create depth and dimension.
Adjust Exposure and Brightness
A crucial step in enhancing low-light portraits is adjusting the exposure and brightness during post-processing. Most smartphone editing apps offer these basic controls, allowing you to fine-tune your image's overall luminance.
Start by slightly increasing the exposure to reveal hidden details in shadowy areas. Be cautious not to overexpose, as this can lead to loss of detail in highlights and an unnatural look.
Next, tweak the brightness to enhance the overall luminosity of your portrait. This can help bring out your subject's features without affecting the contrast as dramatically as exposure adjustments.
Remember, subtle changes often yield the best results in low-light editing.
When adjusting exposure and brightness, keep these emotional goals in mind:
- Capture the warmth and intimacy of the low-light setting
- Preserve the mysterious ambiance that drew you to the scene
- Highlight your subject's unique features and expressions
- Create a mood that resonates with viewers and tells a story
As you make these adjustments, continuously evaluate the image's overall balance. Aim for a natural look that enhances the original low-light atmosphere while revealing just enough detail to make your subject shine.
Enhance Shadows and Highlights
Shadow-highlight balance plays an essential role in enhancing low-light portraits. When you're working with limited light, it's vital to make the most of the available illumination. Most smartphone cameras now offer shadow and highlight adjustment features, allowing you to fine-tune these elements for a more balanced image.
Start by gently lifting the shadows to reveal hidden details in darker areas. Be careful not to overdo it, as this can introduce noise. Next, slightly reduce highlights to prevent overexposure in brighter parts of the image. This technique helps maintain texture and detail across the entire portrait.
Here's a quick guide to enhancing shadows and highlights:
| Adjustment | Effect | Best Practice |
|---|---|---|
| Lift Shadows | Reveals details in dark areas | Increase gradually, watch for noise |
| Reduce Highlights | Preserves details in bright areas | Decrease subtly, maintain contrast |
| Balance Both | Creates a more even exposure | Aim for natural-looking results |
Apply Noise Reduction Filters
When shooting in low-light conditions, you'll often encounter digital noise in your smartphone portraits. This grainy effect can detract from the overall quality of your image, but don't worry – noise reduction filters can help. Most modern smartphones have built-in noise reduction features, but you can also use third-party apps for more control.
To apply noise reduction effectively, start by adjusting the strength of the filter. Be careful not to overdo it, as excessive noise reduction can result in a loss of detail and an unnatural, smoothed-out appearance.
Focus on reducing noise in areas with less detail, such as backgrounds or skin tones, while preserving sharpness in key features like eyes and hair.
Experiment with different noise reduction techniques, such as luminance noise reduction for color accuracy and chrominance noise reduction for overall smoothness. Remember to zoom in and check your results closely, as noise is often more visible at higher magnifications.
Here's why mastering noise reduction is essential for low-light portraits:
- It elevates the professional look of your images
- It allows you to push your camera's ISO limits
- It helps preserve the mood and atmosphere of low-light scenes
- It enhances the emotional impact of your portraits by removing distractions
Frequently Asked Questions
How Can I Reduce Noise in Low-Light Smartphone Portraits?
To reduce noise in low-light smartphone portraits, you'll want to use your camera's night mode, if available. Steady your device, lower ISO settings, and try shooting in RAW format. Post-processing with noise reduction tools can also help greatly.
What Accessories Are Recommended for Better Low-Light Smartphone Photography?
You'll want to invest in a mini tripod, clip-on lenses, and a portable LED light. Don't forget a remote shutter release for steady shots. A power bank's also handy to keep your phone charged during long sessions.
How Do I Achieve a Bokeh Effect in Dark Environments?
To achieve bokeh in dark environments, you'll want to use your phone's portrait mode. Get close to your subject, guarantee there's some distance between them and the background, and adjust your focus manually if needed.
Can I Use HDR Mode for Low-Light Portraits?
You can use HDR mode for low-light portraits, but it's not always ideal. While it'll help balance exposure, it might slow shutter speed, causing blur. It's better to use Night mode or manual settings for sharper results.
What's the Best Way to Light Subjects' Faces in Dimly-Lit Settings?
You'll want to find a soft, indirect light source. Use a friend's phone flashlight with a diffuser or bounce light off a white surface. Position it at a 45-degree angle to illuminate your subject's face evenly.
In Summary
You've now got the tools to capture stunning low-light portraits with your smartphone. Don't be afraid to experiment and push your device's limits. Remember, practice makes perfect. The more you shoot in challenging conditions, the better you'll become. Keep these tips in mind, but also trust your creative instincts. With patience and persistence, you'll soon be creating moody, atmospheric portraits that rival those shot on professional cameras. Happy shooting!


Leave a Reply