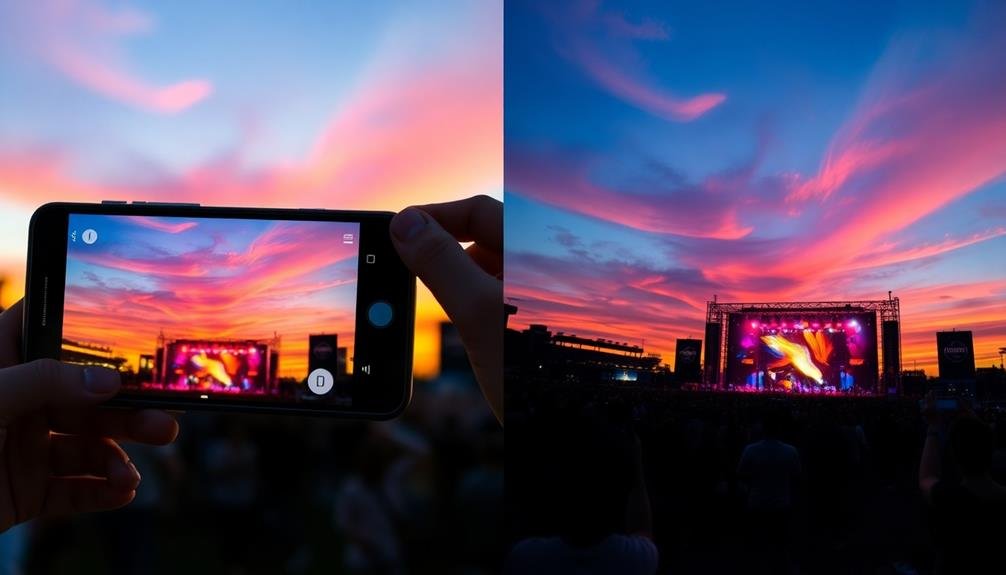
To improve your low-light phone photos, start by enabling Night Mode in your camera app. Adjust your ISO sensitivity to capture more light, but be cautious of introducing noise. Lengthen your shutter speed for better exposure, using a tripod or stable surface to avoid blur. Switch to manual focus for precise control, and optimize white balance for accurate colors. Reduce camera shake by utilizing stabilization features or bracing your device. Apply noise reduction techniques to clean up your images while preserving detail. By mastering these settings, you'll reveal the potential for stunning nighttime shots that rival professional cameras.
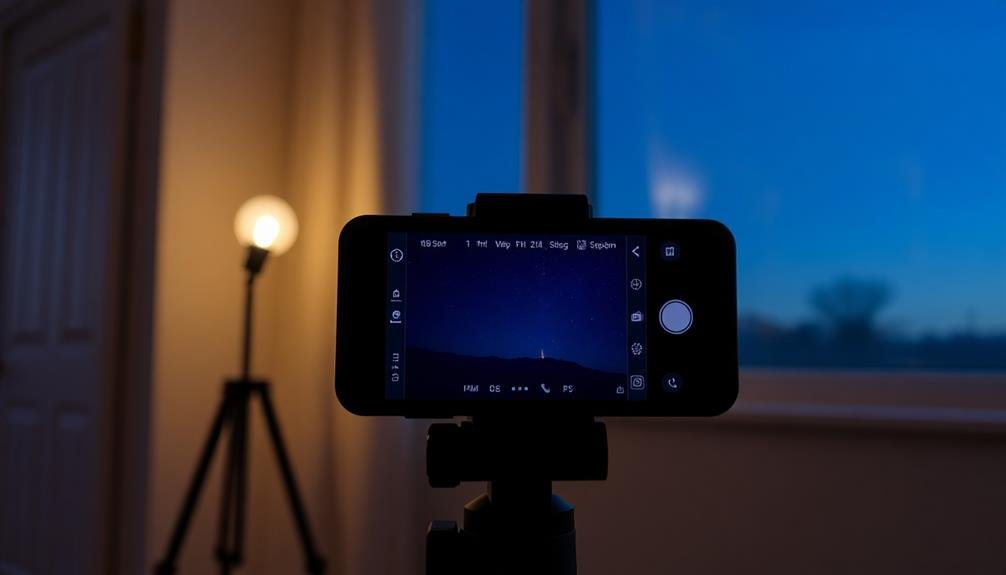
Enable Night Mode
On most modern smartphones, enabling Night Mode is as simple as opening your camera app and tapping the moon icon or selecting "Night" from the shooting modes.
Once activated, your phone's camera will automatically adjust its settings to capture better low-light photos. Night Mode typically uses longer exposure times, combining multiple frames to create a brighter, clearer image with reduced noise.
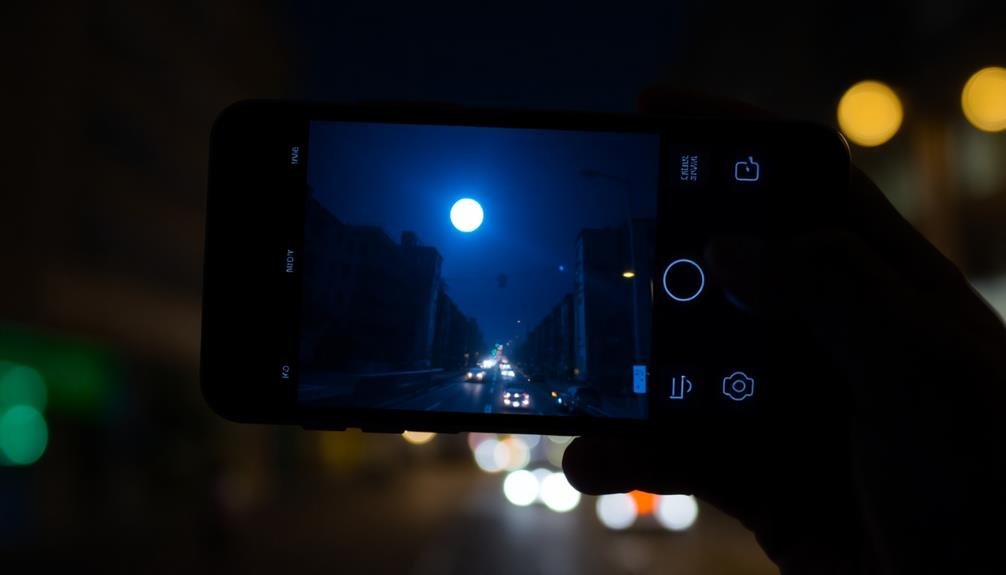
When you're using Night Mode, it's essential to keep your phone as steady as possible. Even slight movements can result in blurry images due to the longer exposure times.
If available, use a tripod or rest your phone against a stable surface for the best results. Some phones may prompt you to hold still for a few seconds while capturing the image.
Be aware that Night Mode mightn't be suitable for all low-light situations. It works best for stationary subjects in dim environments.
For moving subjects or very dark scenes, you may need to explore additional settings or use external lighting. Experiment with different scenarios to understand when Night Mode produces the best results for your specific phone model.
Adjust ISO Sensitivity
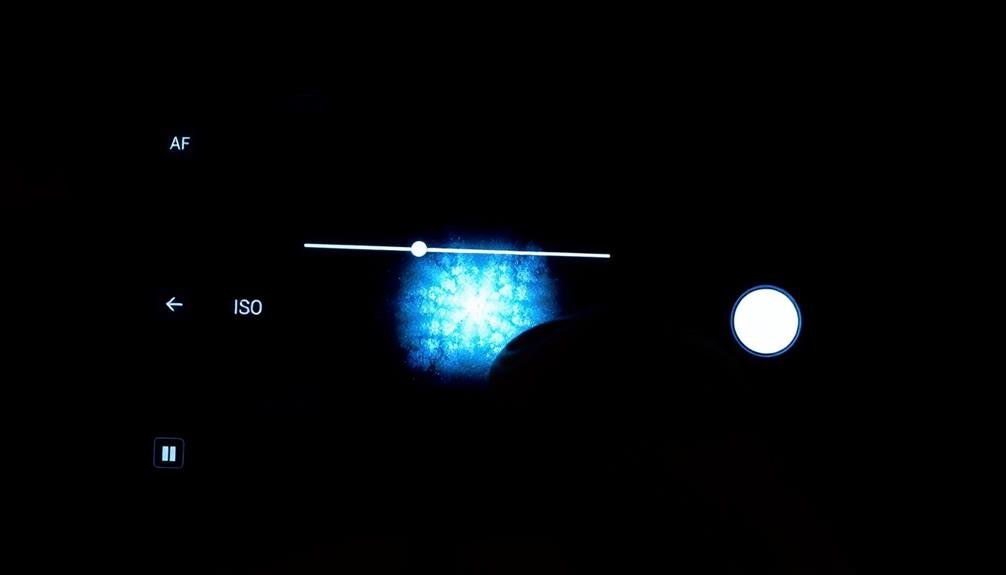
ISO sensitivity is a crucial setting to understand when taking low-light photos with your smartphone. It determines how sensitive your camera's sensor is to light. In low-light situations, you'll want to increase the ISO to capture more light, but be cautious as higher ISO can introduce noise to your images.
To adjust ISO sensitivity on most smartphones, open your camera app and look for the ISO setting. Some phones allow manual ISO adjustment, while others offer auto ISO with upper limits. Experiment with different ISO values to find the sweet spot for your specific scene.
Here's a quick guide to help you choose the right ISO:
| ISO Range | Light Condition | Image Quality |
|---|---|---|
| 100-400 | Bright daylight | Crisp, clean |
| 400-800 | Cloudy/Indoor | Slightly grainy |
| 800-1600 | Low light | Noticeable grain |
| 1600+ | Very dark | Noisy, less detail |
Lengthen Shutter Speed

Lengthening your phone camera's shutter speed allows more light to reach the sensor, improving exposure in low-light conditions.
You'll need to keep your device steady to prevent motion blur, which can occur with longer exposure times.
Consider using a tripod or propping your phone against a stable surface to maintain sharpness while capturing more light.
Capturing More Light
According to the principles of night photography, increasing the shutter speed is one of the most effective ways to capture more light. When you're shooting in low-light conditions, your phone's camera needs more time to gather sufficient light for a well-exposed image.
By extending the shutter speed, you'll allow more light to hit the sensor, resulting in brighter, clearer photos.
To capture more light effectively, consider these techniques:
- Use a tripod or stabilize your phone: Longer exposure times increase the risk of camera shake, so keep your device steady.
- Adjust ISO settings: Increase the ISO to make your camera more sensitive to light, but be cautious of introducing noise.
- Utilize HDR mode: This feature combines multiple exposures to create a balanced image with improved dynamic range.
- Experiment with manual controls: If your phone allows, try adjusting aperture and shutter speed manually for more control.
Reducing Motion Blur
How can you capture sharp images in low-light conditions without introducing motion blur? Night mode settings typically lengthen the shutter speed to allow more light in, but this can lead to blurry photos if there's any movement.
To combat this, use your phone's built-in stabilization features or a tripod to keep the device steady.
Many smartphones now offer intelligent night mode algorithms that combine multiple exposures. These systems take several quick shots and merge them, reducing the impact of camera shake.
When using this feature, try to hold your phone as still as possible for a few seconds after pressing the shutter button.
If your subject is moving, consider using your phone's burst mode instead of night mode. This rapid-fire approach increases your chances of capturing a sharp image.
Alternatively, look for camera apps that allow you to manually adjust settings. Increasing the ISO can help you use a faster shutter speed, though this may introduce some noise.
For stationary subjects, experiment with timer modes or voice commands to trigger the shutter. This hands-off approach minimizes the risk of camera shake from pressing the button.
Use Manual Focus

Manual focus is a powerful tool for capturing sharp low-light photos on your phone. While most phones rely on autofocus, it can struggle in dimly lit scenes. By taking control of your focus, you'll guarantee your subject remains crisp and clear, even in challenging conditions.
To use manual focus effectively:
- Locate the manual focus option in your camera app's settings or pro mode.
- Tap on the area of the image you want to focus on.
- Use the focus slider to fine-tune sharpness.
- Lock the focus to prevent accidental changes.
When using manual focus, pay attention to the edges of your subject. Look for clear, defined lines to confirm proper focus. If your phone offers focus peaking, enable this feature to highlight in-focus areas with colored outlines.
Remember that manual focus works best when your phone is stabilized. Use a tripod or prop your device against a steady surface to minimize camera shake.
This technique is especially useful for capturing detailed nightscapes or portraits in low light. With practice, you'll find that manual focus gives you more control and consistently sharper results in challenging lighting situations.
Optimize White Balance

When optimizing white balance for night mode photos, you'll need to choose between auto and manual adjustment.
Consider the color temperature of your scene, as artificial lighting can cast different hues that affect your image.
You can also experiment with scene-specific white balance presets to match common low-light environments, such as "tungsten" for indoor shots or "cloudy" for outdoor nightscapes.
Auto vs. Manual Adjustment
Optimizing white balance in low-light photos can make or break your nighttime shots. When it comes to adjusting white balance, you'll need to decide between using your phone's auto settings or manually tweaking them yourself.
Auto white balance can be convenient and often produces decent results, but it's not always perfect in challenging lighting conditions.
Manual adjustment gives you more control over the final look of your images. Here's how to approach manual white balance adjustment:
- Identify the main light source in your scene
- Choose a preset that matches the light source (e.g., tungsten for indoor lighting)
- Fine-tune the color temperature slider for warmer or cooler tones
- Adjust the tint slider to balance green and magenta hues
If you're new to manual adjustments, start by taking a test shot using auto white balance. Then, switch to manual mode and try to match or improve upon the auto result.
With practice, you'll develop an eye for proper white balance and create more natural-looking night photos. Remember, there's no one-size-fits-all solution, so experiment with different settings to find what works best for each unique low-light situation.
Color Temperature Considerations
Color temperature plays an essential role in capturing the mood and atmosphere of low-light scenes. When shooting in night mode, you'll need to reflect on how different light sources affect your images' overall tone. Streetlights, neon signs, and moonlight each have unique color temperatures that can dramatically impact your photos.
To optimize white balance in low-light conditions, you'll want to experiment with your phone's color temperature settings. Most night modes offer presets like "tungsten" or "fluorescent," but you may need to fine-tune these for the best results. Pay attention to how adjusting the temperature affects skin tones, highlights, and shadows in your images.
Here's a quick guide to common light sources and their approximate color temperatures:
| Light Source | Color Temperature (K) | Mood | Best White Balance Setting | Typical Scene |
|---|---|---|---|---|
| Candle | 1,900 | Warm, cozy | Tungsten | Romantic dinner |
| Incandescent | 2,800 | Warm, homey | Tungsten | Indoor home |
| Moonlight | 4,100 | Cool, serene | Fluorescent | Nighttime landscape |
| Daylight | 5,500 | Neutral | Daylight | Outdoor twilight |
| Overcast | 6,500 | Cool, moody | Cloudy | Urban night street scene |
Scene-Specific White Balance
Understanding color temperature is just the beginning. To truly optimize your low-light photos, you'll need to master scene-specific white balance. This technique allows you to adjust your camera's settings based on the unique lighting conditions of each scene you're capturing.
When you're shooting at night, different light sources can create complex color casts. To counteract this, you'll want to use scene-specific white balance presets or manual adjustments.
Here are four common night scenes and how to adjust your white balance:
- City streets: Set to "tungsten" or around 3200K to neutralize the orange glow of streetlights.
- Moonlit landscapes: Use "daylight" or 5500K to preserve the cool, natural tones.
- Indoor events: Opt for "fluorescent" or 4000K to combat greenish tints from artificial lighting.
- Neon-lit areas: Experiment with custom white balance to capture the vibrant colors accurately.
Reduce Camera Shake

To capture sharp night photos, reducing camera shake is essential. When shooting in low light, your phone's camera needs longer exposure times, making it more susceptible to blur from hand movements.
To combat this, start by ensuring you're holding your phone as steady as possible. Brace your elbows against your body or find a stable surface to rest your phone on.
Many phones now offer built-in stabilization features. Enable optical image stabilization (OIS) or electronic image stabilization (EIS) if available. These technologies help counteract minor movements, resulting in clearer images.
Some night modes also use AI-powered multi-frame capture, taking several shots and combining them to reduce blur.
Consider using your phone's timer function or a remote shutter release. This eliminates the shake caused by tapping the screen to take a photo. If your phone supports it, use voice commands to trigger the shutter.
In extreme low-light situations, a small tripod or phone grip can make a significant difference. These accessories allow for longer exposures without introducing shake, enabling you to capture more light and detail in your night shots.
Apply Noise Reduction

When shooting in low light, you'll often encounter digital noise in your photos. This grainy appearance can detract from the overall image quality.
Fortunately, most modern smartphones offer noise reduction features to help combat this issue. To effectively apply noise reduction and improve your low-light photos, consider these key points:
- Adjust the noise reduction strength: Start with a moderate setting and increase it gradually until you find the right balance between noise reduction and image detail preservation.
- Use selective noise reduction: Focus on smoothing out areas with uniform color, like skies or walls, while preserving details in textured areas.
- Experiment with AI-powered noise reduction: Many newer phones use machine learning algorithms to intelligently reduce noise while maintaining image sharpness.
- Apply noise reduction in post-processing: If your phone's built-in options aren't sufficient, consider using third-party apps or desktop software for more advanced noise reduction techniques.
Remember that excessive noise reduction can lead to a loss of detail and an unnatural, plastic-like appearance.
Aim for a balance between noise reduction and maintaining the photo's natural texture and sharpness. With practice, you'll develop an eye for applying just the right amount of noise reduction to enhance your low-light photos without compromising their quality.
Frequently Asked Questions
Can Night Mode Be Used for Daytime Photos in Shadowy Areas?
Yes, you can use night mode for daytime photos in shadowy areas. It'll help brighten dark spots and capture more detail. However, be careful not to overexpose the image or create unnatural-looking results in well-lit parts.
How Does Night Mode Affect Battery Life When Used Frequently?
You'll notice night mode drains your battery faster when used often. It's processing-intensive, keeping your camera sensor open longer and using more computational power. Try limiting its use to preserve battery life when needed.
Are Third-Party Camera Apps Better for Night Mode Than Built-In Apps?
Third-party camera apps can offer better night mode features than built-in apps. You'll often find more advanced settings, AI enhancements, and manual controls. However, your phone's native app might be optimized for its specific hardware, so compare results.
Does Night Mode Work Equally Well for Both Rear and Front Cameras?
Night mode typically works better with rear cameras than front-facing ones. You'll often get clearer, brighter shots using your phone's main camera. However, some newer models are improving night mode capabilities for selfie cameras too.
Can Night Mode Improve Video Quality in Low-Light Conditions?
Yes, night mode can enhance your low-light videos. It'll brighten dark scenes, reduce noise, and improve colors. You'll notice clearer footage with less graininess. However, it may slightly decrease frame rate and increase processing time.
In Summary
You've now got the tools to take stunning low-light photos with your phone. Remember, it's all about experimenting with these settings. Don't be afraid to play around with night mode, ISO, shutter speed, and white balance. Keep your hands steady, use manual focus when needed, and apply noise reduction for cleaner images. With practice, you'll be capturing amazing night shots in no time. So go out there and let your creativity shine in the dark!
Leave a Reply