To achieve shake-free shots with mobile lens stabilization, start by understanding your device's built-in features like OIS and EIS. Choose compatible lens attachments that complement your phone's stabilization. Perfect your grip by holding the phone with both hands, elbows tucked close to your body. Optimize camera settings, adjusting shutter speed and ISO for sharper images. Utilize external tools like gimbals or tripods for added stability. Don't forget software solutions and post-processing techniques to further enhance your shots. By combining these pro tips, you'll capture stunning, stable images and videos in any situation. Dive deeper to master the art of mobile photography.
Understanding Mobile Lens Stabilization

Shaky hands and blurry photos can be a thing of the past with mobile lens stabilization. This technology, built into many modern smartphones, helps counteract hand movements and vibrations to produce sharper images and smoother videos.
Mobile lens stabilization works by using tiny gyroscopes and accelerometers to detect motion. When you move your phone, these sensors quickly shift the lens or image sensor in the opposite direction, effectively canceling out the movement.
There are two main types: optical image stabilization (OIS) and electronic image stabilization (EIS). OIS physically moves the lens or sensor, while EIS uses software algorithms to compensate for movement. Some devices combine both methods for enhanced stability.
The benefits are particularly noticeable in low-light conditions or when using zoom, where even slight movements can cause blur. To make the most of this feature, you should still aim to hold your phone steady. Stabilization can't compensate for excessive motion.
It's most effective when used in conjunction with good shooting techniques. Understanding how your device's stabilization works will help you capture clearer, more professional-looking photos and videos in various challenging situations.
Choosing the Right Lens Attachment

When selecting a lens attachment for your smartphone, you'll need to verify it's compatible with your specific model.
Compare the stabilization features of different lens options, as some may offer better image stability than others.
You'll want to choose a lens that complements your phone's built-in stabilization capabilities for peak results.
Compatibility With Smartphone Models
Selecting the right lens attachment for your smartphone is essential in achieving ideal mobile photography results. Before purchasing any lens, confirm it's compatible with your specific smartphone model. Many lens manufacturers design attachments for popular brands like iPhone and Samsung, but you'll need to verify compatibility with your exact model and generation.
Check if the lens requires a specific case or if it attaches directly to your phone. Some universal clip-on lenses work with multiple devices, offering flexibility if you switch phones often. However, these may not provide the same level of stability as model-specific options.
Consider your phone's camera layout, as newer models often feature multiple lenses. Confirm the attachment won't obstruct any built-in lenses or sensors.
If you're using a protective case, verify that the lens attachment will fit over it or if you'll need to remove it for use.
Lastly, research if software updates are needed to optimize lens performance. Some manufacturers offer companion apps that enhance functionality and allow for seamless integration with your phone's native camera app.
Stabilization Features Comparison
Once you've confirmed compatibility, it's time to evaluate the stabilization features of different lens attachments. Not all lenses are created equal when it comes to reducing camera shake. Look for attachments that offer advanced stabilization technologies to guarantee your shots remain crisp and clear.
When comparing stabilization features, consider these key factors:
- Optical Image Stabilization (OIS): This technology uses tiny gyroscopes to detect movement and adjusts the lens elements accordingly. It's highly effective for reducing blur caused by hand shake.
- Electronic Image Stabilization (EIS): While not as robust as OIS, EIS uses software algorithms to compensate for movement. It's often lighter and less expensive than OIS options.
- Hybrid Stabilization: Some high-end lens attachments combine both OIS and EIS for superior shake reduction in various shooting conditions.
- Stabilization Modes: Look for lenses that offer multiple stabilization modes tailored for different scenarios, such as panning or static shots.
Don't forget to check user reviews and sample footage to gauge real-world performance. While specs are important, seeing the results in action can help you make an informed decision.
Proper Grip and Stance Techniques
To stabilize your mobile shots, start with a two-handed grip on your smartphone.
Keep your elbows tucked close to your body for added support and steadiness.
Plant your feet shoulder-width apart to create a solid foundation, enhancing overall stability while shooting.
Two-Handed Smartphone Hold
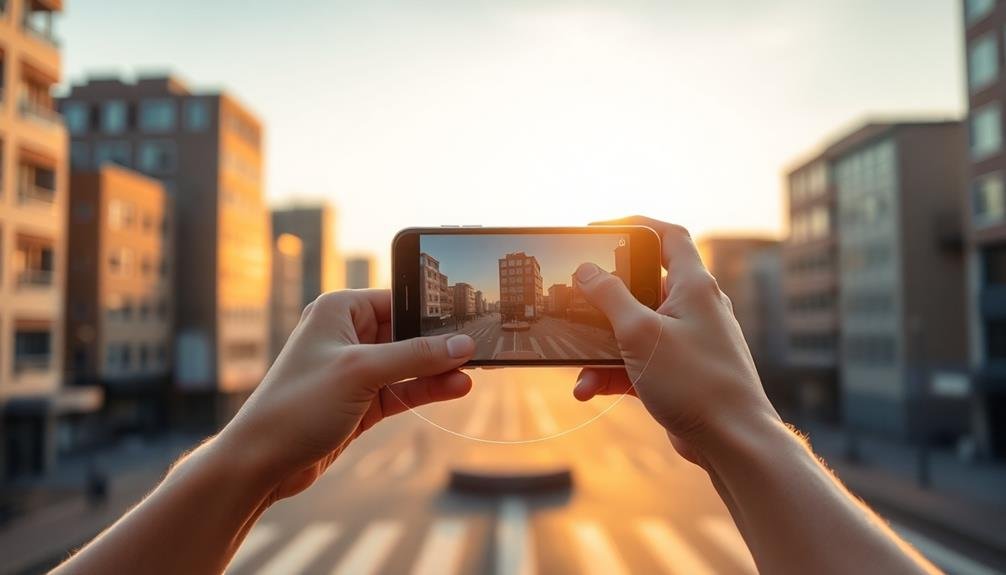
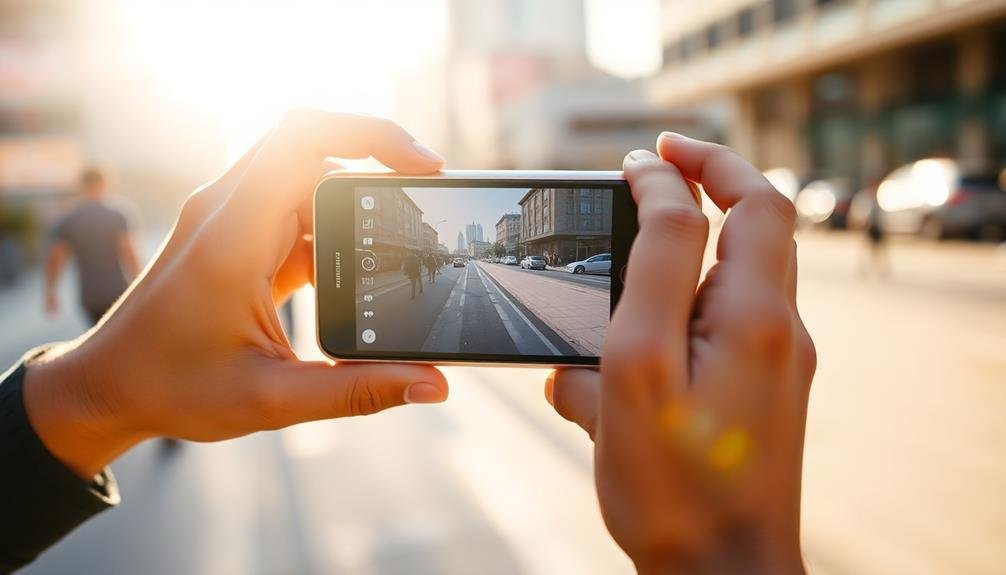
When it comes to capturing steady shots with your smartphone, mastering the two-handed hold is essential. This technique provides a stable base for your device, reducing unwanted movement and improving image quality.
To perfect your two-handed grip, follow these key steps:
- Position your dominant hand at the bottom of the phone, with your thumb and index finger forming a cradle for the device.
- Place your other hand at the top of the phone, using your fingers to support the weight and provide additional stability.
- Keep your elbows tucked close to your body to minimize arm movement.
- Use your thumbs to access on-screen controls without disrupting the hold.
As you practice this technique, you'll notice a significant improvement in the steadiness of your shots. Remember to maintain a relaxed grip to avoid tension-induced shaking.
When possible, lean against a wall or sturdy object for added support. If you're shooting in low light or using zoom, the two-handed hold becomes even more vital.
Elbows-In Stabilizing Position
Building on the two-handed hold technique, the elbows-in stabilizing position further enhances your smartphone photography stability. To achieve this stance, tuck your elbows close to your body, creating a triangular support structure. This position minimizes arm movement and reduces camera shake considerably.
Start by holding your smartphone with both hands, as previously discussed. Then, bring your elbows in towards your torso, resting them against your ribcage. This creates a stable base for your arms and hands. Keep your feet shoulder-width apart and your knees slightly bent for added balance.
When taking a photo, exhale slowly and press the shutter button gently to avoid introducing unnecessary movement. If you're shooting in low light conditions or using a slower shutter speed, this technique becomes even more essential.
For added stability, you can lean against a wall or solid object while maintaining the elbows-in position. This combination of body positioning and environmental support will greatly improve your chances of capturing sharp, blur-free images.
Practice this stance regularly, and you'll find it becomes second nature, allowing you to react quickly to fleeting photo opportunities while maintaining ideal stability.
Foot Placement for Stability
Your feet play an essential role in maintaining stability while shooting with your smartphone. Proper foot placement can greatly reduce camera shake and improve the overall quality of your mobile photography. To achieve ideal stability, adopt a stance that provides a solid foundation for your upper body.
Here's how to position your feet for maximum stability:
- Stand with your feet shoulder-width apart, distributing your weight evenly between both legs.
- Point your toes slightly outward to create a wider base of support.
- Bend your knees slightly to lower your center of gravity and increase stability.
- If possible, brace yourself against a stable object like a wall or tree for added support.
When shooting in portrait orientation, step one foot slightly forward to create a more stable triangular base. For landscape shots, keep both feet parallel to maximize your side-to-side stability.
If you're on uneven terrain, adjust your stance accordingly by placing one foot higher than the other to maintain balance. Remember to stay relaxed and avoid locking your knees, as tension can lead to unwanted movement.
Practice these foot placement techniques regularly, and you'll notice a notable improvement in the steadiness of your smartphone shots.
Utilizing Built-in Stabilization Features

Most modern smartphones come equipped with built-in stabilization features that can greatly enhance your mobile photography. To make the most of these tools, you'll need to understand how they work and when to use them.
First, familiarize yourself with your device's optical image stabilization (OIS) and electronic image stabilization (EIS) capabilities. OIS physically moves the lens to counteract shaking, while EIS uses software to reduce blur. Enable these features in your camera settings for improved stability.
Here's a quick comparison of OIS and EIS:
| Feature | OIS | EIS |
|---|---|---|
| Method | Hardware | Software |
| Effectiveness | High | Moderate |
| Battery Usage | Low | High |
| Video Performance | Excellent | Good |
| Low Light Performance | Better | Average |
When shooting, hold your phone with both hands and use the volume buttons as a shutter release to minimize movement. For even better results, try using your phone's Pro or Manual mode, which often allows you to adjust shutter speed and ISO settings. This can help you achieve sharper images in challenging lighting conditions.
External Stabilization Tools

While built-in stabilization features are great, external tools can take your mobile photography to the next level. These accessories offer enhanced stability and control, allowing you to capture sharper images and smoother videos in challenging conditions.
One of the most versatile external stabilization tools is a smartphone gimbal. This handheld device uses motors to counteract your hand movements, resulting in incredibly smooth footage. It's perfect for vlogging, action shots, and cinematic pans.
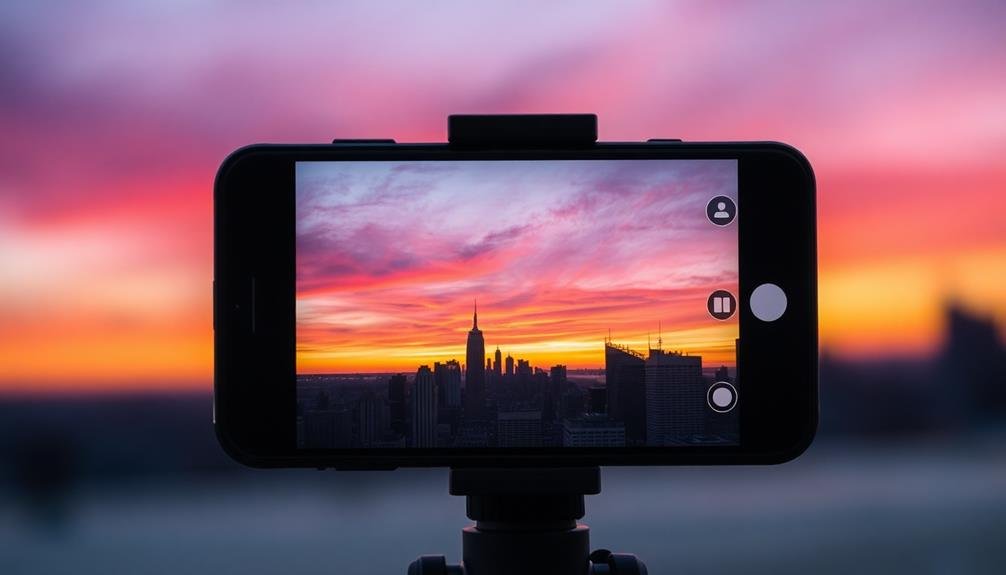
For static shots, consider investing in a sturdy tripod. Many compact, lightweight options are designed specifically for smartphones. They're ideal for low-light photography, time-lapses, and self-portraits.
When choosing external stabilization tools, consider the following factors:
- Compatibility with your smartphone model
- Portability and ease of use
- Battery life (for electronic stabilizers)
- Additional features like remote control or object tracking
Don't overlook DIY options, either. A simple grip or handle can provide extra stability for handheld shots.
Even a makeshift support, like leaning against a wall or using a nearby surface, can notably improve your image quality.
With the right external stabilization tools, you'll be able to push your mobile photography skills to new heights.
Optimizing Camera Settings

Mastering your smartphone's camera settings is essential for achieving ideal lens stabilization. Start by enabling your device's built-in stabilization feature, often found in the camera app's settings menu. This will activate optical or electronic image stabilization, reducing shake in your photos and videos.
Next, adjust your shutter speed. A faster shutter speed freezes motion, minimizing blur from camera shake. In low light, you'll need to balance this with a higher ISO setting to maintain proper exposure. Many smartphones offer a "Pro" or "Manual" mode that allows you to control these settings directly.
Don't forget to tap the screen to set focus and exposure before shooting. This locks these settings, preventing unwanted adjustments that could introduce shake.
If your phone has a burst mode, use it for action shots. You're more likely to capture a sharp image when taking multiple photos in quick succession.
Software-based Stabilization Solutions

Software-based stabilization solutions frequently complement built-in hardware features, enhancing your smartphone's ability to capture steady shots.
These apps and built-in software options use advanced algorithms to analyze and correct camera shake, resulting in smoother videos and sharper still images.
To make the most of software-based stabilization:
- Enable your phone's native stabilization feature in the camera settings. Most modern smartphones have this option, which works in real-time as you shoot.
- Experiment with third-party apps like Filmic Pro or ProCam, which offer advanced stabilization controls and post-processing options.
- Use your phone's built-in editing tools to apply stabilization after capturing your footage. This method allows you to adjust the intensity of the effect.
- Consider combining software stabilization with physical stabilizers like gimbals for best results, especially in challenging shooting conditions.
When using software stabilization, be aware that it may crop your image slightly to compensate for movement.
Additionally, some apps might reduce video quality to process the stabilization effect.
Always test different options to find the best balance between stability and image quality for your specific needs.
Shooting Techniques for Stable Images

Effective shooting techniques can markedly improve image stability, even without relying on hardware or software solutions. You can greatly reduce camera shake by adopting proper posture and grip. Stand with your feet shoulder-width apart, tuck your elbows close to your body, and hold your device with both hands. This creates a stable base for your shots.
When possible, use physical support like leaning against a wall or resting your device on a stable surface. For low-light situations, try the "breathe and shoot" technique: exhale slowly, then capture the image at the end of your breath when your body is most still.
Here's a quick reference guide for stable shooting techniques:
| Technique | When to Use | Key Points |
|---|---|---|
| Two-handed grip | Always | Elbows tucked, fingers spread |
| Lean on surfaces | When available | Use walls, tables, or poles |
| Breathe and shoot | Low light | Exhale slowly, shoot at end |
| Use timer | Static subjects | Set 2-3 second delay |
Remember to keep your movements smooth when panning or tracking subjects. Practice these techniques regularly to make them second nature, ensuring you're always ready to capture shake-free images with your mobile device.
Post-processing Stabilization Methods

While shooting techniques can greatly reduce camera shake, post-processing methods offer additional ways to stabilize your mobile photos and videos.
These digital solutions can help salvage shaky footage or enhance the stability of your images.
For photos, you'll find several apps that offer image stabilization features.
These tools analyze your photo's metadata and use AI algorithms to correct minor blur caused by camera movement.
Some popular options include Snapseed, Adobe Lightroom Mobile, and VSCO.
For videos, post-processing stabilization can work wonders.
Here are four effective methods:
- Use your phone's built-in stabilization feature
- Try third-party apps like FilmoraGo or PowerDirector
- Utilize desktop software such as Adobe Premiere Pro or Final Cut Pro X
- Experiment with AI-powered stabilization tools like Deshake.io
When applying post-processing stabilization, be aware that it may crop your footage slightly.
To compensate, shoot with a wider frame than needed.
Also, remember that while these methods can improve stability, they can't fix severely shaky footage.
It's always best to focus on proper shooting techniques first and use post-processing as a refinement tool.
Frequently Asked Questions
Can Lens Stabilization Completely Eliminate Motion Blur in Low-Light Conditions?
While lens stabilization greatly reduces motion blur in low-light conditions, it can't completely eliminate it. You'll still need to use proper techniques like a steady grip and slower shutter speeds for the best results in challenging lighting.
How Does Mobile Lens Stabilization Affect Battery Life?
You'll notice that lens stabilization can drain your battery faster. It's constantly working to counteract movements, using extra power. If you're concerned about battery life, you might want to disable it when not needed.
Are There Any Drawbacks to Using Lens Stabilization for Action Shots?
While lens stabilization can help reduce blur, you'll find it may struggle with fast-moving subjects. It can also slow down your camera's response time and potentially soften images slightly. Consider disabling it for high-speed action shots.
Can Lens Stabilization Be Used Effectively While Recording Video Calls?
Yes, you can use lens stabilization effectively during video calls. It'll help reduce camera shake, making your video smoother and more professional. Just verify your device supports it and remember it may slightly decrease battery life.
Is Lens Stabilization Equally Effective for Front and Rear Cameras?
Lens stabilization isn't always equal for front and rear cameras. You'll often find it's more effective on rear cameras, which typically have better hardware. However, some high-end phones now offer improved stabilization for selfie cameras too.
In Summary
You've now got the tools to capture shake-free shots on your mobile device. Remember to choose the right lens, maintain a steady grip, and utilize built-in features. Don't forget external stabilizers and optimized settings. Practice your shooting techniques and explore software solutions. With these pro tips, you'll be taking crisp, clear photos in no time. Keep experimenting and refining your skills to achieve professional-quality results from your mobile photography.


Leave a Reply